「Android」开发小技巧合集
沉浸式标题栏
在我们日常开发中,常常有需求需要让标题栏与状态栏背景颜色一直,此总结出二种方式
修改主题样式颜色
在style.xml文件直接修改主题样式颜色,在对应的属性下修改其颜色

最后就可以根据设定的颜色得到相对应的样式
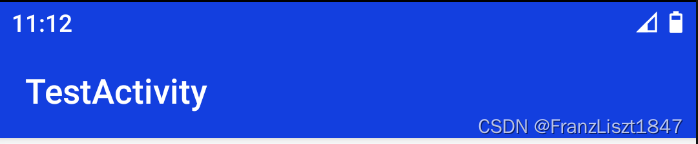
隐藏标题栏进行自主设置
当我们不需要系统标题栏时,我们可以将系统标题栏隐藏,然后使用我们自己设定的标题栏,并设定系统状态栏向下寻找第一个元素作为自己的背景颜色
- 首先,我们在style.xml文件中创建一个样式,并设置其为没有标题栏
   <style name="NotTitleBar" parent="Theme.AppCompat.Light.NoActionBar">
        <!-- Customize your theme here. -->
        <item name="colorPrimary">@color/colorPrimary</item>
        <item name="colorPrimaryDark">@color/colorPrimaryDark</item>
        <item name="colorAccent">@color/colorAccent</item>
    </style>
- 然后在清单文件中对需要使用的活动进行声明样式
android:theme="@style/NotTitleBar"
- 然后我们将系统状态栏设置为透明,不同的版本所需要的声明有一点不一样,所以需要对版本进行判定
 public static void setStatusBarHide(Window window){
           if (Build.VERSION.SDK_INT >= 21) {
               View decorView = window.getDecorView();
               decorView.setSystemUiVisibility(View.SYSTEM_UI_FLAG_LAYOUT_FULLSCREEN | View.SYSTEM_UI_FLAG_LAYOUT_STABLE);
               window.setStatusBarColor(Color.TRANSPARENT);
           }
- 然后创建一个标题栏,最后进行引用;因为背景颜色为白色,所以状态栏自主向下取一颜色作为背景颜色,所以会导致状态栏图标为白色,从而导致用户体验不佳,但也可以设置为不为白色,状态栏就不会透明,此处是为了引出下一个内容,在作此示例
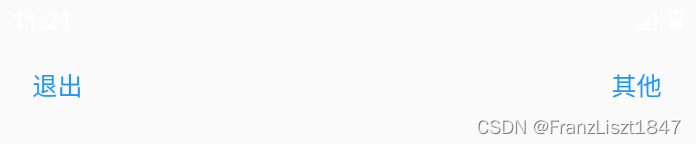
- 设置系统状态栏图标颜色为黑色

状态栏设置代码
到此,标题栏和状态栏的爱恨情仇也就告一段落了,我封装了一个对状态栏进行设置的工具类,可以隐藏状态栏,对状态栏图片颜色设置为深色,设置状态栏背景颜色等功能
public static void setStatusBarHide(Window window){
           if (Build.VERSION.SDK_INT >= 21) {
               View decorView = window.getDecorView();
               decorView.setSystemUiVisibility(View.SYSTEM_UI_FLAG_LAYOUT_FULLSCREEN | View.SYSTEM_UI_FLAG_LAYOUT_STABLE);
               window.setStatusBarColor(Color.TRANSPARENT);
           }

       }
       public static void setStatusBarColor(Window window, Context context, int color){
           window.addFlags(WindowManager.LayoutParams.FLAG_DRAWS_SYSTEM_BAR_BACKGROUNDS);
           window.setStatusBarColor(context.getResources().getColor(color));
       }

        /**
         * 设置状态栏黑色字体图标,
         * 适配4.4以上版本MIUIV、Flyme和6.0以上版本其他Android
         *
         * @return 1:MIUUI 2:Flyme 3:android6.0
         */
        private static int getStatusBarLightMode(Window window) {
            int result = 0;
            if (Build.VERSION.SDK_INT  == Build.VERSION_CODES.KITKAT) {
                if (MIUISetStatusBarLightMode(window, true)) {
                    result = 1;
                } else if (FlymeSetStatusBarLightMode(window, true)) {
                    result = 2;
                } else if (Build.VERSION.SDK_INT  == Build.VERSION_CODES.M) {
                    window.getDecorView().setSystemUiVisibility(View.SYSTEM_UI_FLAG_LIGHT_STATUS_BAR);
                    result = 3;
                } else {//5.0
                    return 4;
                }
            }
            return result;
        }
        /**
         * 已知系统类型时,设置状态栏黑色字体图标。
         * 适配4.4以上版本MIUIV、Flyme和6.0以上版本其他Android
         */
        public static void setStatusBarLightMode(Window window) {
            int type = getStatusBarLightMode(window);
            if (type == 1) {
                MIUISetStatusBarLightMode(window, true);
            } else if (type == 2) {
                FlymeSetStatusBarLightMode(window, true);
            } else if (type == 3) {
                window.getDecorView().setSystemUiVisibility(View.SYSTEM_UI_FLAG_LIGHT_STATUS_BAR);
            } else {
                //5.0
                window.getDecorView().setSystemUiVisibility(View.SYSTEM_UI_FLAG_LIGHT_STATUS_BAR);
                //window.getDecorView().setSystemUiVisibility(View.SYSTEM_UI_FLAG_LIGHT_NAVIGATION_BAR);

            }
        }
        /**
         * 清除MIUI或flyme或6.0以上版本状态栏黑色字体
         */
        private static void StatusBarDarkMode(Window window) {
            int type = getStatusBarLightMode(window);
            if (type == 1) {
                MIUISetStatusBarLightMode(window, false);
            } else if (type == 2) {
                FlymeSetStatusBarLightMode(window, false);
            } else if (type == 3) {
                window.getDecorView().setSystemUiVisibility(View.SYSTEM_UI_FLAG_VISIBLE);
            }
        }
        /**
         * 设置状态栏图标为深色和魅族特定的文字风格
         * 可以用来判断是否为Flyme用户
         *
         * @param window 需要设置的窗口
         * @param dark  是否把状态栏字体及图标颜色设置为深色
         * @return boolean 成功执行返回true
         */
        private static boolean FlymeSetStatusBarLightMode(Window window, boolean dark) {
            boolean result = false;
            if (window != null) {
                try {
                    WindowManager.LayoutParams lp = window.getAttributes();
                    Field darkFlag = WindowManager.LayoutParams.class
                            .getDeclaredField("MEIZU_FLAG_DARK_STATUS_BAR_ICON");
                    Field meizuFlags = WindowManager.LayoutParams.class
                            .getDeclaredField("meizuFlags");
                    darkFlag.setAccessible(true);
                    meizuFlags.setAccessible(true);
                    int bit = darkFlag.getInt(null);
                    int value = meizuFlags.getInt(lp);
                    if (dark) {
                        value |= bit;
                    } else {
                        value &= ~bit;
                    }
                    meizuFlags.setInt(lp, value);
                    window.setAttributes(lp);
                    result = true;
                } catch (Exception e) {
                }
            }
            return result;
        }
        /**
         * 设置状态栏字体图标为深色,需要MIUIV6以上
         *
         * @param window 需要设置的窗口
         * @param dark  是否把状态栏字体及图标颜色设置为深色
         * @return boolean 成功执行返回true
         */
        private static boolean MIUISetStatusBarLightMode(Window window, boolean dark) {
            boolean result = false;
            if (window != null) {
                Class clazz = window.getClass();
                try {
                    int darkModeFlag = 0;
                    Class layoutParams = Class.forName("android.view.MiuiWindowManager$LayoutParams");
                    Field field = layoutParams.getField("EXTRA_FLAG_STATUS_BAR_DARK_MODE");
                    darkModeFlag = field.getInt(layoutParams);
                    Method extraFlagField = clazz.getMethod("setExtraFlags", int.class, int.class);
                    if (dark) {
                        extraFlagField.invoke(window, darkModeFlag, darkModeFlag);//状态栏透明且黑色字体
                    } else {
                        extraFlagField.invoke(window, 0, darkModeFlag);//清除黑色字体
                    }
                    result = true;
                } catch (Exception e) {
                }
            }
            return result;
        }

}
圆型图片
在开发时,我们常常需要将图片转位圆型,例如qq图像等,更偏向于扁平化,贴近用户体验;在此推荐一个第三方API,根使用原生ImageView一样
<de.hdodenhof.circleimageview.CircleImageView
        android:layout_width="100dp"
        android:layout_height="100dp"
        android:src="@drawable/testcirccle"
        android:layout_gravity="center"/>

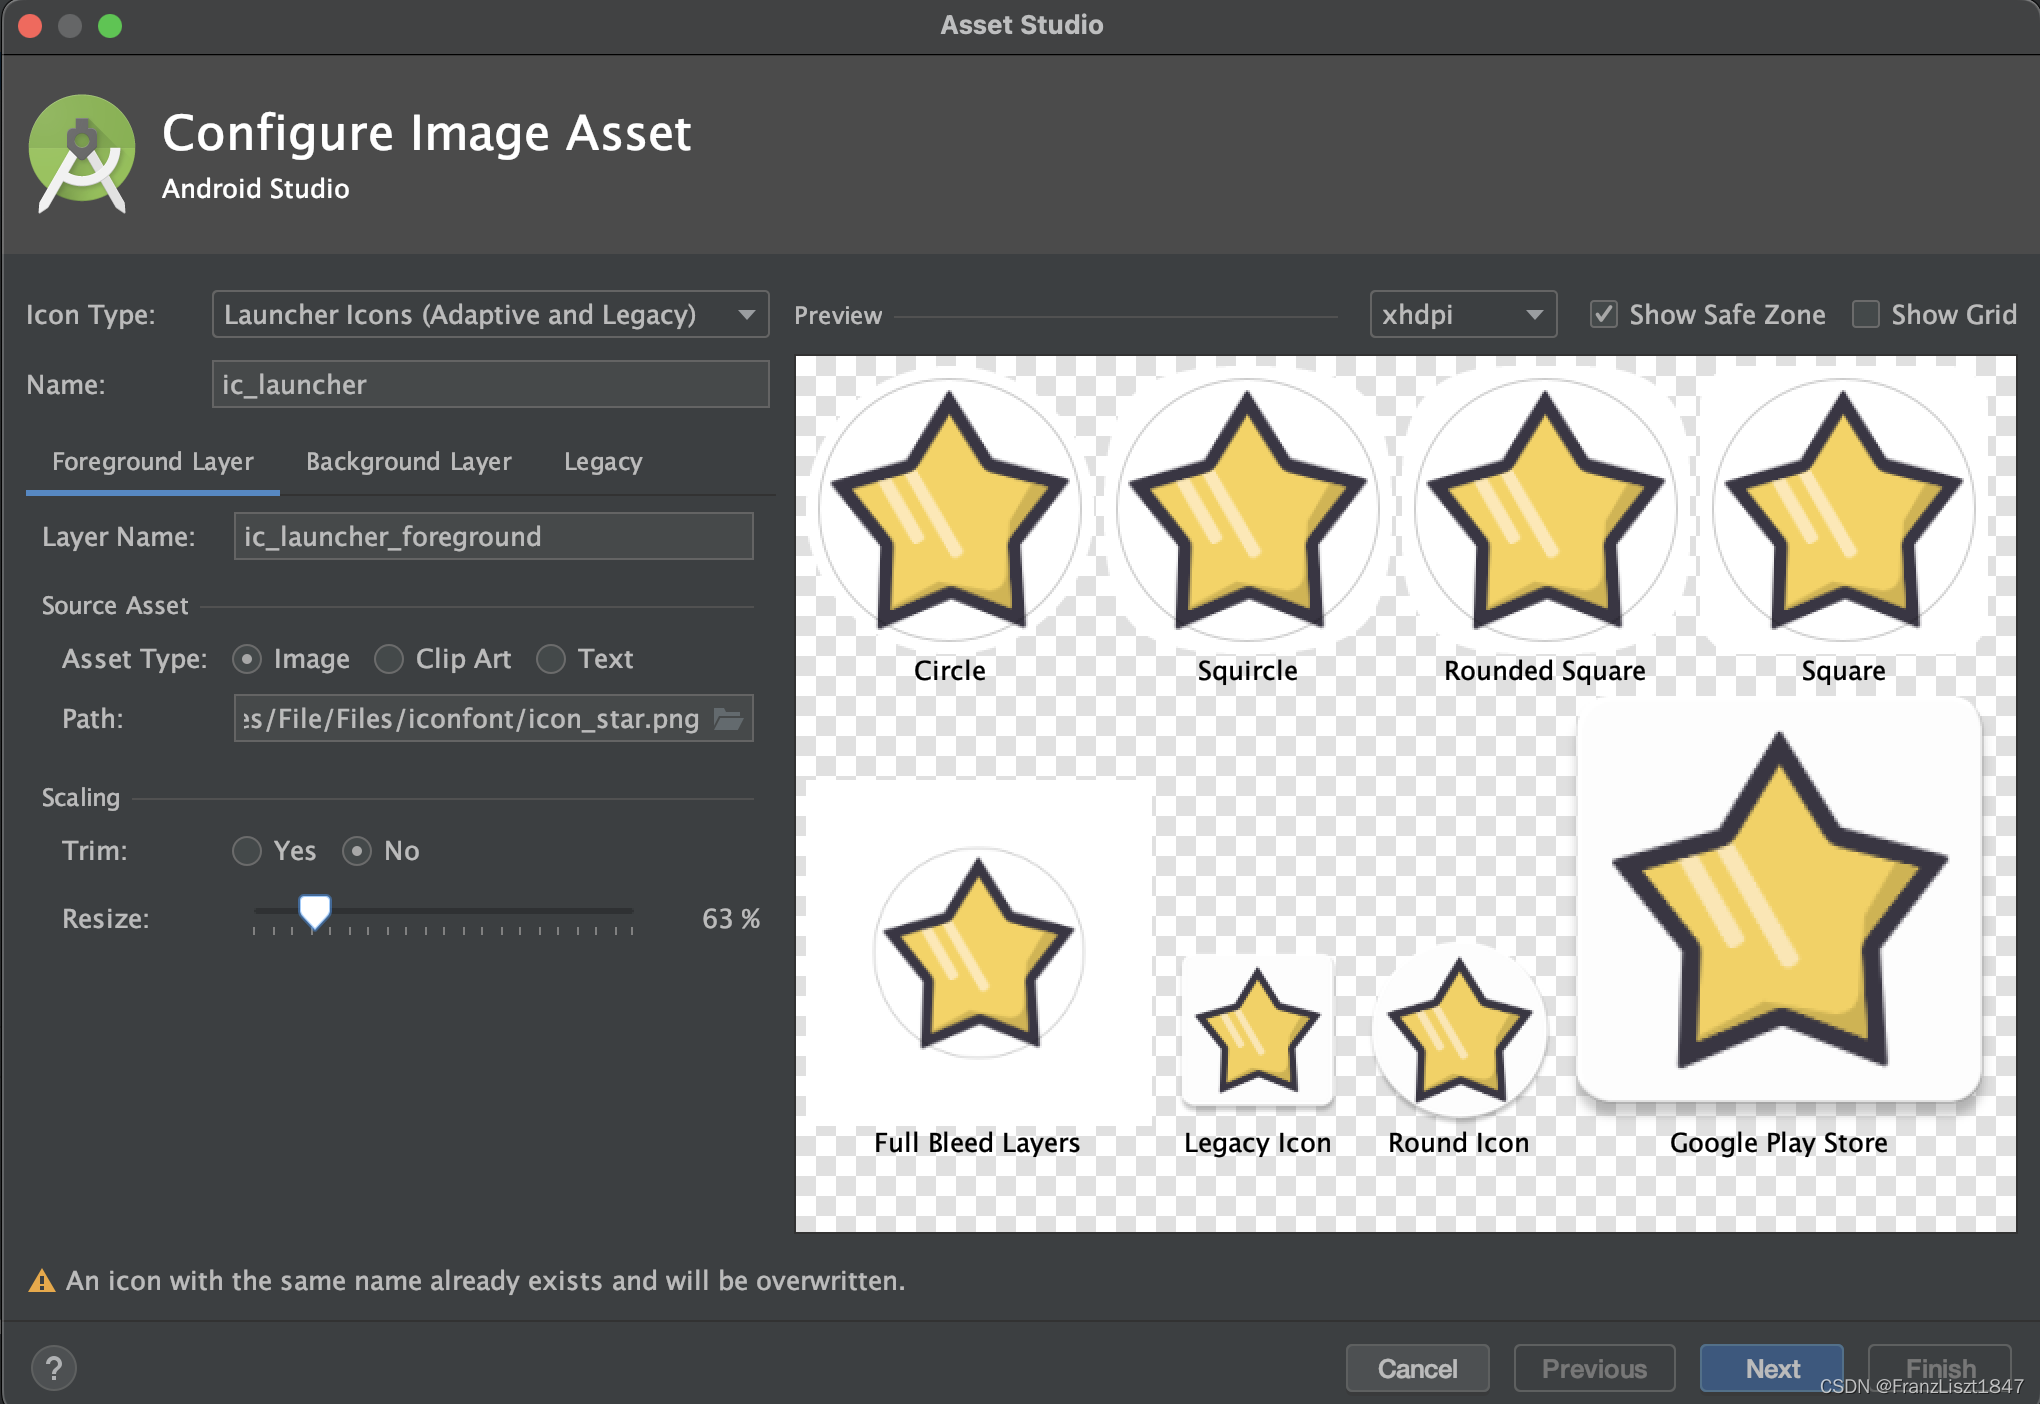
设置APP图标
右击res目录->New->ImageAsset

然后进入此界面,图标分为前景和背景,前景和背景都可以是图片或者颜色,一般前景为图片,背景为颜色,然后在选择本地中的图片作为APP图标,然后可以根据需求调整大小,最后一直点下一步就可以获取一个精美的APP图标


修改APP名称
我们只需在value目录下找到string.xml资源文件,然后在里面找到属性id为app_name的子项,然后在其后面对应的APP名称即可完成修改
<resources>
    <string name="app_name">小星星</string>
</resources>
创建不同分辨率图片文件夹
在我们日常开发时,需要对不同手机分辨率,不同图片分辨率进行适配,需要创建多个不同分辨率的文件夹进行存储
- 右击
res->new->android resource directory

- 左侧选择
density->然后资源类型选择drawable(mipmap根据需求)->下一步
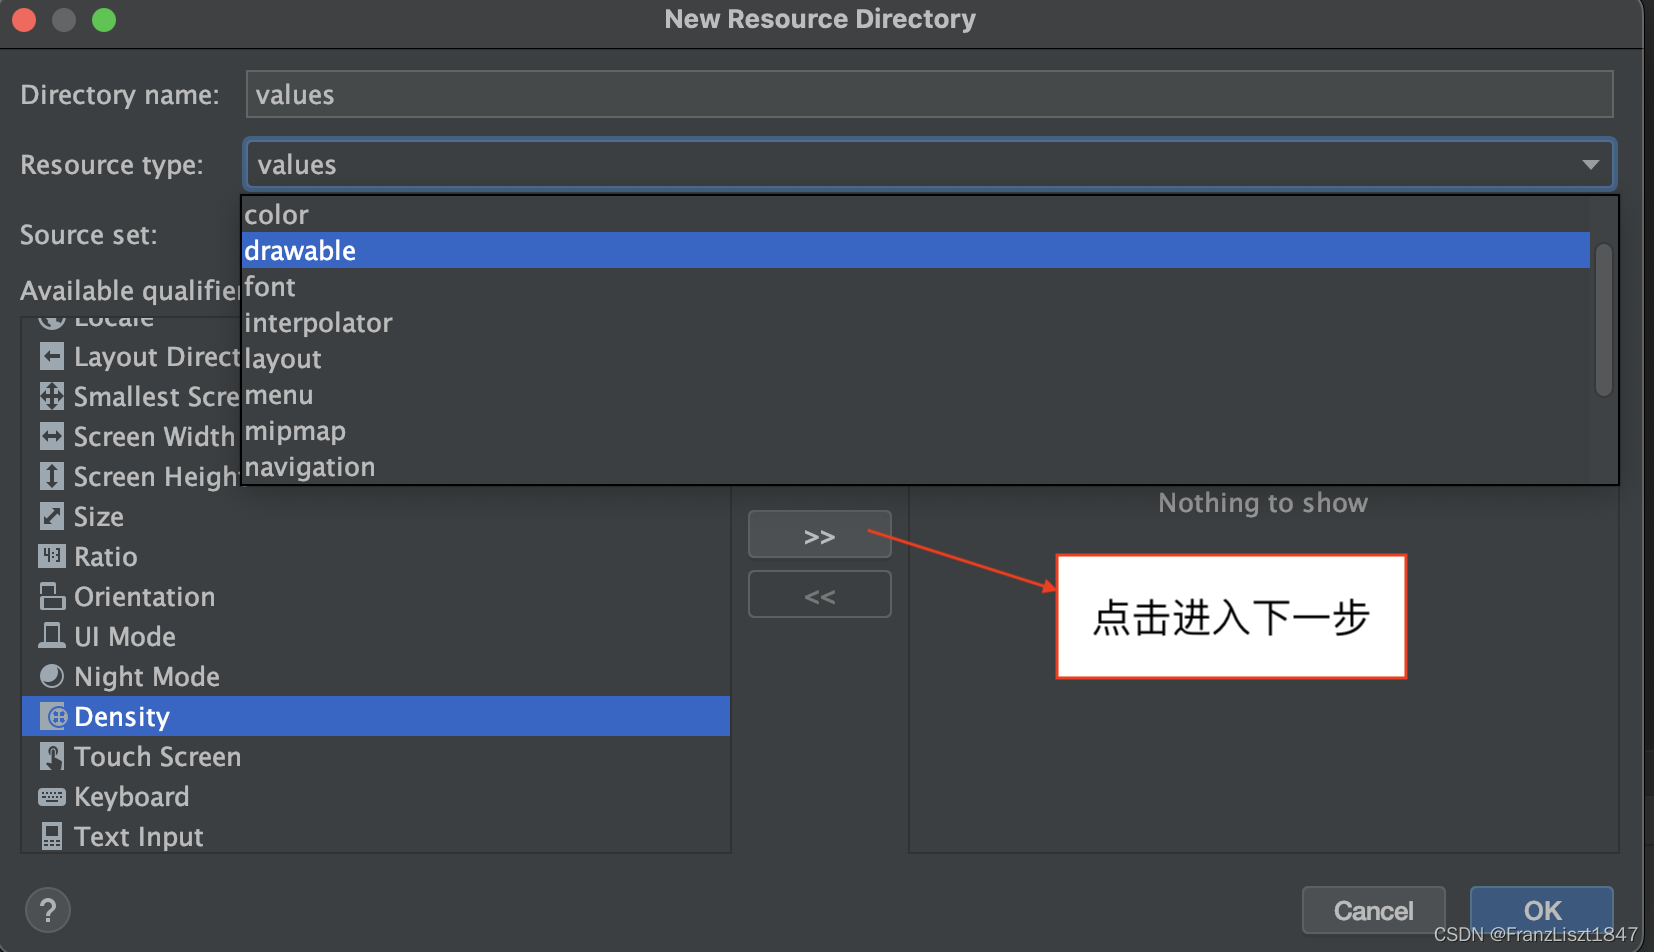
- 选择需要的分辨率即可

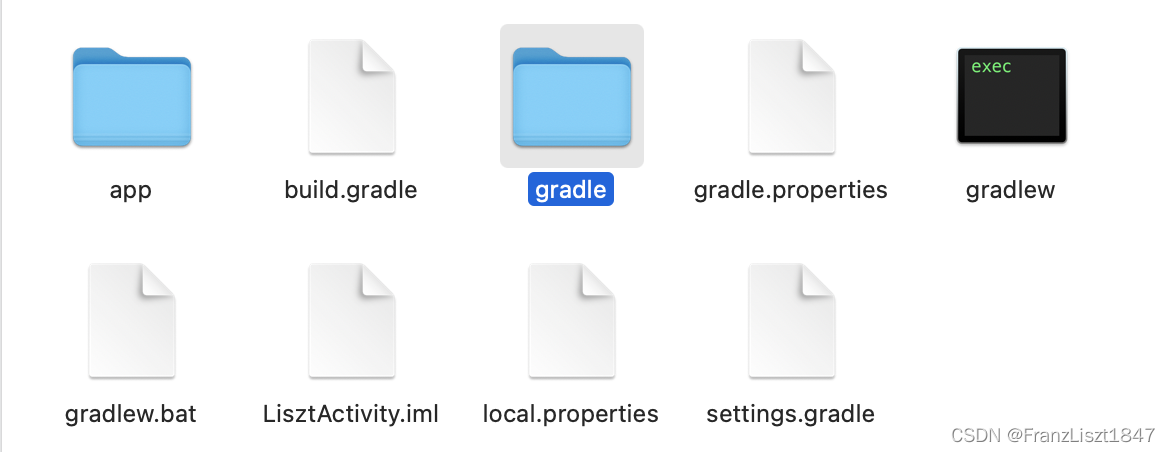
更改项目名称
更改项目文件夹名称,并不能改变项目文件内的目录名称
- 修改包名称

.idea目录->modules.xml文件->将fileurl和filepath后面的iml名称修改成自己想要的


- 找到项目内的xxx.iml文件,然后将
id改成需求改的名称

- 最后进行setting.gradle文件,修改name为自己想要的,然后点击同步即可完成整个项目名称修改

Button字母大小写
默认Button输入英文内容为大写,将此属性设置为false可恢复大小写
android:textAllCaps="false"
TextView 字体样式
三个样式属性分别代表:加粗、原样式、斜体
 android:textStyle="bold"
 android:textStyle="normal"
 android:textStyle="italic"
EditText 输入时调用数字键盘
将输入方式改为phone或者number
android:inputType="phone"
android:inputType="number"
CheckBox变为圆形
因为 CheckBox默认为圆形,有时需求需要改变其形状
在其下方引用此代码即可变为圆形
style="@style/Widget.AppCompat.CompoundButton.RadioButton"
自定义Switch样式
原生样式与自定义样式对比
- 关
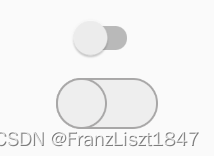
-
开

设计
通过对Switch空间的thumb和track两个属性建立两个选择器,因为有开和关两种状态,然后在分别建立两种开和关滑块和轨道的样式
选择器
- 滑块选择器
<selector xmlns:android="http://schemas.android.com/apk/res/android">
<item android:state_checked="true" android:drawable="@drawable/open_thumb"/>
<item android:drawable="@drawable/shut_thumb"/>
</selector>
- 轨道选择器
<selector xmlns:android="http://schemas.android.com/apk/res/android">
    <item android:state_checked="true" android:drawable="@drawable/open_track"/>
    <item android:drawable="@drawable/shut_track"/>
</selector>
滑块和轨道样式
- 滑块开状态样式
<shape xmlns:android="http://schemas.android.com/apk/res/android"
    android:shape="rectangle">
    <size
        android:width="30dp"
        android:height="30dp" />

    <corners android:radius="15dp" />
    <!-- 变化率 -->
    <gradient
        android:endColor="#eeeeee"
        android:startColor="#eeeeee" />
    <stroke
        android:width="1dp"
        android:color="#2196F3" />
</shape>
- 滑块关状态样式
<shape xmlns:android="http://schemas.android.com/apk/res/android"
    android:shape="rectangle">
    <size
        android:width="30dp"
        android:height="30dp" />

    <corners android:radius="15dp" />
    <!-- 变化率 -->
    <gradient
        android:endColor="#eeeeee"
        android:startColor="#eeeeee" />
    <stroke
        android:width="1dp"
        android:color="#A8A7A7" />

</shape>
- 轨道开样式
<shape xmlns:android="http://schemas.android.com/apk/res/android"
    android:shape="rectangle">

    <!-- 高度30   此处设置宽度无效-->
    <size android:height="30dp" />
    <!-- 圆角弧度 15 -->
    <corners android:radius="15dp" />
    <!-- 变化率  定义从左到右的颜色不变 -->
    <solid android:color="#2196F3" />

</shape>
- 轨道关样式
<shape xmlns:android="http://schemas.android.com/apk/res/android"
    android:shape="rectangle">
    <size
        android:width="30dp"
        android:height="30dp" />
    <corners android:radius="15dp" />
    <gradient
        android:endColor="#eeeeee"
        android:startColor="#eeeeee" />
    <stroke
        android:width="1dp"
        android:color="#A8A7A7" />
</shape>
导入不同gradle版本的项目
删除gradle文件,(windows系统还需删除.idea文件),然后找到一个在本地已成功运行的项目,找到其gradle版本号进行复制,在回到需要运行的项目,打开其build.gradle文件更改为运行成功项目的版本,最后先用as打开一个已成功运行的,最后通过在那个项目中使用import project,即可运行成功
日期相关处理
获取系统时间
   public static String getCurrentDate() {
        Date d = new Date();
        mSimpleDateFormat = new SimpleDateFormat("yyyy-MM-dd", Locale.getDefault());
        return mSimpleDateFormat.format(d);
    }
将毫秒转为时间字符串
    public static String getDateToString(long time) {
        Date d = new Date(time);
        mSimpleDateFormat = new SimpleDateFormat("yyyy-MM-dd", Locale.getDefault());
        return mSimpleDateFormat.format(d);
    }
将日期字符串毫秒
public static long getStringToDate(String time) {
        mSimpleDateFormat = new SimpleDateFormat("yyyy-MM-dd", Locale.getDefault());
        Date date = new Date();
        try {
            date = mSimpleDateFormat.parse(time);
        } catch (ParseException e) {
            // TODO Auto-generated catch block
            e.printStackTrace();
        }
        return date.getTime();
    }
复用布局文件
在日常开发中,我们常常希望去复用一个布局文件,而不是每一次都是复制重复的,例如标题栏,我们希望建立一个标题栏布局文件之后,希望在不同活动都能进行复用
使用include即可将一个布局文件进行导入,无需重新复制代码,导致代码冗余,而且代码层次结构高,一目了然
<include layout="@layout/titlebar" />
GenyMotion模拟器
因为as自带的avd消化的内存较多,大部分开发中更愿意去使用第三方模拟器,此推荐二款好用的模拟器GenyMotion模拟器和雷电模拟器
- 雷电模拟器
如果你刚入门,可以先尝试使用雷电模拟器,安装、使用简单 GenyMotion模拟器
GenyMotion使用android开发者又爱又恨,因为GenyMotion的配置相对于较为复杂,不同的电脑或许出现不同的问题,我认为最大的问题就是GenyMotion和virtual box版本一致,因为只有版本一致了,你才能迎接后面的问题。
我的GenyMotion和virtual box版本如下
 GenyMotion版本为Version 3.2.1
 virtual box版本为6.1.34