哈喽,大家好,今天给大家分享有趣的 AI 项目。
今天我们分享用 NoGAN 的图像增强技术给老照片着色。 喜欢记得收藏、关注、点赞。
注:资料数据
图片腾讯文档-在线文档 https://docs.qq.com/doc/DU2NjQnZZZVhiZUxp
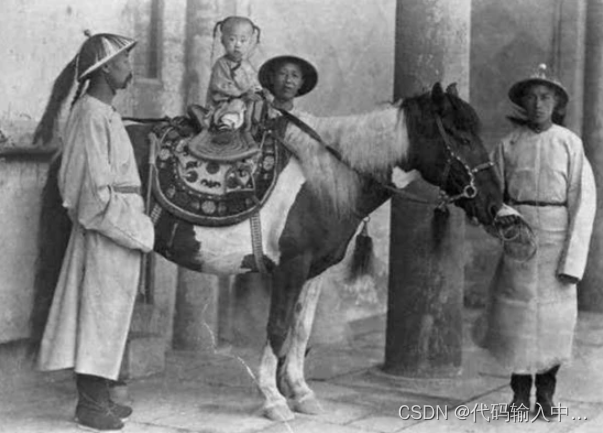
效果如下:
原图
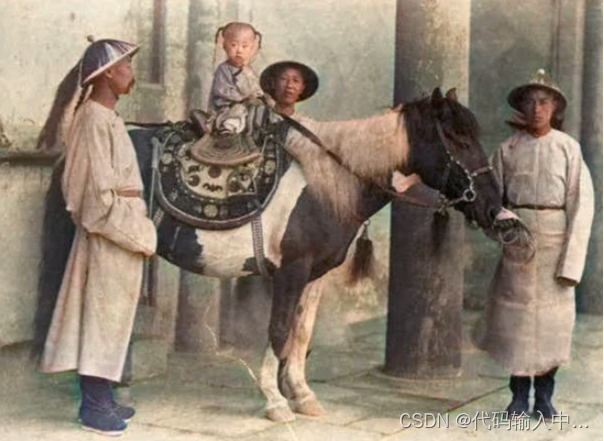
上色后
NoGAN 是一种新型 GAN ,它能花费最少的时间进行 GAN 训练。
今天分享的这个项目已在 GitHub 开源项目,下面我们来运行一下。
1. 准备工作
首先,用 git clone 命令下载源码
git clone https://github.com/jantic/DeOldify.git
进入项目根目录,安装 Python 依赖包
pip3 install -r requirements.txt
编写代码运行项目之前,需要下载预训练好的模型。项目提供了三个模型
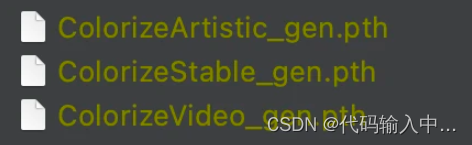
模型
区别如下:
-
ColorizeArtistic_gen.pth:在有趣的细节和活力方面实现了最高质量的图像着色效果,该模型在 UNet 上使用 resnet34 为主干,通过 NoGAN 进行了 5 次评论家预训练/GAN 循环重复训练
-
ColorizeStable_gen.pth:在风景和肖像方面取得了最佳效果,该模型在 UNet 上使用 resnet101 为主干,通过 NoGAN 进行了 3 次评论家预训练/GAN 循环重复训练
-
ColorizeVideo_gen.pth:针对流畅的视频进行了优化,它仅使用初始生成器/评论家预训练/GAN NoGAN 训练。由于追求流畅的速度,它的色彩比前两者少。
将下载好的模型文件放在项目根目录的 models 目录下即可。
2. 编写代码
在项目根目录同级目录下创建 Python 文件,编写代码加载刚刚下载好的模型文件。
from DeOldify.deoldify.generators import gen_inference_wide
from DeOldify.deoldify.filters import MasterFilter, ColorizerFilter

# 指定模型文件
learn = gen_inference_wide(root_folder=Path('./DeOldify'), weights_name='ColorizeVideo_gen')

# 加载模型
deoldfly_model = MasterFilter([ColorizerFilter(learn=learn)], render_factor=10)
root_folder 指定项目根目录, weights_name 指定接下来使用哪个模型为照片上色。
读取老照片,进行上色
import cv2
import numpy as np
from PIL import Image

img = cv2.imread('./images/origin.jpg')
img = cv2.cvtColor(img, cv2.COLOR_BGR2RGB)
pil_img = Image.fromarray(img)

filtered_image = deoldfly_model.filter(
    pil_img, pil_img, render_factor=35, post_process=True
)

result_img = np.asarray(filtered_image)
result_img = cv2.cvtColor(result_img, cv2.COLOR_RGB2BGR)
cv2.imwrite('deoldify.jpg', result_img)
用 cv2 读取老照片,并用 PIL.Image 模块将图片转换成模型输入所需要的格式,送入模型进行上色,完成后保存。
上述代码是我从项目源码中抽取的,可以看到,运行代码还是非常简单的。
感兴趣的朋友可以自己运行一下,也可以试试其他模型的效果。