这个系列的内容都是大同小异的,每个篇章都在不断的完善,着急的同学可以直接看最新的篇章,博主建议是每一篇都看一遍,可以加深理解。
前言
由于c++运行速度相对于其他高级语言来说会比较快。使用python处理图像时可以考虑使用c++处理图像来提升运行速度。
1、创建一个c++工程生成dll库

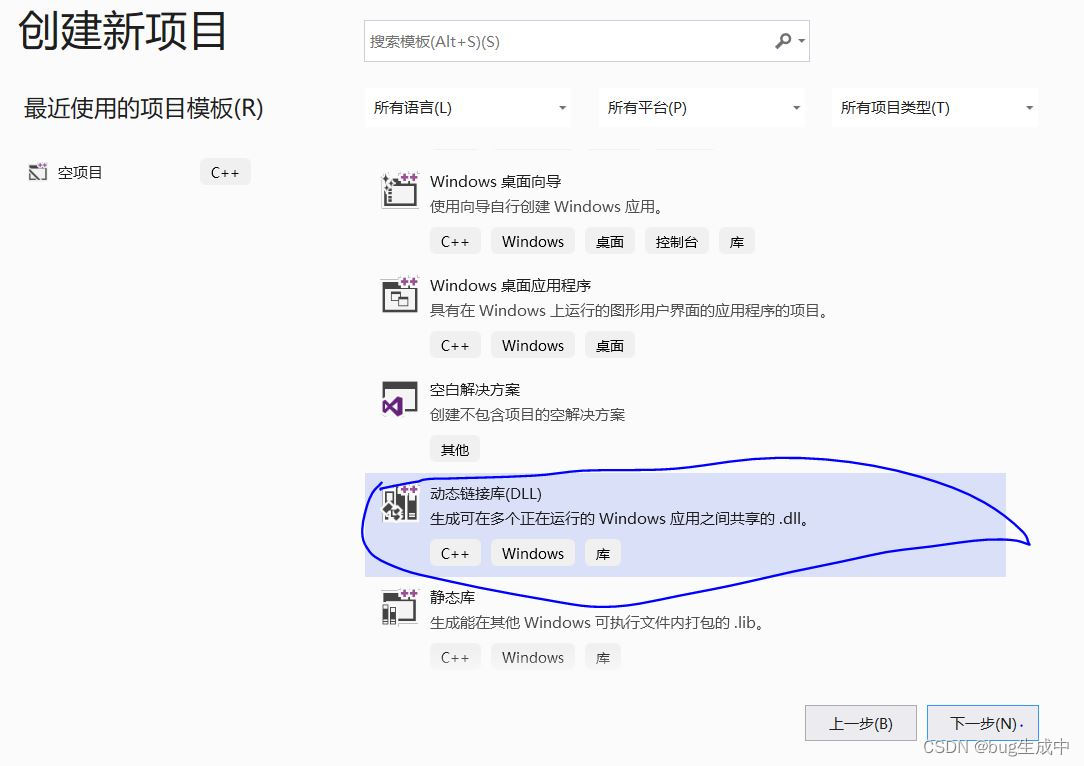
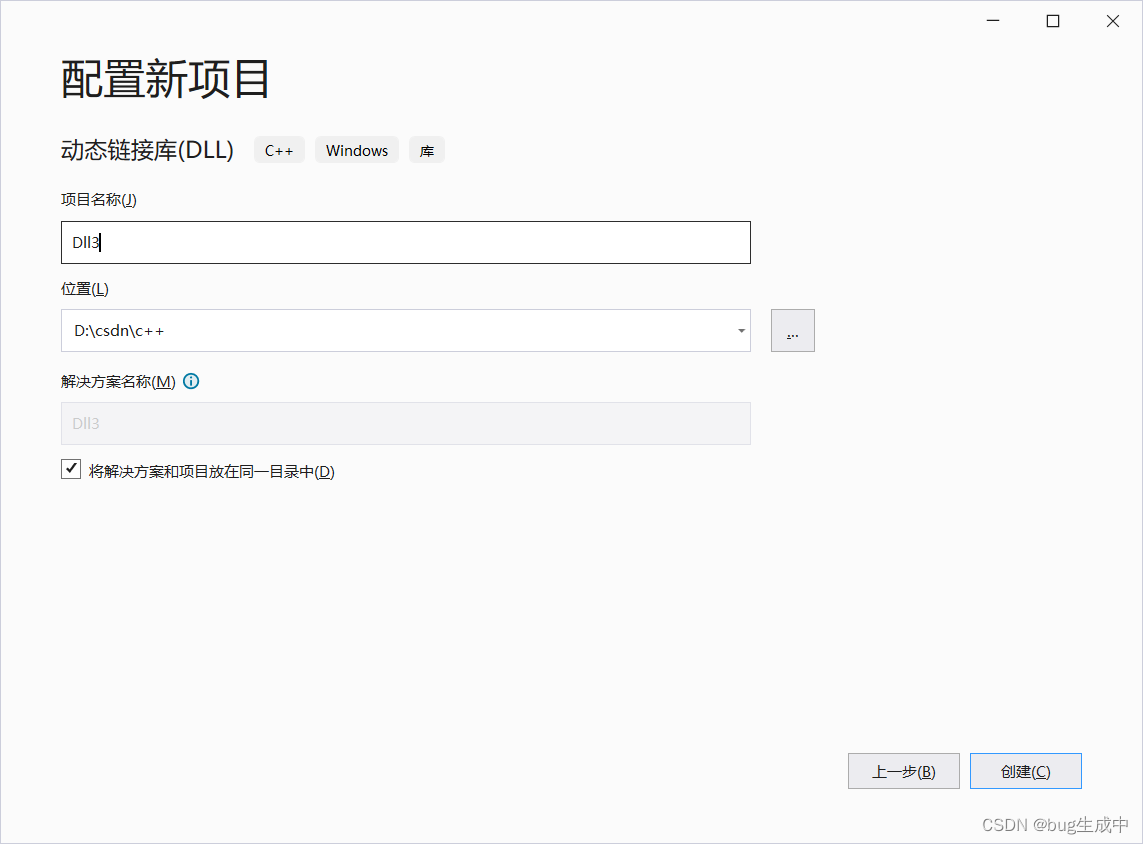
这里我们新建dll3文件
然后在选择配置管理器,选择X64

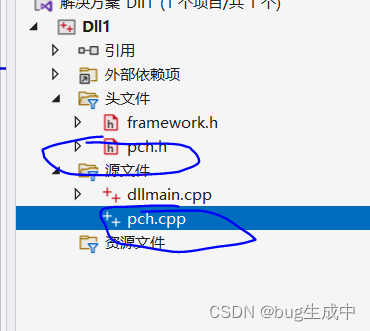
对头文件和源文件进行以下修改
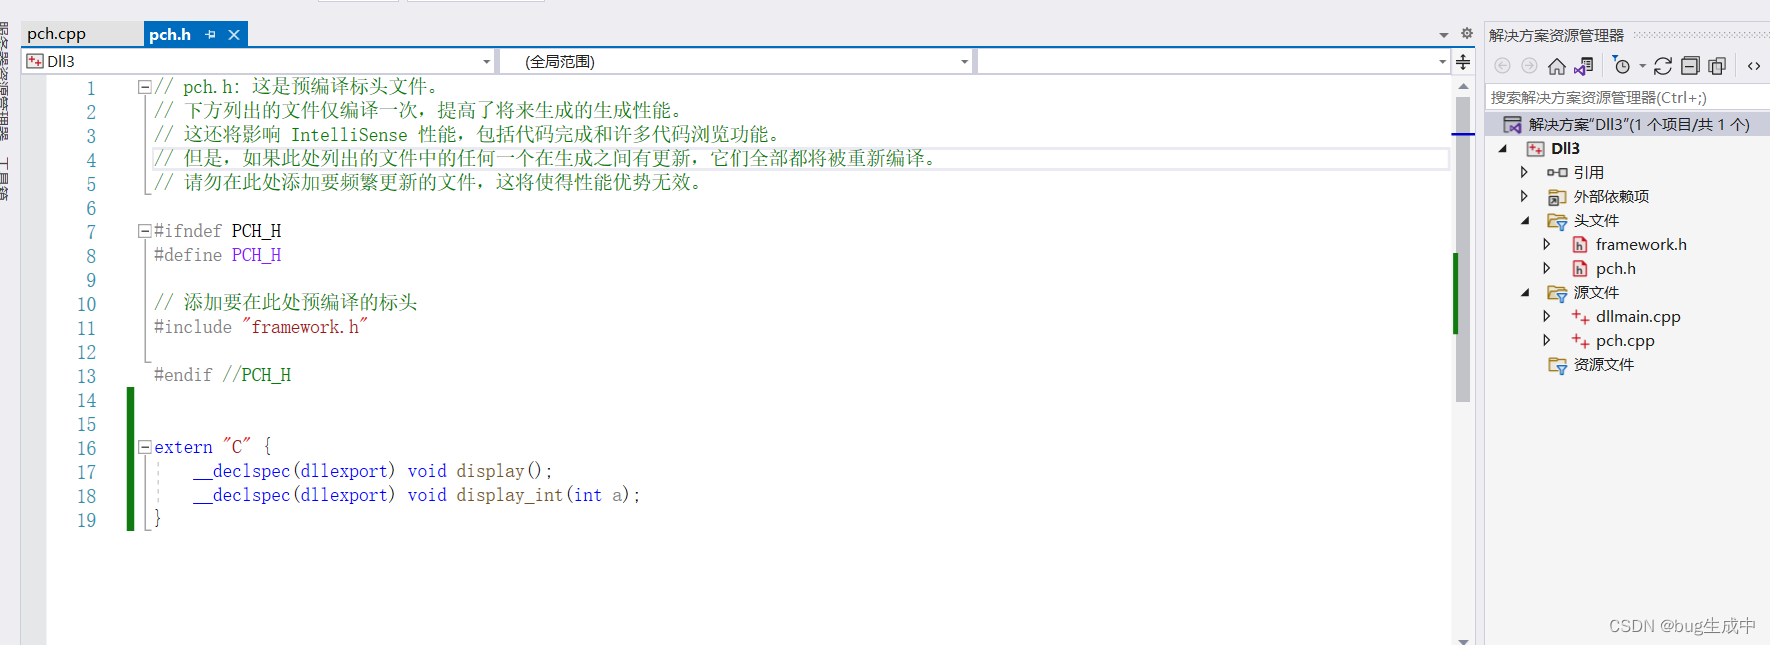
头文件输入以下内容
#ifndef PCH_H
#define PCH_H

// 添加要在此处预编译的标头
#include "framework.h"

#endif //PCH_H


extern "C" {
	__declspec(dllexport) void display();
	__declspec(dllexport) void display_int(int a);
}
Python调用C++程序时需要extern "C"来辅助,也就是说还是只能调用C函数,不能直接调用方法,但是能解析C++方法。extern "C"在这里的作用相当于给c++程序披了一层c程序的外衣。
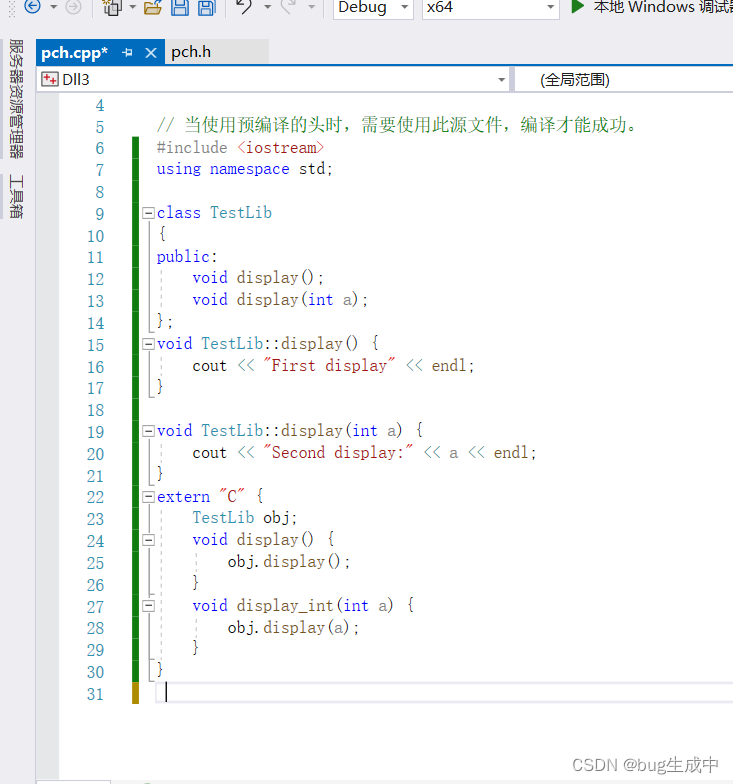
源文件输入以下内容:
// pch.cpp: 与预编译标头对应的源文件

#include "pch.h"

// 当使用预编译的头时,需要使用此源文件,编译才能成功。
#include <iostream>
using namespace std;

class TestLib
{
public:
    void display();
    void display(int a);
};
void TestLib::display() {
    cout << "First display" << endl;
}

void TestLib::display(int a) {
    cout << "Second display:" << a << endl;
}
extern "C" {
    TestLib obj;
    void display() {
        obj.display();
    }
    void display_int(int a) {
        obj.display(a);
    }
}
然后生成解决方案,或F5运行程序即可

会在路径x64/Debug目录下生成dll文件

我们只需要用python代码调用这个路径下的dll文件,或拷贝到python能调用的路径下。
比如路径是这样的
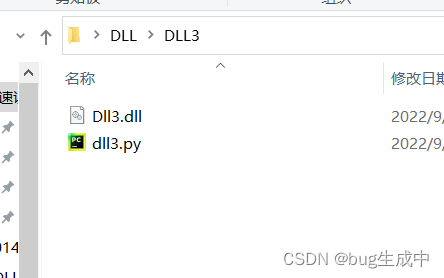
然后我们的python代码要这样写
import ctypes
dll = ctypes.cdll.LoadLibrary
lib = dll('./Dll3.dll') #刚刚生成的库文件的路径
lib.display()
lib.display_int(0)
然后启用python运行看看最后结果是否正常输出
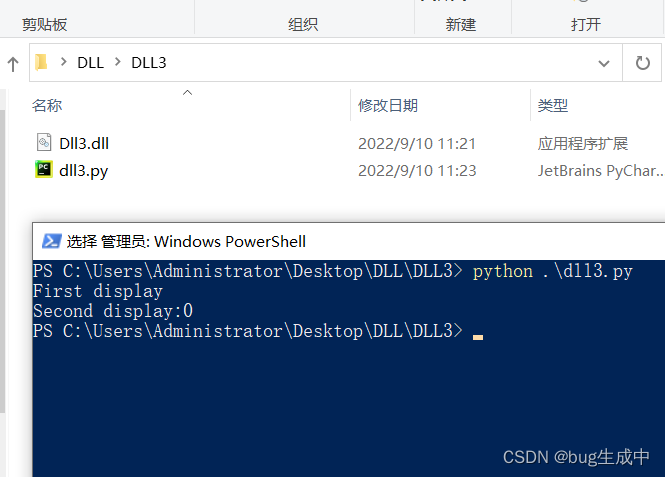
可以看到最后结果是正常计算了,这只是一个简单的加法运算和最大值运算调用,接下来几章也是围绕这个dll的生成与python调用展开。