一、 原理介绍
UE4图片的加载过程先通过SetCompressed将二进制文件转化为BGRA的数据,然后通过GetRaw()函数提取到数组里面赋值给Texture2D,然后通过CreateTransient创建图片信息数据。最后填充PlatformData的Mip资源,加载图片。
二、代码如下
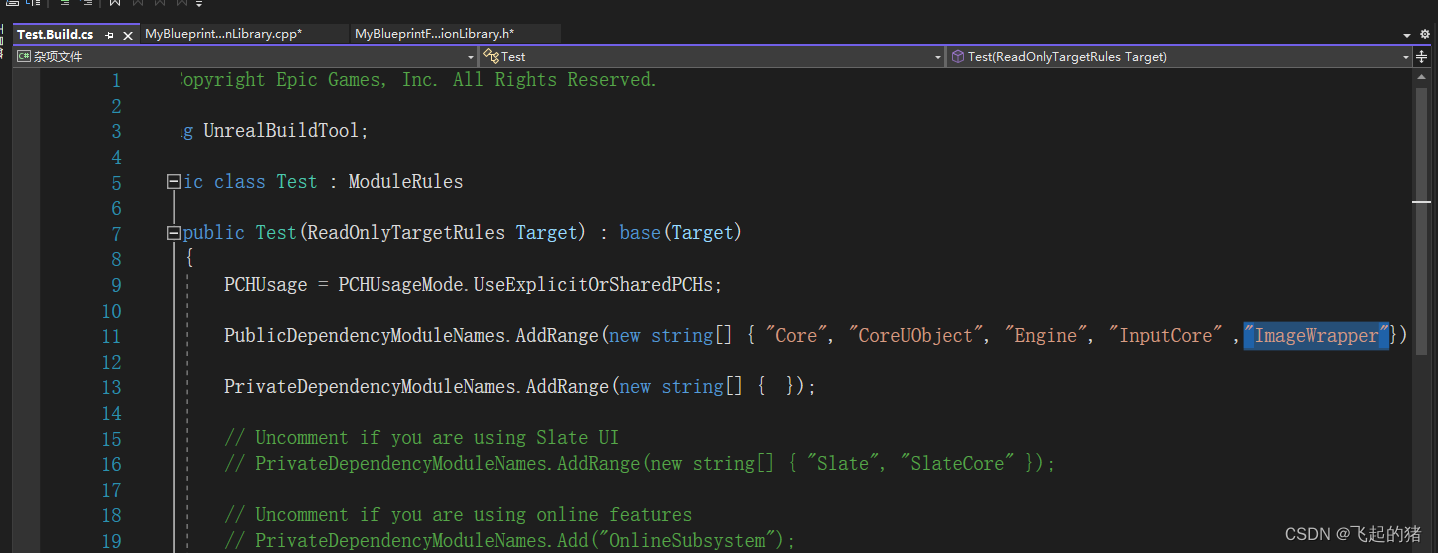
build.cs里添加模块"ImageWrapper"
.h文件
// Fill out your copyright notice in the Description page of Project Settings.

#pragma once

#include "CoreMinimal.h"
#include "Kismet/BlueprintFunctionLibrary.h"
#include"Runtime/Core/Public/HAL/PlatformFilemanager.h"
#include"Runtime/Core/Public/Misc/FileHelper.h"
#include"Runtime/Core/Public/Misc/Paths.h"
#include "Developer/DesktopPlatform/Public/DesktopPlatformModule.h"
#include "Developer/DesktopPlatform/Public/IDesktopPlatform.h"
#include"IImageWrapperModule.h"
#include"IImageWrapper.h"
#include"ImageUtils.h"
#include "MyBlueprintFunctionLibrary.generated.h"

/**
 *
 */
UCLASS()
class TEST_API UMyBlueprintFunctionLibrary : public UBlueprintFunctionLibrary
{
	GENERATED_BODY()

public:

	UFUNCTION(BlueprintCallable, Category = "Picture|Tools")
		static class UTexture2D* LoadImageToTexture2D(const FString& ImagePath, bool& IsValid, int32& OutWidth, int32& OutHeight);

	UFUNCTION(BlueprintCallable, Category = "LoadLocalTexture")
		static TArray<FString> GetFolderFiles(FString path);


};
.cpp文件
// Fill out your copyright notice in the Description page of Project Settings.


#include "MyBlueprintFunctionLibrary.h"

static  TSharedPtr<IImageWrapper> GetImageWrapperByExtention(const FString InImagePath)
{
    IImageWrapperModule& ImageWrapperModule = FModuleManager::LoadModuleChecked<IImageWrapperModule>(FName("ImageWrapper"));
    if (InImagePath.EndsWith(".png"))
    {
        return ImageWrapperModule.CreateImageWrapper(EImageFormat::PNG);
    }
    else if (InImagePath.EndsWith(".jpg") && InImagePath.EndsWith(".jpeg"))
    {
        return ImageWrapperModule.CreateImageWrapper(EImageFormat::JPEG);
    }
    else if (InImagePath.EndsWith(".bmp"))
    {
        return ImageWrapperModule.CreateImageWrapper(EImageFormat::BMP);
    }
    else if (InImagePath.EndsWith(".ico"))
    {
        return ImageWrapperModule.CreateImageWrapper(EImageFormat::ICO);
    }
    else if (InImagePath.EndsWith("exr"))
    {
        return ImageWrapperModule.CreateImageWrapper(EImageFormat::EXR);
    }
    else if (InImagePath.EndsWith(".icns"))
    {
        return ImageWrapperModule.CreateImageWrapper(EImageFormat::ICNS);
    }
    return nullptr;
}


UTexture2D* UMyBlueprintFunctionLibrary::LoadImageToTexture2D(const FString& ImagePath, bool& IsValid, int32& OutWidth, int32& OutHeight)
{

    UTexture2D* Texture = nullptr;
    IsValid = false;
    //判断所查找的文件是否存在
    if (!FPlatformFileManager::Get().GetPlatformFile().FileExists(*ImagePath))
    {
        return nullptr;
    }
    //将文件的二进制格式存储到数组中
    TArray<uint8>RawFileData;
    if (!FFileHelper::LoadFileToArray(RawFileData, *ImagePath))
    {
        return nullptr;
    }

    //获取文件的格式
    IImageWrapperPtr ImageWrapper = GetImageWrapperByExtention(ImagePath);
    //把二进制数据转为纯粹的BGRA的数据格式
    if (ImageWrapper.IsValid() && ImageWrapper->SetCompressed(RawFileData.GetData(), RawFileData.Num()))
    {
        //跟格式无关的颜色数据
        TArray<uint8> UncompressedRGBA ;
        //把上一步的BGRA的数据格式通过GetRaw函数提取到一个数组里,然后再赋值给UTexture2D
        if (ImageWrapper->GetRaw(ERGBFormat::BGRA, 8, UncompressedRGBA))
        {
            //创建图片信息数据
            Texture = UTexture2D::CreateTransient(ImageWrapper->GetWidth(), ImageWrapper->GetHeight(), PF_R8G8B8A8);
            if (Texture != nullptr)
            {
                IsValid = true;
                //获取图片的大小
                OutWidth = ImageWrapper->GetWidth();
                OutHeight = ImageWrapper->GetHeight();
                //填充PlatformData的Mip资源
                void* TextureData = Texture->PlatformData->Mips[0].BulkData.Lock(LOCK_READ_WRITE);
                FMemory::Memcpy(TextureData, UncompressedRGBA.GetData(), UncompressedRGBA.Num());
                Texture->PlatformData->Mips[0].BulkData.Unlock();
                Texture->UpdateResource();
            }
        }
    }


    return Texture;
}

TArray<FString> UMyBlueprintFunctionLibrary::GetFolderFiles( FString path)
{
    TArray<FString> files;
    FPaths::NormalizeDirectoryName(path);
    IFileManager& FileManager = IFileManager::Get();
    FString FinalPath = path / TEXT("*");
    FileManager.FindFiles(files, *FinalPath, true, true);
    return files;
}
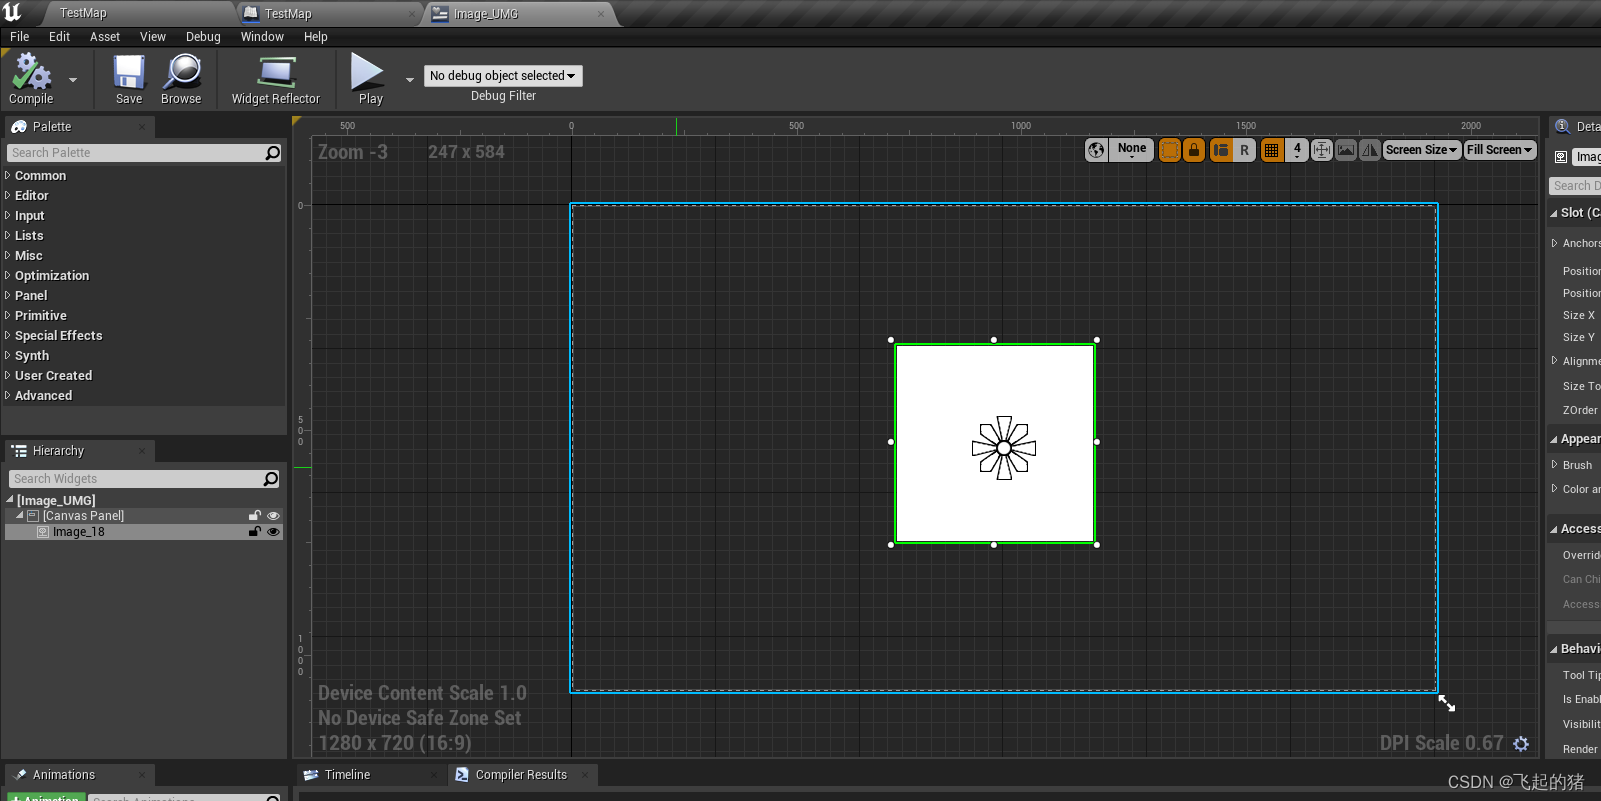
三、创建UMG蓝图,拖入image
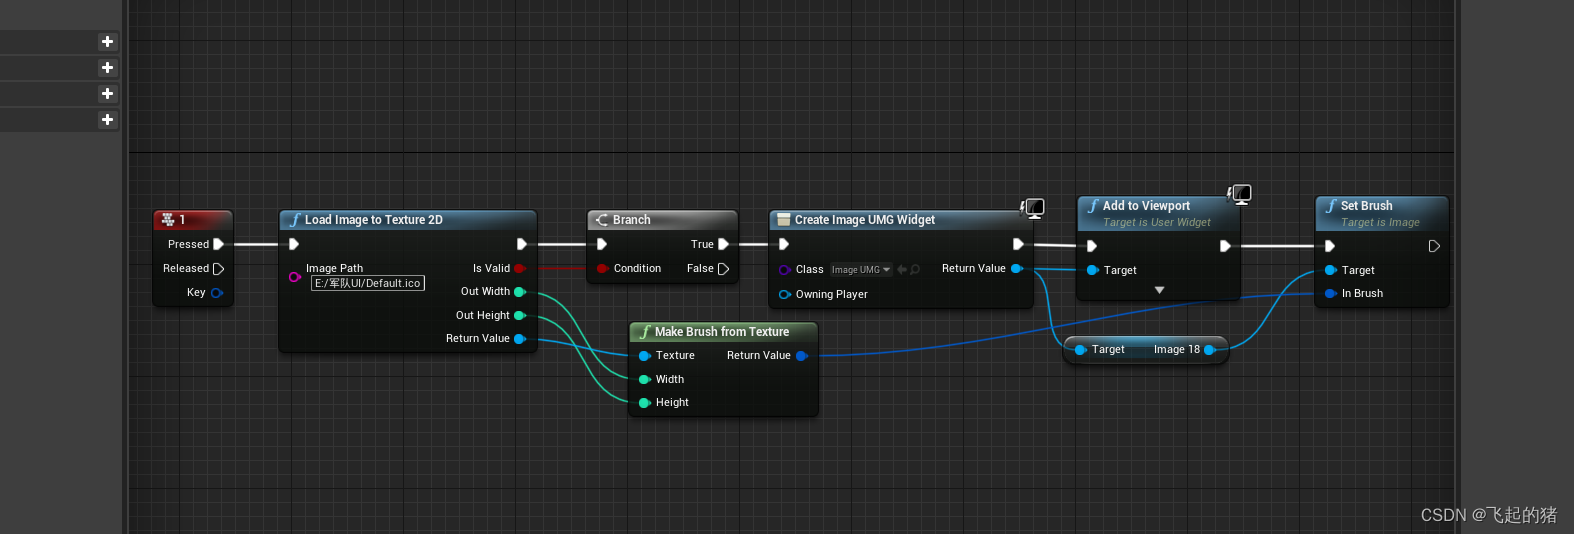
四、打开关卡蓝图
五、结果如下