运行用户为root (编辑nexus bin下的nexus.rc)

Nexus是一个强大的Maven仓库管理器,它极大地简化了自己内部仓库的维护和外部仓库的访问,也就是我们常说的私服
下载nexus3.x
官方下载极其慢,这里提供网盘下载:
链接:https://pan.baidu.com/s/1l82aQLPE4V745tXF8ezUxw
提取码:6lzf
上传nexus压缩包并解压
cd /data
tar -zxvf nexus-3.25.1-04-unix.tar.gz
启动
cd nexus-3.25.1-04//bin/
ls
./nexus run &
[root@localhost nexus]# cd nexus-3.25.1-04//bin/
[root@localhost bin]# ls
contrib nexus nexus.rc nexus.vmoptions
[root@localhost bin]# ./nexus run &
[1] 106495
[root@localhost bin]# WARNING: ************************************************************
WARNING: Detected execution as "root" user. This is NOT recommended!
WARNING: ************************************************************
启动成功需要等待几分钟
开启端口号
[root@localhost bin]# firewall-cmd --zone=public --add-port=8081/tcp --permanent
success
[root@localhost bin]# firewall-cmd --reload
success
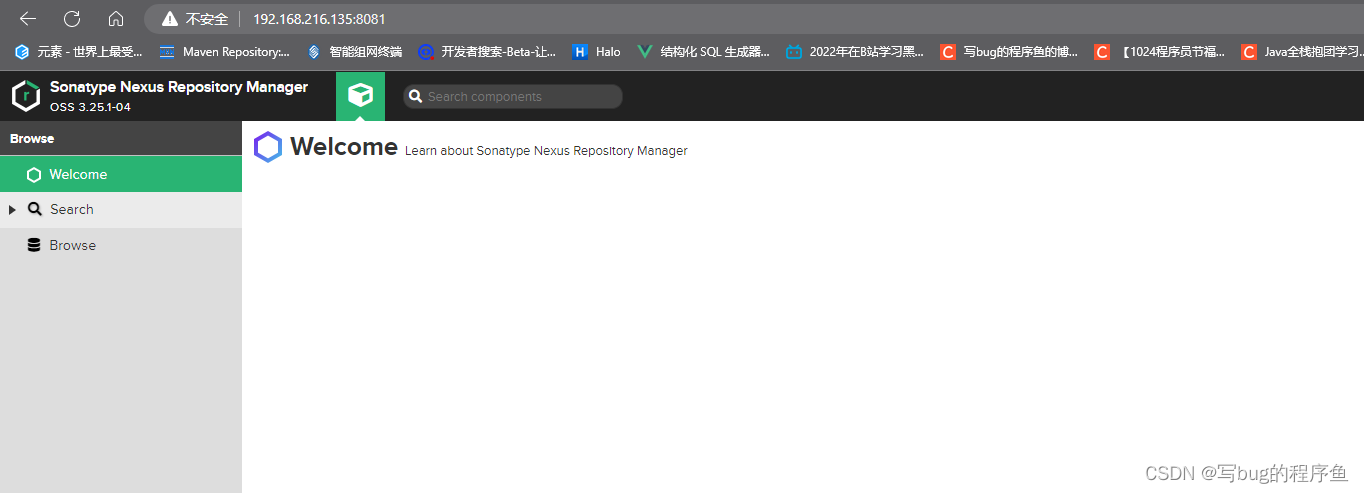
浏览器访问
默认8081端口
登录账号
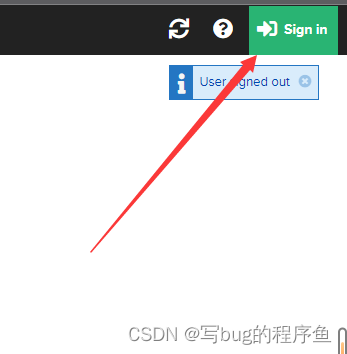
账号默认是admin
查看密码
find -name admin.password
./sonatype-work/nexus3/admin.password

cat ./sonatype-work/nexus3/admin.password
a3dffe94-17b2-4aea-bcc3-95d1ba126442

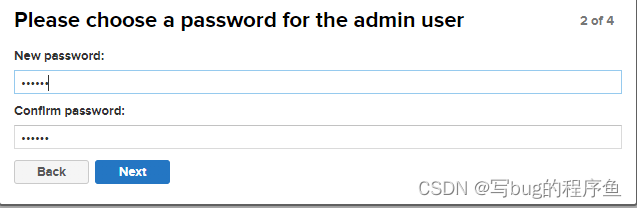
登录后会出现重置密码输入密码

设置开机自启动
创建服务
vim /usr/lib/systemd/system/nexus.service按i将下面复制进去
[Unit]
Description=nexus service

[Service]
Type=forking LimitNOFILE=65536 #警告处理
ExecStart=/data/nexus-3.25.1-04/bin/nexus start
ExecReload=/data/nexus-3.25.1-04/bin/nexus restart
ExecStop=/data/nexus-3.25.1-04/bin/nexus stop
Restart=on-failure

[Install]
WantedBy=multi-user.target
将服务加入开机启动
systemctl enable nexus.service重新加载配置文件
systemctl daemon-reload运行用户为root (编辑nexus bin下的nexus.rc)
cd nexus-3.25.1-04/bin/
vim nexus.rc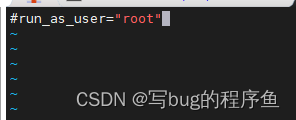
修改nexus3启动时要使用的jdk版本
cd nexus-3.25.1-04/bin/
vim nexus
按i将下面添加进去
INSTALL4J_JAVA_HOME_OVERRIDE=/root/java/jdk-11.0.15.1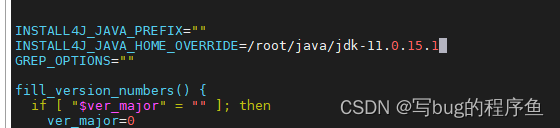
修改nexus3默认端口
文件在/data/nexus-3.25.1-04/etc/nexus-default.properties
[root@localhost nexus]# vim nexus-3.25.1-04/etc/nexus-default.properties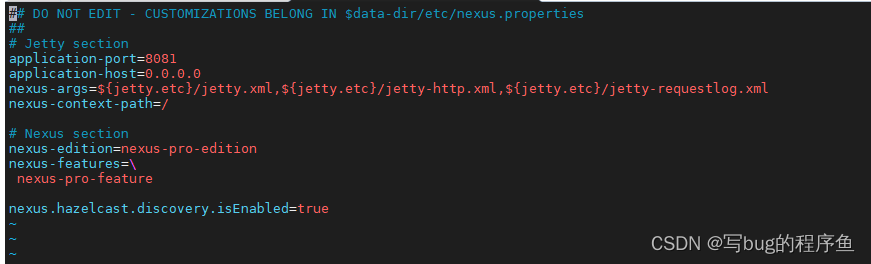
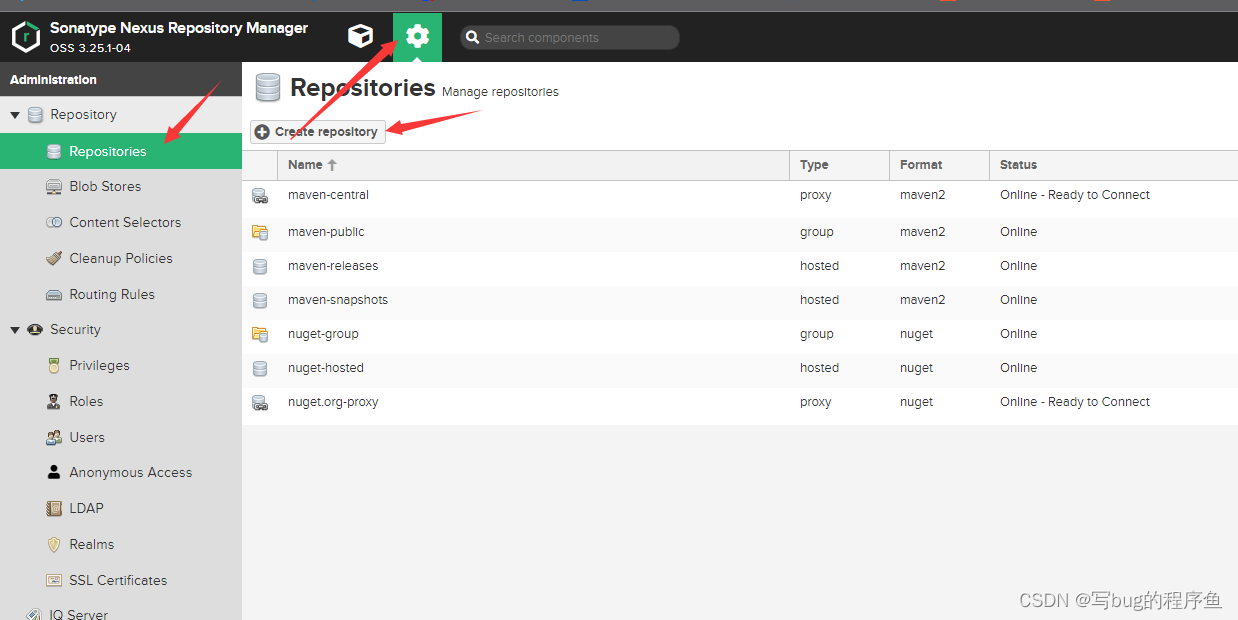
私服新建自定义的仓库
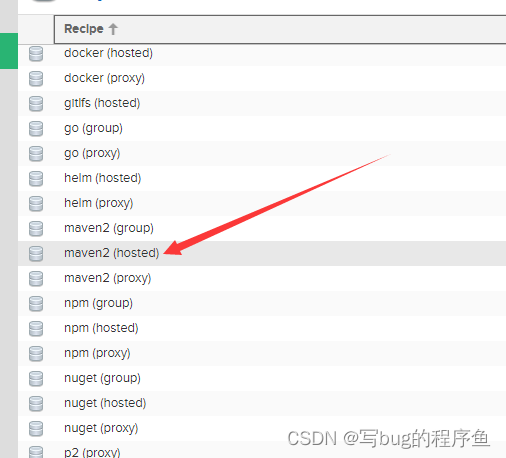
点击Create repository,然后选择类型为 maven2(hosted)
输入仓库名称 private-release(自定义),并在 Version policy 一栏中选择 Release,表示这个仓库的存储依赖为正式发布的组件,然后在 Deployment policy 一栏中选择 Allow redeploy,允许部署和更新私服上的组件。
点击Create repository 之后,就可以在仓库列表看到自定义的仓库了,我们再按照同样方式操作添加一个 snapshot 仓库,只需在 Version policy 一栏调整为 Snapshot 。 快照仓库的创建
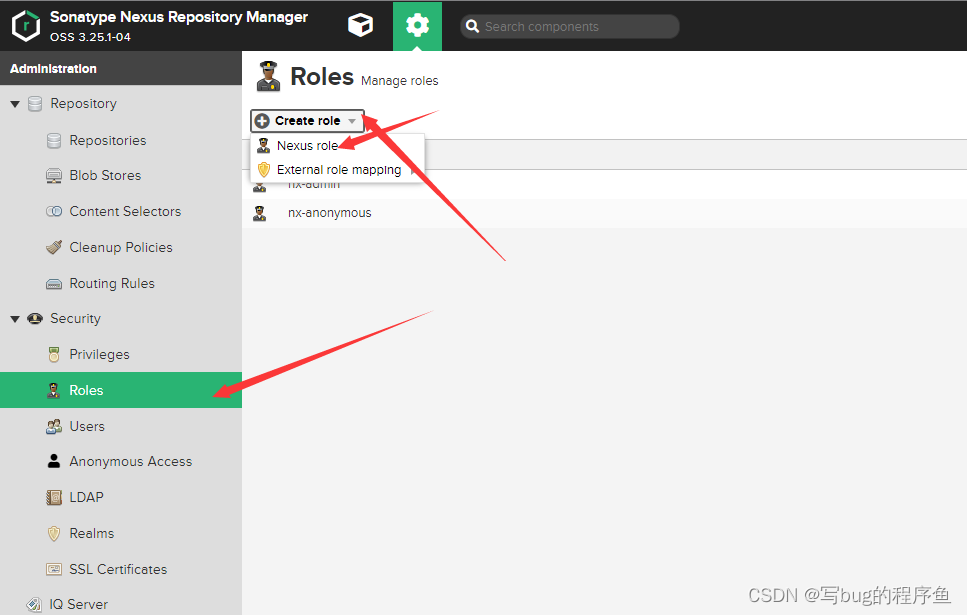
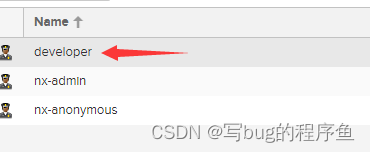
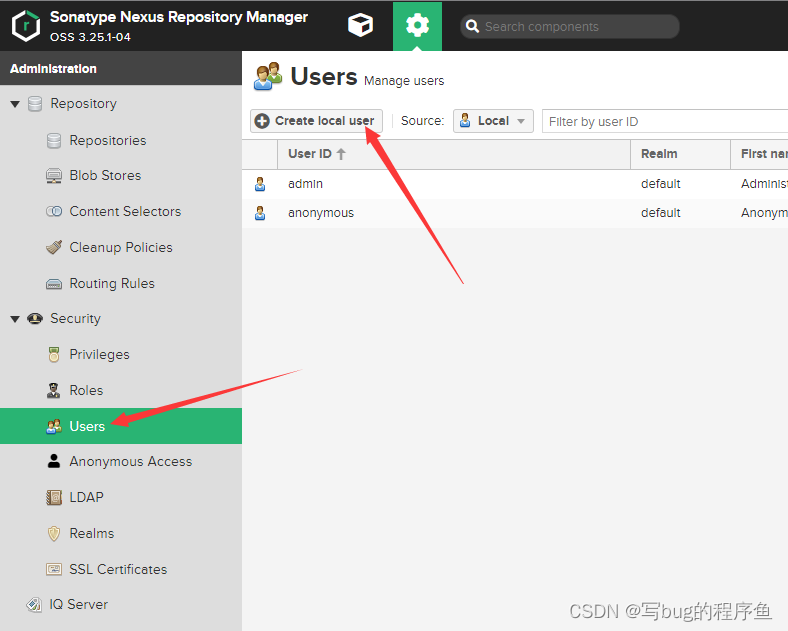
添加角色和用户
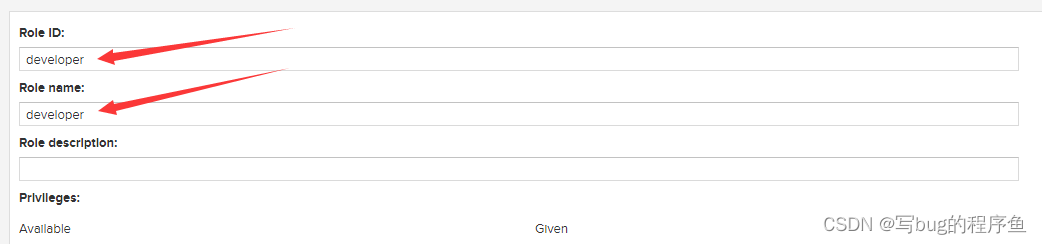
添加角色
添加用户
点击 Create local user,填入用户名,密码等必填信息之后,关联我们先前的创建的角色即可,点击Create local user保存,创建成功。

使用 Maven 私服
修改服务端配置文件
在服务器上,打开 /data/nexus-3.25.1-04/system/setting.xml (vim setting.xml)
cd nexus-3.25.1-04/system
vim settings.xml
这里添加 true 可以上传带SHAPSHOT的版本,也就是说可以上传到snapshot类型的库中,不加的话在idea中只能把SHAPSHOT后缀去掉,否则会报错。
<settings>
  <servers>
                <server>
                        <id>buba-release</id>
                        <username>qlx</username>
                        <password>123456</password>
                </server>
                <server>
                        <id>buba-snapshot</id>
                        <username>qlx</username>
                        <password>123456</password>
                </server>
  </servers>

  <profiles>
        <profile>
                <id>development</id>
                <repositories>
                        <repository>
                                <id>buba-release</id>
                                <url>http://192.168.216.135:8081/repository/buba-release/</url>
                                <releases><enabled>true</enabled></releases>
                                <snapshots>false</snapshots>
                        </repository>
                        <repository>
                                <id>buba-snapshot</id>
                                <url>http://192.168.216.135:8081/repository/buba-snapshot/</url>
                                <releases><enabled>false</enabled></releases>
                                <snapshots><enabled>true</enabled></snapshots>
                        </repository>
                </repositories>
        </profile>
  </profiles>

  <activeProfiles>
          <activeProfile>development</activeProfile>
  </activeProfiles>
</settings>

修改本地maven配置文件
在本地maven的配置文件中的标签下 ,添加连接私服的账号密码和ID配置如下
<server>
        <id>buba-release</id>
        <username>yjt</username>
        <password>123456</password>
    </server>
    <server>
        <id>buba-snapshot</id>
        <username>yjt</username>
        <password>123456</password>
    </server>
修改idea中的POM文件
在Idea中POM文件中添加如下配置(这里的url,可以通过 Nexus 后台上仓库页面的 cpoy 按钮自动复制得到)
<distributionManagement>
<repository>
<id>buba-release</id>
<name>buba-release</name>
<url>http://192.168.216.135:8081/repository/buba-release/</url>
</repository>
<snapshotRepository>
<id>buba-snapshot</id>
<name>buba-snapshot</name>
<url>http://192.168.216.135:8081/repository/buba-snapshot/</url>
</snapshotRepository>
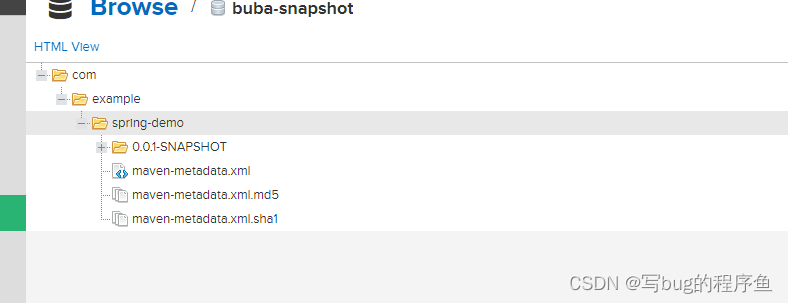
</distributionManagement>到现在我们基本都配置完成了,执行部署命令 mvn clean deploy 或者利用 IDE 的 部署插件进行发布,当控制台出现 BUILD SUCCESS ,说明发布成功。

此时,可以在 Nexus 后台上仓库页面中查看我们发布的jar包