Android:exported 属性
在 Android 12 中包含 的 activity 、 service 或 receiver 必须为这些应用组件显示声明 android:exported 属性,如下所示。
<activity
    android:name=".TestActivity"
    android:exported="false">
    <intent-filter>
        ......
    </intent-filter>
</activity>
如果在包含 的 activity 、 service 或 receiver 组件中,没有显示声明 android:exported 的值,应用将无法安装,错误日志如下所示。
Installation did not succeed.
The application could not be installed: INSTALL_FAILED_VERIFICATION_FAILURE
List of apks:
[0] '.../build/outputs/apk/debug/app-debug.apk'
Installation failed due to: 'null'
如果应用在需要声明 android:exported 的值时未进行此声明,错误日志如下所示。
Targeting S+ (version 10000 and above) requires that an explicit value for \
android:exported be defined when intent filters are present
目前已经有很多开源项目都已经开始适配这个行为的变更了,例如 leakcanary 等等
这个行为的变更无论是对库开发者 和 还是应用开发者影响都非常大。
为什么在 Android 12 上需要显示声明 android:exported 属性
android:exported 属性的默认值取决于是否包含 ,如果包含 那么默认值为 true,否则 false。
• 当 android:exported=“true” 时,如果不做任何处理,可以接受来自其他 App 的访问。
• 当 android:exported=“false” 时,限制为只接受来自同一个 App 或一个具有相同 user ID 的 App 的访问。
在 Android 12 的平台上,也就是使用 targetSdkVersion 31 时,那么需要注意:
「如果 Activity 、 Service 或 Receiver 使用 intent-filter ,并且未显式声明 android:exported 的值,App 将会无法安装。」
这时候你可能会选择去 AndroidManifest 一个一个手动修改,但是如果使用的 SDK 或者第三方库没有支持怎么办?或者想要打出不同 target 平台的包?这时候可以使用下面这段 gradle 脚本:
注意:com.android.tools.build:gradle:4.1.0 以上版本
/**
 * 修改 Android 12 因为 exported 的构建问题
 */
android.applicationVariants.all {

     variant ->
    variant.outputs.each {

     output ->
        def processManifest = output.getProcessManifestProvider().get()
        processManifest.doLast {

     task ->
            def outputDir = task.multiApkManifestOutputDirectory
            File outputDirectory
            if (outputDir instanceof File) {


                outputDirectory = outputDir
            } else {


                outputDirectory = outputDir.get().asFile
            }
            File manifestOutFile = file("$outputDirectory/AndroidManifest.xml")
            println("----------- ${manifestOutFile} ----------- ")

            if (manifestOutFile.exists() && manifestOutFile.canRead() && manifestOutFile.canWrite()) {


                def manifestFile = manifestOutFile
                ///这里第二个参数是 false ,所以 namespace 是展开的,所以下面不能用 androidSpace,而是用 nameTag
                def xml = new XmlParser(false, false).parse(manifestFile)
                def exportedTag = "android:exported"
                def nameTag = "android:name"
                ///指定 space
                //def androidSpace = new groovy.xml.Namespace('http://schemas.android.com/apk/res/android', 'android')

                def nodes = xml.application[0].'*'.findAll {


                    //挑选要修改的节点,没有指定的 exported 的才需要增加
                    //如果 exportedTag 拿不到可以尝试 it.attribute(androidSpace.exported)
                    (it.name() == 'activity' || it.name() == 'receiver' || it.name() == 'service') && it.attribute(exportedTag) == null

                }
                ///添加 exported,默认 false
                nodes.each {


                    def isMain = false
                    it.each {


                        if (it.name() == "intent-filter") {


                            it.each {


                                if (it.name() == "action") {


                                    //如果 nameTag 拿不到可以尝试 it.attribute(androidSpace.name)
                                    if (it.attributes().get(nameTag) == "android.intent.action.MAIN") {


                                        isMain = true
                                        println("......................MAIN FOUND......................")
                                    }
                                }
                            }
                        }
                    }
                    it.attributes().put(exportedTag, "${isMain}")
                }

                PrintWriter pw = new PrintWriter(manifestFile)
                pw.write(groovy.xml.XmlUtil.serialize(xml))
                pw.close()

            }

        }
    }
}
com.android.tools.build:gradle:3.4.3 以下版本
/**
 * 修改 Android 12 因为 exported 的构建问题
 */
android.applicationVariants.all {

     variant ->
    variant.outputs.all {

     output ->
        output.processResources.doFirst {

     pm ->
            String manifestPath = output.processResources.manifestFile
            def manifestFile = new File(manifestPath)
            def xml = new XmlParser(false, true).parse(manifestFile)
            def exportedTag = "android:exported"
            ///指定 space
            def androidSpace = new groovy.xml.Namespace('http://schemas.android.com/apk/res/android', 'android')

            def nodes = xml.application[0].'*'.findAll {


                //挑选要修改的节点,没有指定的 exported 的才需要增加
                (it.name() == 'activity' || it.name() == 'receiver' || it.name() == 'service') && it.attribute(androidSpace.exported) == null

            }
            ///添加 exported,默认 false
            nodes.each {


                def isMain = false
                it.each {


                    if (it.name() == "intent-filter") {


                        it.each {


                            if (it.name() == "action") {


                                if (it.attributes().get(androidSpace.name) == "android.intent.action.MAIN") {


                                    isMain = true
                                    println("......................MAIN FOUND......................")
                                }
                            }
                        }
                    }
                }
                it.attributes().put(exportedTag, "${isMain}")
            }

            PrintWriter pw = new PrintWriter(manifestFile)
            pw.write(groovy.xml.XmlUtil.serialize(xml))
            pw.close()
        }
    }

}
这段脚本你可以直接放到 app/build.gradle 下执行,也可以单独放到一个 gradle 文件之后 apply 引入,它的作用就是:
「在打包过程中检索所有没有设置 exported 的组件,给他们动态配置上 exported」。这里有个特殊需要注意的是,因为启动 Activity 默认就是需要被 Launcher 打开的,所以 “android.intent.action.MAIN” 需要 exported 设置为 true 。
❝
如果有需要,还可以自己增加判断设置了 “intent-filter” 的才配置 exported。
❞
指定 PendingIntent 的可变性
在 Android 12 中创建 PendingIntent 的时候,需要显示的声明是否可变,请分别使用 PendingIntent.FLAG_MUTABLE 或 PendingIntent.FLAG_IMMUTABLE 标志,如果应用试图在不设置任何可变标志的情况下创建 PendingIntent 对象,系统会抛出 IllegalArgumentException 异常,错误日志如下所示。
PACKAGE_NAME: Targeting S+ (version 10000 and above) requires that one of \
FLAG_IMMUTABLE or FLAG_MUTABLE be specified when creating a PendingIntent.

Strongly consider using FLAG_IMMUTABLE, only use FLAG_MUTABLE if \
some functionality depends on the PendingIntent being mutable, e.g. if \
it needs to be used with inline replies or bubbles.
PendingIntent认识
PendIntent其实是Intent的封装,这就带来了几个问题:
为什么要有PendingIntent?与Intent有什么区别?
PendingIntent的应用场景主要有哪些?
它的内部是如何实现的?
1.1 与Intent的区别
Intent 是意图的意思。Android 中的 Intent 正是取自这个意思,它是一个消息对象,通过它,Android 系统的四大组件能够方便的通信,并且保证解耦。
Intent 可以说明某种意图,携带一种行为和相应的数据,发送到目标组件。
PendingIntent是对Intent的封装,但它不是立刻执行某个行为,而是满足某些条件或触发某些事件后才执行指定的行为
A组件 创建了一个 PendingIntent 的对象然后传给 B组件,B 在执行这个 PendingIntent 的 send 时候,它里面的 Intent 会被发送出去,而接受到这个 Intent 的 C 组件会认为是 A 发的。
B以A的权限和身份发送了这个Intent
我们的 Activity 如果设置了 exported = false,其他应用如果使用 Intent 就访问不到这个 Activity,但是使用 PendingIntent 是可以的。
即:PendingIntent将某个动作的触发时机交给其他应用;让那个应用代表自己去执行那个动作(权限都给他)
2.2 获取PendingIntent
关于PendingIntent的实例获取一般有以下五种方法,分别对应Activity、Broadcast、Service
getActivity()
getActivities()
getBroadcast()
getService()
getForegroundService()
它们的参数都相同,都是四个:Context, requestCode, Intent, flags,分别对应上下文对象、请求码、请求意图用以指明启动类及数据传递、关键标志位。
前面三个参数共同标志一个行为的唯一性,而第四个参数flags:
FLAG_CANCEL_CURRENT:如果当前系统中已经存在一个相同的PendingIntent对象,那么就将先将已有的PendingIntent取消,然后重新生成一个PendingIntent对象。
FLAG_NO_CREATE:如果当前系统中不存在相同的PendingIntent对象,系统将不会创建该PendingIntent对象而是直接返回null,如果之前设置过,这次就能获取到。
FLAG_ONE_SHOT:该PendingIntent只作用一次。在该PendingIntent对象通过send()方法触发过后,PendingIntent将自动调用cancel()进行销毁,那么如果你再调用send()方法的话,系统将会返回一个SendIntentException。
FLAG_UPDATE_CURRENT:如果系统中有一个和你描述的PendingIntent对等的PendingInent,那么系统将使用该PendingIntent对象,但是会使用新的Intent来更新之前PendingIntent中的Intent对象数据,例如更新Intent中的Extras
备注:两个PendingIntent对等是指它们的operation一样, 且其它们的Intent的action, data, categories, components和flags都一样。但是它们的Intent的Extra可以不一样
2.3 使用场景
关于PendingIntent的使用场景主要用于闹钟、通知、桌面部件。
大体的原理是: A应用希望让B应用帮忙触发一个行为,这是跨应用的通信,需要 Android 系统作为中间人,这里的中间人就是 ActivityManager。 A应用创建建 PendingIntent,在创建 PendingIntent 的过程中,向 ActivityManager 注册了这个 PendingIntent,所以,即使A应用死了,当它再次苏醒时,只要提供相同的参数,还是可以获取到之前那个 PendingIntent 的。当 A 将 PendingIntent 调用系统 API 比如 AlarmManager.set(),实际是将权限给了B应用,这时候, B应用可以根据参数信息,来从 ActivityManager 获取到 A 设置的 PendingIntent
PendingIntent可以看作是对*Intent的包装。*PendingIntent主要持有的信息是它所包装的*Intent和当前*Application的*Context。正由于*PendingIntent中保存有当前*Application的*Context,使它赋予带他程序一种执行的*Intent的能力,就算在执行时当前*Application已经不存在了,也能通过存在*PendingIntent里的*Context照样执行*Intent。
为什么在 Android 12 上需要显示的指定 PendingIntent 的可变性
在 Adnroid 12 之前,默认创建一个 PendingIntent 它是可变的,因此其他恶意应用程序可能会拦截,重定向或修改此 Intent。(但是是有条件限制的)
一个 PendingIntent 是一个可以给另一个应用程序使用的 Intent,PendingIntent 接收待处理意图的应用程序可以使用与产生待处理意图的应用程序相同的权限和身份执行待处理意图中指定的操作。
因此,创建待处理意图时必须小心,为了安全性 Google 在 Android 12 中需要开发者自己来指定 PendingIntent 的可变性。
adb 备份限制
Android API Level 8及其以上Android系统提供了为应用程序数据的备份和恢复功能,此功能的开关决定于该应用程序中AndroidManifest.xml文件中的allowBackup属性值,其属性值默认是True。当allowBackup标志为true时,用户即可通过adb backup和adb restore来进行对应用数据的备份和恢复,这可能会带来一定的安全风险。
打开cmd,输入adb backup -f back.ab -noapk 项目包名
输入密码,备份你的数据
这样你备份好了你的数据,然后将你备份的数据输入另外一台设备中。在另一台设备中安装程序,在控制台输入adb restore back.ab,弹出下列界面,输入密码
就可以利用allowBackup 漏洞进行沙盒数据的备份了。
Android 开发者都应该知道这个命令 adb backup , 它可以备份应用的数据,在 Android 12 中,为了保护私有应用数据,用户运行 adb backup 命令时,从设备导出的任何其他系统数据都不包含应用数据。
如果你在测试和开发过程中需要使用 adb backup 来备份应用数据,你可以在 AndroidManifest 中将android:debuggable 设置为 true 来导出应用数据。
<application
    android:name=".App"
    android:debuggable="true"
    ....../>
注意:在发布应用前将 android:debuggable 设置为 false。
为什么在 Android 12 上限制了 adb backup 命令的默认行为
因为这个存在严重的安全问题,当初 Google 为了提供 App 数据备份和恢复功能,可以在 AndroidManifest 中添加 android:allowBackup 属性,默认值为 true, 当你创建一个应用的时候,会默认添加这个属性,如下所示。
<application
    android:name=".App"
    android:allowBackup="true"
    ....../>
当 android:allowBackup=“true” 时,用户可以通过 adb backup 和 adb restore 命令对应用数据进行备份和恢复,也就是说可以在其他的 Android 手机上安装同一个应用,通过如上命令恢复用户的数据。
为了安全起见,我们在发布出去的 Apk 中一定要将 android:allowBackup 属性设置为 false 来关闭应用程序的备份和恢复功能,以免造成信息泄露。国民级应用 XX 信, 在曾今发出的版本中 allowBackup 的属性值是 true,被其他逆向开发者利用之后,现在的版本中这个值已经修改为 false了,有兴趣的小伙们可以反编译看看。
除了 PendingIntent ,另外两个除非特定情况,基本都是 false 处理
SplashScreen
当用户启动应用而应用的进程未运行(冷启动)或 Activity 尚未创建(温启动)时,会发生以下事件。(在热启动期间从不显示启动画面。)
- 系统使用主题以及您已定义的任何动画显示启动画面。
- 当应用准备就绪时,会关闭启动画面并显示应用。
Android 12 新增加了 SplashScreen 的 API,它包括启动时的进入应用的动作、显示应用的图标画面,以及展示应用本身的过渡效果。
它大概由如下 4 个部分组成,这里需要注意:

1 最好是矢量的可绘制对象,当然它可以是静态或动画形式。
2 是可选的,也就是图标的背景。
3 与自适应图标一样,前景的三分之一被遮盖。
4 就是窗口背景。
• 启动画面动画机制由进入动画和退出动画组成。
• 进入动画由系统视图到启动画面组成,这由系统控制且不可自定义。
退出动画由隐藏启动画面的动画运行组成。如果要对其进行自定义,可以通过 SplashScreenView 自定义。
「首先不管你的 TargetSDK 什么版本,当你运行到 Android 12 的手机上时,所有的 App 都会增加SplashScreen 的功能」。
如果你什么都不做
从 Android 12 开始,在所有应用的冷启动和温启动期间,系统一律会应用 Android 系统的默认启动画面。默认情况下,此系统默认启动画面由应用的启动器图标元素和主题的 windowBackground(如果是单色)构成。
其实不适配好像也没啥问题…
而正常情况下我们可以做的就是:
1、升级 compileSdkVersion 31 、 targetSdkVersion 31 & buildToolsVersion ‘31.0.0’
2、 添加依赖 implementation “androidx.core:core-splashscreen:1.0.0-alpha02”
3、增加 values-v31 的目录
4、添加 styles.xml 对应的主题,例如:
<resources>
    <style name="LaunchTheme" parent="Theme.SplashScreen">
        <item name="windowSplashScreenBackground">@color/splashScreenBackground</item>
        <!--<item name="windowSplashScreenAnimatedIcon">@drawable/splash</item>-->
        <item name="windowSplashScreenAnimationDuration">500</item>
        <item name="postSplashScreenTheme">@style/AppTheme</item>
    </style>
</resources>
5、给你的启动 Activity 添加这个主题,不同目录下使用不同主题来达到适配效果。
Android12之前
常规做法
我们知道从点击 Launcher 上的 icon 到 App 内容描画之前,有很多准备工作。在这段时间是看不到目标 App 内容的。
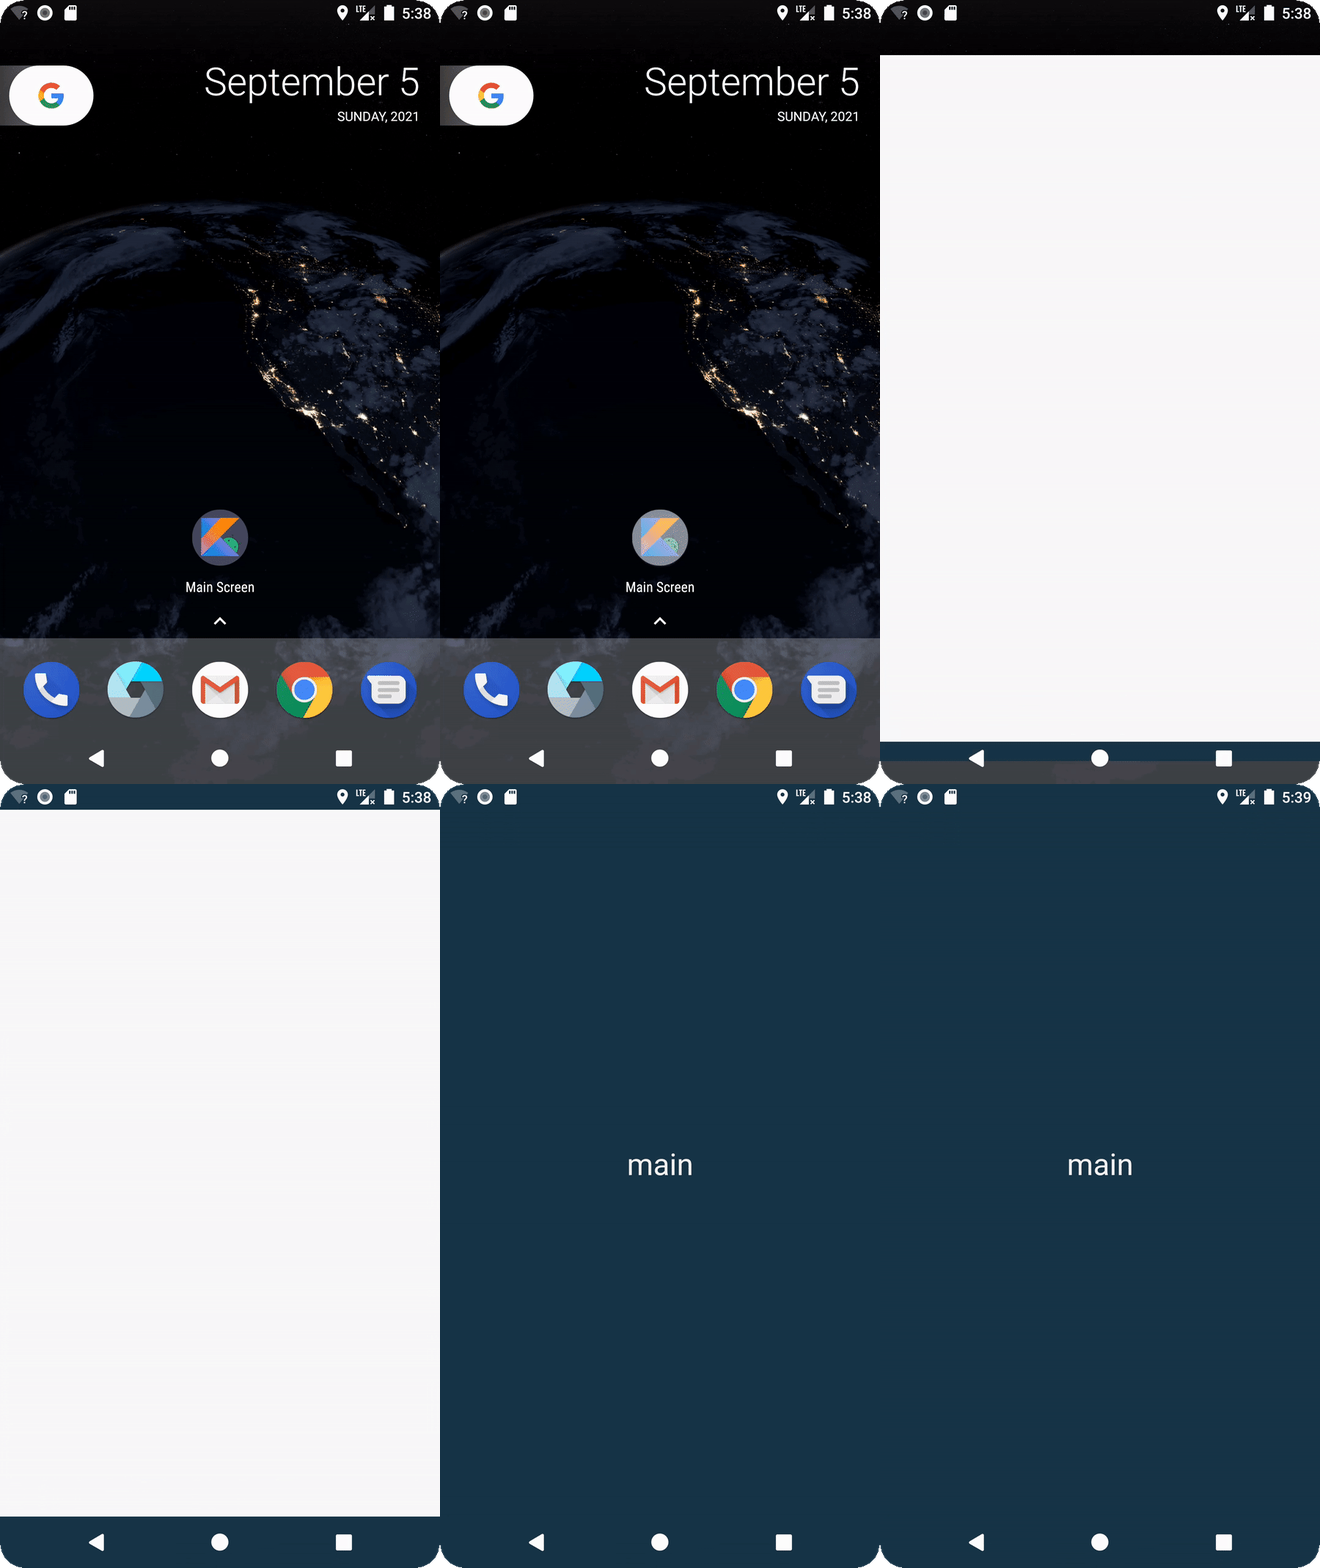
为了快速响应用户的点击或缓解用户的等待,在 App 描画之前系统将启动专用的 SplashScreenWindow 盖在 App 之上。该Window 的呈现源自于 App 主题方面的配置。
配置的不同进而影响到启动 Window 的表现,我们来看看各种配置的做法。
默认的启动画面背景
假使 App 的主题针对 Window 背景什么都不设置,你会发现启动的过程中总有个默认的白画面一闪而过。
<style name="SplashThemeBase.DefaultBg"/>

不设置启动画面背景
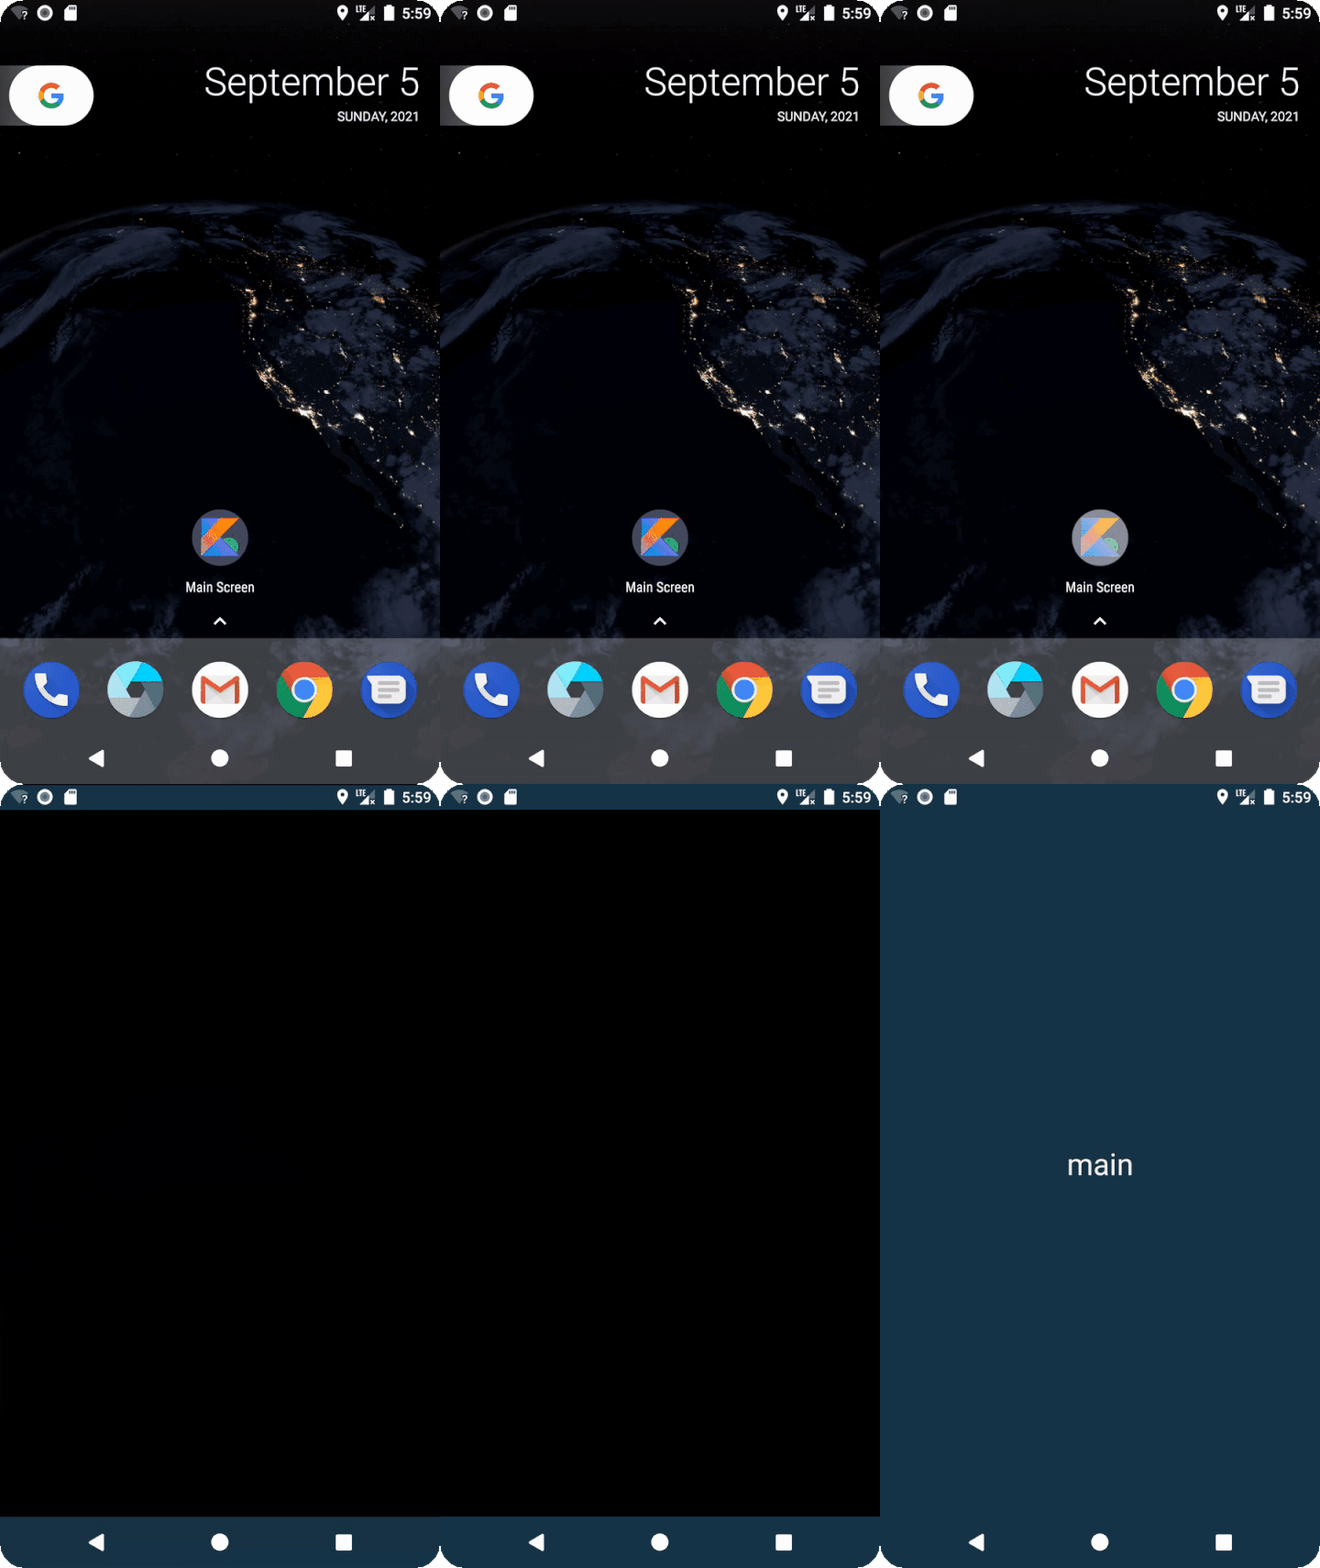
当然可以将 windowBackground 设置为空,可是你会发现启动的过程中又变成黑色一片闪过。
<style name="SplashThemeBase.NoBg">
    <item name="android:windowBackground">@null</item>
</style>

无论是白画面还是黑画面一闪而过,都无法接受,所以还得继续优化。
直接关闭启动画面
无论白画面还是黑画面一闪而过的体验都不好,这时候可能会想到关闭默认的启动画面。通过 windowDisablePreview 属性可以彻底关闭启动画面。
<style name="SplashThemeBase.TransparentBg">
    <item name="android:windowDisablePreview">true</item>
</style>
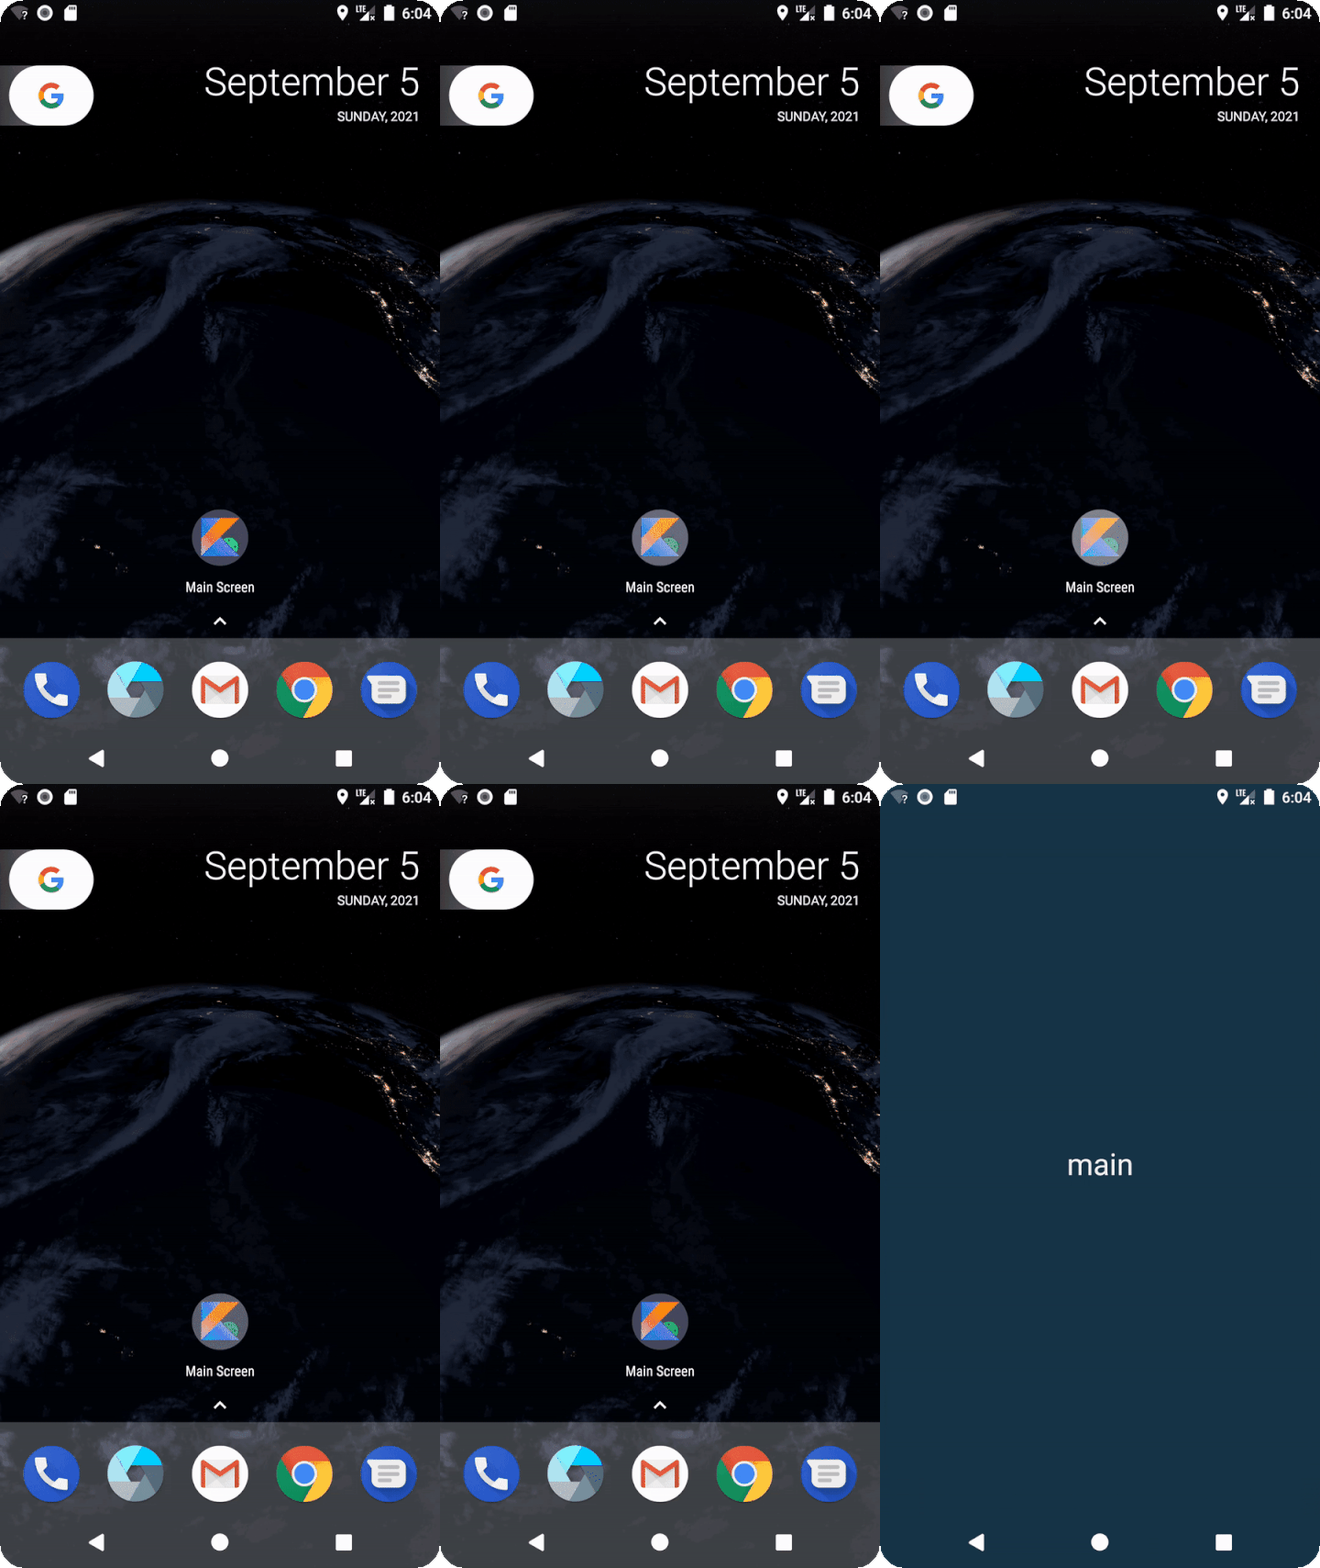
这样一来,确实看不到启动画面的存在了,但整个过程貌似“变慢”了。实际上性能并没有**“劣化”**,只是启动中过渡的 Window 不存在了。假使 Application 或 Activity 等组件里存在耗时逻辑的话,这种劣化会更加明显。
相较于前面的黑白画面一闪而过,这种变慢的体验也好不到哪去。

设置启动画面背景
绕来绕去,最后我们发现还是得提供一个恰当的启动画面。具体在于将 UI 提供的背景色、Icon、Brand 等资源组合成一个 LayerListDrawable,然后将其设置到 windowBackground 中即可。
<!--theme-->
<style name="SplashThemeBase.WithBg">
    <item name="android:windowBackground">@drawable/ic_splash_bg</item>
</style>

<!--drawable-->
<layer-list ... >
    <item android:drawable="@drawable/ic_logo"></item>
    <item  android:drawable="@drawable/ic_brand"></item>
</layer-list>
这种做法既可以提供体验良好的过渡画面,同时可以快速响应用户的点击。可以说是最为简单也最为便捷的一种实现方式。
设置启动画面内容
Android 8 加入一个配置启动画面的属性 windowSplashscreenContent,用于配置启动画面的内容。它的优先级高于 windowBackground。两者一起设置的话呢,会覆盖在 windowBackground 上。大体的效果呢和前面的差不多,不再赘述。
<style name="SplashThemeBase.WithBg.SplashScreenContent">
    <item name="android:windowSplashscreenContent">@drawable/ic_splash_content</item>
</style>
注意:这个属性自 Android 8 加入,从 12 开始废弃
主题和外观配置
<!-- values-v31/themes.xml -->
<!--单一颜色填充「启动画面」窗口背景-->
<item name="android:windowSplashScreenBackground">@color/...</item>

<!--「启动画面」中心的图标,
     可以配置AnimationDrawable 和 AnimatedVectorDrawable类型的drawable-->
<item name="android:windowSplashScreenAnimatedIcon">@drawable/...</item>

<!--「启动画面」中心图标动画的持续时间,这个属性不会对屏幕显示的实际时间产生任何影响-->
<item name="android:windowSplashScreenAnimationDuration">1000</item>

<!--「启动画面」中心图标后面设置背景-->
<item name="android:windowSplashScreenIconBackgroundColor">@color/...</item>

<!--「启动画面」底部显示的品牌图标-->
<item name="android:windowSplashScreenBrandingImage">@drawable/...</item>
延长启动画面
val content: View = findViewById(android.R.id.content)
    content.viewTreeObserver.addOnPreDrawListener(
        object : ViewTreeObserver.OnPreDrawListener {


            override fun onPreDraw(): Boolean {


                // 模拟一些数据的初始化,再取消挂起
                return if (viewModel.isReady) {


                    // 取消挂起,恢复页面内容绘制
                    content.viewTreeObserver.removeOnPreDrawListener(this)
                    true
                } else {


                    // 挂起,内容还没有准备好
                    false
                }
            }
        }
    )
关闭启画面的动画
// 自己定制关闭的动画
splashScreen.setOnExitAnimationListener {

     splashScreenView ->
        val slideUp = ObjectAnimator.ofFloat(
            // 你们自己控制,自己随便写什么动画,这里我们测试让图标移动
            splashScreenView.iconView,
            View.TRANSLATION_Y,
            0f,
            -splashScreenView.height.toFloat()
        )
        slideUp.interpolator = AnticipateInterpolator()
        slideUp.duration = 200L
        slideUp.doOnEnd {

     splashScreenView.remove() }
        slideUp.start()
    }