一、声明:在导入使用vant (tabbar)组件的时候,发现通过点击切换的方法来更改active的方法,会出现图标没用及时对应上,需要第二次点击才对应上的问题。
先使用npm引入vant组件库
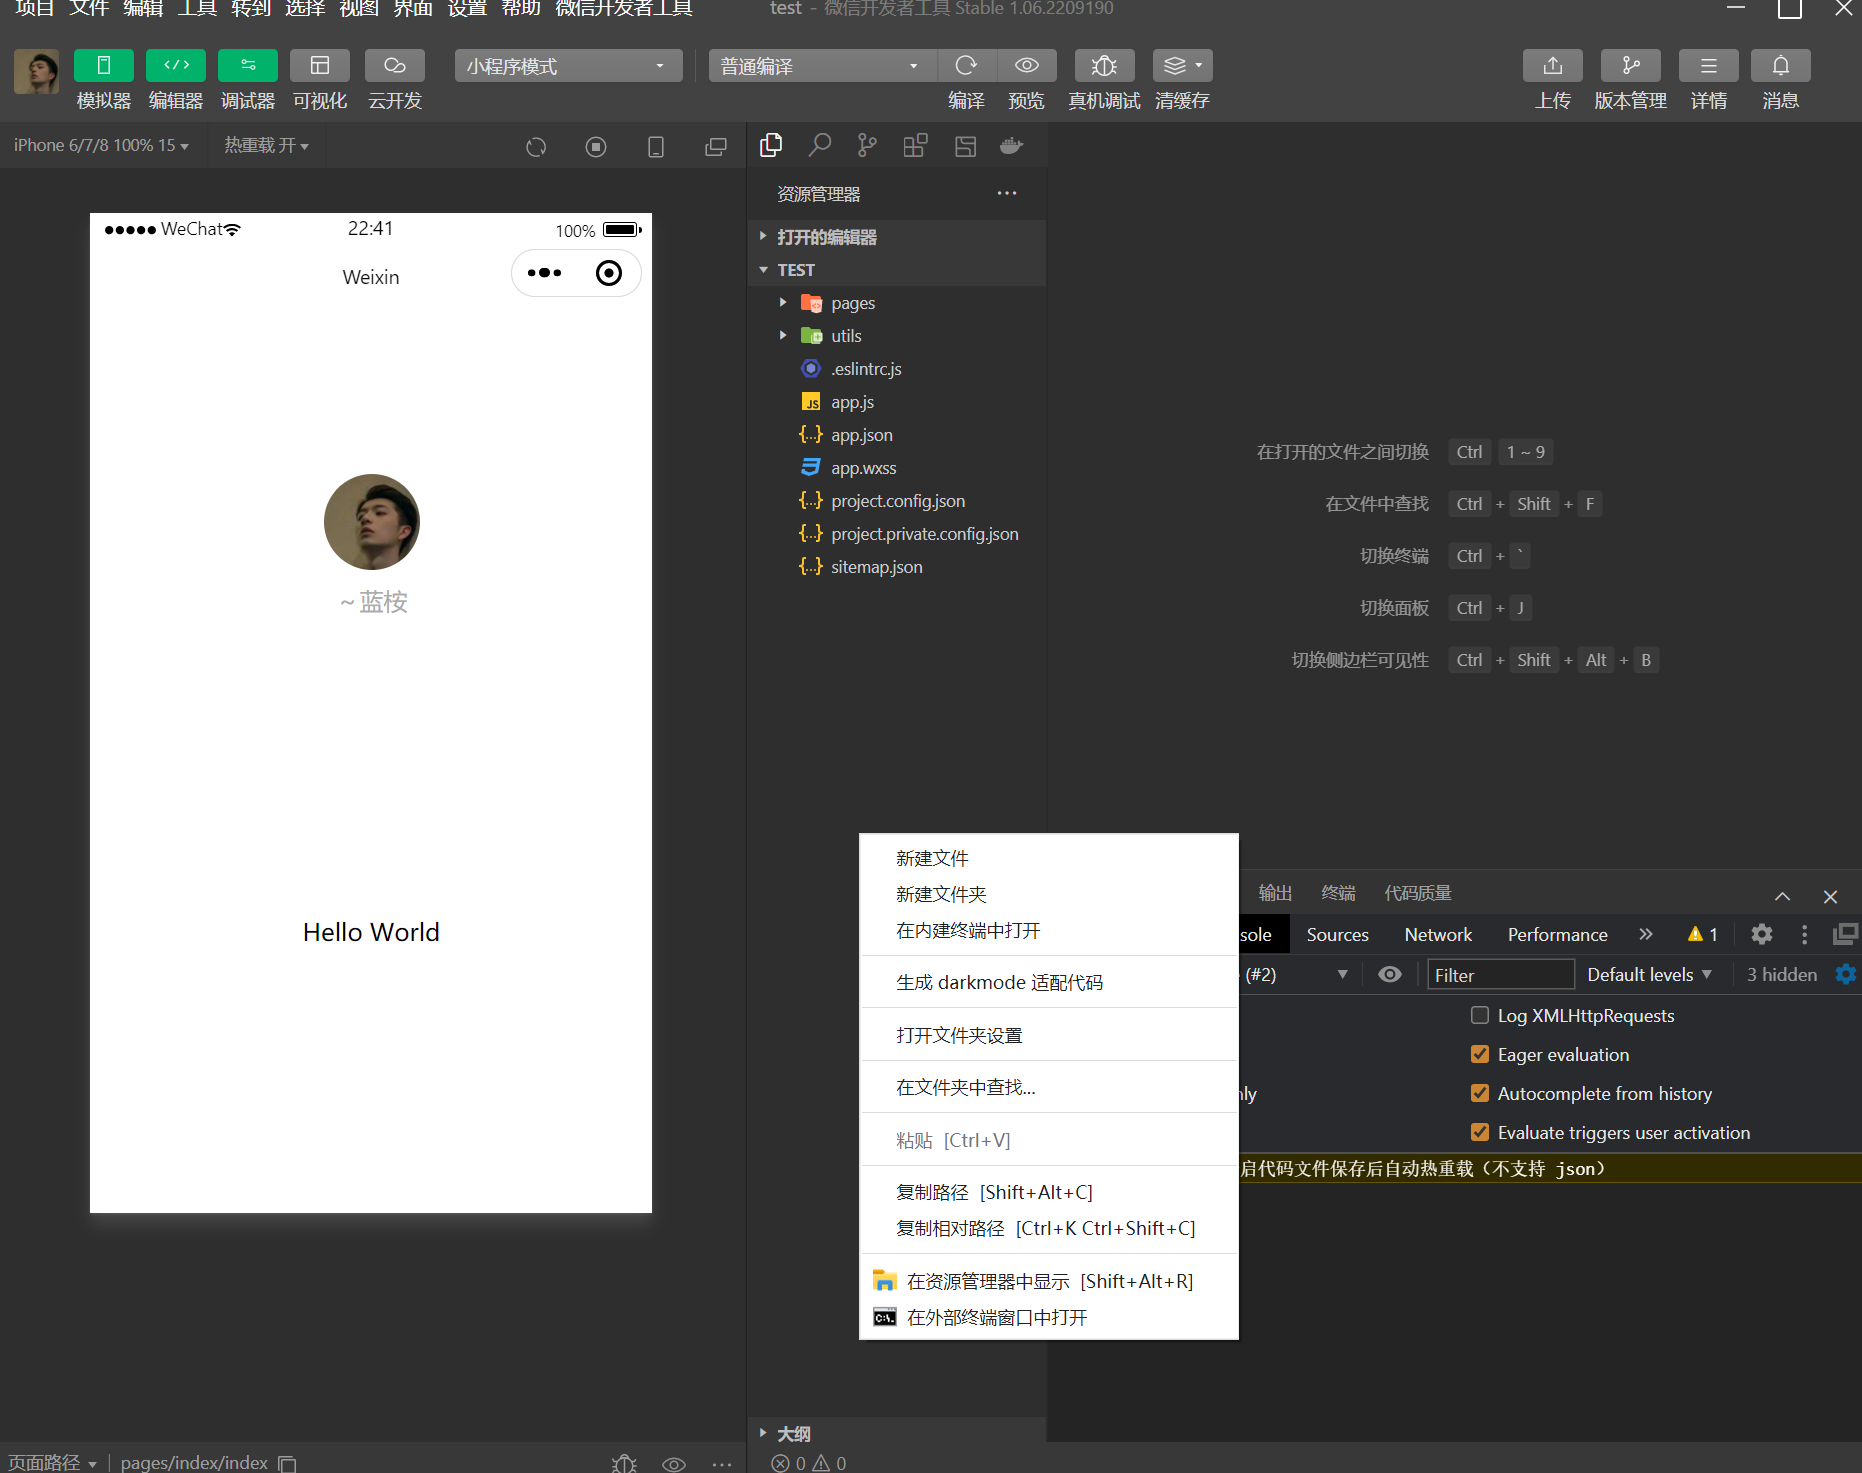
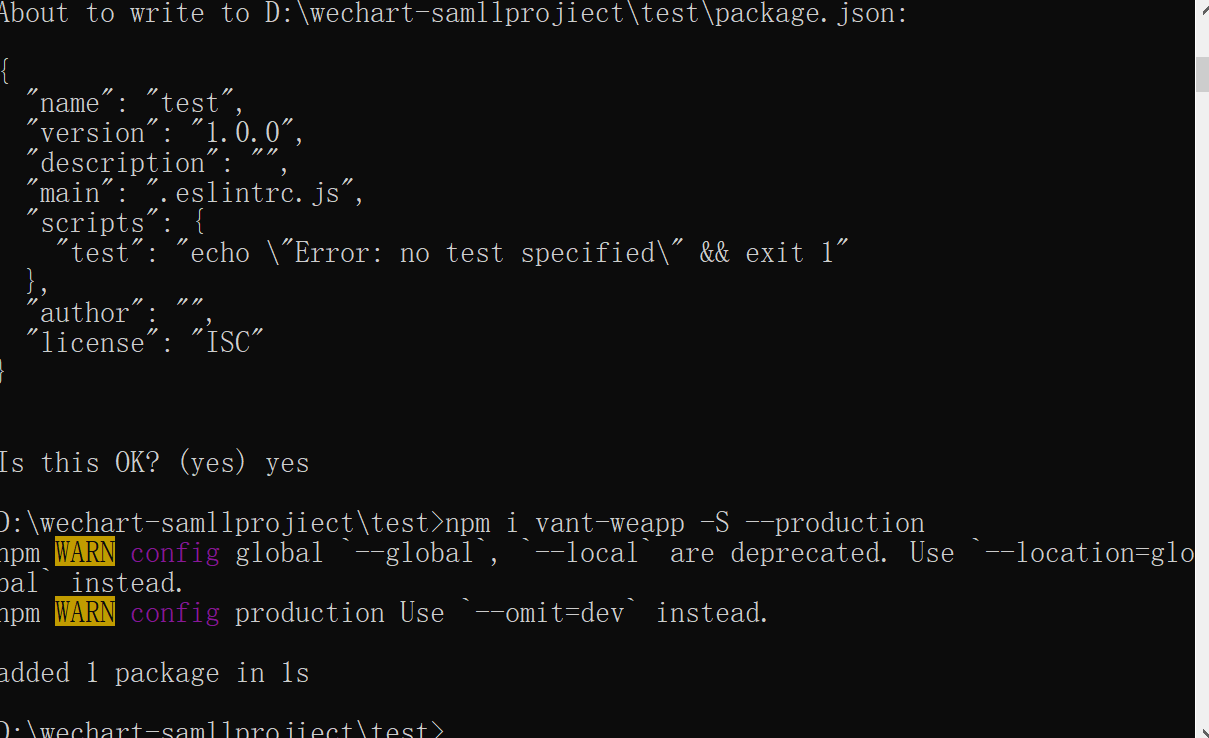
1.第一步:在资源管理器下方空白处选择”在外部终端窗口打开“
2.第二步:使用命令初始
npm init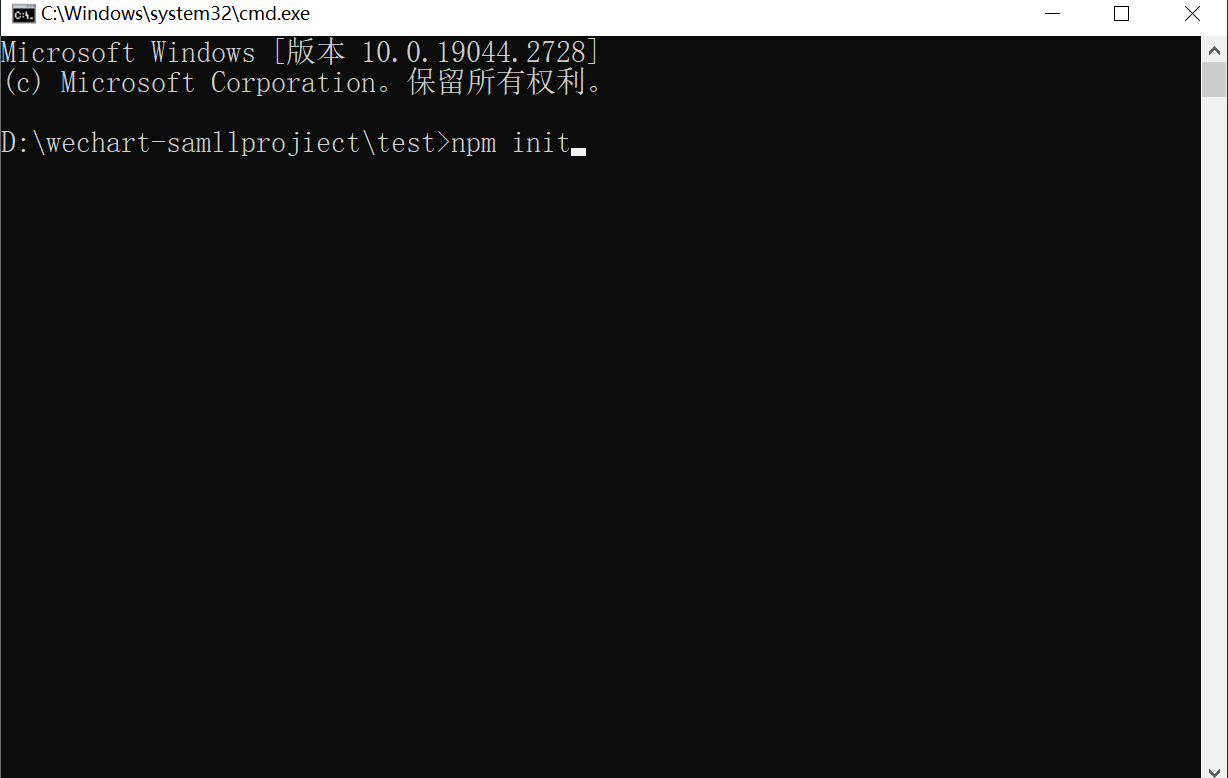
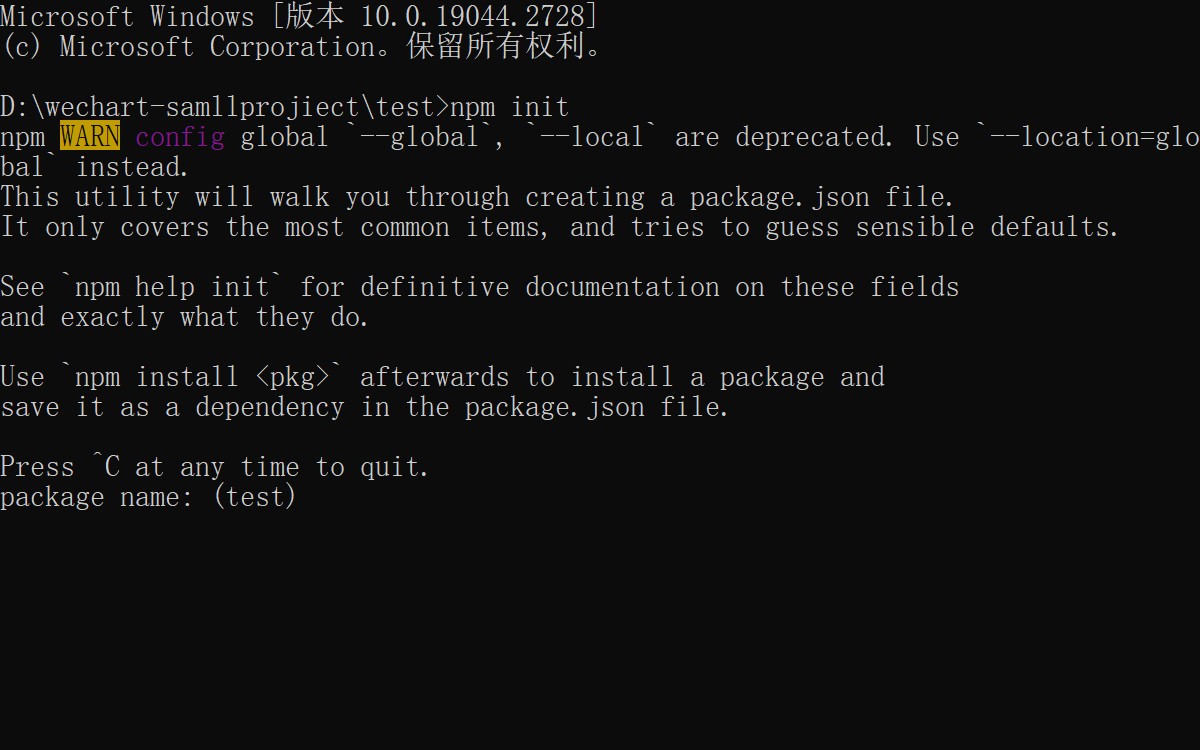
回车操作后,会出现以下,如果没有什么更改,一直回车即可

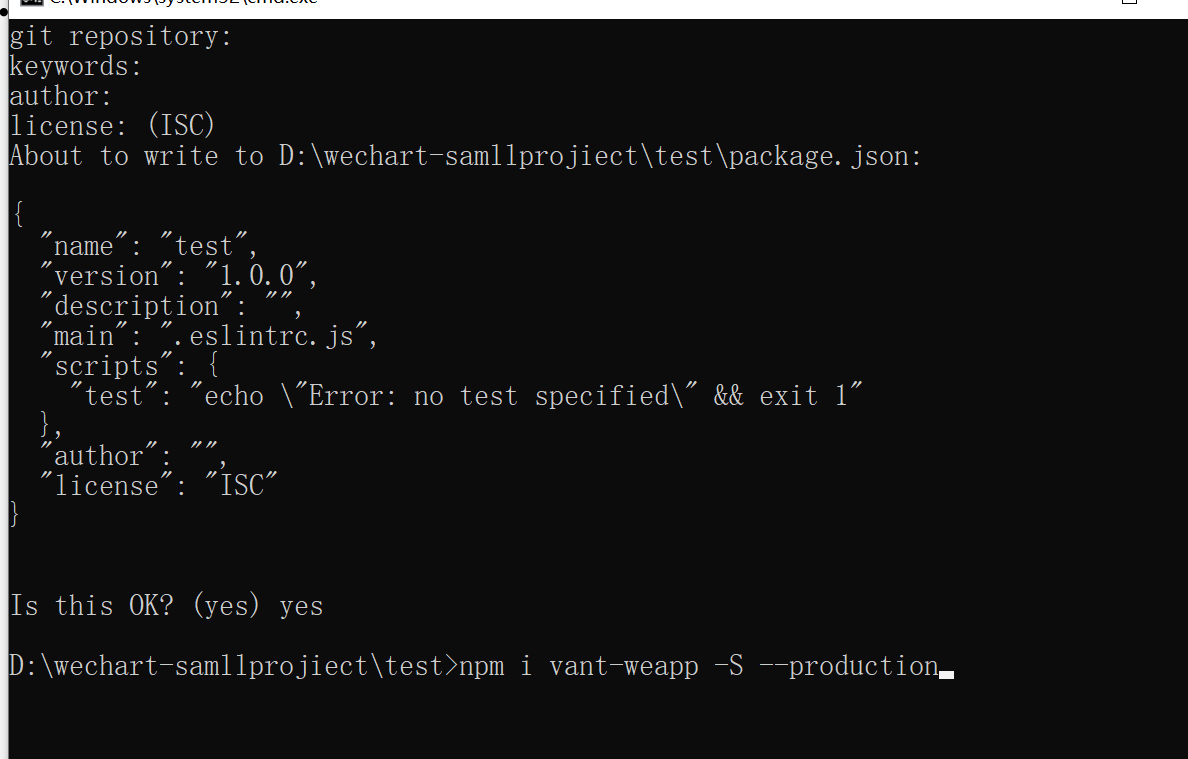
初始化后在项目中会出现一个绿色的package.json文件则表示初始成功了!

3.第三步:安装vant
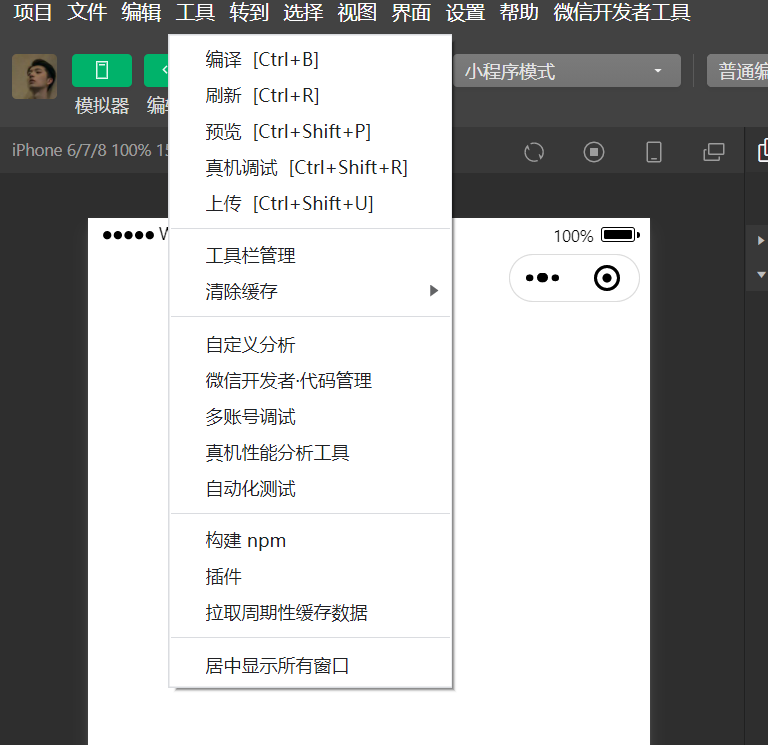
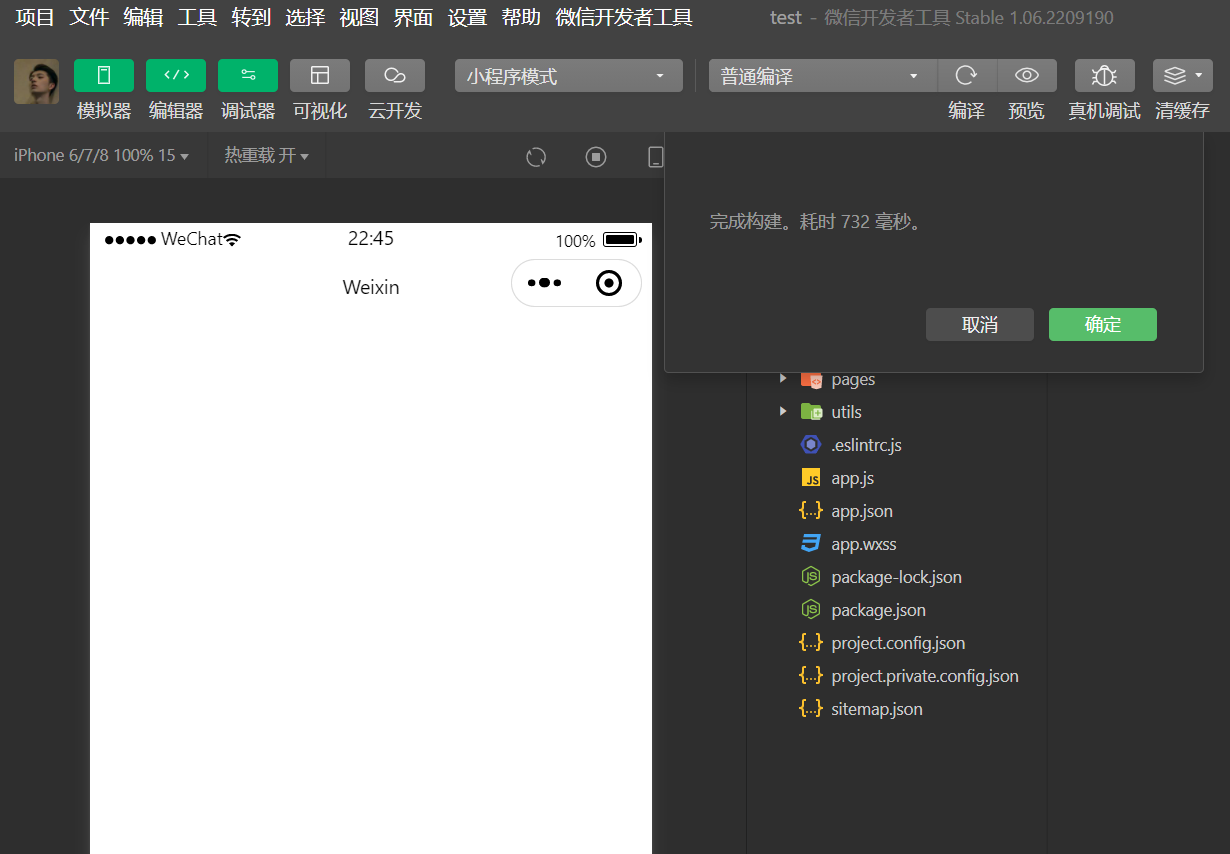
4.第四步:安装好后在微信开发者工具操作栏,点击工具进行构建npm操作
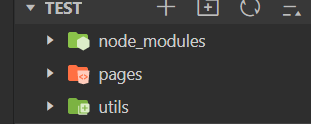
安装的vant就在node_modules模块中
5.第五步:开启自定义tabbar(添加“custom":true)
”custom“:true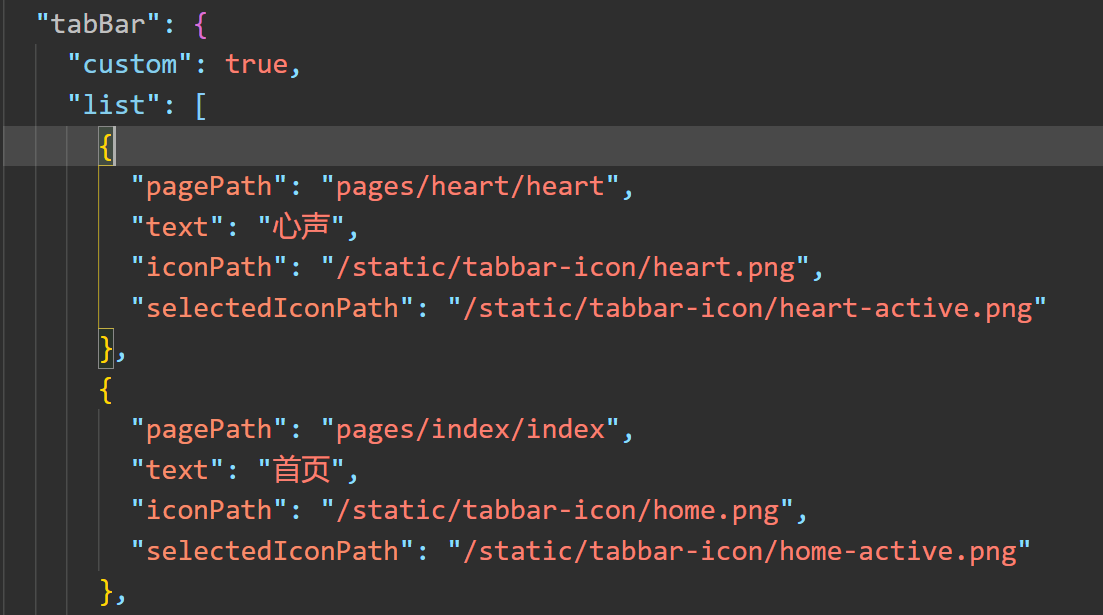
6.与pages同名创建custom-tab-bar文件夹(名字不能变),并创建index组件(tabbar自定义组件)

tabbar自定义组件——index.js代码:
// custom-tab-bar/index.js

Component({
  /**
   * 组件的属性列表
   */
  options: {
    // 开启这个才可以修改vant组件里面的样式
    styleIsolation: 'shared'
  },
  properties: {

  },
  /**
   * 组件的初始数据
   */
  data: {
    active: null,
    "list": [
      {
        "pagePath": "/pages/heart/heart",
        "text": "心声",
        "iconPath": "/static/tabbar-icon/heart.png",
        "selectedIconPath": "/static/tabbar-icon/heart-active.png"
      },
      {
        "pagePath": "/pages/index/index",
        "text": "首页",
        "iconPath": "/static/tabbar-icon/home.png",
        "selectedIconPath": "/static/tabbar-icon/home-active.png"
      },
      {
        "pagePath": "/pages/classify/classify",
        "text": "分类",
        "iconPath": "/static/tabbar-icon/classfiy.png",
        "selectedIconPath": "/static/tabbar-icon/classfiy-active.png"
      },
      {
        "pagePath": "/pages/cart/cart",
        "text": "购物车",
        "iconPath": "/static/tabbar-icon/cart.png",
        "selectedIconPath": "/static/tabbar-icon/cart-active.png",
        info: 2
      },
      {
        "pagePath": "/pages/my/my",
        "text": "我的",
        "iconPath": "/static/tabbar-icon/my.png",
        "selectedIconPath": "/static/tabbar-icon/my-active.png"
      }
    ]
  },

  /**
   * 组件的方法列表
   */
  methods: {
    // 切换tabbar页面
    onChange(event) {
      wx.switchTab({
        url: this.data.list[event.detail].pagePath,
      })
    }
  }
})
tabbar自定义组件——index.wxml代码:
<view>
  <van-tabbar active="{

    { active }}" bind:change="onChange">
    <van-tabbar-item wx:for="{

    {list}}" wx:key="index" info="{

    {item.info? item.info:''}}">
      <image slot="icon" src="{

    {item.iconPath}}" mode="aspectFit" style="width: 50rpx;height: 50rpx;"/>
      <image slot="icon-active" src="{

    {item.selectedIconPath}}" mode="aspectFit" style="width: 50rpx;height: 50rpx;"/>
      {

    {item.text}}
    </van-tabbar-item>
  </van-tabbar>
</view>
tabbar自定义组件——index.wxss:(使用变量改组件样式)
/* custom-tab-bar/index.wxss */
.van-tabbar-item {
  --tabbar-item-margin-bottom:0;
}
对于使用该组件的问题出现在下面:
// 切换tabbar页面
    onChange(event) {
      this.setData({
        active:event.detail
      })
      wx.switchTab({
        url: this.data.list[event.detail].pagePath,
      })
    }
  }
问题出现在这里:
this.setData({
   active:event.detail
})
二、解决:在切换tabbar的时候,我们采取另外一种方法思路:
在每一个页面使用tabbar自定义组件的地方,在onshow生命周期函数里初始active的值,用来对应每个页面切换之后展示对应的图标。
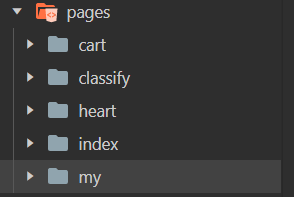
我这里有五个tabbar页
假如,我采用index页面作为一个tabbar页,对应的active可以这么更改其选中态
/**
   * 生命周期函数--监听页面显示
   */
  onShow() {
    // 通过 getTabBar 接口获取组件实例,并调用 setData 更新选中态
    this.getTabBar().setData({active: 0})
  },
第二个tabbar设置也是如此:
/**
   * 生命周期函数--监听页面显示
   */
  onShow() {
    // 通过 getTabBar 接口获取组件实例,并调用 setData 更新选中态
    this.getTabBar().setData({active: 1})
  },
依次设置,这样图标就会对应每一页面