PIL库安装
Image模块是PIL库中重要的模块,它可以帮助我们实现图像的处理
但PIL库在Python中不内置,需要安装后使用
在控制台(cmd)中输入以下内容安装PIL:
pip install Pillow
在这篇文章中,我们需要用到3个库,安装命令如下:
pip install Pillow numpy matplotlib
觉得慢的同学可以加上参数:
pip install Pillow numpy matplotlib -i https://pypi.doubanio.com/simple
Image模块常用函数
| 函数名称 | 含义与作用 |
|---|---|
Image.open(file) |
打开指定的图像文件并识别,例如: img = Image.open(test.png),它的意思是打开test.png,并赋值给img对象 |
img.show() |
显示指定对象的图像 |
img.format |
获取图像格式 |
img.size |
查看图像的大小,格式为(宽度,高度)。单位:像素 |
img.height与img.width |
分别查看图片的高度和宽度 |
img.save(file) |
另存为新的图像 |
img.rotate(x) |
旋转x度 |
img.mode |
获取图像的颜色模式 |
img.resize((x,y)) |
缩放图像,参数表示图像的新尺寸(宽度与高度)。单位:像素 |
显示图像信息
安装完三个库后,我们就可以开始处理图像了
首先导入模块,注意Image的I要大写
from PIL import Image
然后,读入图像,将它赋值于img对象
img = Image.open("test.png")
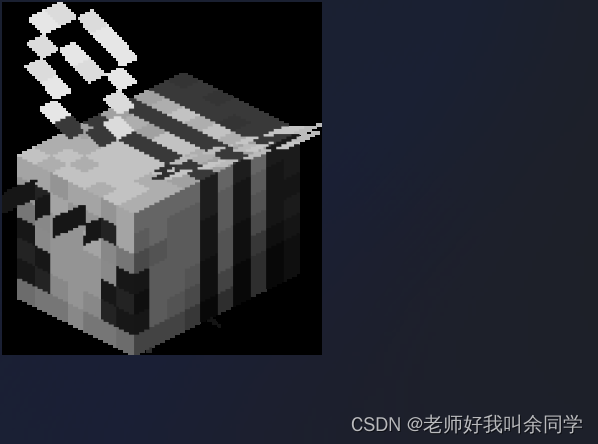
可以拿这张图片当样本:

接下来,获取图像文件格式
print(img.format) # 查看图像文件格式
获取图像大小
print(img.size) # 查看图像尺寸
获取图像的颜色模式
print(img.mode) # 查看图像的颜色模式
整合代码如下:
from PIL import Image
img = Image.open("test.png")
print(img.format) # 查看图像文件格式
print(img.size) # 查看图像尺寸
print(img.mode) # 查看图像的颜色模式
运行截图:

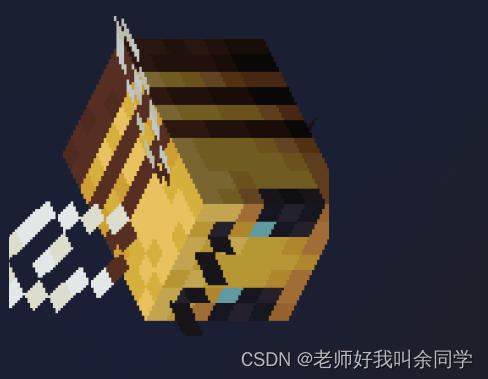
旋转角度
完整代码:
from PIL import Image
img = Image.open("test.png")
img = img.rotate(90) # img.rotate(90).show()
img.show()
当然,也可以让用户输入旋转多少度
from PIL import Image
img = Image.open("test.png")
angle = int(input("请输入旋转的角度:"))
img.rotate(angle).show()
彩色图像转黑白
这个时候就要用到matplotlib和numpy库了
from PIL import Image
import numpy as np
import matplotlib.pyplot as plt
打开图像并转换成灰度矩阵
img = np.array(Image.open("test.png").convert('L'))
其中,convert()函数用于不同模式图像之间的转换。模式L为灰度图像,它的每个像素用8个bit表示。
在PIL库中,从模式RGB转换成L是按照以下公式转换的:
L = R × 299 ÷ 1000 + G × 587 ÷ 1000 + B × 114 ÷ 1000 L = R×299÷1000+G×587÷1000+B×114÷1000 L=R×299÷1000+G×587÷1000+B×114÷1000
然后,转换每个像素的RGB值
width, height = img.shape # 图像尺寸分别赋值
for i in range(width):
    for j in range(height):
        if(img [i,j] > 128):
            img [i,j] = 1
        else:
            img [i,j] = 2
生成新的图像并显示
plt.figure("Image") # 标题
plt.imshow(img, cmap = 'gray') # 显示灰度图像
plt.axis('off') # 关闭图像坐标
plt.show()
整合代码如下:
from PIL import Image
import numpy as np
import matplotlib.pyplot as plt

img = np.array(Image.open("test.png").convert('L'))
width, height = img.shape # 图像尺寸分别赋值
for i in range(width):
    for j in range(height):
        if(img [i,j] > 128):
            img [i,j] = 1
        else:
            img [i,j] = 0

plt.figure("Image") # 标题
plt.imshow(img, cmap = 'gray') # 显示灰度图像
plt.axis('off') # 关闭图像坐标
plt.show()
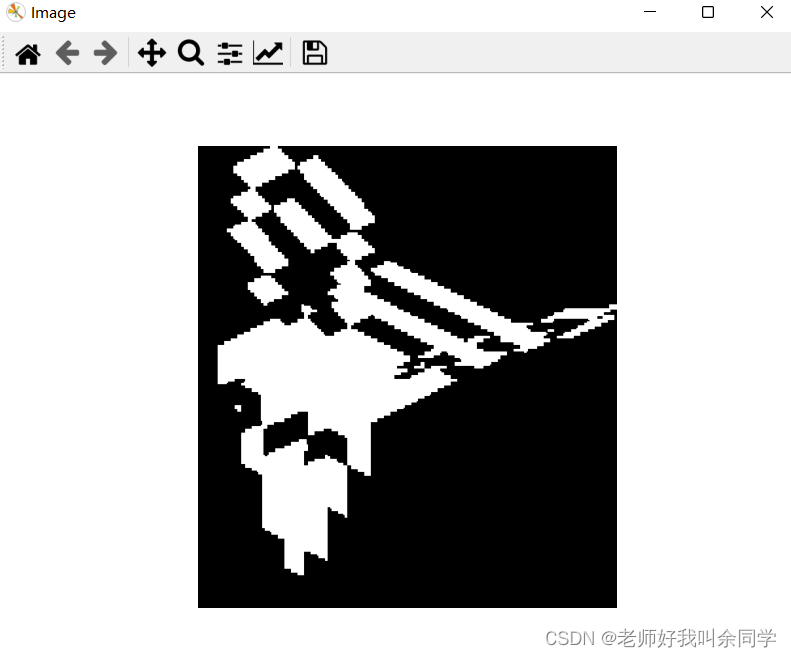
额,效果并不是很好
于是,我做了一个加强版,用户可以自己输入路径,也可以调节转换黑白的特定值
代码如下:
from PIL import Image
import numpy as np
import matplotlib.pyplot as plt

path = input("输入路径: ")
ipath = input("输入图片名: ")
img = np.array(Image.open(path+ "/" +ipath).convert('L'))

num = float(input("输入特定值: "))
rows, cols = img.shape
for i in range(rows):
    for j in range(cols):
        if(img [i,j] > num):
            img [i,j] = 1
        else:
            img [i,j] = 0

plt.figure("Image")
plt.imshow(img, cmap = 'gray')
plt.axis('off')
plt.show()
嗯,强多了
我找到了内心的平静
彩色图像转灰度
这个就比较简单了,直接上代码吧
from PIL import Image

img = Image.open("test.png").convert('L').show()