新手做毕设---后台管理系统
任务七 前端向后端传参(按姓名模糊查询)https://blog.csdn.net/wdyan297/article/details/128735594?spm=1001.2014.3001.5502
任务八 应用mybatis-plus框架
MyBatis-Plus 是一个 Mybatis 增强版工具,在 MyBatis 上扩充了其他功能没有改变其基本功能,为了简化开发提交效率而存在。
具体的介绍请参见官方文档。团队非常幽默
官网文档地址:mybatis-plus https://baomidou.com/
一、SpringBoot 配置 MyBatis-Plus
1.添加mybatis-plus依赖
<dependency>
    <groupId>com.baomidou</groupId>
    <artifactId>mybatis-plus-boot-starter</artifactId>
    <version>3.5.1</version>
</dependency>
特别说明: 依赖添加后,保存pom文件,并更新maven。有时候由于网络等原因,一次不能成功,不要着急,再点击“更新”按钮,直到更新成功。
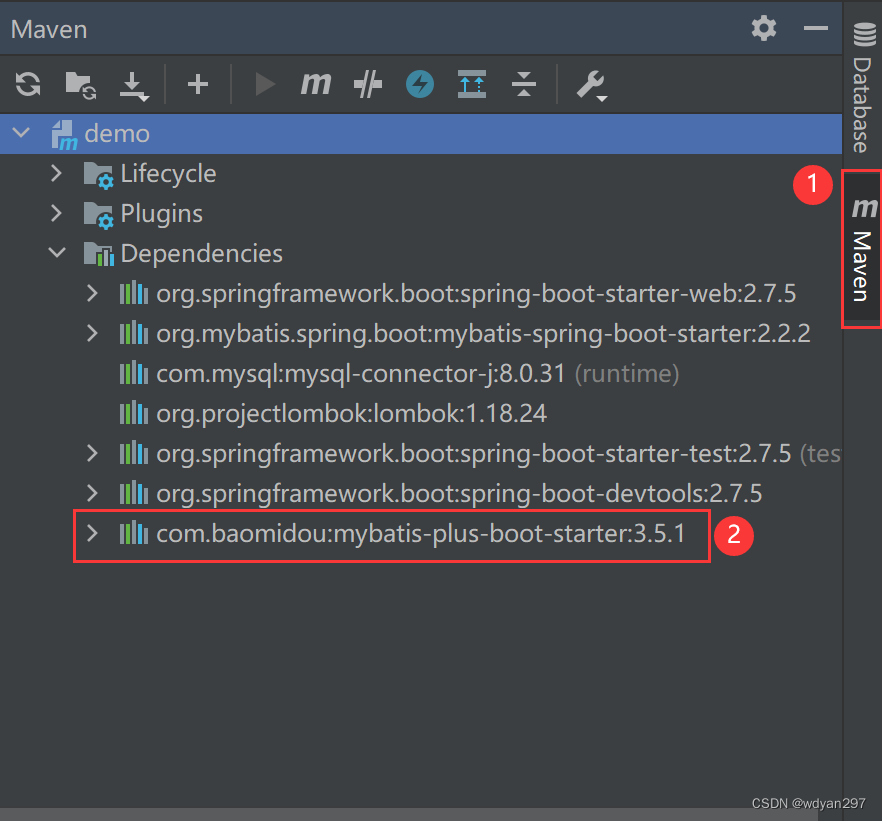
是否maven添加成功依赖,可以打开maven查看。
2. 添加MyBatisPlusConfig配置文件
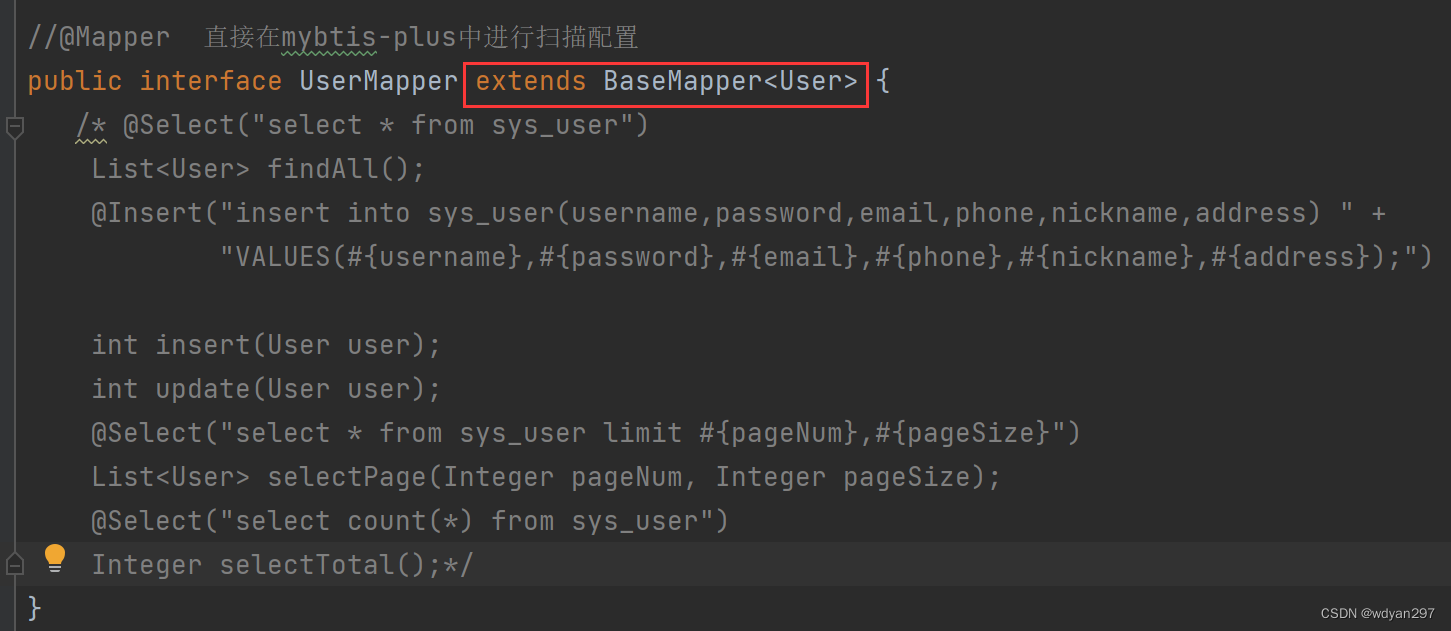
早config包中添加MyBatisPlusConfig配置文件,将原来在mapper中的@mapper注解取消,继承上BaseMapper泛型接口即可。
Mybatis-Plus里的BaseMapper接口,自带crud功能,继承了BaseMapper接口的接口(接口与接口之间是继承关系,可以单继承也可以多继承)直接可以调用增删改查方法而不用重新编写。
 现在使用MapperScan进行数据扫描,我们把这个都配置到MyBatisPlusConfig中。
MyBatisPlusConfig代码如下:
package com.example.demo.config;

import com.baomidou.mybatisplus.annotation.DbType;
import com.baomidou.mybatisplus.extension.plugins.MybatisPlusInterceptor;
import com.baomidou.mybatisplus.extension.plugins.inner.PaginationInnerInterceptor;
import org.mybatis.spring.annotation.MapperScan;
import org.springframework.context.annotation.Bean;
import org.springframework.context.annotation.Configuration;

@Configuration
@MapperScan("com.example.demo.mapper")
public class MyBatisPlusConfig {
    //配置分页插件
    @Bean
    public MybatisPlusInterceptor mybatisPlusInterceptor(){
        MybatisPlusInterceptor interceptor = new MybatisPlusInterceptor();
        //数据库类型是MySql,因此参数填写DbType.MYSQL
        interceptor.addInnerInterceptor(new PaginationInnerInterceptor(DbType.MYSQL));
        return interceptor;
    }
}
3.yml中SQL日志输出的配置
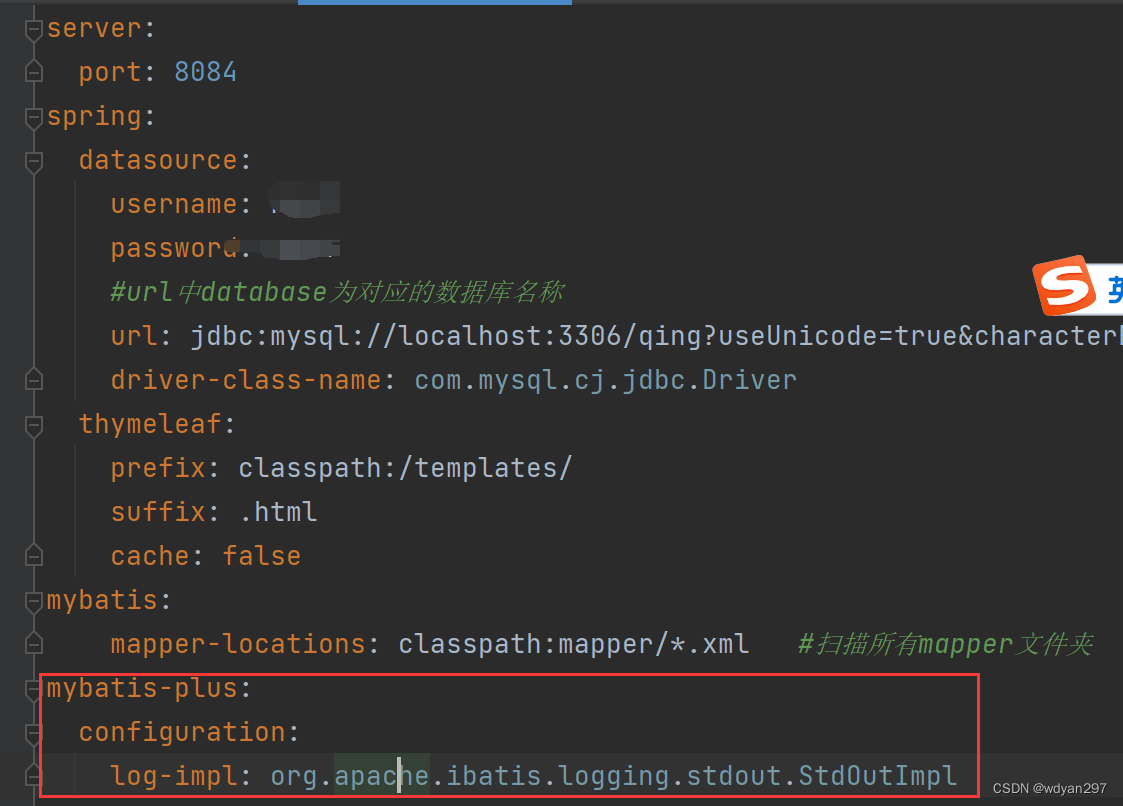
运行过程中,经常需要在IDEA中看到SQL的运行情况并,打印输出,可以在.yml文件进行中SQL日志输出的配置。
mybatis-plus:
  configuration:
    log-impl: org.apache.ibatis.logging.stdout.StdOutImpl
二、mybtis-plus实现增删改查
如果是跟着前面的任务延续做的同学,这里请注意:
我们使用mybtis-plus是给大家提供了另外一种更简单的数据CRUD接口方法,前面已经实现增删改查,不想做这一任务,也是可以的,直接做任务九:AXIOS 前端数据增删改查就可以。如果是接上做的同学,可以在每一个修改类的地方,将原来的方法注释掉即可,不要删除,方便后期学习使用。
1. 数据增加
(1)UserService 继承 ServiceImpl接口实现。
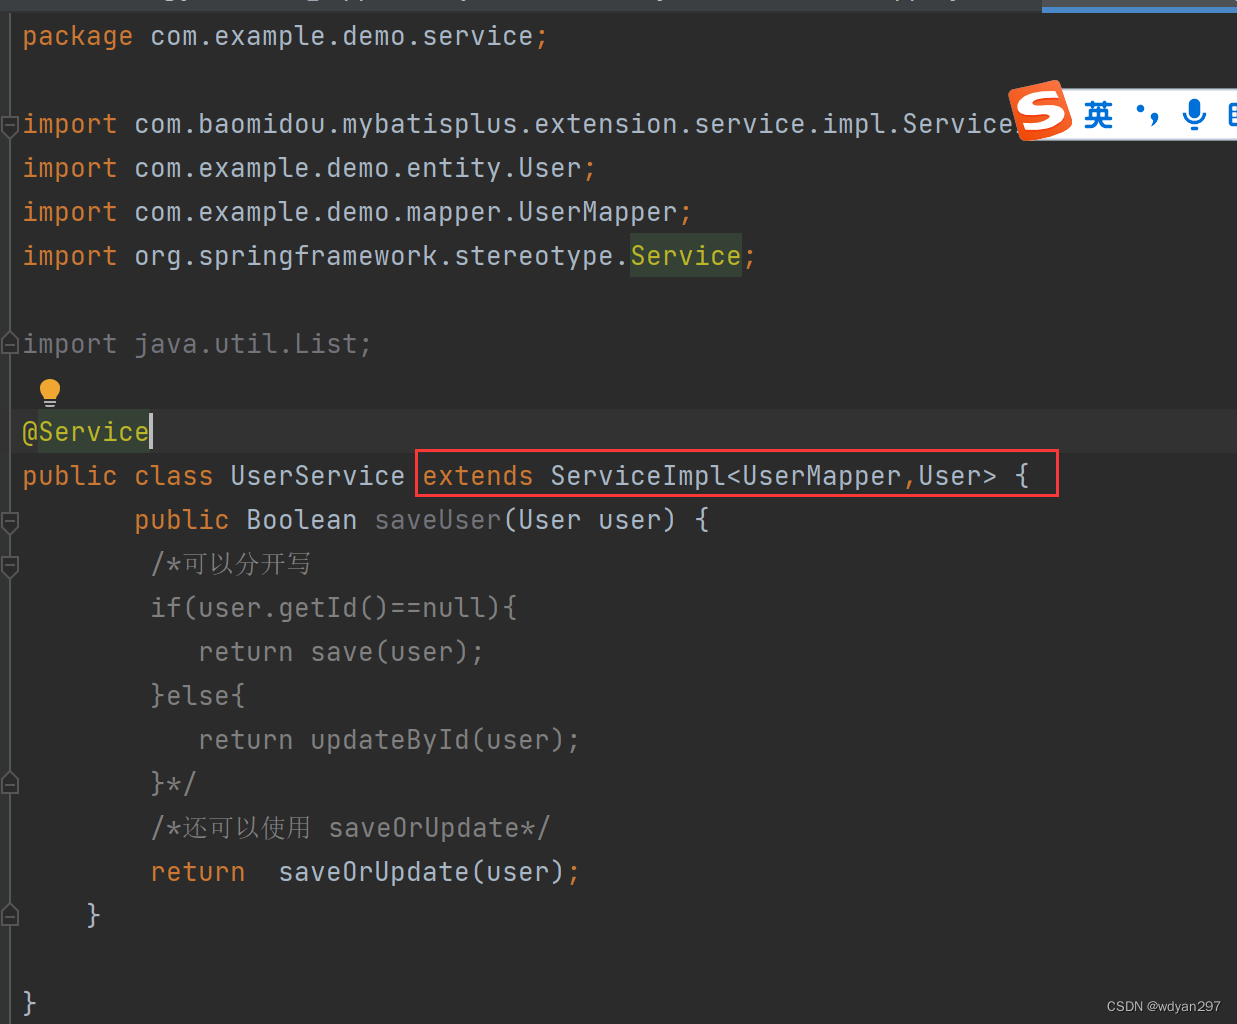
代码如下:
(2)UserController类添加save接口
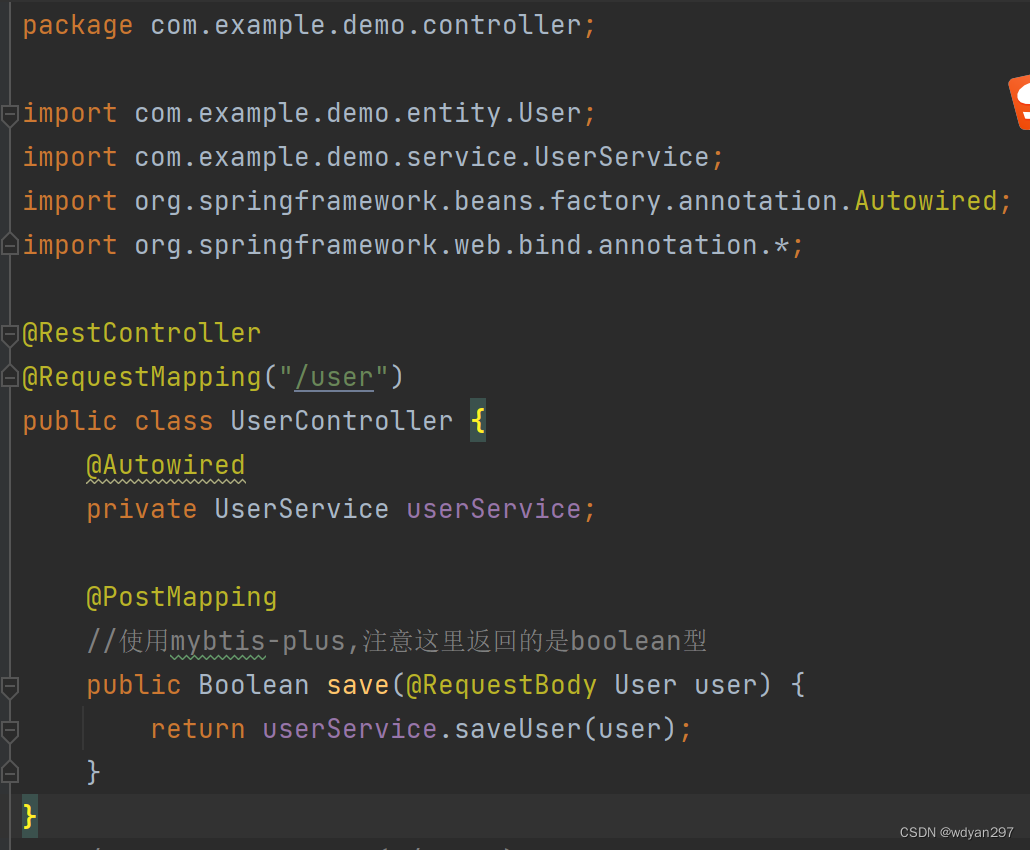
代码如下:
package com.example.demo.controller;

import com.example.demo.entity.User;
import com.example.demo.service.UserService;
import org.springframework.beans.factory.annotation.Autowired;
import org.springframework.web.bind.annotation.*;

@RestController
@RequestMapping("/user")
public class UserController {
    @Autowired
    private UserService userService;

    @PostMapping
    //使用mybtis-plus,注意这里返回的是boolean型
    public Boolean save(@RequestBody User user) {
        return userService.saveUser(user);
    }
}
(3)运行项目
使用postman作为测试接口,添加数据。
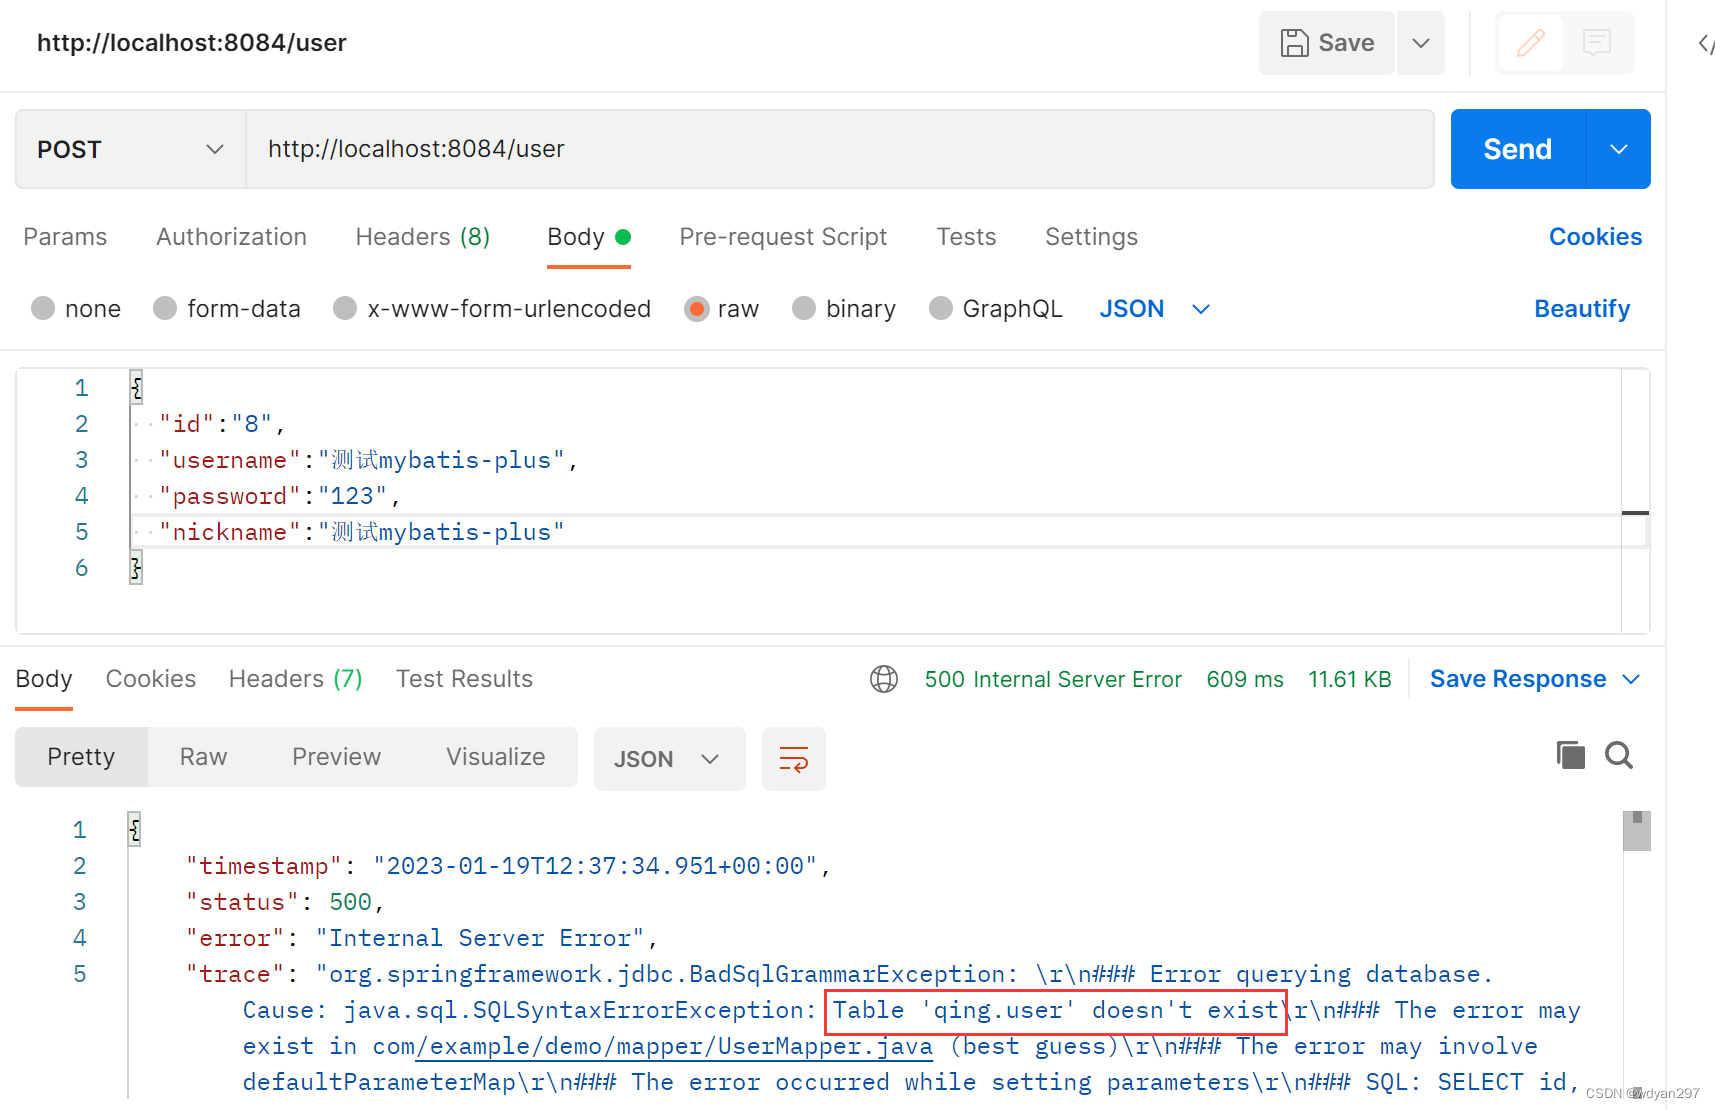
完了…这里报500的错误了。
仔细分析错误发现找不到请这个数据库中的user数据表,新手特别容易犯这个错误。
这是因为,使用了mybtis-plus自动调用子类实现自动的增删改查,表名也要求和与实体类名一致。解决办法:修改实体类,添加表名的注解
`//可以使用 @TableName 表名注解指定当前实体类对应的表名,比如下面 User 实体类对应表名为 sys_user
@TableName(value="sys_user")`
完整代码为:
package com.example.demo.entity;

import com.baomidou.mybatisplus.annotation.IdType;
import com.baomidou.mybatisplus.annotation.TableId;
import com.baomidou.mybatisplus.annotation.TableName;
import lombok.Data;

import java.sql.Date;


@Data
//可以使用 @TableName 表名注解指定当前实体类对应的表名,比如下面 User 实体类对应表名为 sys_user
@TableName(value="sys_user")
public class User {
    //可以使用 @TableId 注解(标注在主键上)和 @TableField 注解(标注在其他成员属性上)来指定对应的字段名
    @TableId(value = "id",type = IdType.AUTO)
    private Integer id;
    private String username;
    private String password;
    private String email;
    private String phone;
    private String nickname;
    private String address;
}
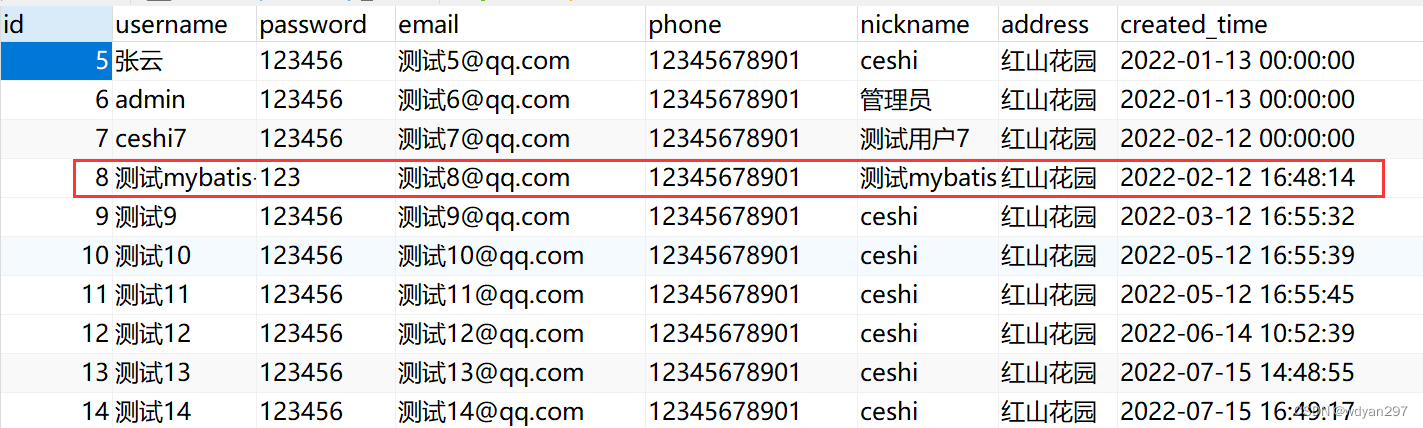
再次使用postman作为测试接口,添加数据。
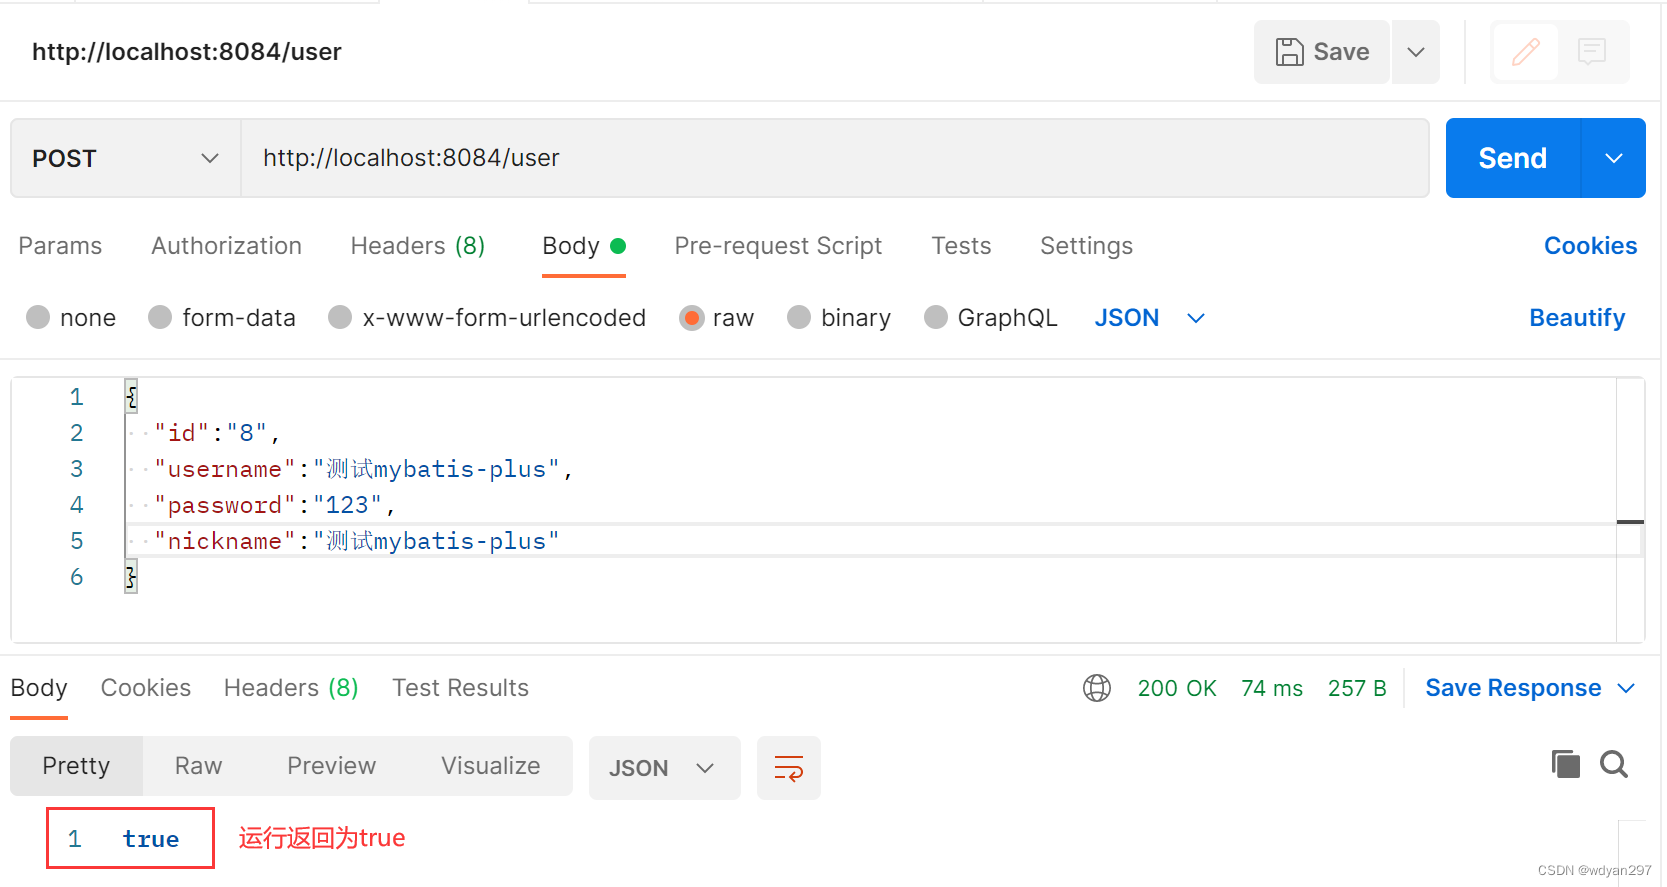
特别注意: 这里的id为8,所以mybtis-plus自动判断之后进行了数据更新,这也mybtis-plus特别方便的地方。
2. 查询所有数据
(1)UserController类直接添加findAll接口。
//使用mybtis-plus实现查询所有数据
@GetMapping("/")
public List<User> findAll(){
    return userService.list();
}
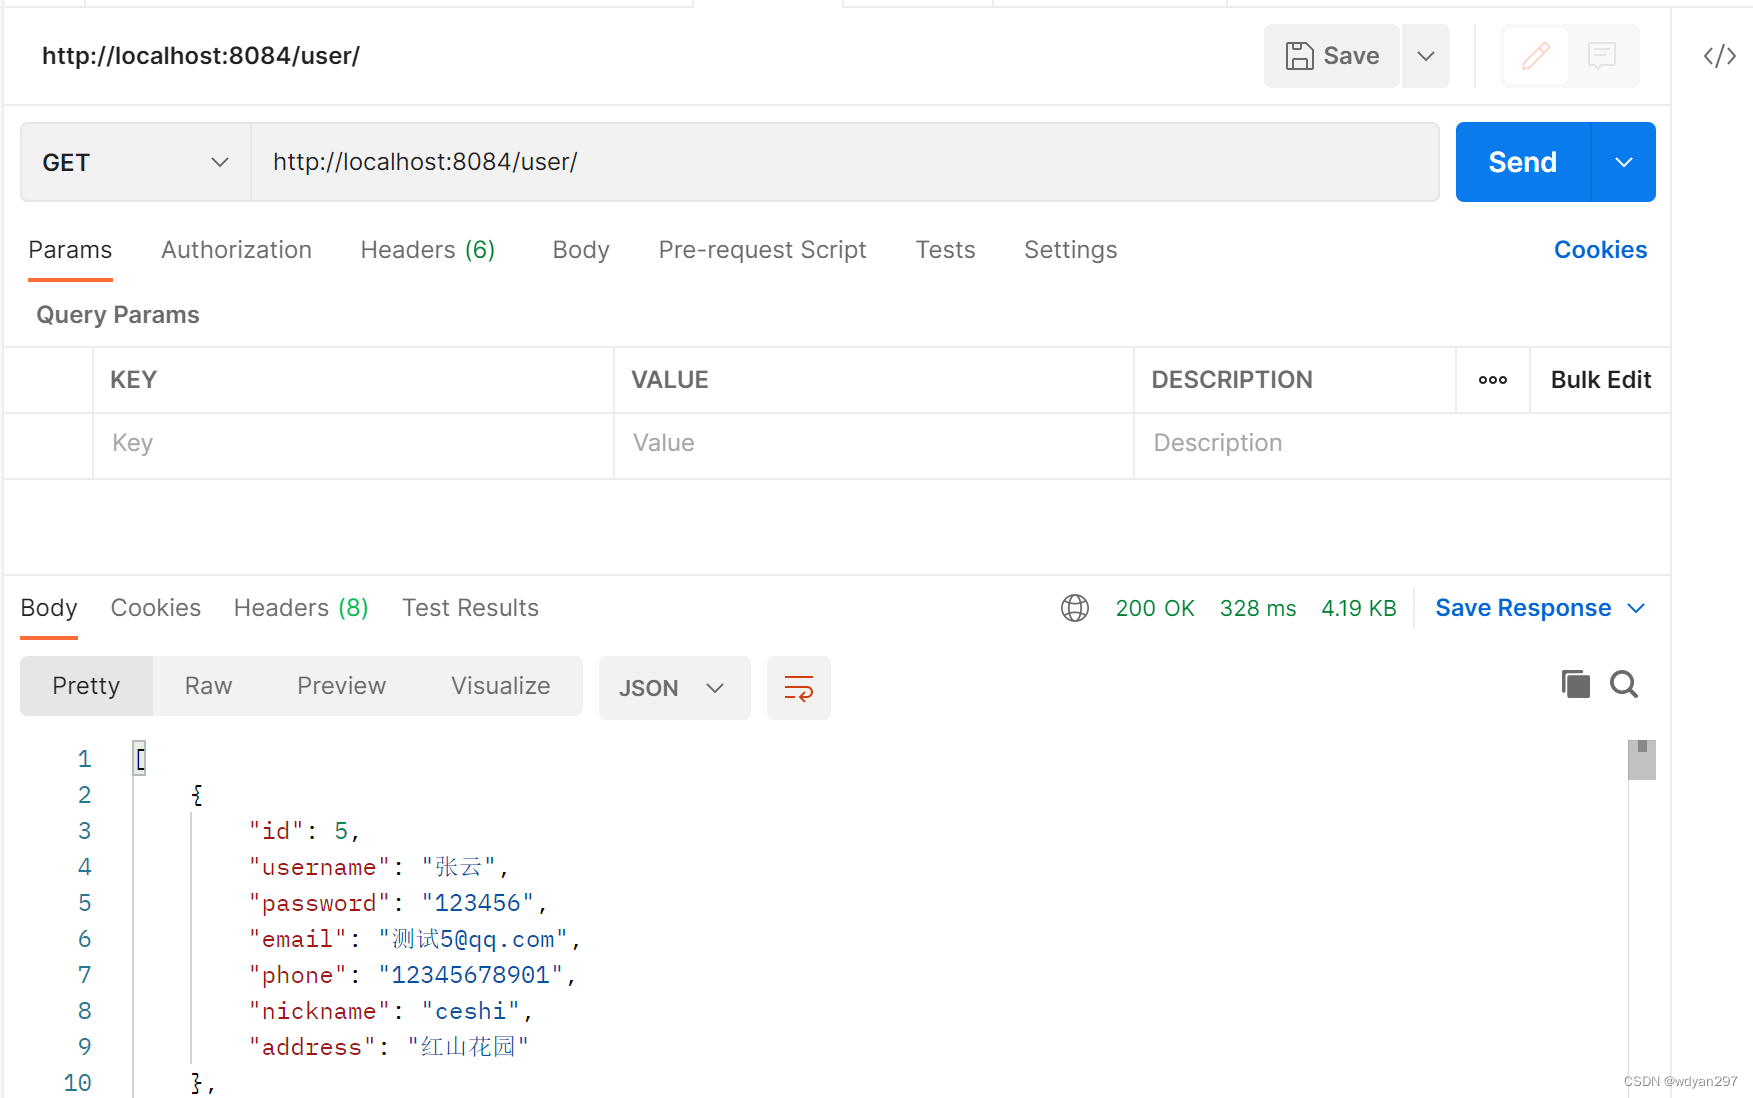
(2)运行项目
使用postman作为测试接口,添加数据。
3. 删除数据
(1)UserController类直接添加deleteById接口。
    //使用mybtis-plus实现删除
    @DeleteMapping("/{id}")
    public boolean deleteById(@PathVariable Integer id){
        return  userService.removeById(id);
    }
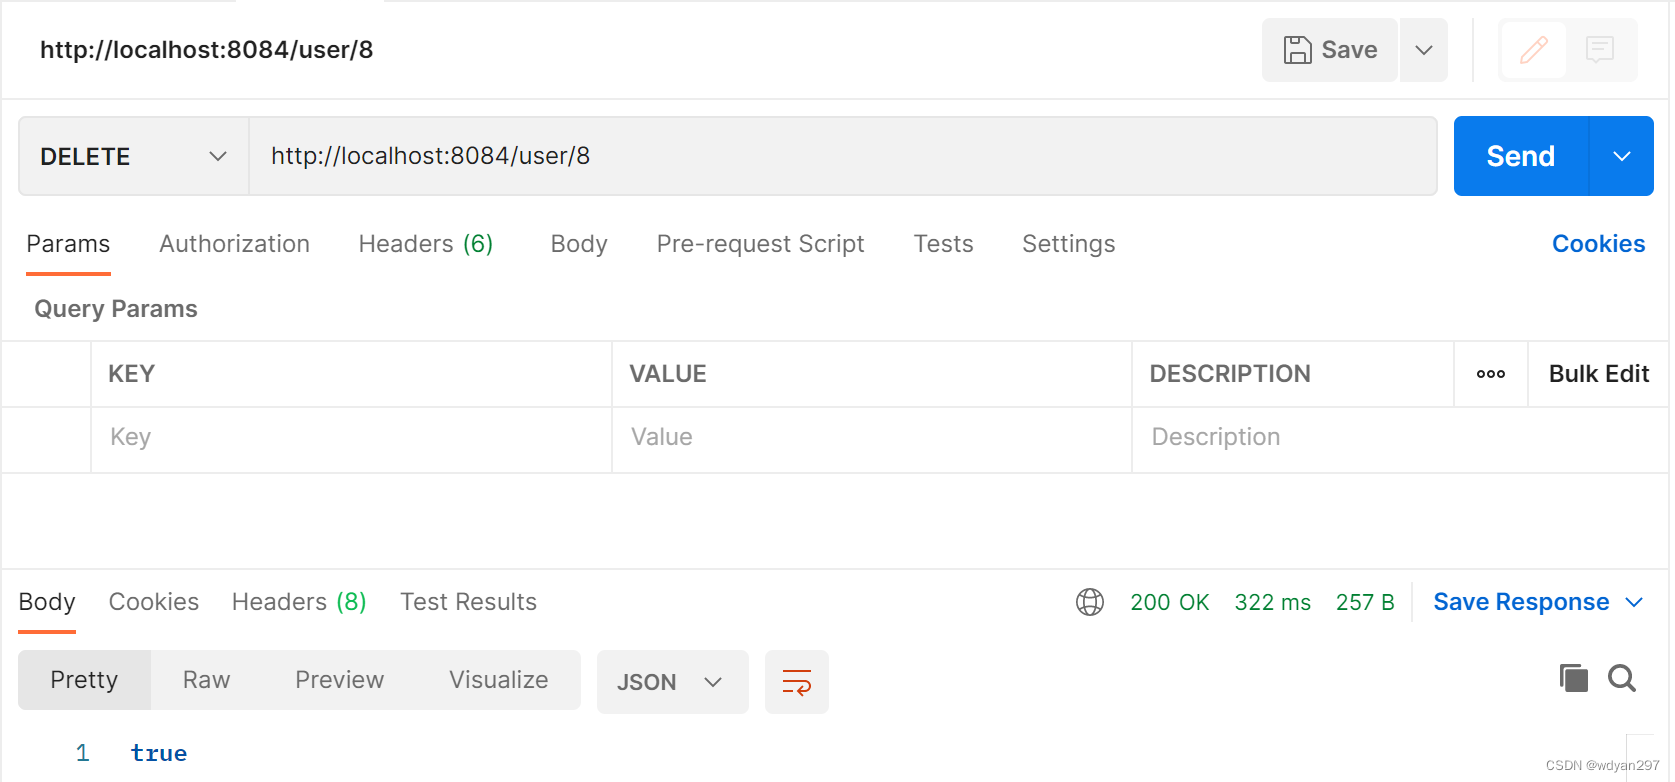
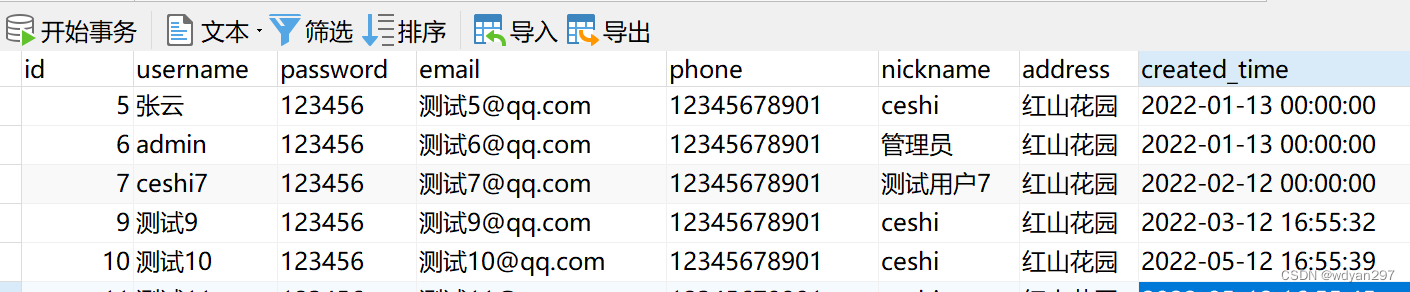
(2)运行项目
使用postman作为测试接口,删除id为8的那条记录。
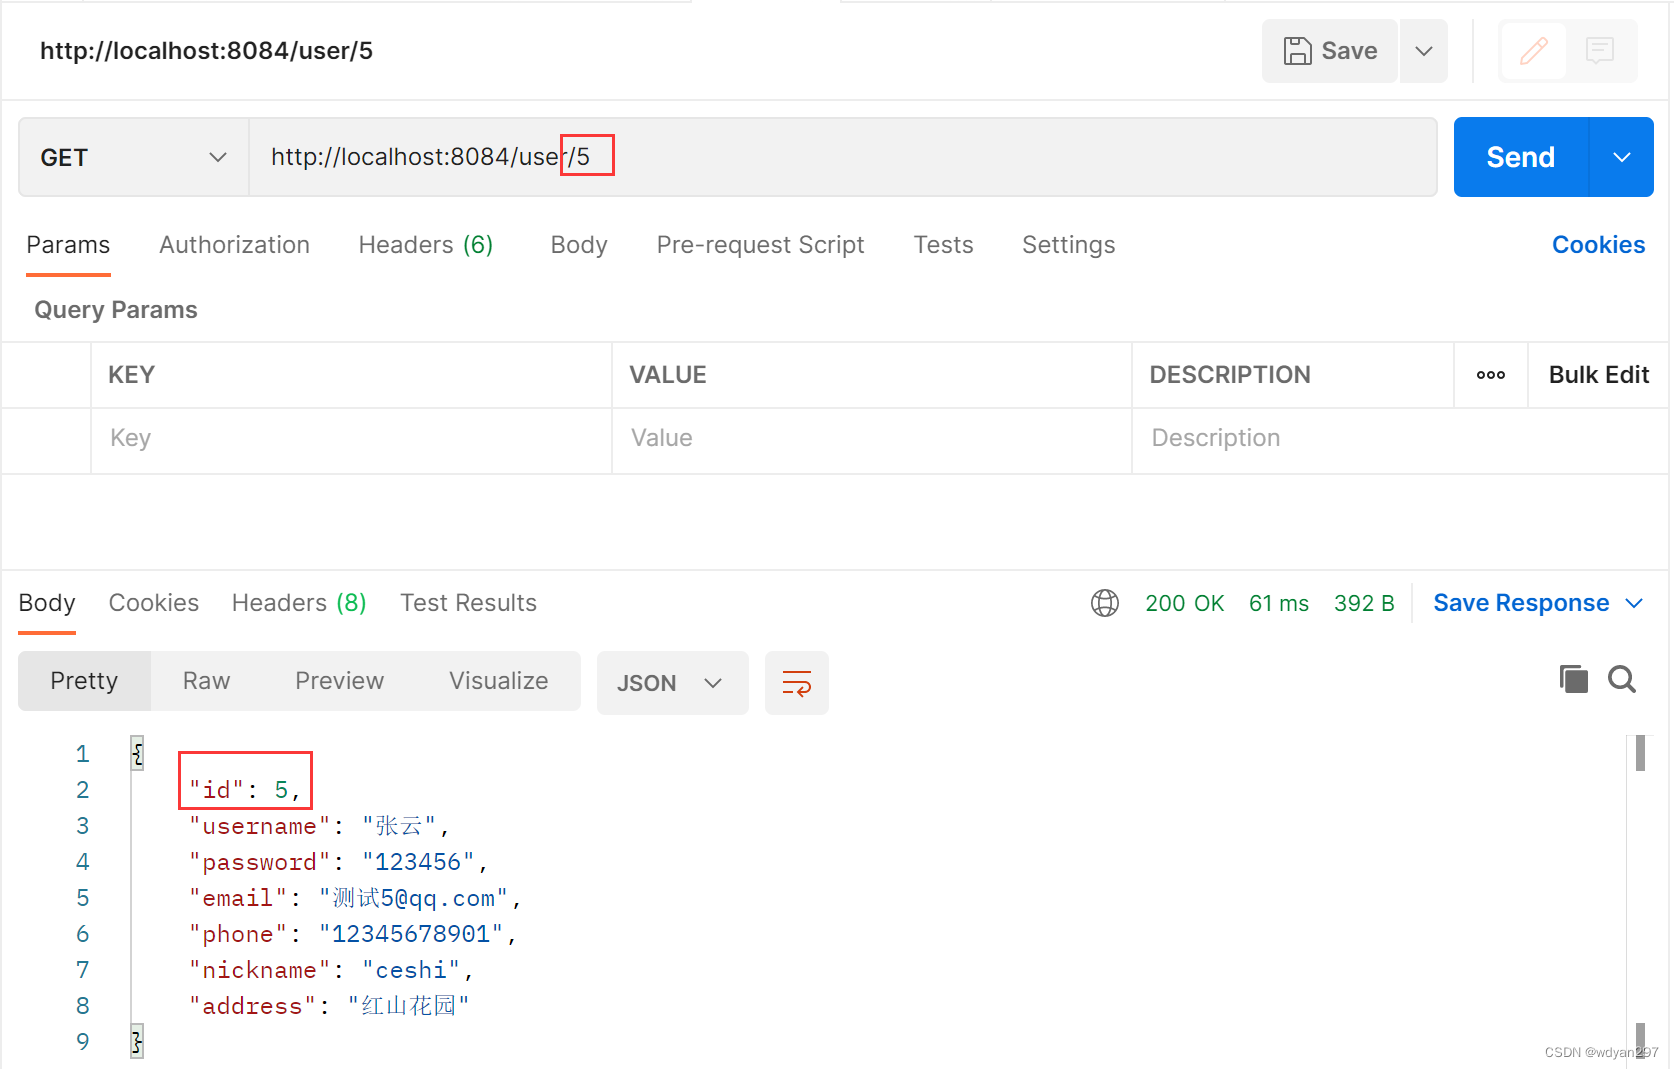
4.根据ID查找记录
(1)UserController类直接添加findOne接口。
 //使用mybtis-plus实现根据ID查找记录
@GetMapping("/{id}")
    public User findOne(@PathVariable Integer id){
        return userService.getById(id);
    }
(2)运行项目
使用postman作为测试接口,查找id为5的那条记录。
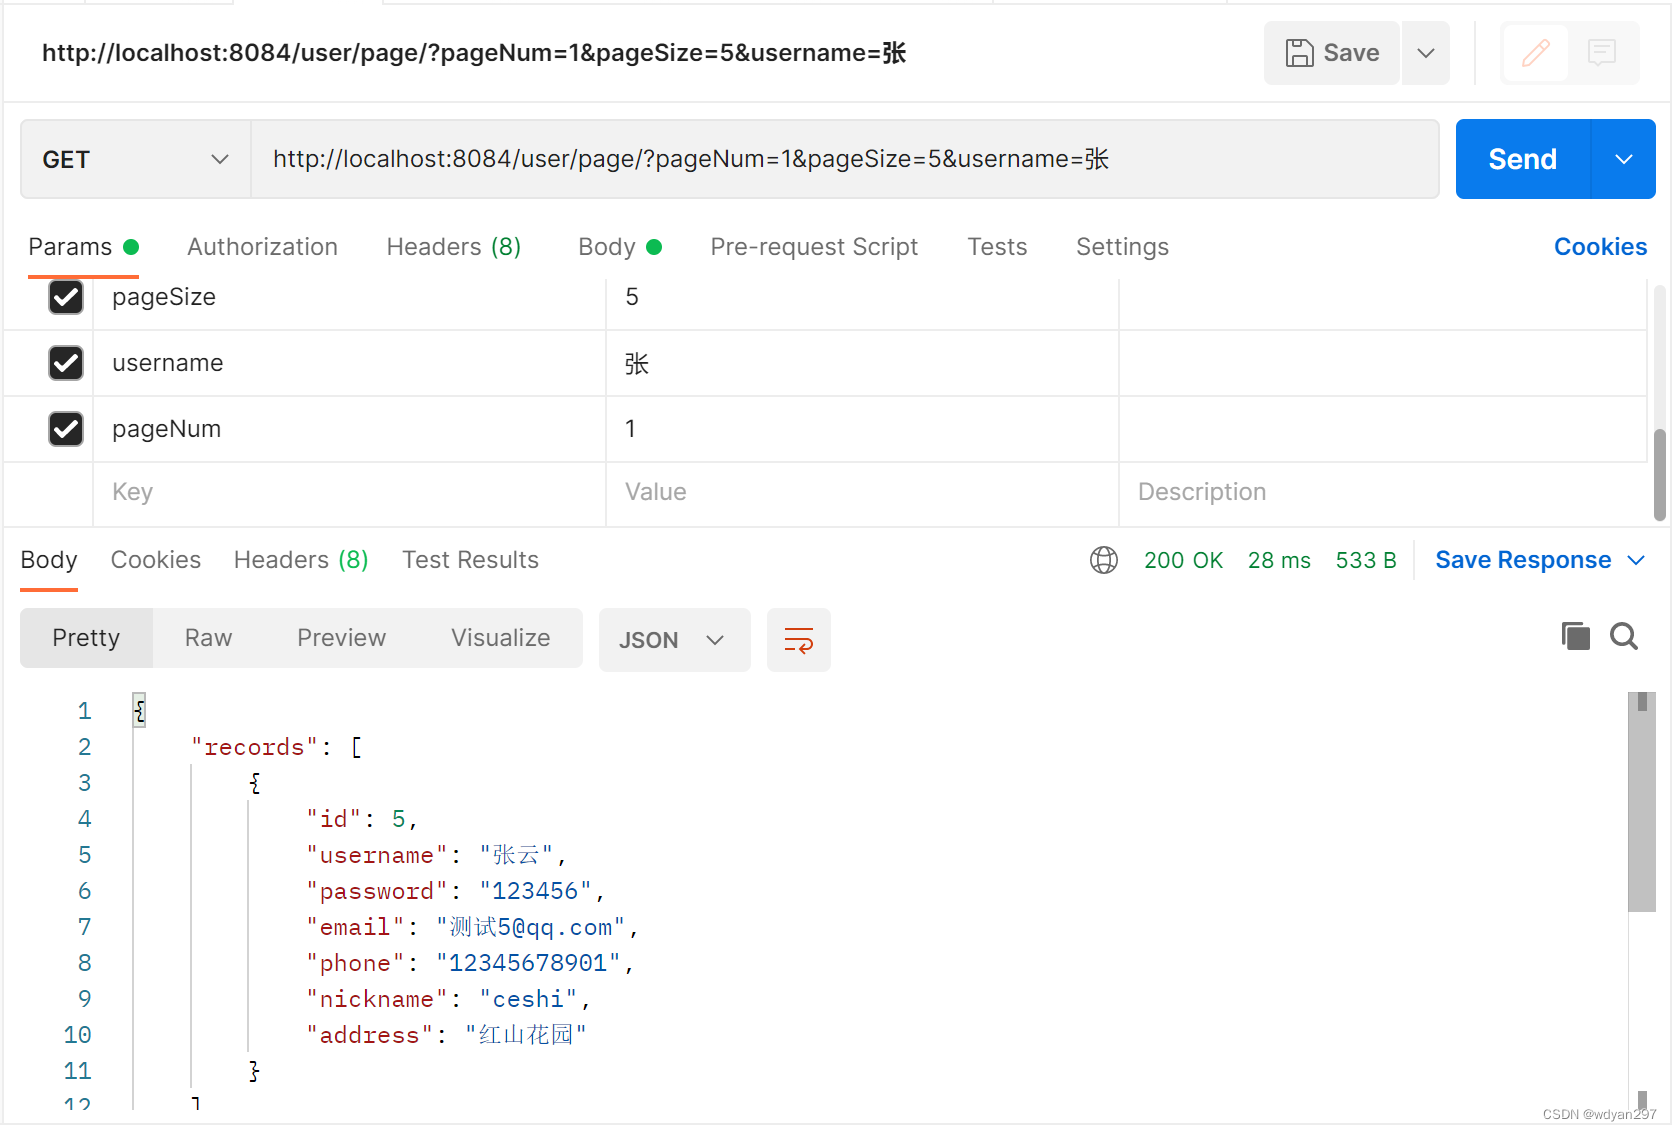
5.多条件模糊查询,并分页显示
(1)UserController类直接添加findPage接口。
    //使用mybtis-plus实现模糊查询并分页
    @GetMapping("/page")
    public IPage<User> findPage(@RequestParam Integer pageNum,
                                @RequestParam Integer pageSize,
                                @RequestParam(defaultValue = "") String username,
                                @RequestParam(defaultValue = "") String nickname,
                                @RequestParam(defaultValue = "") String address){
        IPage<User> page=new Page<>(pageNum,pageSize);
        QueryWrapper<User> queryWrapper=new QueryWrapper<>();
        queryWrapper.like("username",username);
        queryWrapper.like("nickname",nickname);
        queryWrapper.like("address",address);
        return userService.page(page,queryWrapper);
    }
(2)运行项目
使用postman作为测试接口。查找username中有“张”的记录。
任务总结
本次任务可以说是一个拓展训练,我们使用了Mybatis-plus实现了数据增删改查。
本次任务,主要完成并掌握以下内容:
(1)了解mybatis-plus的工作原理;
(2)掌握mybatis-plus底层接口的工作原理;
(3)后端应用mybatis-plus实现数据增删改查。