文章目录
前言
我之前稍微研究了一下SignalR Core。用起来还行。简单来说SignalR就是用来解决实时通讯的问题的。
SignalR支持三种客户端,C#,Java,JavaScirpt。基本够用了。本身就是微软开发的,肯定支持自己的语言。因为是Websocket的上层封装,所以也要支持Websocket的主要客户,JavaScirpt。不过我没想到有Java版本的,那这样双语言互通的问题也就解决了。
环境
- .net core 8.0
- visual studio 2022
Webapi开发测试
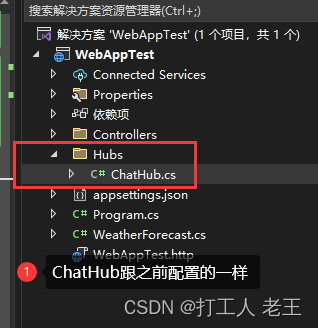
服务端开发
我们新建一个WebApi

按照我之前设置的
再添加一下上次添加的聊天室代码
Program.cs
var builder = WebApplication.CreateBuilder(args);
//配置跨域
var MyPolicy = "MyPolicy";
builder.Services.AddCors(options =>
{
options.AddPolicy(MyPolicy, policy =>
{
policy.AllowAnyHeader().AllowAnyOrigin().AllowAnyMethod();
});
});
//启用SignalR
builder.Services.AddSignalR();
// Add services to the container.
builder.Services.AddControllers();
// Learn more about configuring Swagger/OpenAPI at https://aka.ms/aspnetcore/swashbuckle
builder.Services.AddEndpointsApiExplorer();
//添加swagger接口配置
builder.Services.AddSwaggerGen(options =>
{
options.SwaggerDoc("v1", new OpenApiInfo
{
Version = "v1",
Title = "API标题",
Description = $"API描述,v1版本"
});
var xmlFilename = $"{
Assembly.GetExecutingAssembly().GetName().Name}.xml";
//IncludeXmlComments 第二参数 true 则显示 控制器 注释
options.IncludeXmlComments(Path.Combine(AppContext.BaseDirectory, xmlFilename), true);
});
var app = builder.Build();
// Configure the HTTP request pipeline.
if (app.Environment.IsDevelopment())
{
}
app.UseSwagger();
app.UseSwaggerUI();
//自动重定向到swgger文件
app.UseStatusCodePagesWithRedirects("/swagger/index.html");
app.UseCors(MyPolicy);
app.UseHttpsRedirection();
app.UseAuthorization();
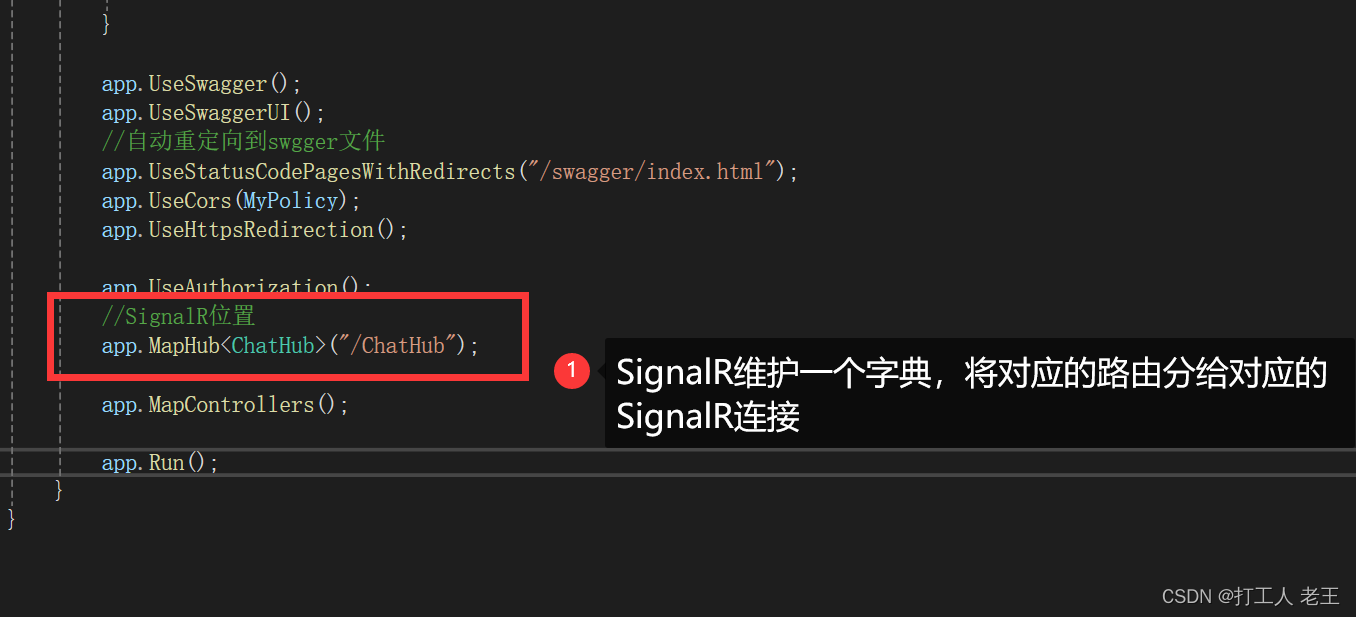
//SignalR位置
app.MapHub<ChatHub>("/ChatHub");
app.MapControllers();
app.Run();
ChatHub
using Microsoft.AspNetCore.SignalR;
namespace SiganlRTest.Hubs
{
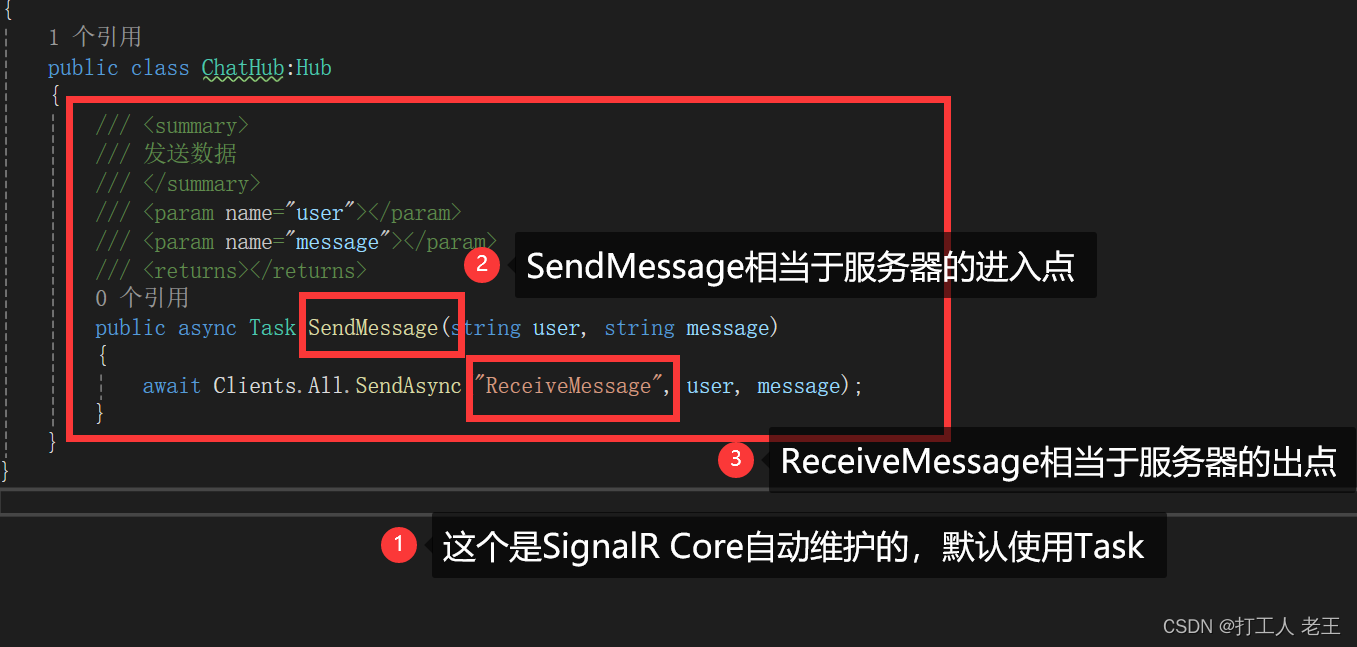
public class ChatHub : Hub
{
public async Task SendMessage(string user, string message)
{
await Clients.All.SendAsync("ReceiveMessage", user, message);
}
}
}

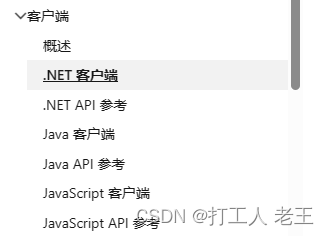
客户端开发
官方文档
为了方便操作的实时性,我们新建一个WPF程序

新建项目

Nuget添加

添加代码
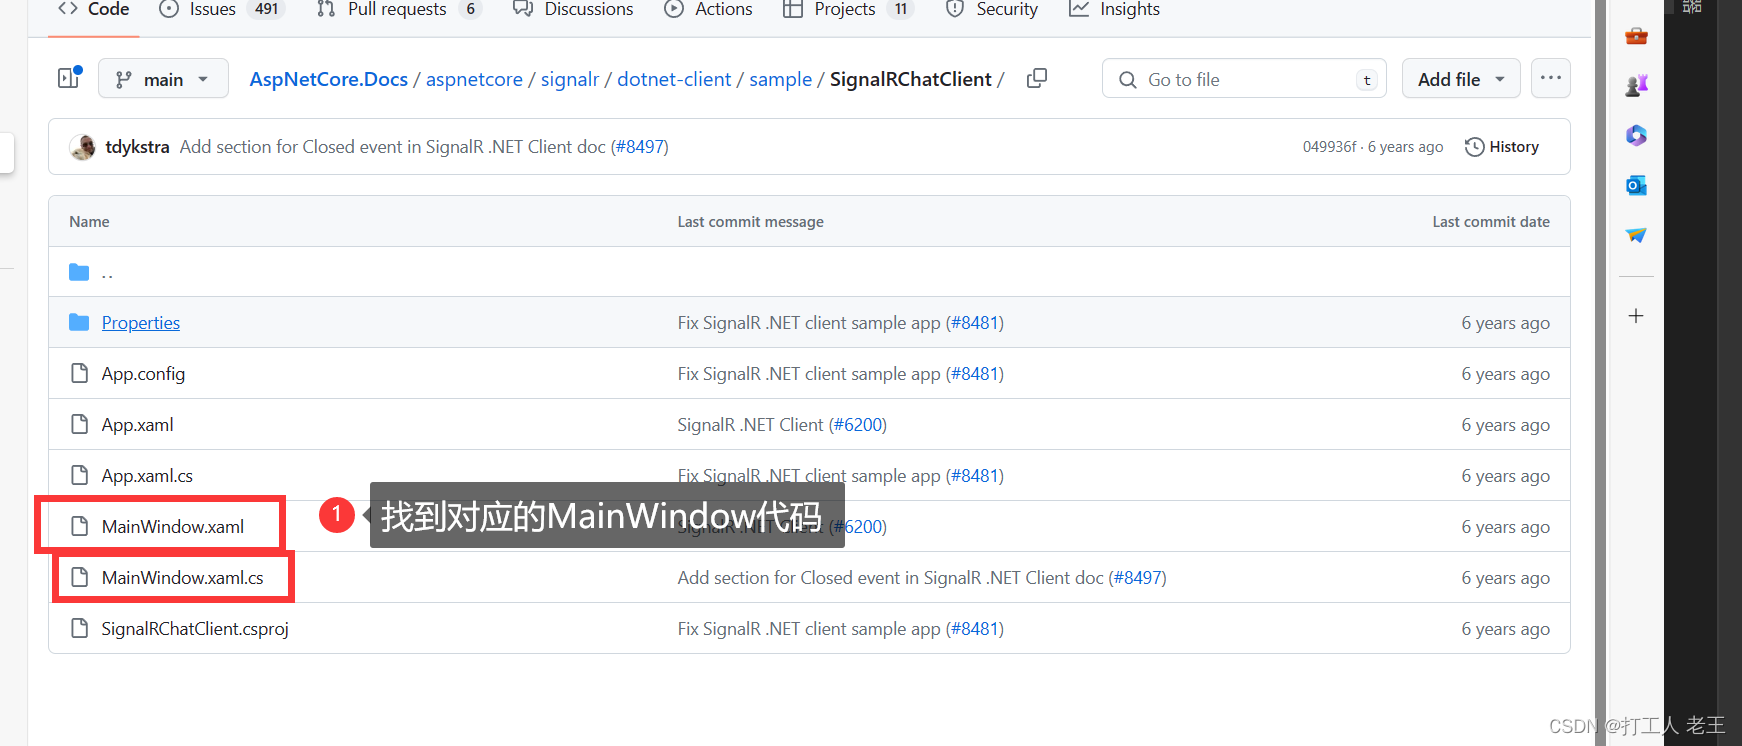
MainWindow.xaml
<Window x:Class="SignalR_WPF.MainWindow"
        xmlns="http://schemas.microsoft.com/winfx/2006/xaml/presentation"
        xmlns:x="http://schemas.microsoft.com/winfx/2006/xaml"
        xmlns:d="http://schemas.microsoft.com/expression/blend/2008"
        xmlns:mc="http://schemas.openxmlformats.org/markup-compatibility/2006"
        xmlns:local="clr-namespace:SignalR_WPF"
        mc:Ignorable="d"
        Title="MainWindow"
        Height="450"
        Width="800">
    <Grid Margin="0,0,193.333,50.667">
        <Grid.ColumnDefinitions>
            <ColumnDefinition Width="109*" />
            <ColumnDefinition Width="288*" />
        </Grid.ColumnDefinitions>
        <Button x:Name="connectButton"
                Content="Connect"
                HorizontalAlignment="Left"
                Margin="275.333,63,0,0"
                VerticalAlignment="Top"
                Width="95"
                Click="connectButton_Click"
                Height="41"
                Grid.Column="1" />
        <Button x:Name="sendButton"
                Content="Send Message"
                HorizontalAlignment="Left"
                Margin="275.333,113,0,0"
                VerticalAlignment="Top"
                Width="95"
                Click="sendButton_Click"
                Height="41"
                Grid.Column="1"
                IsEnabled="False" />
        <TextBox x:Name="messageTextBox"
                 HorizontalAlignment="Left"
                 Height="41"
                 Margin="82,113,0,0"
                 TextWrapping="Wrap"
                 VerticalAlignment="Top"
                 Width="311"
                 Grid.ColumnSpan="2" />
        <ListBox x:Name="messagesList"
                 HorizontalAlignment="Left"
                 Height="141"
                 Margin="82,170,0,0"
                 VerticalAlignment="Top"
                 Width="311"
                 RenderTransformOrigin="-0.304,0.109"
                 BorderThickness="1"
                 Grid.ColumnSpan="2"
                 BorderBrush="Gainsboro" />
        <TextBox x:Name="userTextBox"
                 HorizontalAlignment="Left"
                 Height="41"
                 Margin="82,57,0,0"
                 TextWrapping="Wrap"
                 VerticalAlignment="Top"
                 Width="311"
                 Grid.ColumnSpan="2" />
        <Label Content="User"
               HorizontalAlignment="Left"
               Height="31"
               Margin="39,63,0,0"
               VerticalAlignment="Top"
               Width="38" />
        <Label Content="Message"
               HorizontalAlignment="Left"
               Height="26"
               Margin="19,120,0,0"
               VerticalAlignment="Top"
               Width="58" />

    </Grid>
</Window>
MainWindow.xaml.cs
using Microsoft.AspNetCore.SignalR.Client;
using System.Text;
using System.Windows;
using System.Windows.Controls;
using System.Windows.Data;
using System.Windows.Documents;
using System.Windows.Input;
using System.Windows.Media;
using System.Windows.Media.Imaging;
using System.Windows.Navigation;
using System.Windows.Shapes;
namespace SignalR_WPF
{
/// <summary>
/// Interaction logic for MainWindow.xaml
/// </summary>
public partial class MainWindow : Window
{
HubConnection connection;
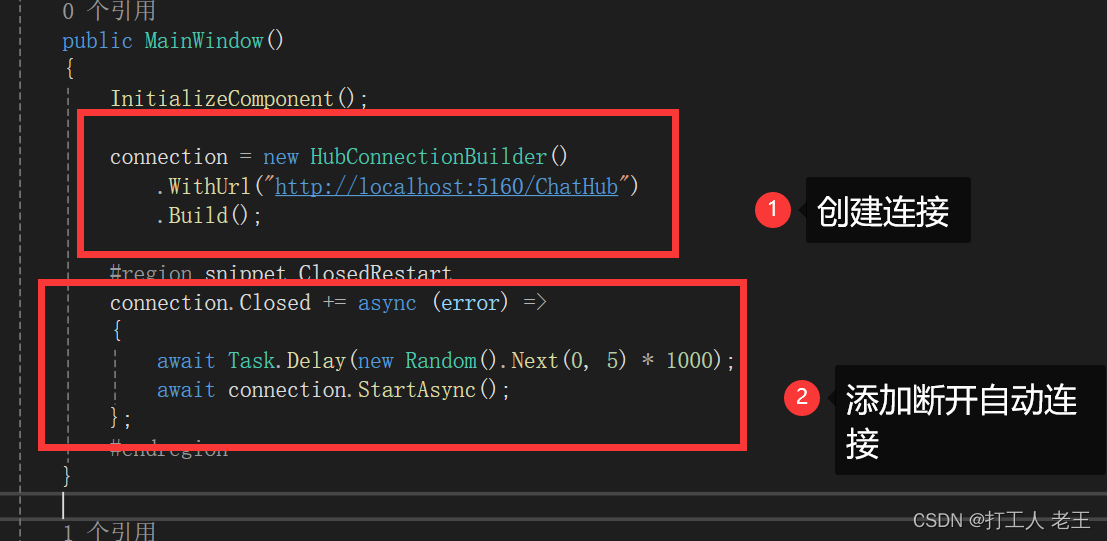
public MainWindow()
{
InitializeComponent();
connection = new HubConnectionBuilder()
.WithUrl("http://localhost:53353/ChatHub")
.Build();
#region snippet_ClosedRestart
connection.Closed += async (error) =>
{
await Task.Delay(new Random().Next(0, 5) * 1000);
await connection.StartAsync();
};
#endregion
}
private async void connectButton_Click(object sender, RoutedEventArgs e)
{
#region snippet_ConnectionOn
connection.On<string, string>("ReceiveMessage", (user, message) =>
{
this.Dispatcher.Invoke(() =>
{
var newMessage = $"{
user}: {
message}";
messagesList.Items.Add(newMessage);
});
});
#endregion
try
{
await connection.StartAsync();
messagesList.Items.Add("Connection started");
connectButton.IsEnabled = false;
sendButton.IsEnabled = true;
}
catch (Exception ex)
{
messagesList.Items.Add(ex.Message);
}
}
private async void sendButton_Click(object sender, RoutedEventArgs e)
{
#region snippet_ErrorHandling
try
{
#region snippet_InvokeAsync
await connection.InvokeAsync("SendMessage",
userTextBox.Text, messageTextBox.Text);
#endregion
}
catch (Exception ex)
{
messagesList.Items.Add(ex.Message);
}
#endregion
}
}
}
运行结果
代码解析
SignalR的代码将服务器的输入和输出分为两类:
- 输入:类似于Http的接口
- 输出:类似于Http的回调,因为SignalR的数据是通关另一个口进行返回的
服务端
客户端


所以我们一般的代码逻辑
- 监听所有的回调
- 尝试连接
- 连接成功,发送接口
- 服务器返回回调,回调到监听的接口
总结
我们目前是单接口,单回调。收发数据,那还是比较简单。那么如果我们想对SignalR的接口进行复杂的调用呢?下篇文章我会对这个进行思考和探索。