目录
一、简介
对于SpringBoot而言,Swagger的作用是通过后端SpringBoot代码快速生成接口文档,方便测试接口以及前端使用。
二、基本使用
由于springfox不适用于SpringBoot3.x,故使用Springdoc进行代替。
1. 引入依赖
		<dependency>
			<groupId>org.springdoc</groupId>
			<artifactId>springdoc-openapi-starter-webmvc-ui</artifactId>
			<version>2.6.0</version>
		</dependency>
2. 其它相关依赖
		<dependency>
			<groupId>org.springframework.boot</groupId>
			<artifactId>spring-boot-starter-web</artifactId>
		</dependency>


		<!-- 让响应结果更美观 -->
		<dependency>
			<groupId>com.alibaba.cola</groupId>
			<artifactId>cola-component-dto</artifactId>
			<version>4.3.2</version>
		</dependency>
2. 编写配置文件
添加 swagger 的配置文件SwaggerConfig.java
@Configuration
public class SwaggerConfig {

}
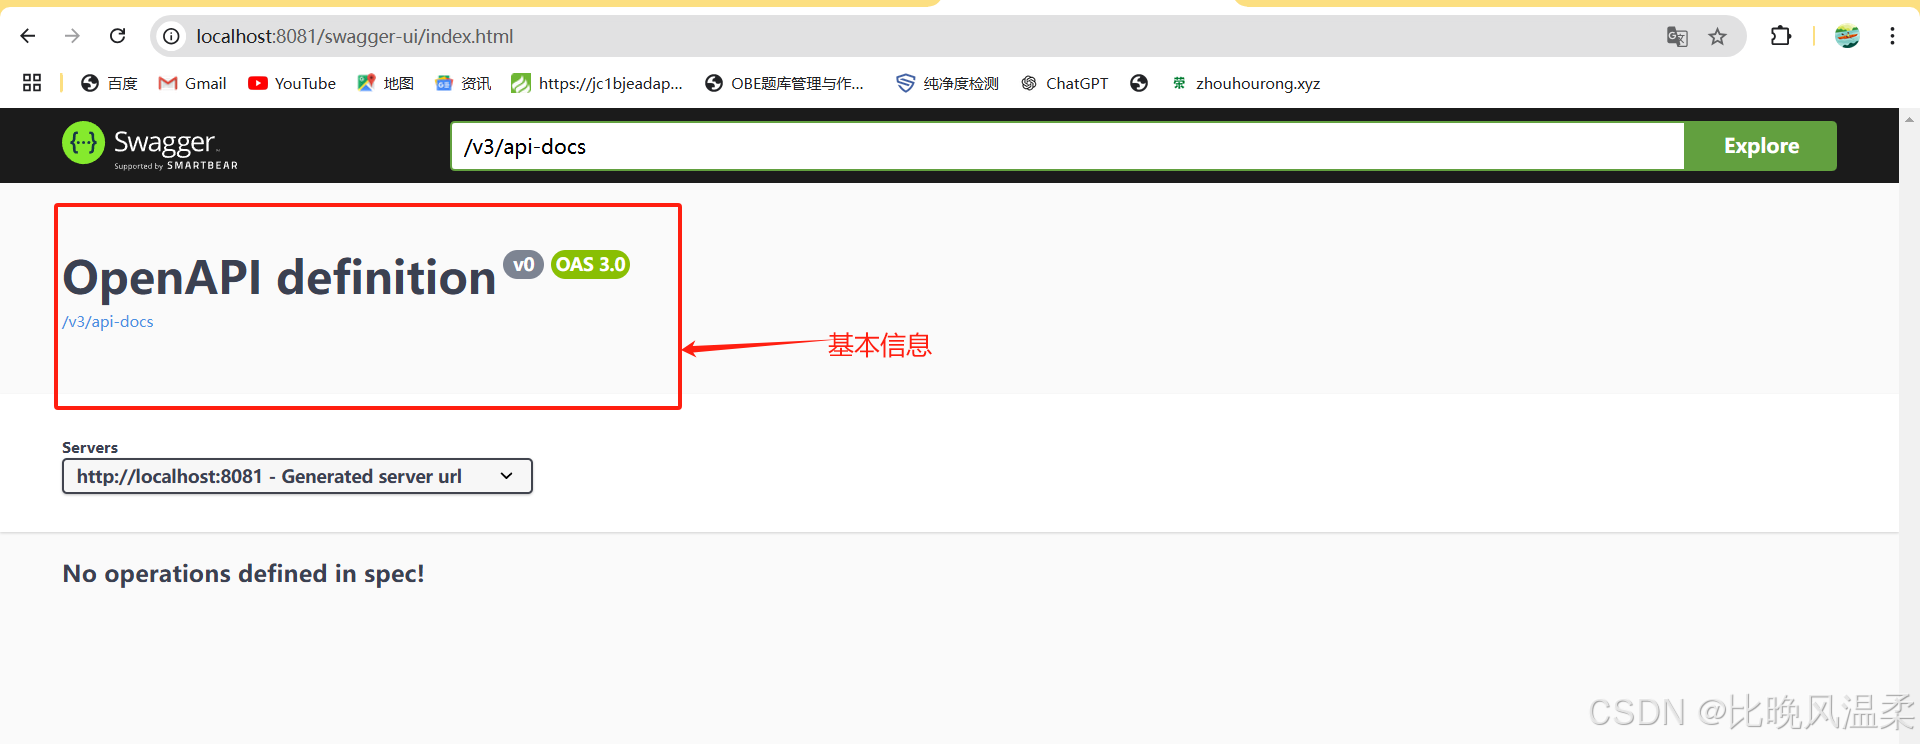
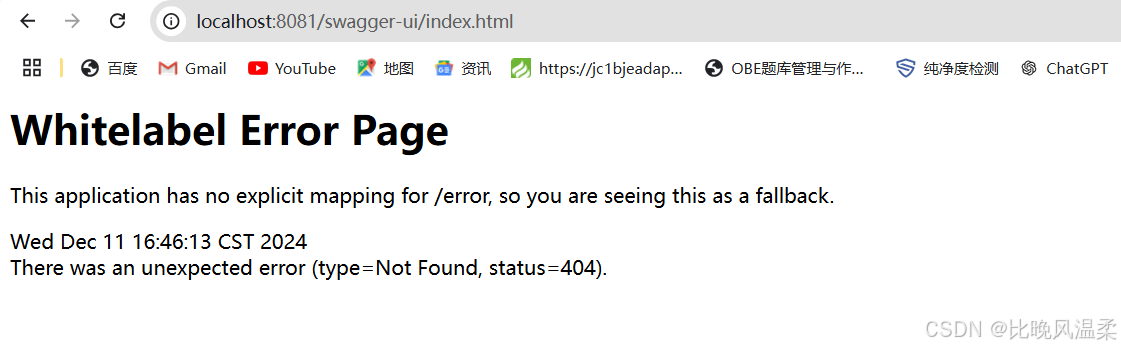
此时Swagger已经简单整合成功,运行SpringBoot服务,浏览器打开网址进行测试
http://localhost:8080/swagger-ui/index.html
我使用的是8081端口,因此我使用下面的链接打开
http://localhost:8081/swagger-ui/index.html
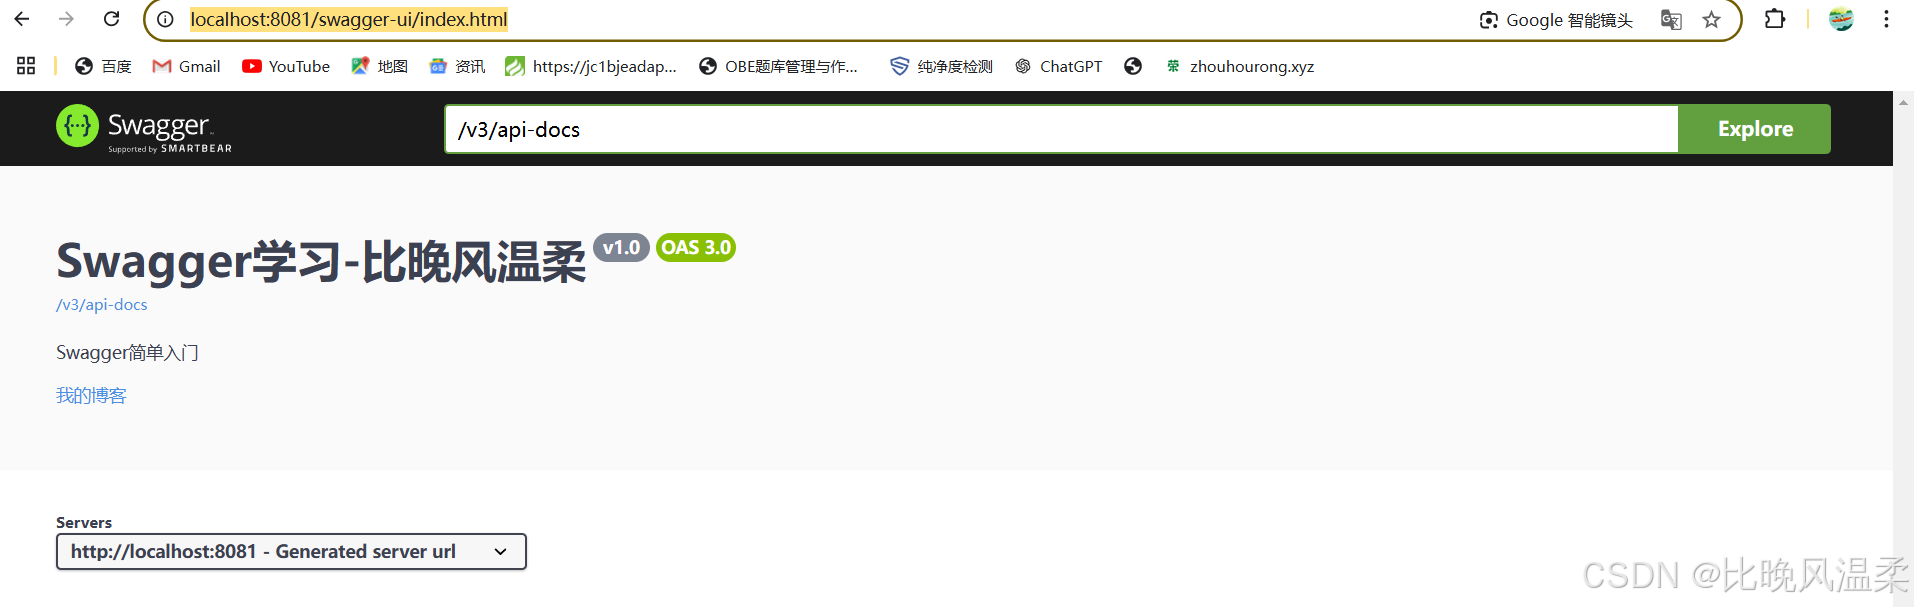
3. 配置Swagger文档基本信息
@Configuration
public class SwaggerConfig {
    /*
    配置swagger基本信息
     */
    @Bean
    public OpenAPI swaggerOpenApi() {
        return new OpenAPI()
                .info(new Info().title("Swagger学习-")
                        .description("Swagger简单入门")
                        .version("v1.0"))
                .externalDocs(new ExternalDocumentation()
                        .description("我的博客")
                        .url("https://blog.csdn.net/2202_76007821?spm=1000.2115.3001.5343"));
    }
}
此时重新运行服务,打开网址
http://localhost:8081/swagger-ui/index.html
4.控制 Swagger 的开启
在开发或者测试环境下,我们开启 swagger 会方便前端和后端的交互,但是如果在生产环境下也开启 swagger 的话,是会将接口暴露出去的,有极大风险,如何让 swagger 根据不同的环境来决定是否开启?
这里我准备了四个项目的配置文件,dev、prod两个环境的配置文件仅是端口上的不同
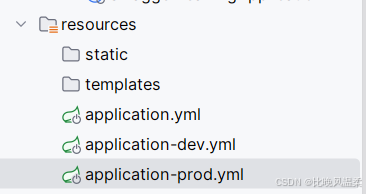
application.yml -------------------------- 全局配置文件
application-dev.yml -------------------- 开发环境配置文件
application-prod.yml -------------------- 生产环境配置文件
application-dev.yml配置
springdoc:
  api-docs:
    enabled: true # 开启OpenApi接口
  swagger-ui:
    enabled: true # 开启swagger界面,依赖OpenApi,需要OpenApi同时开启
application-prod.yml配置
springdoc:
  api-docs:
    enabled: false # 关闭OpenApi接口
  swagger-ui:
    enabled: false # 关闭swagger界面
application.yml内容如下,用于指定选择的环境:
spring:
  profiles:
    active: dev
在application.yml全局配置文件中环境指向dev时,是可以打开 swagger 的
如果我将application.yml全局配置文件中环境指向prod时,就不能打开 swagger 了
 5. 完善Swagger文档
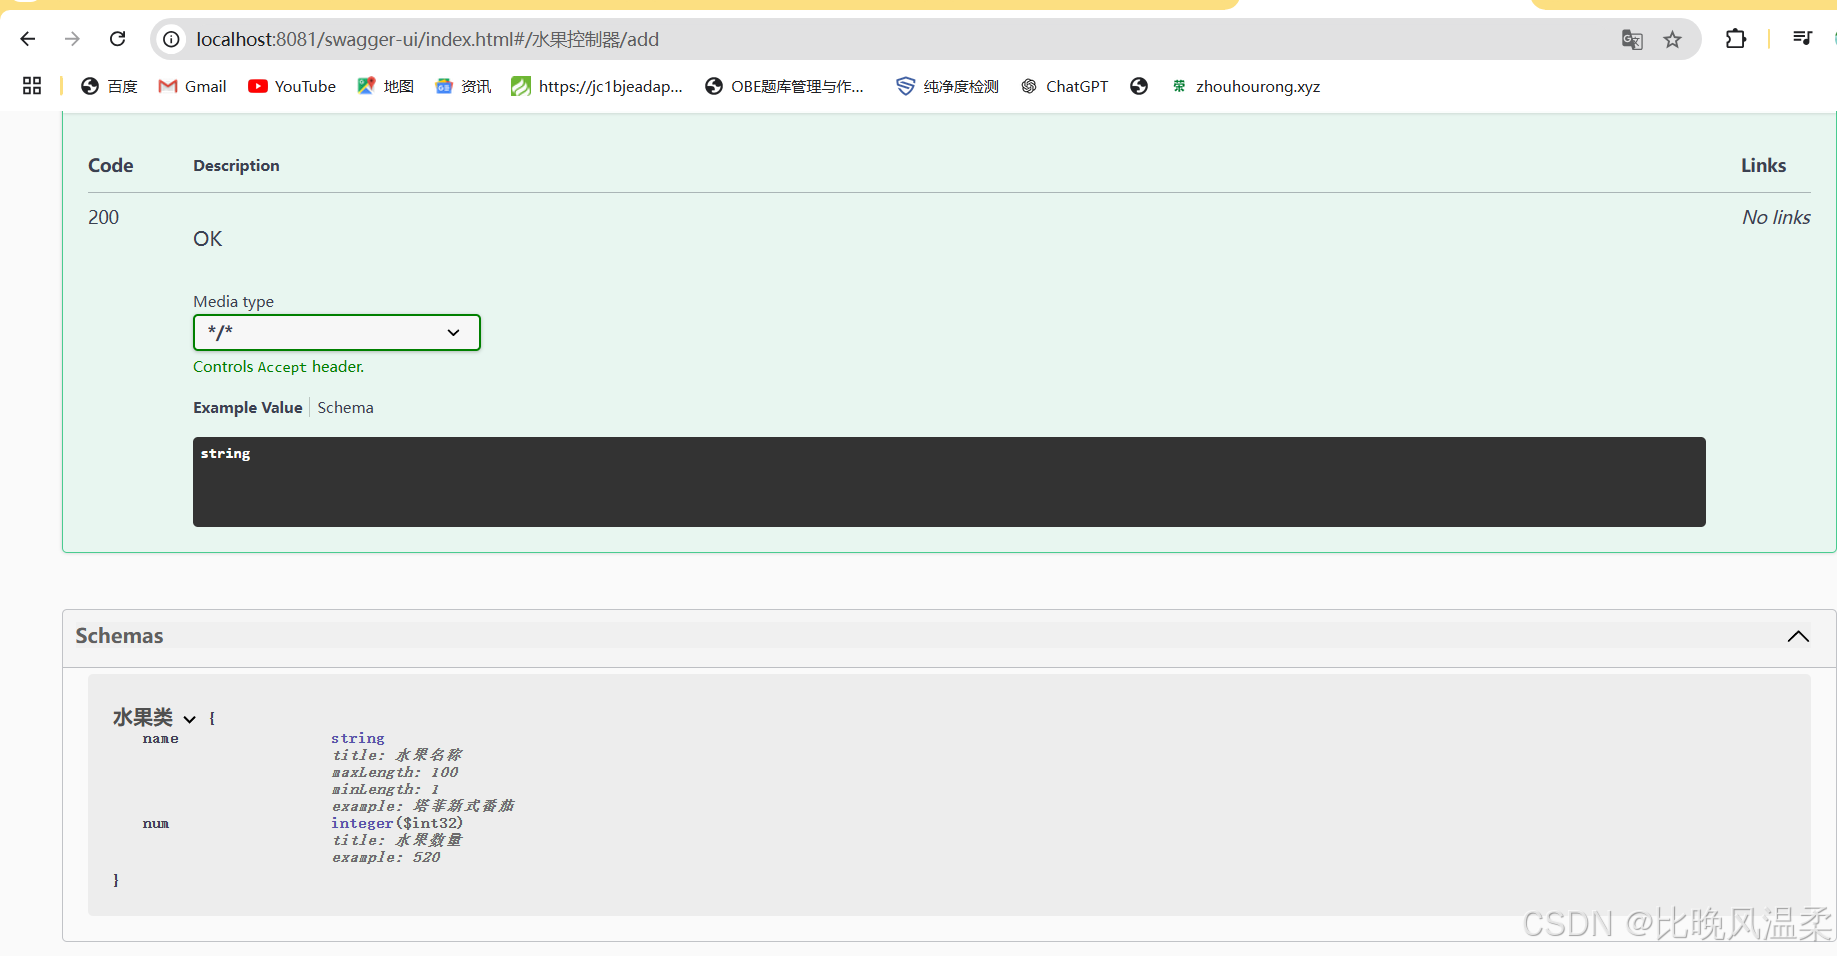
5.1 实体类添加Swagger注解
@Component
@Schema(title = "水果类")
public class Fruit {
    @Schema(title = "水果名称",example = "塔菲新式番茄",minLength = 1,maxLength = 100)
    private String name;
    @Schema(title = "水果数量",example = "520")
    private Integer num ;

    public String getName() {
        return name;
    }

    public void setName(String name) {
        this.name = name;
    }

    public Integer getNum() {
        return num;
    }

    public void setNum(Integer num) {
        this.num = num;
    }
}
@Schema: Swagger文档的注解,用于说明类/字段
- title: 类/字段说明
- example: 示例,Swagger中会将这个字段作为示例
- minLength/maxLength: 最小/最大长度,字段为String类型时生效(仅用于文档说明,不会抛出异常)
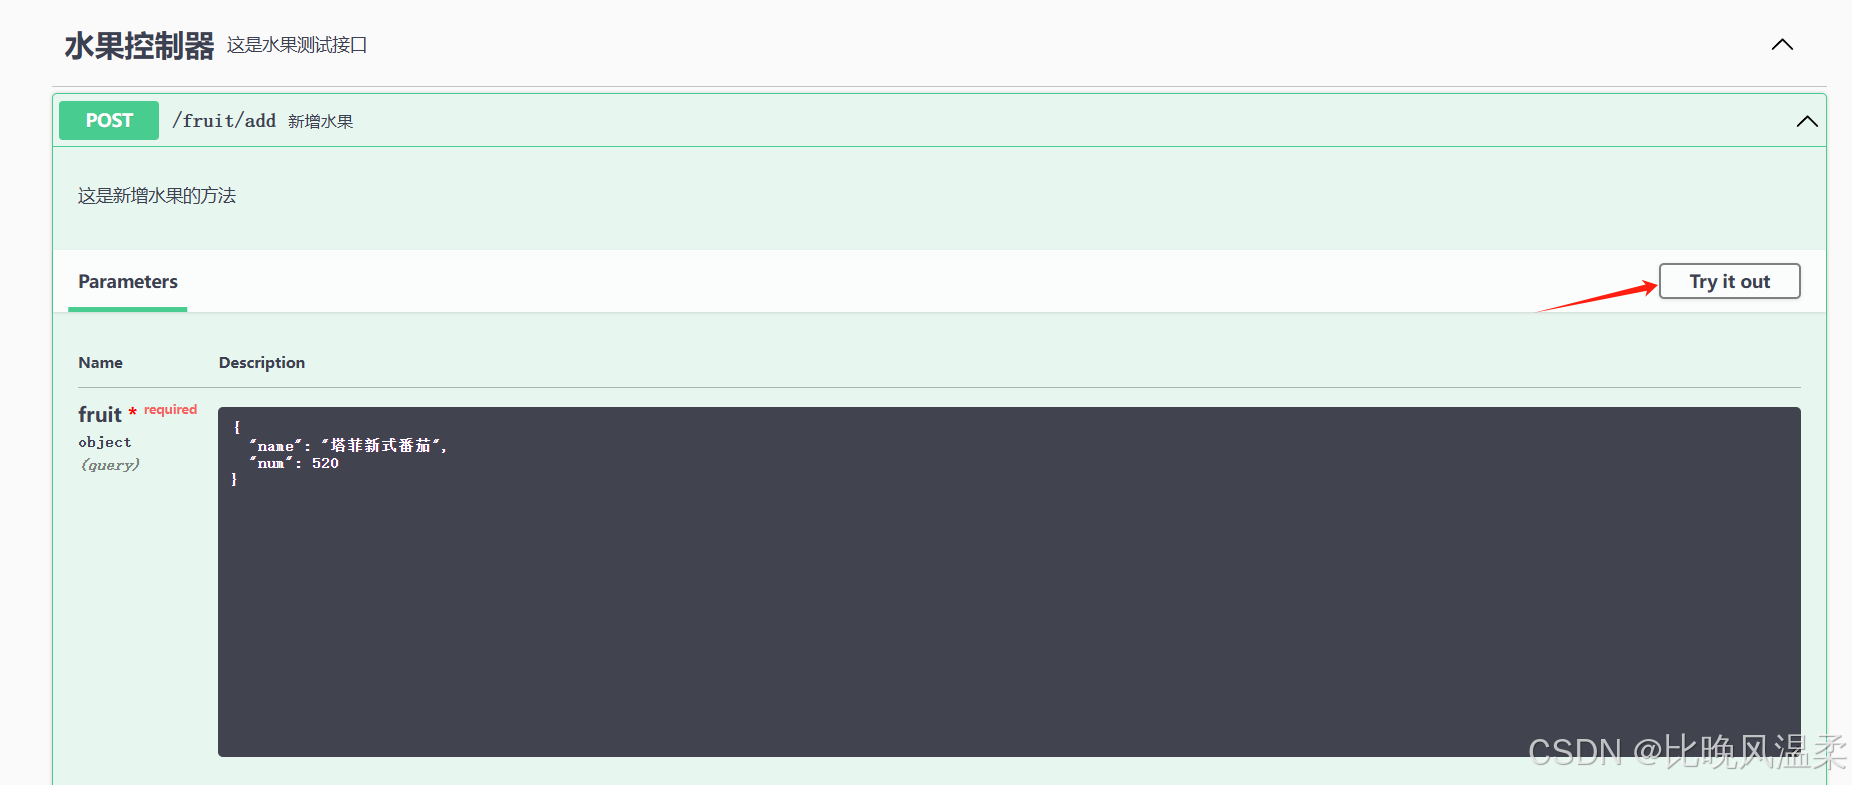
5.2控制器注解解析
@RestController
@RequestMapping("/fruit")
@Tag(name = "水果控制器",description = "这是水果测试接口")
public class FruitController {
    @PostMapping("/add")
    @Operation(summary = "新增水果",description = "这是新增水果的方法")
    public String add(Fruit fruit) {
        return "新增成功";
    }
}
-
@Tag: 控制器说明
- name: 名称
- description: 描述说明
-
@Operation: 请求说明
- summary: 说明,Swagger页面在方法后面,不会被折叠
- descirption: 描述,会被折叠到方法说明中
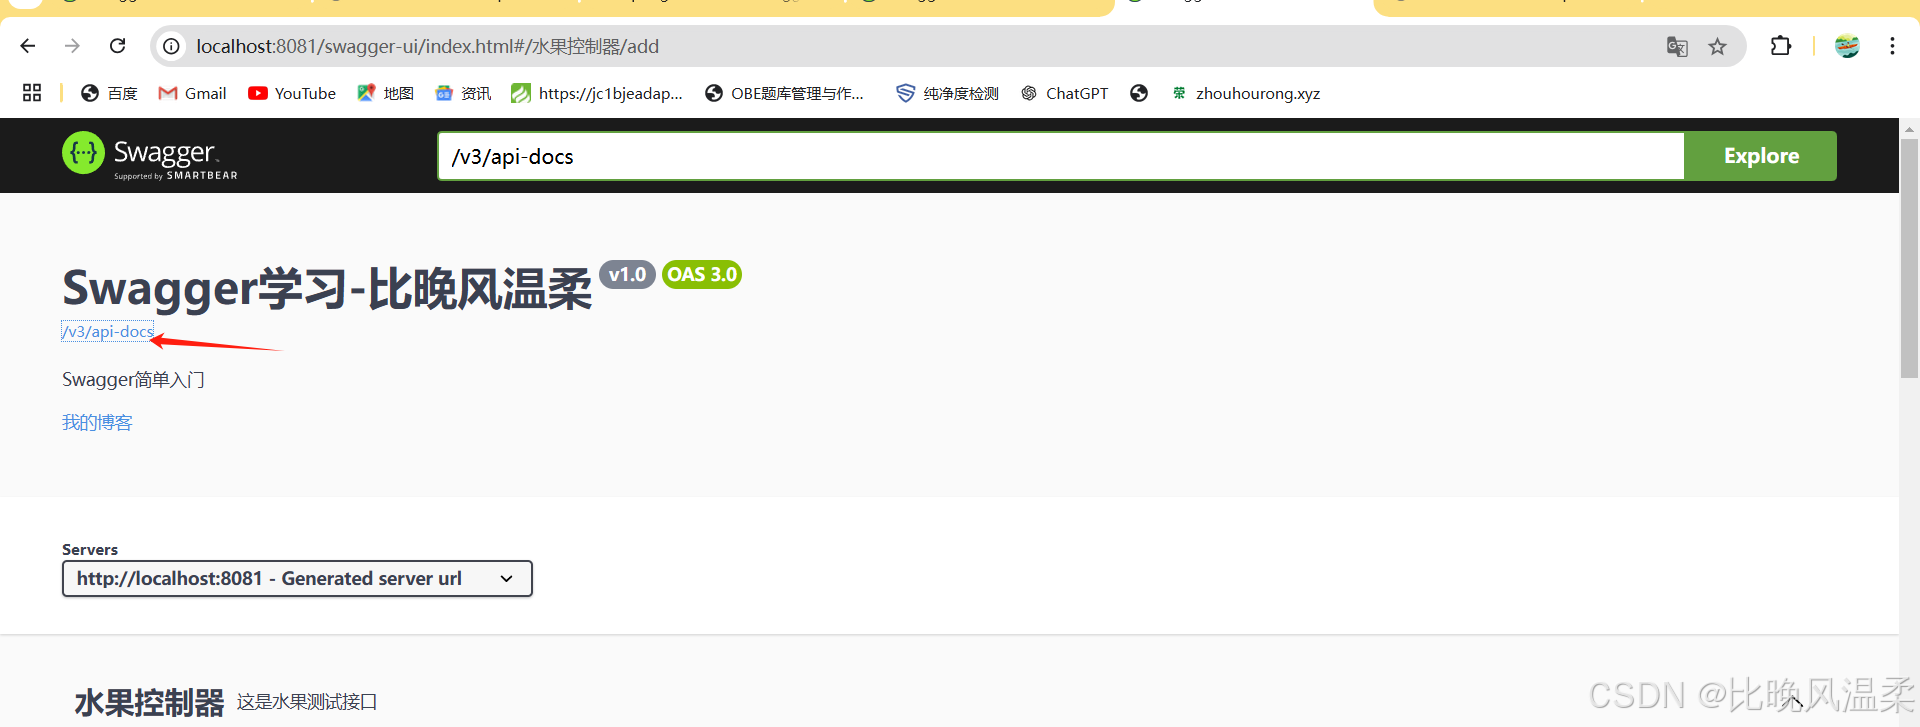
配置之后,让我们打开网址查看一下

6. 接口调用
点击进行测试
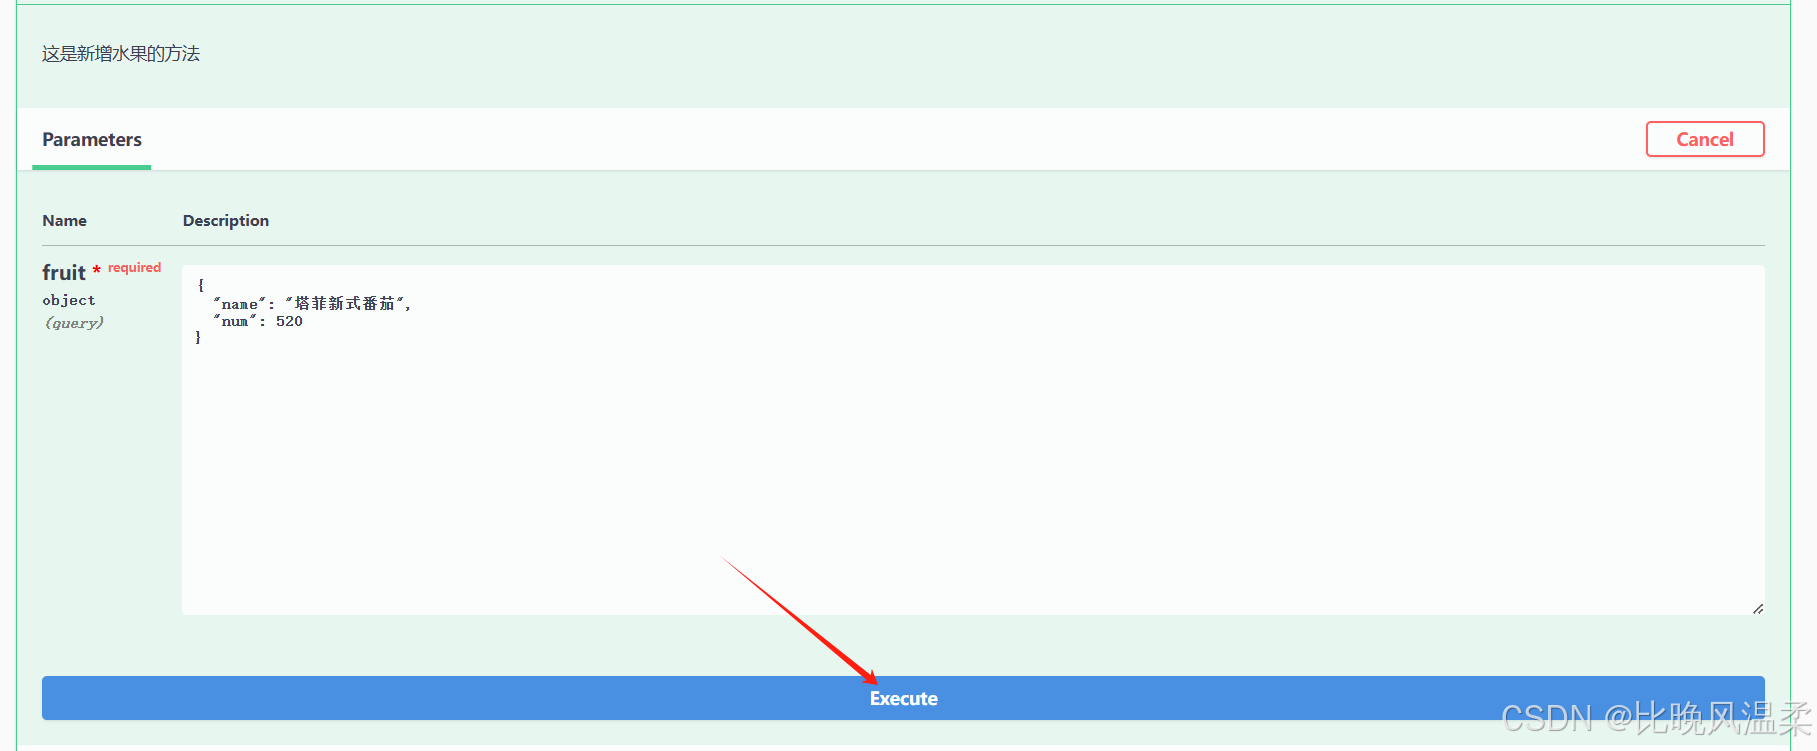
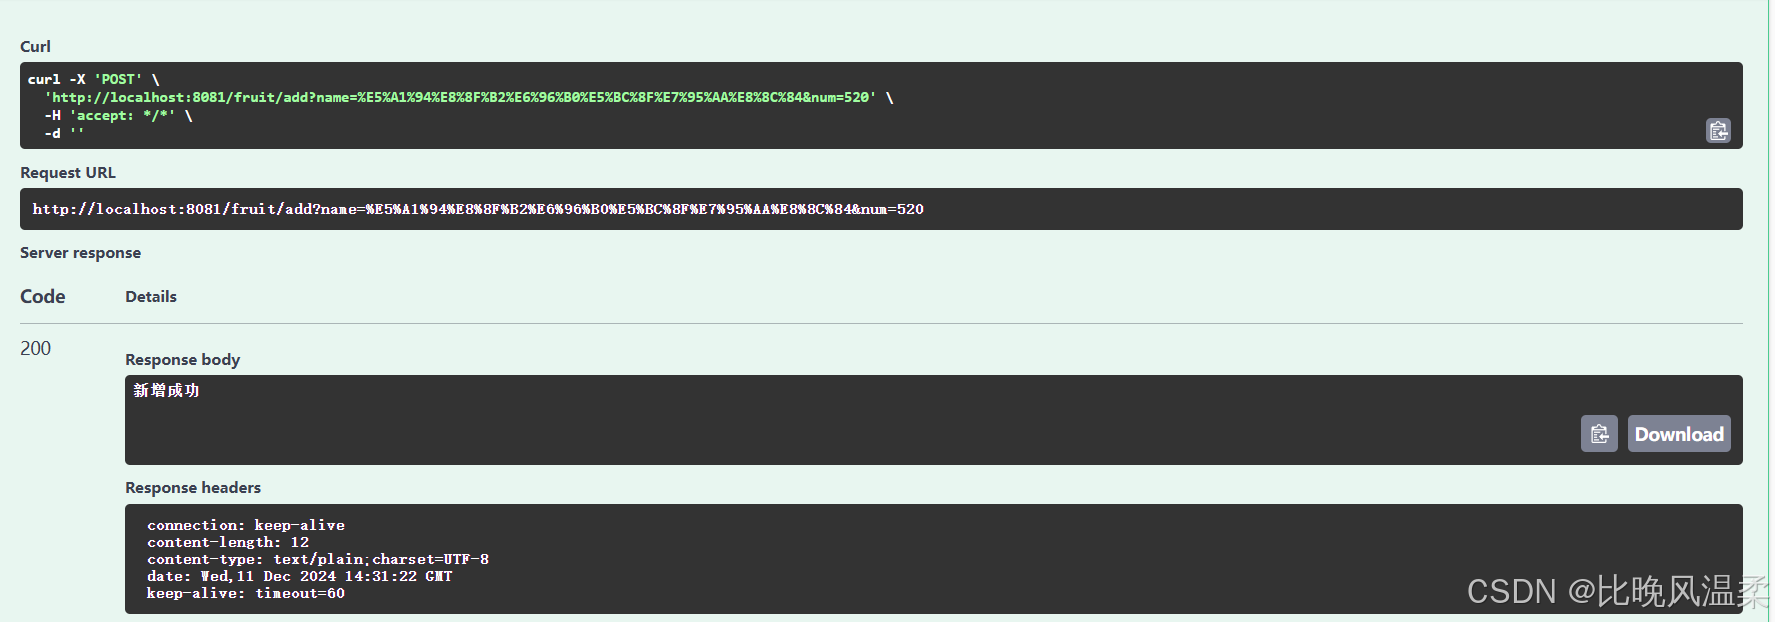
测试成功
三、使用postman进行接口测试
1. 导入链接
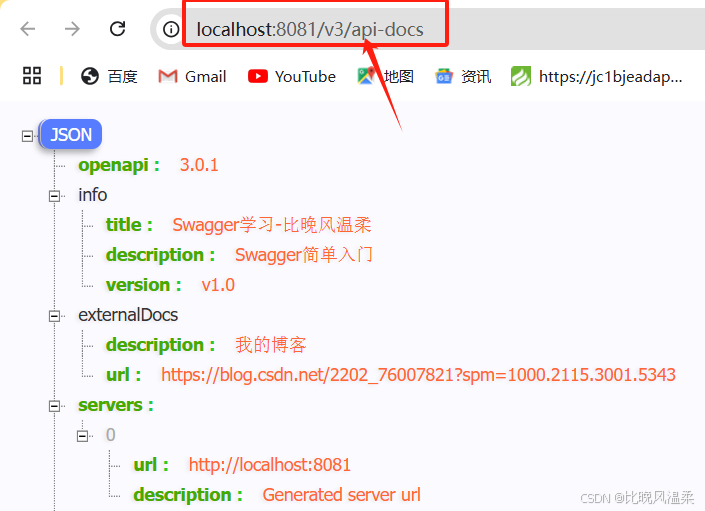
回到文档头部,点击api-docs
复制链接
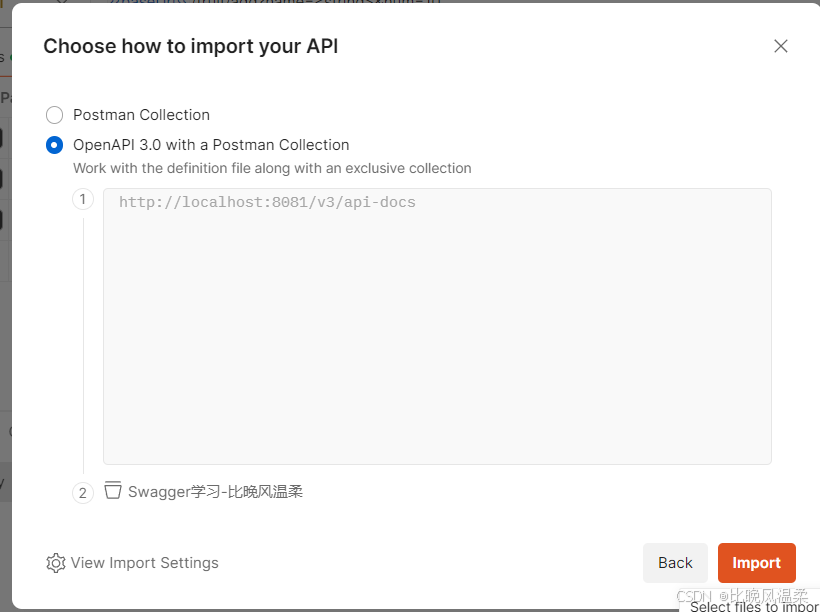
 打开postman,点击import
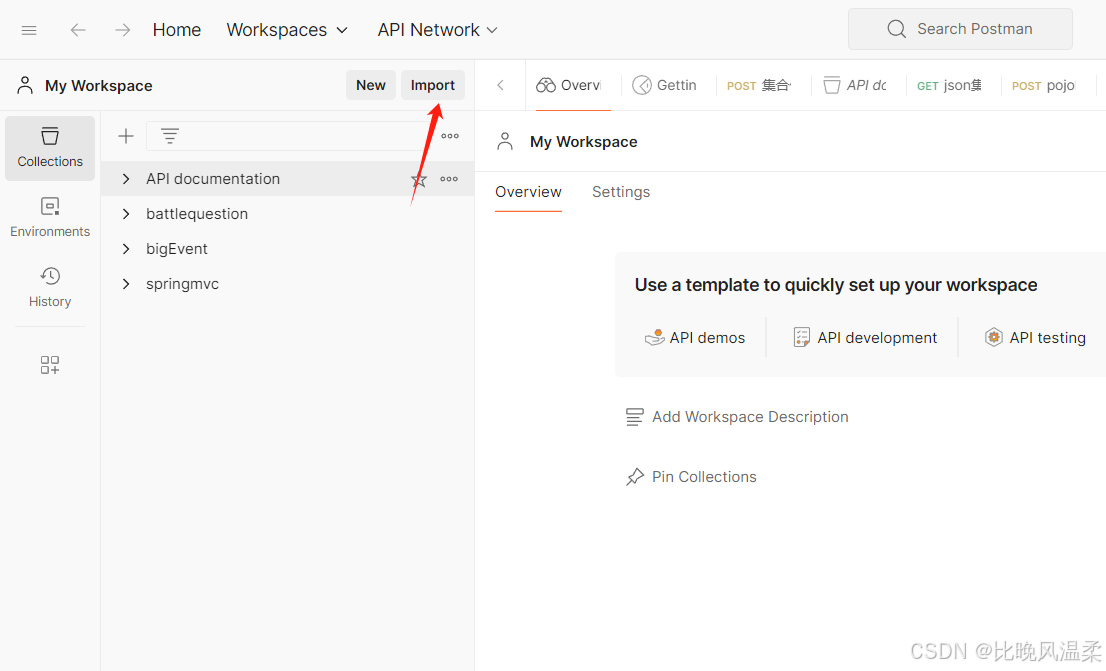
选择第二个进行导入
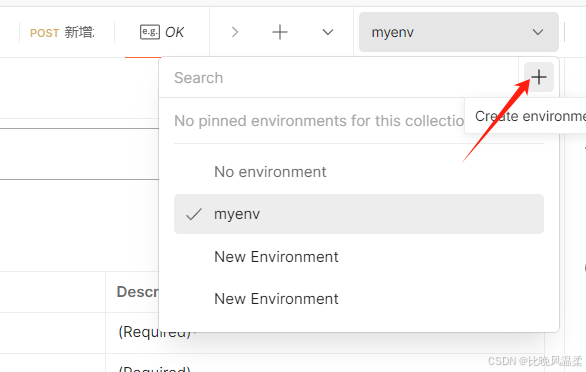
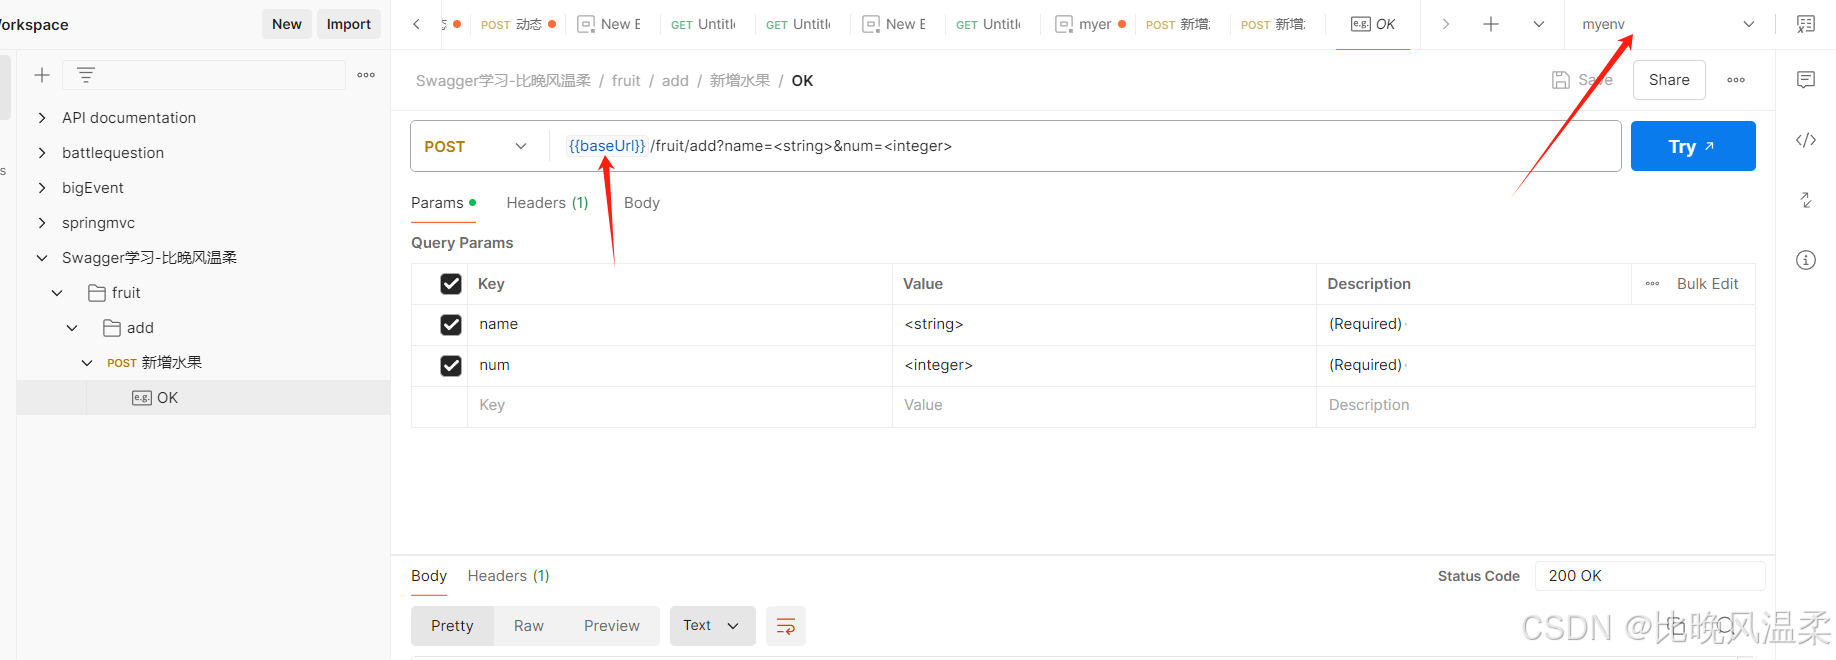 baseurl问题使用环境进行统一修改即可,点击创建新环境
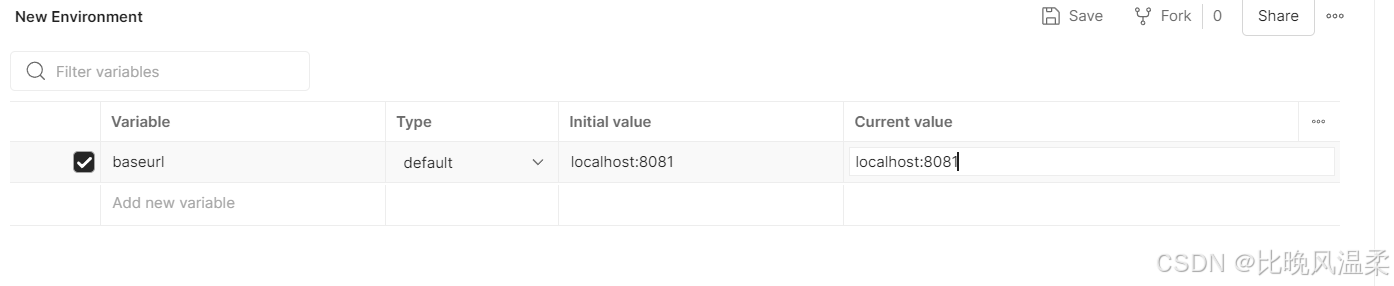
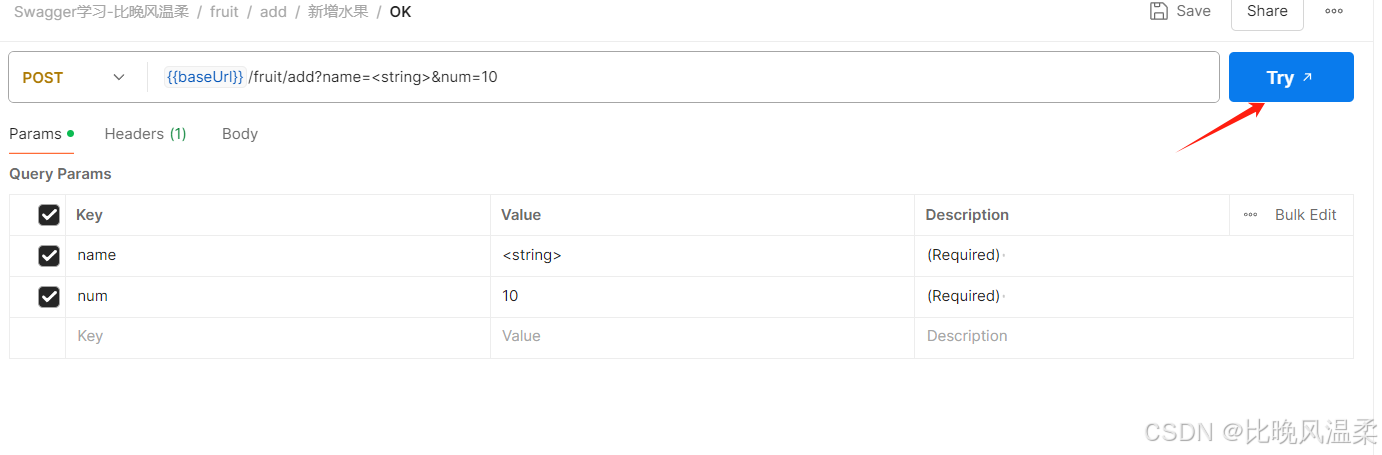
手动修改参数
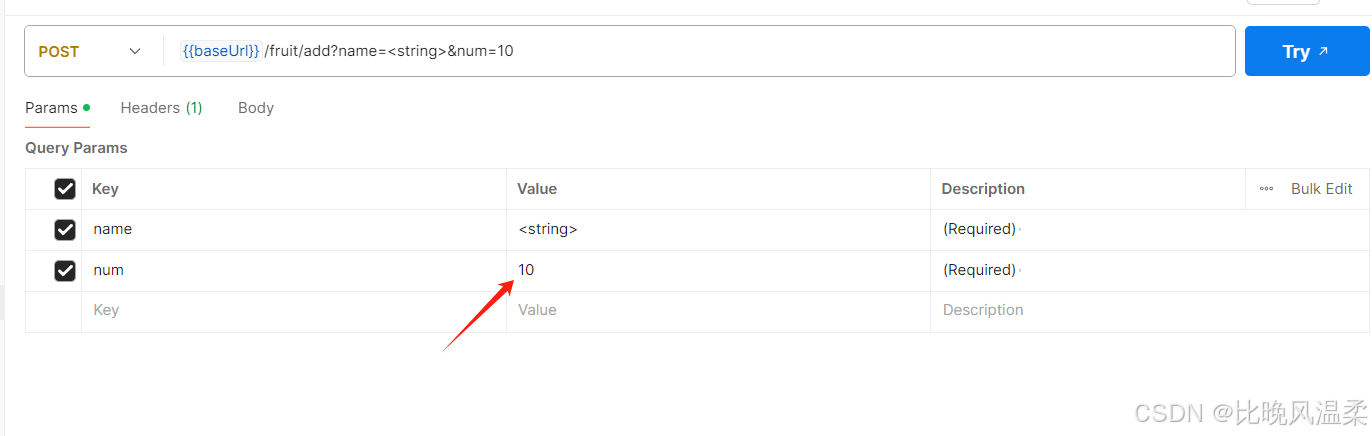 点击进行测试
四、代码
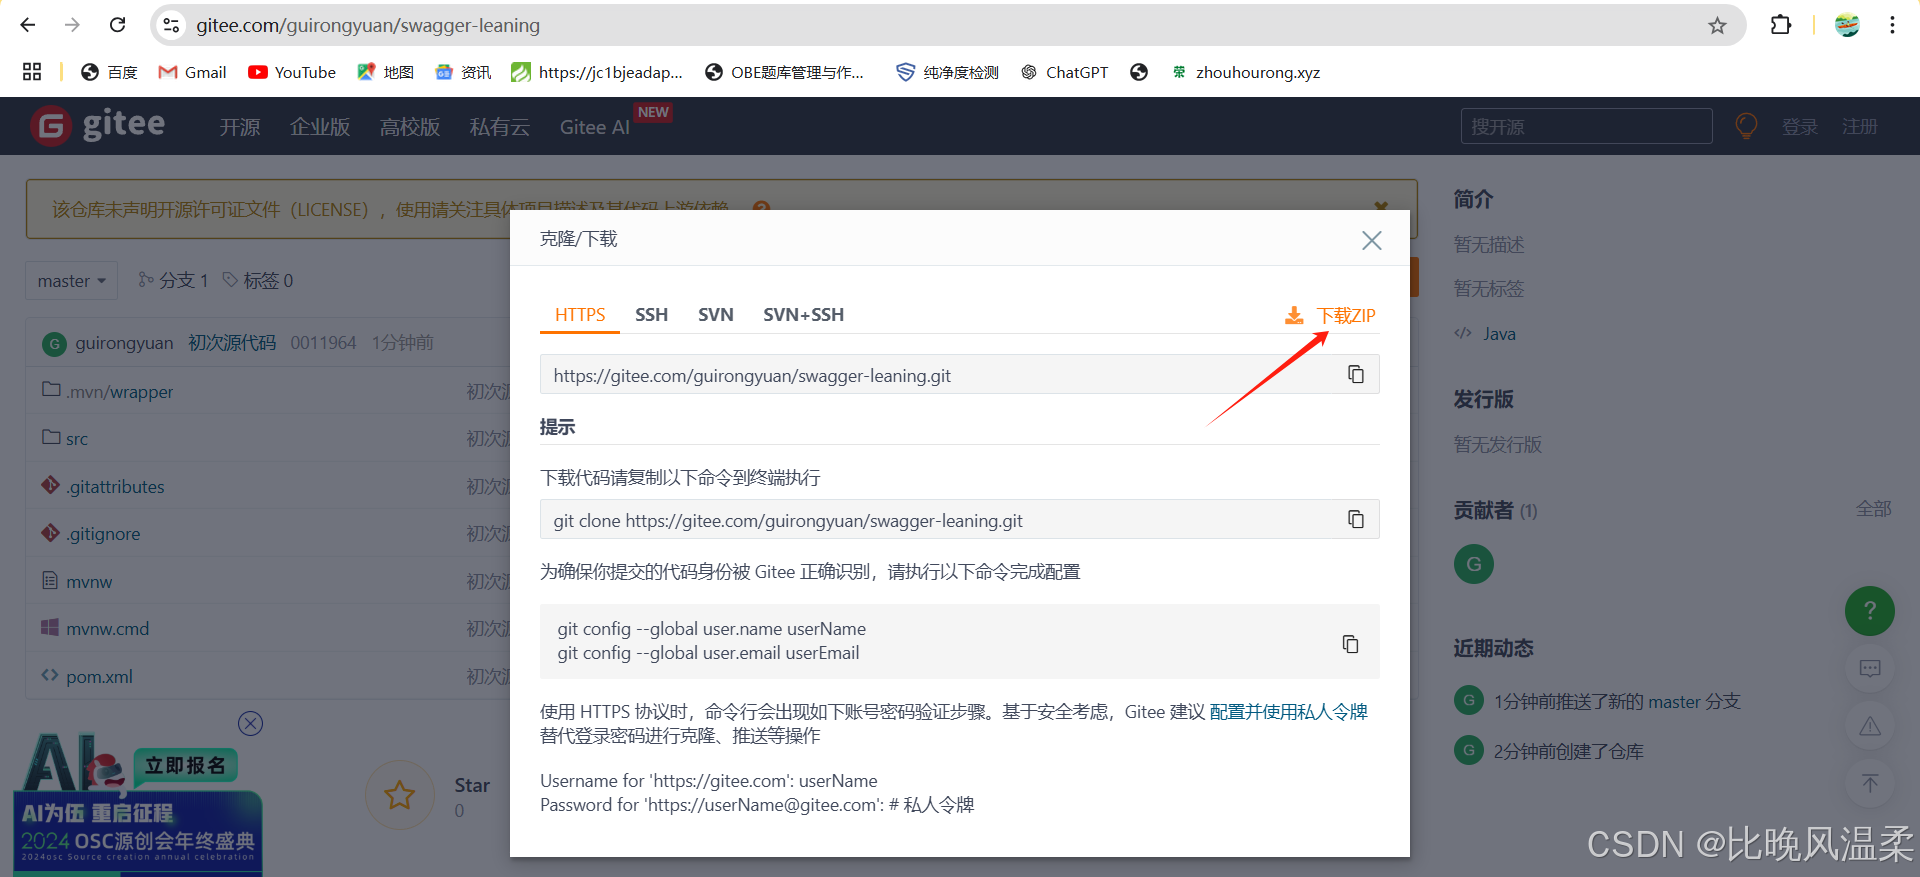
代码已经上传到gitee,打开网址,点击下载zip即可
https://gitee.com/guirongyuan/swagger-leaning