vanna-ai本地部署(qdrant向量库+mysql数据库+qwen-plus llm)
背景
Vanna AI 是一个多功能的数据分析和智能决策平台,旨在帮助企业通过自然语言与数据进行交互。它通过 自动生成 SQL 查询、智能报告、数据可视化等功能,可以大大提高工作效率,并支持 无编程知识的用户 直接与数据进行交互。Vanna AI 非常适合需要大量数据分析和报告生成的企业,特别是在 客户关系管理(CRM)、销售分析、市场研究等领域。
本博客主要展示如何本地部署vanna
着手部署
部署前准备
官方给出有好几种搭配(数据库,向量库,LLM),这里我们选择mysql数据库,向量库使用qdrant,LLM模型使用百炼平台的qwen-plus
qdrant向量库启动(参考https://blog.csdn.net/shizidushu/article/details/141651538)
在win系统上使用wsl拉取镜像并启动
docker pull qdrant/qdrant
docker run -d -p 6333:6333 -p 6334:6334 \
    -v $(pwd)/qdrant_storage:/qdrant/storage:z \
    qdrant/qdrant
启动后就是下面的情况了:

vanna 安装
接着就根据官网指引开始安装:https://vanna.ai/docs/
pip install 'vanna[qdrant,mysql]'
官方给出的代码:
from vanna.base import VannaBase
from vanna.qdrant import Qdrant_VectorStore
from qdrant_client import QdrantClient
class MyCustomLLM(VannaBase):
  def __init__(self, config=None):
    # Implement here
    pass

  def submit_prompt(self, prompt, **kwargs) -> str:
    # Implement here
    # See an example implementation here: https://github.com/vanna-ai/vanna/blob/main/src/vanna/mistral/mistral.py


class MyVanna(Qdrant_VectorStore, MyCustomLLM):
    def __init__(self, config=None):
        Qdrant_VectorStore.__init__(self, config=config)
        MyCustomLLM.__init__(self, config=config)

vn = MyVanna(config={

    'client': 'QdrantClient(...)'})
然后我们依据它进行修改
首先是LLM部分
class MyCustomLLM(VannaBase):
    def __init__(self, config=None):
        api_key = config["api_key"]
        model = config["model"]
        self.client = OpenAI(
            api_key=api_key,  # 获取 API 密钥
            base_url=model  # 设置基础 URL
        )

    def submit_prompt(self, messages, model: str='qwen-plus', **kwargs) -> str:
        try:
            # 使用 OpenAI 客户端创建聊天请求
            completion = self.client.chat.completions.create(
                model=model,
                messages=messages
            )

            # 返回响应对象的 JSON 数据
            response =  completion.model_dump_json()
            # 解析 JSON 字符串为字典
            response_dict = json.loads(response)
            # 提取 content 字段
            content = response_dict['choices'][0]['message']['content']
            return content
        except Exception as e:
            # 错误处理
            raise Exception(f"请求失败: {

      str(e)}")
接着就是MyVanna部分的补充代码
class MyVanna(Qdrant_VectorStore, MyCustomLLM):
    def __init__(self, config=None):
        qdrant_client = QdrantClient(url="这里一般是自己本机地址",
                                     port=6333)
        Qdrant_VectorStore.__init__(self, config={

    'client':qdrant_client})
        MyCustomLLM.__init__(self, config=config)

    # 实现抽象方法
    def assistant_message(self, message: str):
        """处理 AI 助理消息"""
        return {

    "role": "assistant", "content": message}

    def system_message(self, message: str):
        """处理系统消息"""
        return {

    "role": "system", "content": message}

    def user_message(self, message: str):
        """处理用户消息"""
        return {

    "role": "user", "content": message}
接着就是数据库连接部分(依据自己的实际情况补充即可)
vn.connect_to_mysql(host="", port=3306, dbname='', user='', password='')
vn = MyVanna(config={


"api_key": "自己的apikey",
"model": "https://dashscope.aliyuncs.com/compatible-mode/v1"})
最后就是数据train和程序启动部分
vn.train(documentation="请注意,在我们公司一般将1作为是,0作为否。")
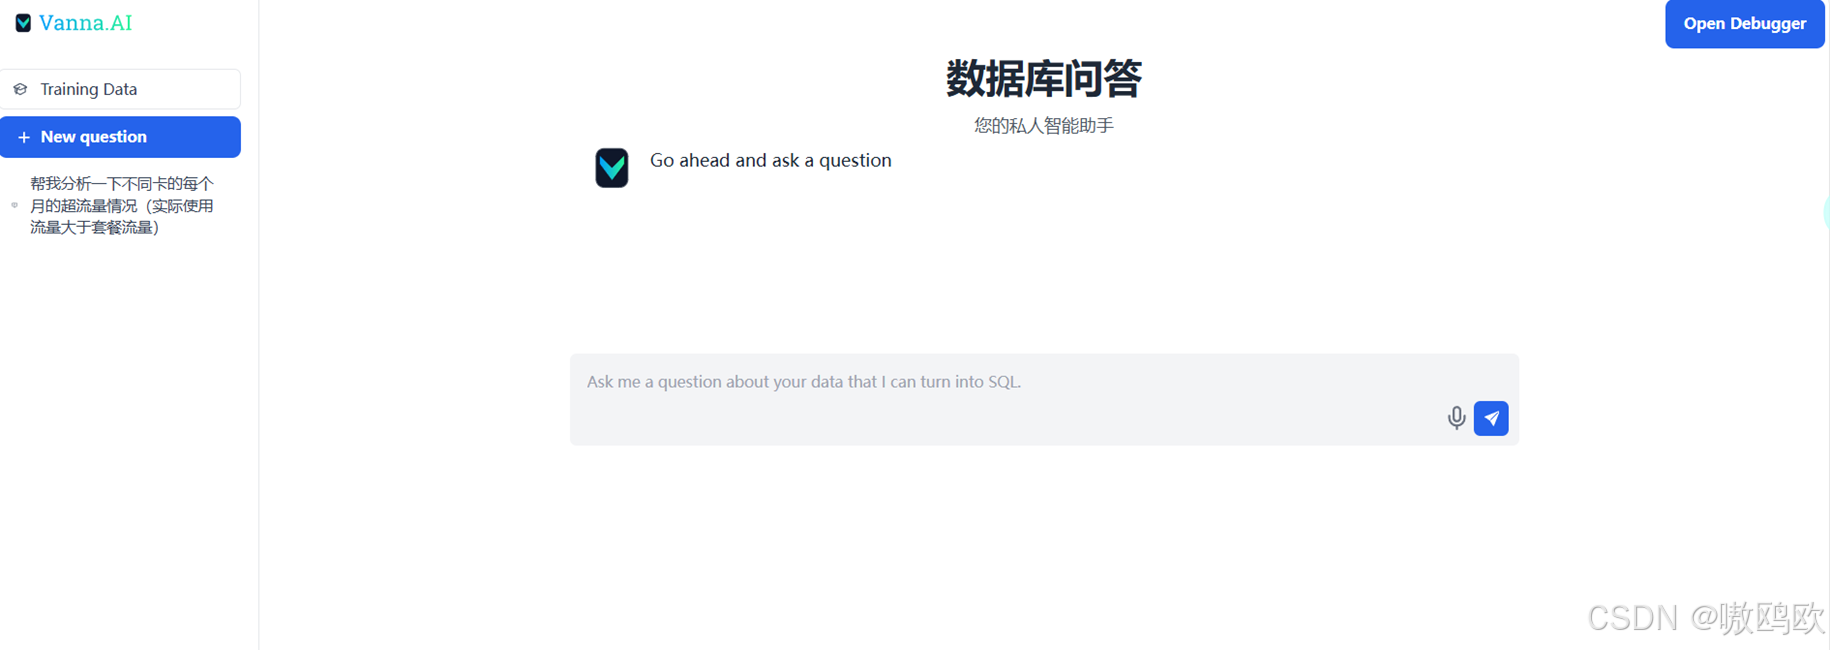
from vanna.flask import VannaFlaskApp
app = VannaFlaskApp(vn, debug=True, allow_llm_to_see_data=True,
title="数据库问答", subtitle="您的私人智能助手",
show_training_data=True, suggested_questions=False,
sql=True, table=True, csv_download=False, chart=True,
redraw_chart=False, auto_fix_sql=False,
ask_results_correct=False, followup_questions=False)
app.run()
去localhost:8084地址就可以查看网址。