前言:
在开源大模型技术爆发的今天,各类大模型本地化部署教程铺天盖地,却鲜有人公开提供模型训练的完整内容。本文没有花里胡哨的长篇大论,也没有偷工减料的步骤删减。本文将以通义千问0.5B模型为基座,用最"原始"的HuggingFace Trainer组件,向你展示大模型微调的真实面貌。无需复杂的并行策略,不用理解梯度累积的数学推导,我们将直指训练核心:从数据预处理到模型输出的完整链路,每个环节都采用极简但工业级可用的实现方案。
本文原创作者:Wesky
公众号:Dotnet Dancer
微信:WeskyNet001
一、环境准备
1、你的机器上需要安装显卡驱动,cuda驱动、conda环境(Anaconda)
这部分教程省略,环境安装默认大家都会。如果实在不会,可以参考我在2023年写的一个关于本地部署MOSS大模型的文章,里面有类似的驱动安装教程,也许可以帮到你:
https://mp.weixin.qq.com/s/HgpU5SndlijqKoOmK9dIcw
2、其他环境安装
新建一个conda虚拟环境
conda create --name 环境名称 python=需要使用的python版本号
进入到创建的环境内
conda activate 环境名称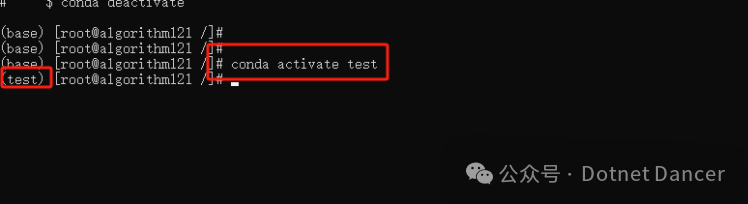
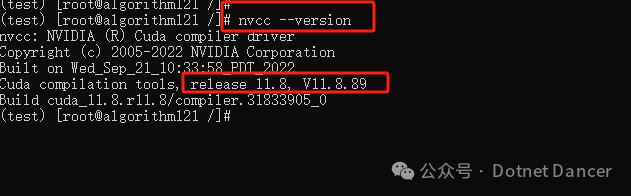
查看本地的cuda驱动版本
nvcc --version查看到本地驱动是11.8版本,等下下载的pytorch-cuda版本也要对应
安装有关环境,以cuda版本是11.8为例:
conda install pytorch==2.1.0 torchvision==0.16.0 torchaudio==2.1.0 pytorch-cuda=11.8 -c pytorch -c nvidia
安装numpy环境,由于pytorch是2.1版本,所以numpy需要使用1.x版本
pip install "numpy<2"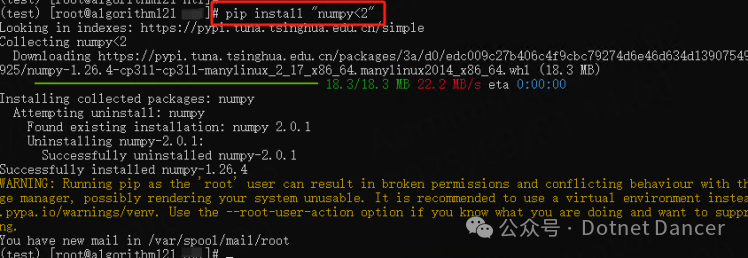
安装 transformers 库
pip install transformers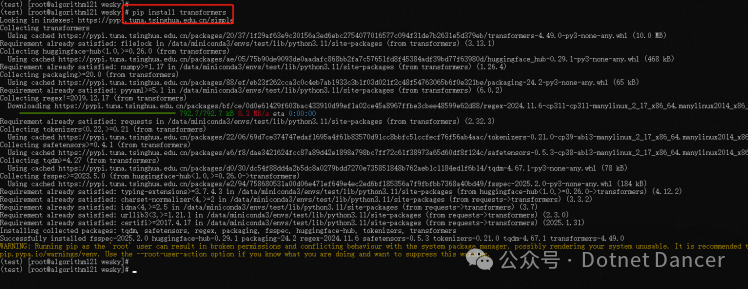
安装
datasetspip install datasets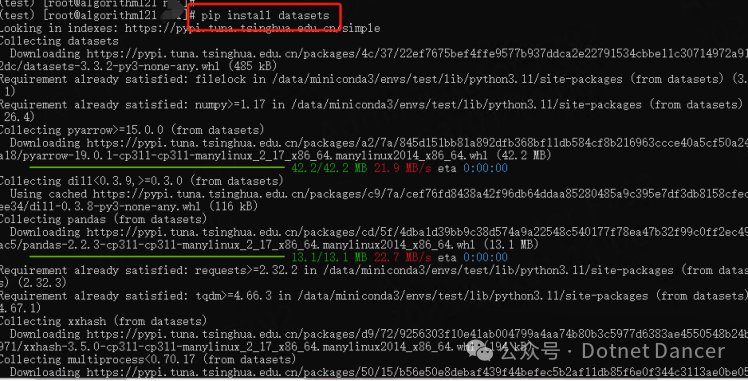
安装accelerate库
pip install "accelerate>=0.26.0"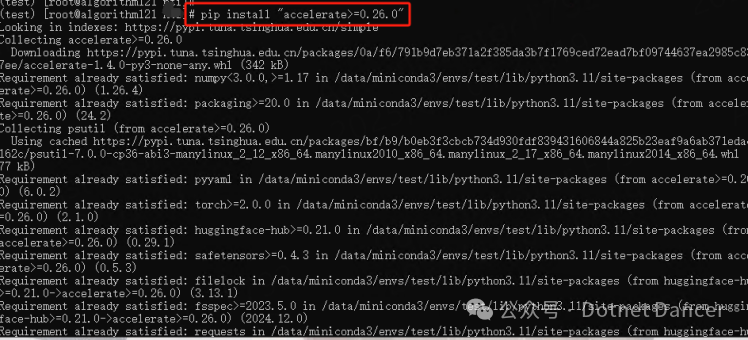
安装tensorboard库
pip install tensorboard
安装sentencepiece,用于调用llama.cpp做输出gguf模型格式使用
pip install sentencepiece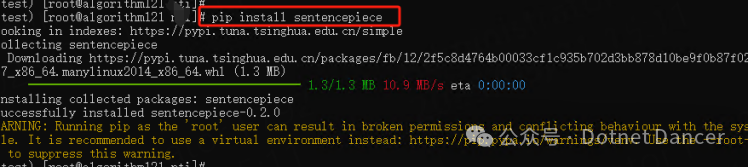
下载需要训练微调的基座模型,由于本地是消费显卡RTX3080TI,所以就选择一个最小的qwen0.5b模型吧。
下载地址:
https://huggingface.co/Qwen/Qwen2.5-0.5B/tree/main
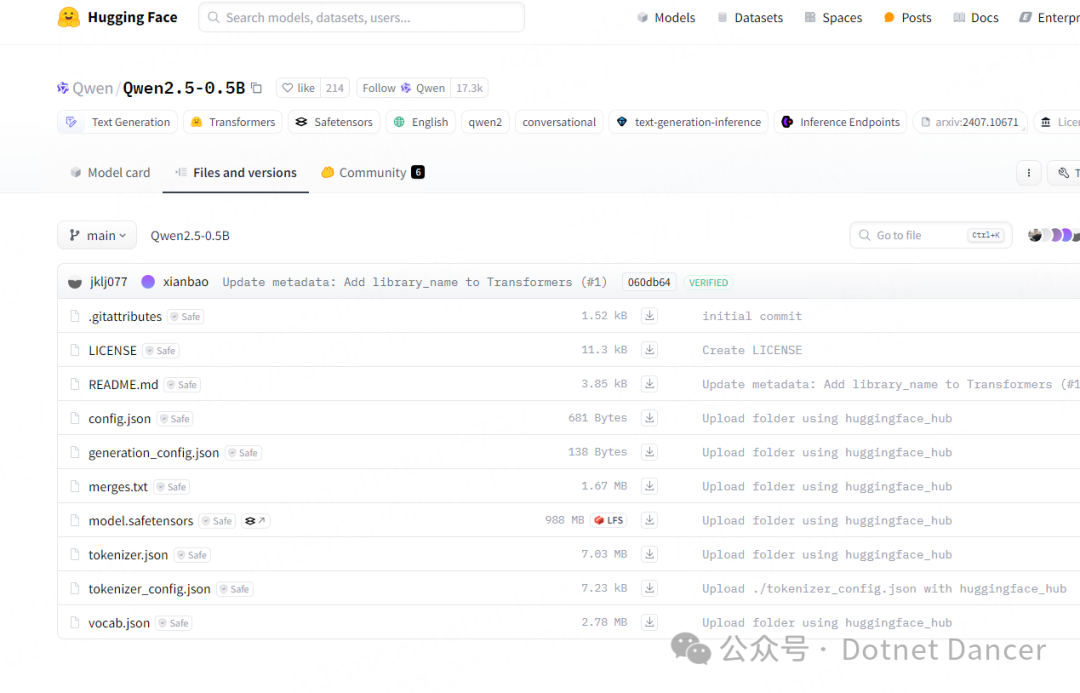
下载到本地备用,指定放到一个文件夹里面,例如我放到:/data/wesky/qwen05b

最后还要有数据集,数据集一般是自己行业数据,或者私有数据集,此处就不开放了。或者只想试验下的,也可以去网络上搜索下载一些公共开源的数据集,这方面数据集应该多的一批。

本文原创作者:Wesky 公众号:Dotnet Dancer 微信:WeskyNet001
二、开发和训练测试
下载llama.cpp源码到本地备用,用来对训练完毕的大模型进行导出问GGUF格式的通用模型(GGUF格式模型可以被Ollama进行加载)
下载地址:
https://github.com/ggml-org/llama.cpp
把llama.cpp项目放到指定路径备用,地址随意,例如我放到/data/wesky/code/llama.cpp

接下来开发一个传统的训练脚本,代码和注释我都加上了,直接show code:
# -*- coding: utf-8 -*-# 导入必要的库# 本文原创作者:Wesky# 公众号:Dotnet Dancerimport torchfrom transformers import AutoModelForCausalLM, AutoTokenizer, TrainingArguments, Trainer, pipelinefrom datasets import load_datasetimport osimport subprocess# 设置随机种子,确保结果可复现(重要参数)# 设置PyTorch的随机种子torch.manual_seed(42)# 如果使用CUDA,设置所有GPU的随机种子if torch.cuda.is_available(): torch.cuda.manual_seed_all(42)# 检查设备可用性并分配device = torch.device("cuda" if torch.cuda.is_available() else "cpu")print(f"使用设备: {device} 可用 GPU 数量: {torch.cuda.device_count()}")# ----------------- 数据加载部分 -----------------# 1. 加载自定义 JSON 数据集data_path = "/data/wesky/datas/train.json" # 数据集路径需要替换为实际路径print(f"加载数据集: {data_path}")try: # 使用HuggingFace的datasets库加载JSON文件 dataset = load_dataset("json", data_files=data_path)except Exception as e: print(f"数据集加载失败: {e}") print("可能原因:文件路径错误、文件格式不符合JSON规范、文件权限问题") exit(1)# ----------------- 模型加载部分 -----------------# 2. 加载本地模型和分词器model_path = "/data/wesky/qwen05b" # 模型路径需要替换为实际路径print(f"加载本地模型和分词器: {model_path}")try: # 加载分词器(Tokenizer) tokenizer = AutoTokenizer.from_pretrained(model_path) # 加载模型架构和权重 model = AutoModelForCausalLM.from_pretrained(model_path).to(device)except Exception as e: print(f"模型加载失败: {e}") print("常见问题:路径错误、模型文件缺失(需包含config.json和model.safetensors等文件)") exit(1)# ----------------- 数据预处理部分 -----------------# 3. 数据预处理函数def preprocess_function(examples): """ 数据预处理函数,将原始文本转换为模型可接受的输入格式 参数: examples - 包含prompt和response的字典 处理流程: 1. 对输入(prompt)进行编码 2. 对目标(response)进行编码作为标签 3. 将标签添加到模型输入中 """ inputs = examples["prompt"] # 获取输入文本 targets = examples["response"] # 获取目标文本 # 对输入文本进行编码(包含截断和填充) model_inputs = tokenizer( inputs, max_length=256, # 最大长度 truncation=True, # 启用截断 padding="max_length" # 填充到最大长度 ) # 对目标文本进行编码(用于生成标签) labels = tokenizer( text_target=targets, max_length=256, truncation=True, padding="max_length" ) # 将目标文本的编码作为标签 model_inputs["labels"] = labels["input_ids"] return model_inputsprint("预处理数据集...")# 应用预处理函数到整个数据集encoded_dataset = dataset.map( preprocess_function, batched=True, # 批量处理提升效率 desc="Tokenizing dataset" # 进度条描述)# 将数据集格式转换为PyTorch Tensorencoded_dataset.set_format("torch", columns=["input_ids", "attention_mask", "labels"])# 调试信息:打印数据集列名print("数据集列名:", encoded_dataset["train"].column_names)# ----------------- 训练参数配置 -----------------# 4. 设置训练参数(关键参数需要根据实际情况调整)training_args = TrainingArguments( output_dir="./results", # 输出目录(训练日志和检查点) eval_strategy="no", # 不进行验证(如需验证可设置为"steps"或"epoch") learning_rate=2e-5, # 学习率(常用范围:1e-5到5e-5) per_device_train_batch_size=1, # 每个设备的批大小(根据显存调整) num_train_epochs=3, # 训练轮次 weight_decay=0.01, # 权重衰减(正则化项系数) logging_dir="./logs", # 日志目录 logging_steps=10, # 每多少步记录日志 gradient_accumulation_steps=8,# 梯度累积步数(模拟更大batch size) fp16=torch.cuda.is_available(), # 是否使用混合精度训练 report_to="tensorboard", # 使用TensorBoard记录 logging_first_step=True, # 记录第一步的训练信息 save_steps=500, # 每多少步保存检查点 remove_unused_columns=False, # 保留未使用的列(保持数据集结构) gradient_checkpointing=False, # 是否使用梯度检查点(节省显存但更慢) dataloader_num_workers=4, # 数据加载的线程数 max_grad_norm=1.0, # 梯度裁剪阈值)# 显存管理:清空缓存torch.cuda.empty_cache()# ----------------- 多GPU训练配置 -----------------# 启用多GPU训练(使用DataParallel并行)if torch.cuda.is_available() and torch.cuda.device_count() > 1: print("使用单机多卡并行训练……") model = torch.nn.DataParallel(model) # 包装模型为并行模式 model = model.to(device)else: model = model.to(device) # 单GPU或CPU情况# 显存配置(可选)torch.cuda.set_per_process_memory_fraction(0.9, 0) # 设置每个进程最大显存使用比例torch.cuda.set_device(0) # 设置主GPU设备# ----------------- 训练器初始化 -----------------# 5. 初始化Trainertrainer = Trainer( model=model, # 待训练模型 args=training_args, # 训练参数 train_dataset=encoded_dataset["train"], # 训练数据集)# ----------------- 开始训练 -----------------# 6. 执行训练流程print("开始训练...")try: trainer.train() # 启动训练except Exception as e: print(f"训练过程中出错: {e}") print("常见问题:显存不足(尝试减小batch size或增加gradient_accumulation_steps)") exit(1)# ----------------- 模型保存 -----------------# 7. 保存微调后的模型if isinstance(model, torch.nn.DataParallel): print("移除 DataParallel 包装...") model = model.module # 去除并行包装(否则保存的模型会多一层结构)trainer.model = model # 更新Trainer中的模型引用output_dir = "./finetuned" # 模型输出目录print(f"保存模型到: {output_dir}")# 保存模型和分词器trainer.save_model(output_dir)tokenizer.save_pretrained(output_dir)# ----------------- 模型格式转换 -----------------# 8. 转换为GGUF格式(用于llama.cpp等推理框架)def convert_to_gguf(input_dir, output_file): """ 转换HuggingFace模型为GGUF格式 参数: input_dir - 微调后的模型目录 output_file - 输出的GGUF文件路径 """ llama_cpp_path = "/data/wesky/code/llama.cpp" # 需要替换为实际路径 convert_script = os.path.join(llama_cpp_path, "convert_hf_to_gguf.py") # 第一次转换尝试 command = f"python {convert_script} {input_dir} --outfile {output_file}" try: subprocess.run(command, shell=True, check=True) print(f"成功将模型转换为 GGUF 格式: {output_file}") except subprocess.CalledProcessError as e: print(f"转换失败: {e}") print("尝试使用更新的转换脚本...") # 第二次转换尝试(使用备用脚本) convert_script = os.path.join(llama_cpp_path, "convert_hf_to_gguf_update.py") command = f"python {convert_script} {input_dir} --outfile {output_file}" try: subprocess.run(command, shell=True, check=True) print(f"成功将模型转换为 GGUF 格式: {output_file}") except subprocess.CalledProcessError as e2: print(f"转换仍失败: {e2}") print("可能原因:模型架构不兼容、转换脚本版本问题")gguf_output_file = os.path.join(output_dir, "wesky.gguf")convert_to_gguf(output_dir, gguf_output_file)# ----------------- 测试部分(可选) -----------------# 9. 测试生成效果(按需启用)# generator = pipeline("text-generation", # model=output_dir,# tokenizer=tokenizer,# device=0 if torch.cuda.is_available() else -1)# result = generator("你的提示词...", max_length=128, num_return_sequences=1)# print(f"测试结果: {result}")print("微调完成!")执行训练脚本:
python 你的脚本名称,例如
python test.pyCUDA_VISIBLE_DEVICES可以用来显示指定显卡编号,例如我指定0到7号卡,如果单卡可以不设置,直接python走起即可。

训练过程记录(局部),供参考:
CUDA_VISIBLE_DEVICES=0,1,2,3,4,5,6,7 python test.py使用设备: cuda 可用 GPU 数量: 8加载数据集: /data/wesky/datas/train.json加载本地模型和分词器: /data/wesky/qwen05bSliding Window Attention is enabled but not implemented for `eager`; unexpected results may be encountered.预处理数据集...数据集列名: ['prompt', 'response', 'input_ids', 'attention_mask', 'labels']使用单机多卡并行训练……Detected kernel version 3.10.0, which is below the recommended minimum of 5.5.0; this can cause the process to hang. It is recommended to upgrade the kernel to the minimum version or higher.开始训练...  0%|                                                                                                                                             | 0/3 [00:00<?, ?it/s]/data/miniconda3/envs/test/lib/python3.11/site-packages/torch/nn/parallel/_functions.py:68: UserWarning: Was asked to gather along dimension 0, but all input tensors were scalars; will instead unsqueeze and return a vector.  warnings.warn('Was asked to gather along dimension 0, but all '省略其他进度条……                                                                       67%|█████████████████████████████████████████████████████████████████████████████████ 100%|█████████████████████████████████████████████████████████████████████████████████ {'train_runtime': 34.8875, 'train_samples_per_second': 0.516, 'train_steps_per_second': 0.086, 'train_loss': 2.5688490867614746, 'epoch': 3.0}100%|█████████████████████████████████████████████████████████████████████████████████ 100%|█████████████████████████████████████████████████████████████████████████████████ ████████████████████████████████████████████████████| [00:34<00:00, 11.63s/it]移除 DataParallel 包装...保存模型到: ./finetunedINFO:hf-to-gguf:Loading model: finetuned…………省略一大堆Info信息
INFO:gguf.vocab:Setting special token type eos to 151643INFO:gguf.vocab:Setting special token type pad to 151643INFO:gguf.vocab:Setting special token type bos to 151643INFO:gguf.vocab:Setting add_bos_token to FalseINFO:gguf.vocab:Setting chat_template to {%- if tools %}    {

    {- '<|im_start|>system\n' }}    {%- if messages[0]['role'] == 'system' %}        {

    {- messages[0]['content'] }}    {%- else %}        {

    {- 'You are a helpful assistant.' }}    {%- endif %}    {

    {- "\n\n# Tools\n\nYou may call one or more functions to assist with the user query.\n\nYou are provided with function signatures within <tools></tools> XML tags:\n<tools>" }}    {%- for tool in tools %}        {

    {- "\n" }}        {

    {- tool | tojson }}    {%- endfor %}    {

    {- "\n</tools>\n\nFor each function call, return a json object with function name and arguments within <tool_call></tool_call> XML tags:\n<tool_call>\n{\"name\": <function-name>, \"arguments\": <args-json-object>}\n</tool_call><|im_end|>\n" }}{%- else %}    {%- if messages[0]['role'] == 'system' %}        {

    {- '<|im_start|>system\n' + messages[0]['content'] + '<|im_end|>\n' }}    {%- else %}        {

    {- '<|im_start|>system\nYou are a helpful assistant.<|im_end|>\n' }}    {%- endif %}{%- endif %}{%- for message in messages %}    {%- if (message.role == "user") or (message.role == "system" and not loop.first) or (message.role == "assistant" and not message.tool_calls) %}        {

    {- '<|im_start|>' + message.role + '\n' + message.content + '<|im_end|>' + '\n' }}    {%- elif message.role == "assistant" %}        {

    {- '<|im_start|>' + message.role }}        {%- if message.content %}            {

    {- '\n' + message.content }}        {%- endif %}        {%- for tool_call in message.tool_calls %}            {%- if tool_call.function is defined %}                {%- set tool_call = tool_call.function %}            {%- endif %}            {

    {- '\n<tool_call>\n{"name": "' }}            {

    {- tool_call.name }}            {

    {- '", "arguments": ' }}            {

    {- tool_call.arguments | tojson }}            {

    {- '}\n</tool_call>' }}        {%- endfor %}        {

    {- '<|im_end|>\n' }}    {%- elif message.role == "tool" %}        {%- if (loop.index0 == 0) or (messages[loop.index0 - 1].role != "tool") %}            {

    {- '<|im_start|>user' }}        {%- endif %}        {

    {- '\n<tool_response>\n' }}        {

    {- message.content }}        {

    {- '\n</tool_response>' }}        {%- if loop.last or (messages[loop.index0 + 1].role != "tool") %}            {

    {- '<|im_end|>\n' }}        {%- endif %}    {%- endif %}{%- endfor %}{%- if add_generation_prompt %}    {

    {- '<|im_start|>assistant\n' }}{%- endif %}
INFO:hf-to-gguf:Set model quantization versionINFO:gguf.gguf_writer:Writing the following files:INFO:gguf.gguf_writer:finetuned/wesky.gguf: n_tensors = 290, total_size = 988.2MWriting:  28%|████████████████████████████████▏                                                                                    | 27Writing:  31%|████████████████████████████████████▊                                                                                Writing:  35%|█████████████████████████████████████████▎                                                                      Writing:  39%|█████████████████████████████████████████████▉                                                              Writing:  44%|██████████████████████████████████████████████████▉                                                    Writing:  47%|███████████████████████████████████████████████████████▍                                          Writing:  50%|███████████████████████████████████████████████████████████                                    Writing:  53%|██████████████████████████████████████████████████████████████▌                            Writing:  56%|██████████████████████████████████████████████████████████████████                      Writing:  60%|█████████████████████████████████████████████████████████████████████▌              Writing:  63%|█████████████████████████████████████████████████████████████████████████▏      Writing:  66%|█████████████████████████████████████████████████████████████████████████████Writing:  71%|█████████████████████████████████████████████████████████████████████████████Writing:  75%|█████████████████████████████████████████████████████████████████████████████Writing:  78%|█████████████████████████████████████████████████████████████████████████████Writing:  83%|█████████████████████████████████████████████████████████████████████████████Writing:  87%|█████████████████████████████████████████████████████████████████████████████Writing:  91%|█████████████████████████████████████████████████████████████████████████████Writing:  95%|█████████████████████████████████████████████████████████████████████████████Writing:  99%|█████████████████████████████████████████████████████████████████████████████Writing: 100%|█████████████████████████████████████████████████████████████████████████████████████████████████████████████████████| 988M/988M [00:03<00:00, 310Mbyte/s]INFO:hf-to-gguf:Model successfully exported to finetuned/wesky.gguf成功将模型转换为 GGUF 格式: ./finetuned/wesky.gguf微调完成!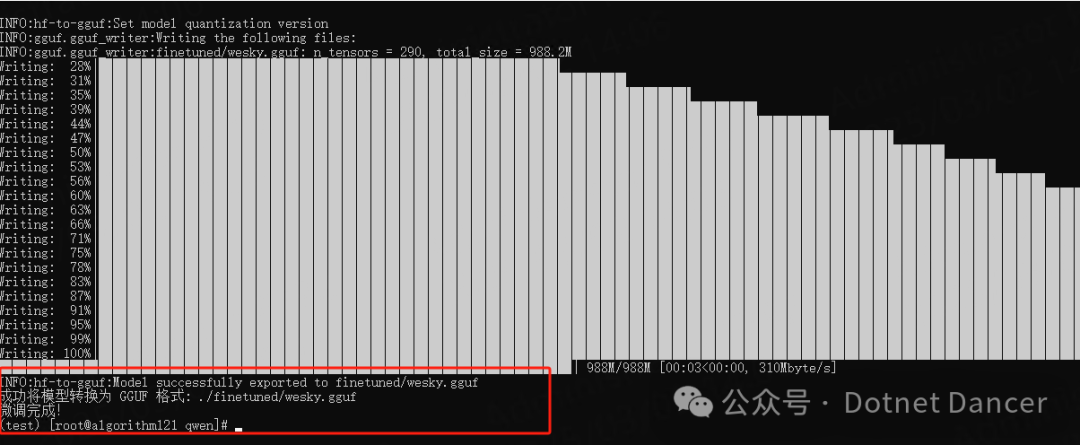
在指定的目录下,就可以看到微调以后的模型了。我输出的模型为wesky.gguf

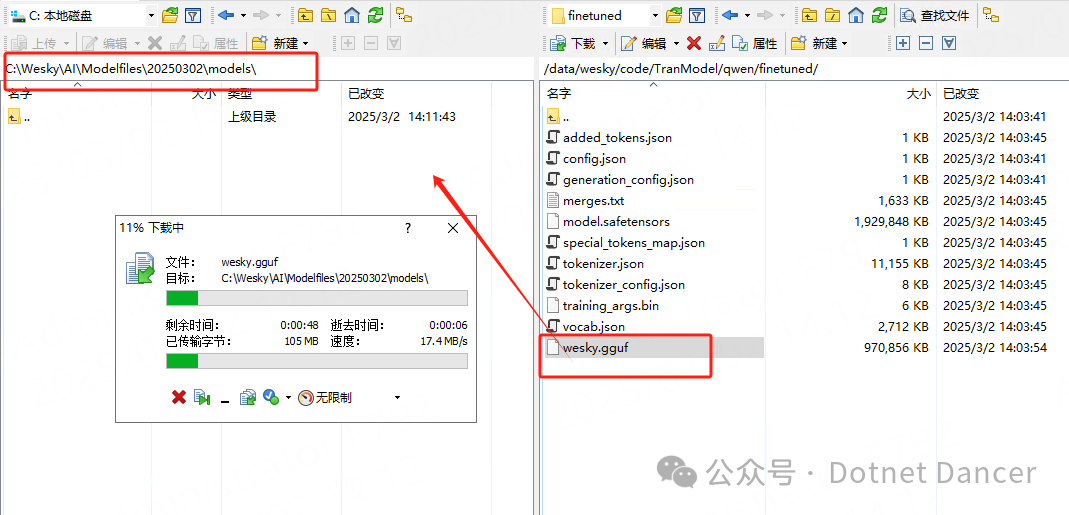
现在我把大模型输出到另一个有Ollama服务的机器上,教大家如何使用Ollama来加载本地训练好的模型。由于我是在Linux上面训练的,我的Ollama本地机器是Windows的,所以我通过工具直接下载模型到我本地上:我的本地模型存放路径:
C:\Wesky\AI\Modelfiles\20250302\models

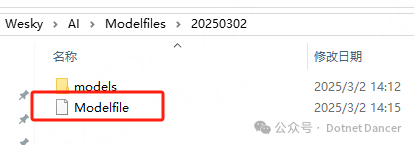
编写一个Modelfile文件,内容如下:
FROM C:\Wesky\AI\Modelfiles\20250302\models\wesky.gguf文件存放位置随意,我放到上一级目录,如图。内容主要是用来指定本地大模型使用的。
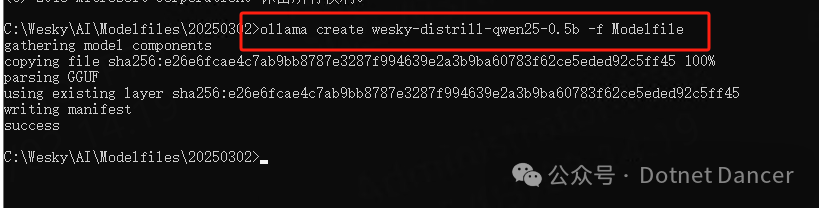
创建Ollama模型,使用以下命令,将模型注册到Ollama上。
ollama create your-model-name -f Modelfile例如我命名为 wesky-distrill-qwen25-0.5b,名字无所谓,随便起,开心就好。
现在通过ollama list可以查看本地所有的模型,包括你本地加载的,以及在线安装的:

本地使用你微调以后的模型:ollama run 你的本地模型名称,就可以进入到对话页面,就可以开始和你微调以后的模型进行对话了。或者通过ollama提供的api接口给外部程序调用了。

本文原创作者:Wesky
公众号:Dotnet Dancer
微信:WeskyNet001
后记:本文的实现方案仅为大模型训练的初阶实践,真实工业场景中,尚有诸多精尖技术等待探索:梯度检查点、量化训练、张量/流水线并行、ZeRO优化器、Flash Attention V2、分布式编排系统,以及参数高效微调领域的LoRA+与QLoRA等黑科技,共同构筑起现代大模型训练的护城河。
当前演示的单机多卡方案,实为通向分布式训练的基石。欲攀登技术高峰,须深入NVIDIA NeMo、DeepSpeed、Colossal-AI等工业级框架的殿堂——它们不仅是工具,更是打开千亿参数宇宙的密钥。
最后,祝大家能有所收获,在这个AI时代当AI的主人而不是奴隶!谢谢观看!喜欢也可以扫码关注我的公众号,除了技术文章,还有金融消费者有关的主题,欢迎围观~~
