
官方网站
官方网站: Apache APISIX® -- Cloud-Native API Gateway
官方下载网址:Downloads | Apache APISIX® -- Cloud-Native API Gateway
官方帮助文档:Documentation | Apache APISIX® -- Cloud-Native API Gateway
Etcd帮助文档:Configuration options | etcd
Github社区项目ETCD:etcd/etcd.conf.yml.sample at main · etcd-io/etcd · GitHub
一、镜像下载
1、在线下载
在一台能连外网的linux上执行docker镜像拉取命令
docker pull apisix:3.11.02、离线包下载
两种方式:
方式一:
-)在一台能连外网的linux上安装docker执行第一步的命令下载镜像
-)导出
# 导出镜像到本地当前目录
docker save -o apisix-3.11.0.tar apisix:3.11.0
方式二:
-)Window桌面程序:Docker Desktop


-)下载镜像

-)安装镜像导出插件(说明过程就复用了之前mysql的图)

-)将镜像文件保存到window本地(图略)
3、Community Edition | Docs
官方的下载地址,k8s环境用不上,因为官方没有发布镜像(自行打镜像的除外)

二、安装
1、安装etcd
apisix依赖etcd,etcd的安装这里略。假设etcd的容器名为:etcd-server
这里上个容器启动命令,其他的略了
docker run -d \
  --name etcd-server \
  --network apisix-network \
  -v /data1/etcd-data:/data \
  -e "ETCD_ROOT_PASSWORD=iametcd#T***" \
  -e "ETCD_ENABLE_V2=true" \
  -e "ETCD_ADVERTISE_CLIENT_URLS=http://etcd-server:2379" \
  -e "ETCD_LISTEN_CLIENT_URLS=http://etcd-server:2379" \
  -p 12379:2379 \
  -p 12380:2380 \
  bitnami/etcd:3.5.18
2、安装etcd-browser
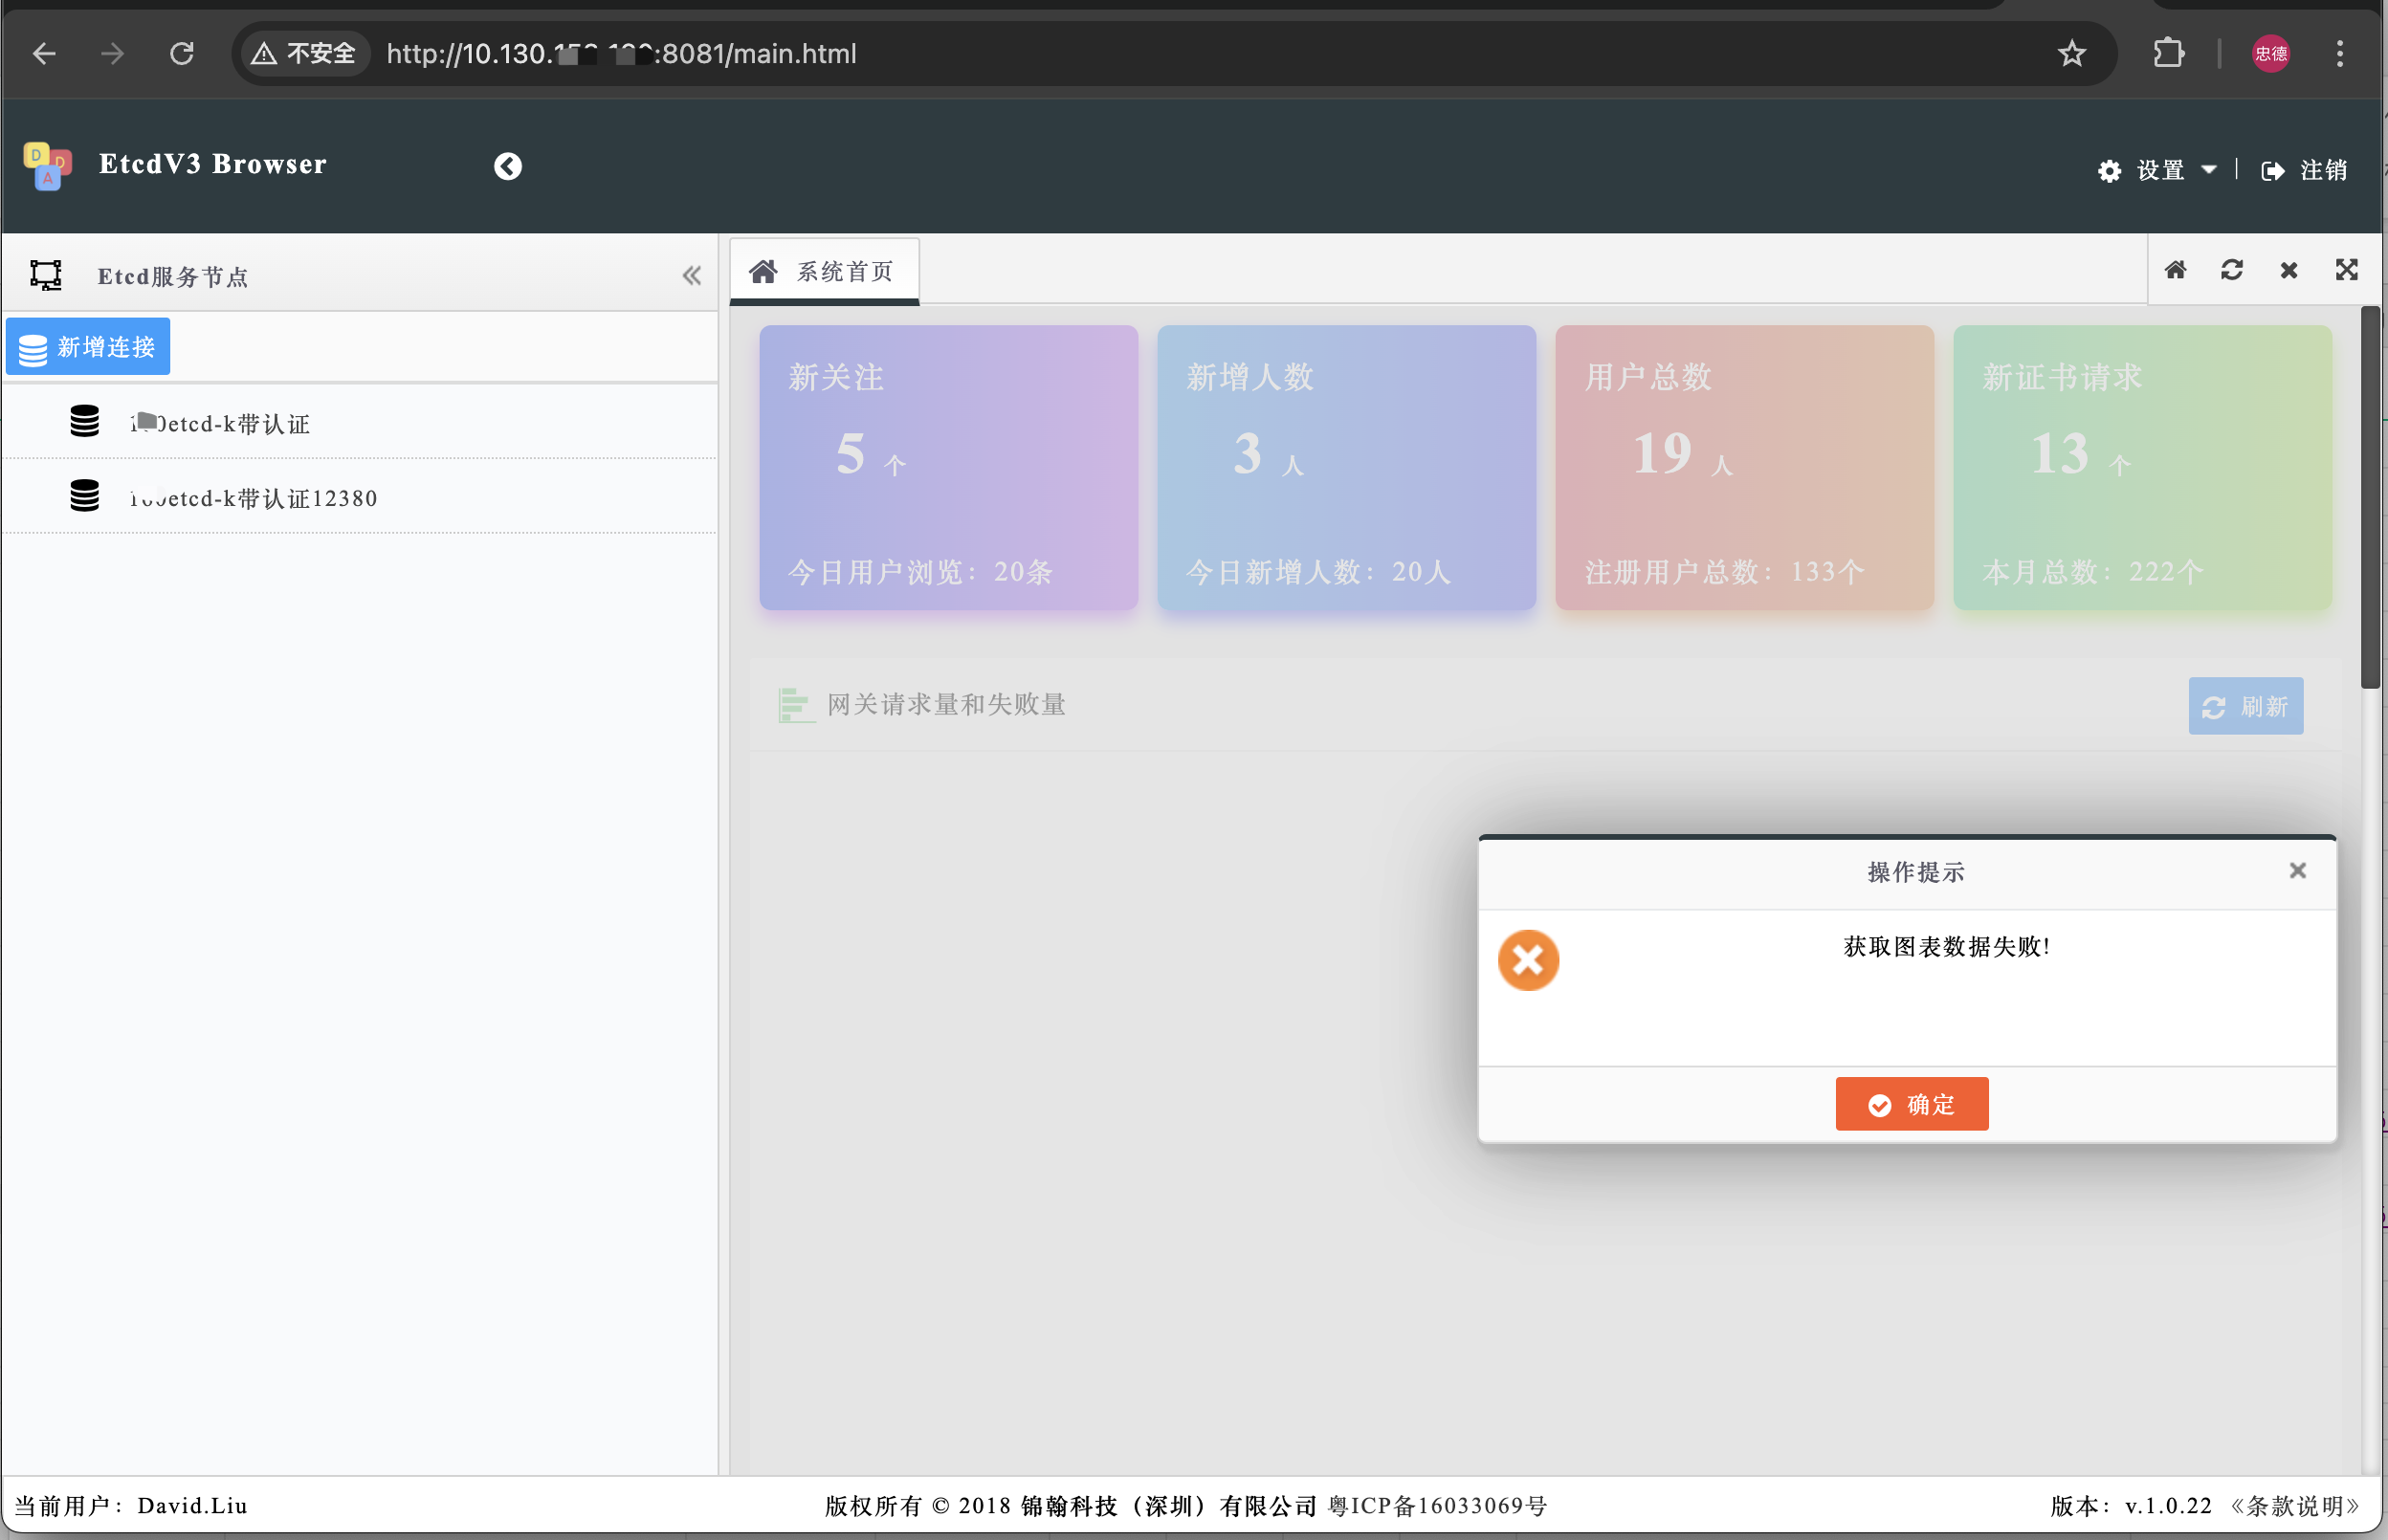
etcd-browser是etcd的图形化工具
docker run -d \
  --name etcdv3-browser \
  --network apisix-network \
  -p 8081:80 \
  -p 1443:443 \
  joinsunsoft/etcdv3-browser:1.0.0
注意:etcd-browser的界面数据是前端直接连etcd拉取的,所以web客户端还有访问etcd服务的权限(针对内部网络用户理清网络权限)
3、apisix在线安装
-)拉取镜像
docker pull apache/apisix:3.11.0-)其他步骤见离线安装(没有离线安装的导入镜像的动作)
4、apisix离线安装
-)导入镜像
docker load -i apache_apisix_3_11_0-redhat.tar-)查看镜像
作者下了一堆(读者随意选用,apsix大版本是3就行)
作者实际使用的:apache/apisix 3.11.0-redhat
[docker@GZ***-PM1531*0 ~]$ docker images
REPOSITORY                                               TAG             IMAGE ID       CREATED         SIZE
bitnami/etcd                                             3.5.18          bdc73d3efea1   2 weeks ago     190MB
joinsunsoft/etcdv3-browser                               1.0.0           af99fc282d3e   2 years ago     60.5MB
bitnami/apisix                                           3.11.0          3e32d5a57a48   2 months ago    243MB
apache/apisix                                            3.11.0-redhat   515f6f9a8920   4 months ago    692MB
apache/apisix                                            3.6.0-centos    034ad6a46bc3   17 months ago   412MB
apache/apisix-dashboard                                  3.0.1-centos    2f0aed4002d7   23 months ago   360MB
nginx                                                    1.27.0          900dca2a61f5   8 months ago    188MB
-)创建映射目录
创建redis配置文件目录、数据文件目录,并修改目录权限
sudo mkdir -p /opt/apisix/docker-apisix/conf
# sudo mkdir -p /data1/apisix/docker-apisix/data
sudo mkdir -p /data1/apisix/docker-apisix/log
sudo chown -R docker.docker /opt/apisix
# 作者data1目录下全是docker用户程序数据,所以没有指定子目录
sudo chown -R docker.docker /data1
# sudo chown -R docker.docker /data1/apisix
-)apisix配置文件
vi /opt/apisix/config.yaml
# config.yaml
apisix:
  node_listen: 9080
  enable_ipv6: false

#  enable_control: true
#  control:
    #ip: "10.130.153.160"
#    ip: ctc-etcd-server
#    port: 9091

deployment:
  role: traditional
  role_traditional:
    config_provider: etcd
  etcd:
    host:
      #- http://10.130.***.160:2379
      # 这里etcd-server为etcd的容器名,etcd容器与apisix使用相同名称的桥接网络
      - http://etcd-server:2379
    prefix: /apisix
    timeout: 30
    username: root
    user: root
    password: iametcd#T***
  admin:
    allow_admin:
      - 0.0.0.0/0
    admin_key:
      - name: admin
        key: edd1c9f034335f136f87ad84b625c8f1
        #key: 'iametcd#T***'
        role: admin
    admin_listen:
      port: 9180
-)启动容器
*重点*:这里ctc-etcd-server 是etcd的容器name,读者要替换成自己的etcd容器名哦~
# 这里ctc-etcd-server 是etcd的容器name,读者要替换成自己的etcd容器名额~
docker run -d \
>   --name ctc-apisix \
>   --network apisix-network \
>   -e APISIX_CONFIG_PATH=/usr/local/apisix/conf/config.yaml \
>   -v /opt/apisix/config.yaml:/usr/local/apisix/conf/config.yaml \
>   -p 9080:9080 \
>   -p 9443:9443 \
>   -e "ETCD_PORT=12379" \
>   -e "ETCD_USERNAME=root" \
>   -e "ETCD_PASSWORD=iametcd#T***" \
>   -e "ETCD_SCHEME=http" \
>   apache/apisix:3.11.0-redhat
这个命令做了以下几件事:
-
--name smet-apisix:给容器命名为smet-apisix。 -
-d:让容器在后台运行。 -
--network apisix-network 与etcd使用同一桥接类型网络
-
-e APISIX_CONFIG_PATH=/usr/local/apisix/conf/config.yaml 指定apisix配置文件路径
-
-v /opt/apisix/config.yaml:/usr/local/apisix/conf/config.yaml 映射外部apisix配置文件路径
-
-p 9080:9080端口映射 -
-e "ETCD_PORT=12379" 环境变量
-
-e "ETCD_USERNAME=root" 环境变量
-
-e "ETCD_PASSWORD=iametcd#T***" 环境变量
-
-e "ETCD_SCHEME=http" 环境变量
-
-v 映射数据文件目录和日志文件目录,左边的是外部目录,右边的是容器目录 -
apache/apisix:3.11.0-redhat 镜像名
-)查看容器
[docker@GZ***-PM153160 ~]$ docker ps
CONTAINER ID   IMAGE                                     COMMAND                  CREATED             STATUS             PORTS                                                                                                                                             NAMES
33dd7f31e9c5   apache/apisix:3.11.0-redhat               "/docker-entrypoint.…"   5 hours ago   Up 5 hours   0.0.0.0:9080->9080/tcp, :::9080->9080/tcp, 0.0.0.0:9443->9443/tcp, :::9443->9443/tcp
-)从容器内部拷贝配置文件
可跳过,作者没有拷贝容器内配置出来
# 容器内路径以实际为准
[docker@GZ***-PM153160 ~]$ docker cp db867a1bae9a:/opt/apisix/config/config.yaml /opt/apisix/config.yaml
Successfully copied 1.54kB to /opt/apisix/config.yaml
[docker@GZ***-PM153160 ~]$
-)调整其他配置(可选)
vi /opt/apisix/config.yaml
按需修改后,删除原容器,添加配置文件映射参数后重新创建容器
# 这里ctc-etcd-server 是etcd的容器name,读者要替换成自己的etcd容器名额~
docker run -d \
>   --name ctc-apisix \
>   --network apisix-network \
>   -e APISIX_CONFIG_PATH=/usr/local/apisix/conf/config.yaml \
>   -v /opt/apisix/config.yaml:/usr/local/apisix/conf/config.yaml \
>   -p 9080:9080 \
>   -p 9443:9443 \
>   -e "ETCD_PORT=12379" \
>   -e "ETCD_USERNAME=root" \
>   -e "ETCD_PASSWORD=iametcd#T***" \
>   -e "ETCD_SCHEME=http" \
>   apache/apisix:3.11.0-redhat
-)重启容器
[docker@GZ***-PM153160 ~]$ docker restart 33dd7f31e9c5
33dd7f31e9c5
5、apisix-dashboard安装
上个容器启动命令,其他的略了
-)命令
docker run -d \
  --name apisix-dashboard \
  --network apisix-network \
  -p 8089:9000 \
  -e ETCD_URL=http://etcd-server:2379 \
  -e ETCD_USER=root \
  -e ETCD_PASSWD=iametcd#T*** \
  -e TZ=Asia/Shanghai \
  -e APISIX_ADMIN_API_URL=http://apisix:9180/apisix/admin \
  -v /opt/apisix-dashboard/conf.yaml:/usr/local/apisix-dashboard/conf/conf.yaml \
  apache/apisix-dashboard:3.0.1-centos
说明:
- --name apisix-dashboard 容器名
- --network apisix-network (桥接)网络名
- -p 8089:9000 端口映射
- -e ETCD_URL=http://etcd-server:2379 etcd-server是etcd容器名
- -e ETCD_USER=root etcd用户名
- -e ETCD_PASSWD=iametcd#T*** 密码
- -e TZ=Asia/Shanghai 时区
- -e APISIX_ADMIN_API_URL=http://apisix:9180/apisix/admin apisixAminAPI端口
- -v /opt/apisix-dashboard/conf.yaml:/usr/local/apisix-dashboard/conf/conf.yaml 配置映射
- apache/apisix-dashboard:3.0.1-centos 镜像名
-)配置示例
conf:
  listen:
    # host: 127.0.0.1     # the address on which the `Manager API` should listen.
                          # The default value is 0.0.0.0, if want to specify, please enable it.
                          # This value accepts IPv4, IPv6, and hostname.
    port: 9000            # The port on which the `Manager API` should listen.

  # ssl:
  #   host: 127.0.0.1     # the address on which the `Manager API` should listen for HTTPS.
                          # The default value is 0.0.0.0, if want to specify, please enable it.
  #   port: 9001            # The port on which the `Manager API` should listen for HTTPS.
  #   cert: "/tmp/cert/example.crt" # Path of your SSL cert.
  #   key:  "/tmp/cert/example.key"  # Path of your SSL key.

  allow_list:             # If we don't set any IP list, then any IP access is allowed by default.
    - 127.0.0.1           # The rules are checked in sequence until the first match is found.
    - ::1                 # In this example, access is allowed only for IPv4 network 127.0.0.1, and for IPv6 network ::1.
    - 192.168.1.0/24                      # It also support CIDR like 192.168.1.0/24 and 2001:0db8::/32
    - 0.0.0.0/0     # 全放开

  etcd:
    endpoints:            # supports defining multiple etcd host addresses for an etcd cluster
      - ctc-etcd-server:2379
                          # yamllint disable rule:comments-indentation
                          # etcd basic auth info
    # username: "root"    # ignore etcd username if not enable etcd auth
    # password: "123456"  # ignore etcd password if not enable etcd auth
    mtls:
      key_file: ""          # Path of your self-signed client side key
      cert_file: ""         # Path of your self-signed client side cert
      ca_file: ""           # Path of your self-signed ca cert, the CA is used to sign callers' certificates
    # prefix: /apisix       # apisix config's prefix in etcd, /apisix by default
  log:
    error_log:
      level: warn       # supports levels, lower to higher: debug, info, warn, error, panic, fatal
      file_path:
        logs/error.log  # supports relative path, absolute path, standard output
                        # such as: logs/error.log, /tmp/logs/error.log, /dev/stdout, /dev/stderr
                        # such as absolute path on Windows: winfile:///C:\error.log
    access_log:
      file_path:
        logs/access.log  # supports relative path, absolute path, standard output
                         # such as: logs/access.log, /tmp/logs/access.log, /dev/stdout, /dev/stderr
                         # such as absolute path on Windows: winfile:///C:\access.log
                         # log example: 2020-12-09T16:38:09.039+0800	INFO	filter/logging.go:46	/apisix/admin/routes/r1	{"status": 401, "host": "127.0.0.1:9000", "query": "asdfsafd=adf&a=a", "requestId": "3d50ecb8-758c-46d1-af5b-cd9d1c820156", "latency": 0, "remoteIP": "127.0.0.1", "method": "PUT", "errs": []}
  max_cpu: 0             # supports tweaking with the number of OS threads are going to be used for parallelism. Default value: 0 [will use max number of available cpu cores considering hyperthreading (if any)]. If the value is negative, is will not touch the existing parallelism profile.

authentication:
  secret:
    secret              # secret for jwt token generation.
                        # NOTE: Highly recommended to modify this value to protect `manager api`.
                        # if it's default value, when `manager api` start, it will generate a random string to replace it.
  expire_time: 3600     # jwt token expire time, in second
  users:                # yamllint enable rule:comments-indentation
    - username: admin   # username and password for login `manager api`
      password: admin
    - username: user
      password: user

#  。。。。其他的略,同官方默认配置
三、使用/基本操作
1、路由管理
-)创建路由
curl "http://127.0.0.1:9080/apisix/admin/routes/1" -H "X-API-KEY: edd1c9f034335f136f87ad84b625c8f1" -X PUT -d '
{
"methods": ["GET"],
"uri": "/api/test",
"upstream": {
"type": "roundrobin",
"nodes": {
"backend-server:80": 1
}
}
}' # 定义路由规则:ml-citation{ref="5" data="citationList"}
-)测试路由
curl http://127.0.0.1:9080/api/test # 验证请求转发:ml-citation{ref="5" data="citationList"}
2、插件配置
-
启用限流插件
curl "http://127.0.0.1:9080/apisix/admin/routes/1" -H "X-API-KEY: edd1c9f034335f136f87ad84b625c8f1" -X PATCH -d '
{
"plugins": {
"limit-count": {
"count": 100,
"time_window": 60,
"rejected_code": 429
}
}
}' # 限制每分钟100次请求:ml-citation{ref="6" data="citationList"}
-
启用 JWT 认证
curl "http://127.0.0.1:9080/apisix/admin/routes/1" -H "X-API-KEY: edd1c9f034335f136f87ad84b625c8f1" -X PATCH -d '
{
"plugins": {
"jwt-auth": {
"key": "user-key",
"secret": "my-secret"
}
}
}' # 添加身份验证:ml-citation{ref="6" data="citationList"}
3、Dashboard 管理
-
配置访问权限
- 修改默认账户:编辑
/usr/local/apisix/dashboard/conf/conf.yaml,调整authentication.users中的用户名和密码。 - 允许远程访问:修改同一文件中的
allow_list字段,添加允许访问的IP段。
- 修改默认账户:编辑
4、常用维护
- 热加载配置:APISIX 支持动态更新,修改路由或插件后无需重启服务。
- 日志查看:默认日志路径为
/usr/local/apisix/logs/access.log和error.log。 - 服务监控:通过 Prometheus 插件集成,暴露
/apisix/prometheus/metrics指标端点
常见问题FAQ:
Q1、将镜像推到内网镜像仓库时报错
[zhao****@GZ***-PM153160 ~]$ docker push 10.130.***.106:30089/library/zookeeper:3.9.3
The push refers to repository [10.130.153.***:30089/library/zookeeper]
Get "https://10.130.153.***:30089/v2/": x509: cannot validate certificate for 10.130.153.*** because it doesn't contain any IP SANs解决:换成域名
[zhao***@GZ***-PM153160 ~]$ docker login harbor.***.com:30089
Username: admin
Password:
WARNING! Your password will be stored unencrypted in /home/zhaozheng/.docker/config.json.
Configure a credential helper to remove this warning. See
https://docs.docker.com/engine/reference/commandline/login/#credential-stores

Login Succeeded
Q2: Apisix的standalone模式与Etcd模式的主要区别
APISIX的standalone模式与其他模式的主要区别在于配置中心的使用和部署方式。
standalone模式
在standalone模式下,APISIX节点不再使用默认的etcd作为配置中心。这种模式适合以下两类用户:
- Kubernetes声明式API场景:通过全量yaml配置来动态更新修改路由规则。
- 使用不同的配置中心:如Consul等,使用全量yaml做中间转换桥梁。APISIX节点启动后会加载
conf/apisix.yaml文件中的路由规则到内存,并每隔一定时间(默认1秒)检测文件内容是否有更新,如果有更新则重新加载规则。重新加载规则时是热更新过程,不会有工作进程的替换1。
etcd模式
在etcd模式下,APISIX使用etcd作为配置中心,主要用于管理配置和策略下发。这种模式下需要注意以下几点:
- 使用StatefulSet:在Kubernetes中,通常使用StatefulSet来部署etcd集群,以确保etcd的高可用性和数据一致性。
- 数据面与控制面分离:保持APISIX的数据面(处理实际流量的节点)和控制面(管理配置和处理API调用的节点)分离,有助于实现弹性伸缩、故障隔离和安全性提升
Q3: Apisix容器怎么与etcd容器链接(网络关联)
A:
使用容器名称代替IP地址/主机
从 Docker 1.9 开始,推荐使用 Docker 网络(Networking)来管理容器间的连接和通信。
-
创建网络
你可以创建一个自定义网络,让容器加入这个网络,从而可以相互通信。
docker network create my-network -
运行容器并加入网络
在运行容器时,使用
--network选项将其加入到之前创建的网络中。docker run -d --name container1 --network my-network some-image docker run -d --name container2 --network my-network some-other-image -
容器间通信
在同一网络中的容器可以直接通过容器名进行通信。例如,如果
container1运行一个 web 服务器监听在 80 端口,container2可以直接使用http://container1来访问它。如:apisix中配置etcd服务时使用 etcd-server (etcd的容器名)
传统链接方式(不推荐)
尽管不推荐使用,了解传统链接方式仍然是有帮助的,特别是对于一些旧的系统或教程。
-
创建并链接容器
在 Docker 1.13 及更高版本中,你可以在创建容器时使用
--link选项来建立容器间的链接。docker run -d --name container1 some-image docker run -d --name container2 --link container1:alias some-other-image在这个例子中,
container2可以使用alias(默认为container1的名字)来访问container1。例如,如果container1运行一个 web 服务器监听在 80 端口,container2可以使用http://alias来访问它。 -
通过环境变量访问链接容器
被链接的容器(如
container1)的环境变量中会包含一些特定信息,允许其他容器了解如何连接到它。例如,container2可以使用环境变量ALIAS_NAME_PORT_80_TCP_ADDR和ALIAS_NAME_PORT_80_TCP_PORT来访问container1的 IP 地址和端口。
网络总结
推荐使用 Docker 网络功能来管理容器间的通信,因为它提供了更好的灵活性和可扩展性。虽然传统的链接方式仍然可用,但建议尽可能使用网络功能来实现容器间的通信。如果你正在维护一个较老的 Docker 环境或需要兼容旧的系统,了解传统链接方式仍然是有价值的。不过,对于新的项目和部署,建议完全采用 Docker 网络功能。
Q4:apisix-dashboard报Error while dialing dial tcp 127.0.0.1:2379: connect: connection refused
apisix-dashboard报logger":"etcd-client","caller":"[email protected]/retry_interceptor.go:62","msg":"retrying of unary invoker failed","target":"etcd-endpoints://0xc0008ca000/etcd:2379","attempt":0,"error":"rpc error: code = DeadlineExceeded desc = latest balancer error: last connection error: connection error: desc = \"transport: Error while dialing dial tcp 127.0.0.1:2379: connect: connection refused\""}A:可能是兼容性问题,作者把etcd3.5.18换成etcd3.5.19后好了,再重启apisix-dashboard后好了
总结
本文讲解从etcd到apisix,从在线安装到离线安装,从etcd模式到standalone模式安装,从etcd到etcd-browser,从apisix到apisix-dashboard,完整覆盖apisix及相关组件。
如果喜欢我的文章,请帮我点赞,谢谢~