一、关于 wangEditor
- wangEditor 是一个开源的web富文本编辑器,开箱即用,配置简单,无需二次开发。

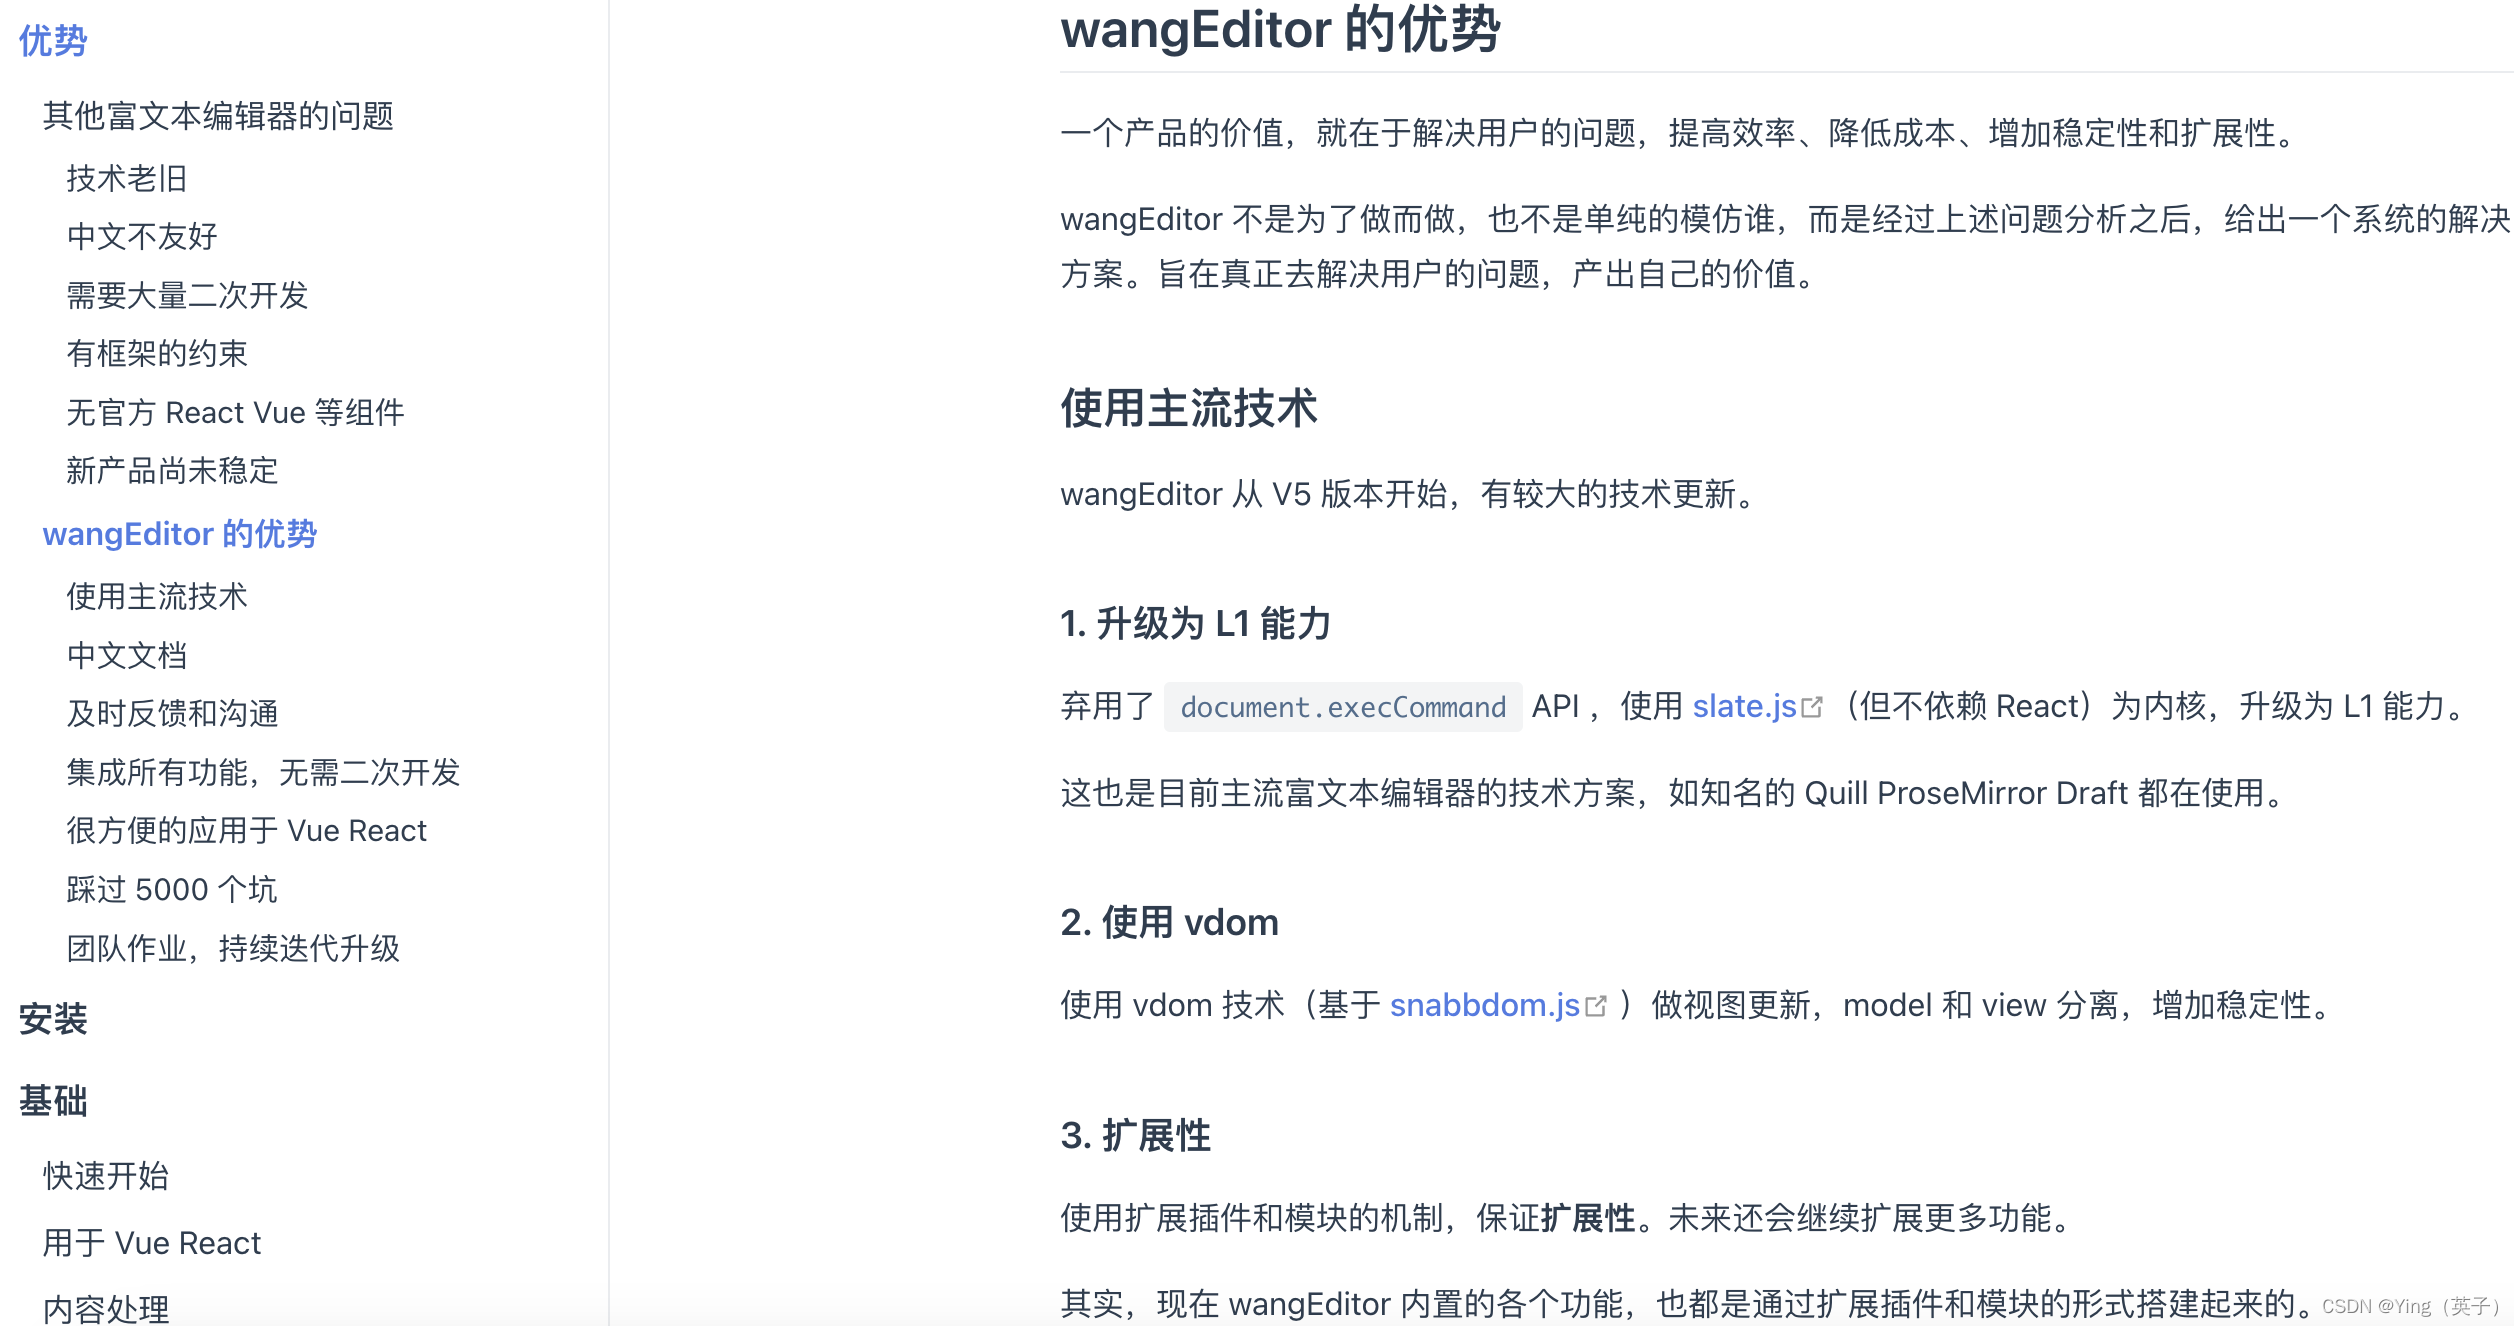
- 优势在官网也有很充分的说明:https://www.wangeditor.com/v5/#wangeditor-%E7%9A%84%E4%BC%98%E5%8A%BF
- 兼容性

二、安装及使用
1、执行安装命令:
npm install @wangeditor/editor-for-vue@next --save
2、添加typescript模块声明文件:custom-types.d.ts
import {

     SlateDescendant, SlateElement, SlateText } from "@wangeditor/editor";

declare module "@wangeditor/editor" {


  // 扩展 Text
  interface SlateText {


    text: string;
  }
  // 扩展 Element
  interface SlateElement {


    type: string;
    children: SlateDescendant[];
  }
}
3、修改tsconfig.json文件配置:
	{


	...
	"include": [
	    // 应该进行类型检查的文件
	    ...
	    "custom-types.d.ts"
	 ],
  }
4、使用
<template>
  <div class="editor-wrapper">
    <Toolbar
      :editor="editorRef"
      :mode="mode"
      :defaultConfig="toolbarConfig"
      class="editor-toolbar-wrapper"
    />
    <Editor
      v-model="content"
      :mode="mode"
      :defaultConfig="editorConfig"
      class="editor-content-wrapper"
      @onCreated="handleCreated"
      @onChange="handleChange"
      @onDestroyed="handleDestroyed"
      @onFocus="handleFocus"
      @onBlur="handleBlur"
      @customAlert="customAlert"
      @customPaste="customPaste"
    />
  </div>
</template>

<script lang="ts" setup>
import {

     onBeforeUnmount, ref, shallowRef, onMounted } from "vue";
import "@wangeditor/editor/dist/css/style.css"; // 引入编辑器样式
import {

     Editor, Toolbar, DomEditor } from "@wangeditor/editor-for-vue";
import type {


  IEditorConfig,
  IToolbarConfig,
  IDomEditor,
} from "@wangeditor/editor";

const emits = defineEmits(["change"]);

const mode = "default"; // 或 simple
const editorRef = shallowRef(); // 编辑器实例,官网规定必须用shallowRef
const content = ref(""); // 编辑器显示的内容

// 工具栏配置
const toolbarConfig: Partial<IToolbarConfig> = {


  modalAppendToBody: false, // 将菜单弹出的modal添加到body下,默认false
  // 去掉不需要的工具栏配置,写菜单组 key 的值即可
  excludeKeys: [
    "insertVideo", // 去掉插入视频功能
    "fullScreen", // 去掉全屏功能
  ],
};

// 编辑器配置
const editorConfig: Partial<IEditorConfig> = {


  placeholder: "请输入内容...",
  autoFocus: true, // 进入页面是否自动聚焦,默认为true
  readOnly: false, // 编辑器是否只读,默认为false,只读状态可通过enable()和disable()切换
  scroll: true, // 编辑器是否支持滚动,默认为true,注意不要固定editor-container的高度
  maxLength: 2000, // 最长输入内容长度
  MENU_CONF: {

    },
};

onMounted(() => {


  setTimeout(() => {


    content.value = "<p>异步请求后的新内容</p>";
  }, 1500);
});

// 编辑器回调函数
const handleCreated = (editor: IDomEditor) => {


  editorRef.value = editor; // 记录editor实例,非常重要!
  console.log("current-toolbar-config: ", editor.getConfig()); // 获取编辑器所有配置
  console.log("all-toolbar-config: ", editor.getAllMenuKeys()); // 查看所有工具栏key(可能有的不在工具栏上)
};

const handleChange = (editor: IDomEditor) => {


  emits("change", editor.getHtml()); // getHtml()获取非格式化的html,getText()获取纯文本内容
};

const handleDestroyed = (editor: IDomEditor) => {


  console.log("destroyed", editor);
};

const handleFocus = (editor: IDomEditor) => {


  console.log("focus", editor);
};

const handleBlur = (editor: IDomEditor) => {


  console.log("blur", editor);
};

const customAlert = (info: string, type: string) => {


  console.log(`自定义提示: ${

      type} - ${

      info}`);
};

const customPaste = (
  editor: IDomEditor,
  event: ClipboardEvent,
  callback: Function
) => {


  editor.insertText("xxxxxxxxxx"); // 自定义插入内容
  callback(false); // 返回false ,阻止默认粘贴行为,返回true ,继续默认的粘贴行为(注意不能用 return)
};

// 组件销毁时,也及时销毁编辑器
onBeforeUnmount(() => {


  const editor = editorRef.value;
  if (editor == null) return;
  editor.destroy();
});
</script>

<style lang="scss" scoped>
.editor-wrapper {


  border: 1px solid #dcdfe6;
  .editor-toolbar-wrapper {


    border-bottom: 1px solid #dcdfe6;
  }
  .editor-content-wrapper {


    min-height: 500px;
    overflow-y: hidden;
  }
}
</style>
5、页面展示如下:

三、常用API
- config相关
| 方法名 | 用途 |
|---|---|
| getConfig() | 获取编辑器所有配置,如:editor.getConfig() |
| getAllMenuKeys() | 获取单个 menu 的配置 |
| getMenuConfig(menuKey) | 获取编辑器所有 menu 的 key |
- 内容处理相关
| 方法名 | 作用 | 语法 |
|---|---|---|
| handleTab() | 控制编辑器按 tab 键时 | editor.handleTab = () => editor.insertText(’ ') |
| getHtml() | 获取非格式化的 html | editor.getHtml() |
| getText() | 获取纯文本内容 | editor.getText() |
| setHtml() | 设置编辑器HTML 内容。注意:只能解析返回的 HTML 格式,不支持自定义 HTML 格式。 | editor.setHtml(<div>hello</div>) |
| isEmpty() | 判断内容是否为空(只有一个空段落) | editor.isEmpty() |
| getSelectionText() | 获取选中的文本 | editor.getSelectionText() |
| getElemsByType() | 通过 type 获取编辑器的 element 列表 | editor.getElemsByType(‘image’) // 所有图片 |
| getElemsByTypePrefix() | 通过 type 前缀获取编辑器的 element 列表 | editor.getElemsByTypePrefix(‘header’) // 获取所有标题 header1 header2… |
| deleteBackward() | 向后删除,相当于按 backspace 键 | editor.deleteBackward() |
| deleteForward() | 向后删除,相当于按 delete 键 | editor.deleteForward() |
| deleteFragment() | 删除选中的内容 | editor.deleteFragment() |
| getFragment() | 获取选中的内容,json 格式 | editor.getFragment() |
| insertBreak() | 在选区回车换行 | editor.insertBreak() |
| insertText() | 在选区插入文本 | editor.insertText(‘xxx’) |
| clear() | 清空编辑器内容 | editor.clear() |
| undo() | 撤销 | editor.undo() |
| redo() | 重做 | editor.redo( |
wangEditor有非常多的API,具体可看官网:https://www.wangeditor.com/v5/API.html 非常详细。