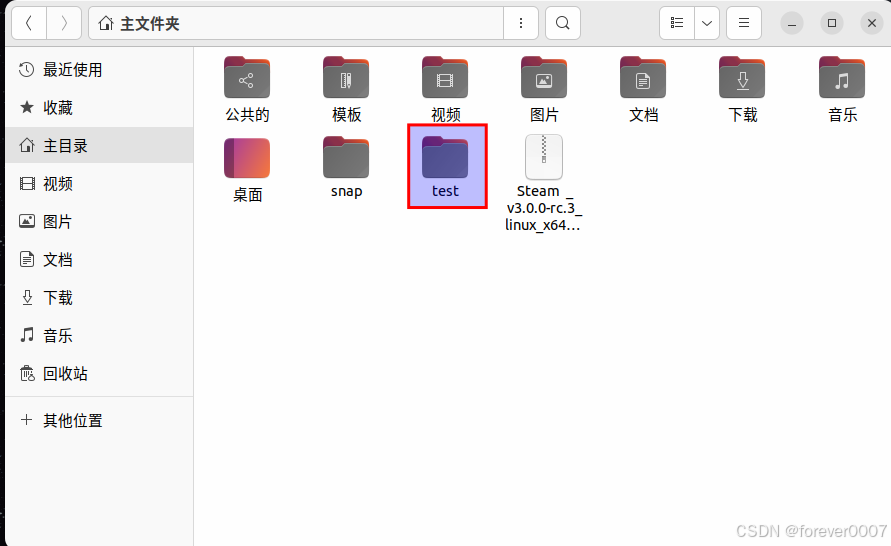
创建一个test文件,用VScode打开
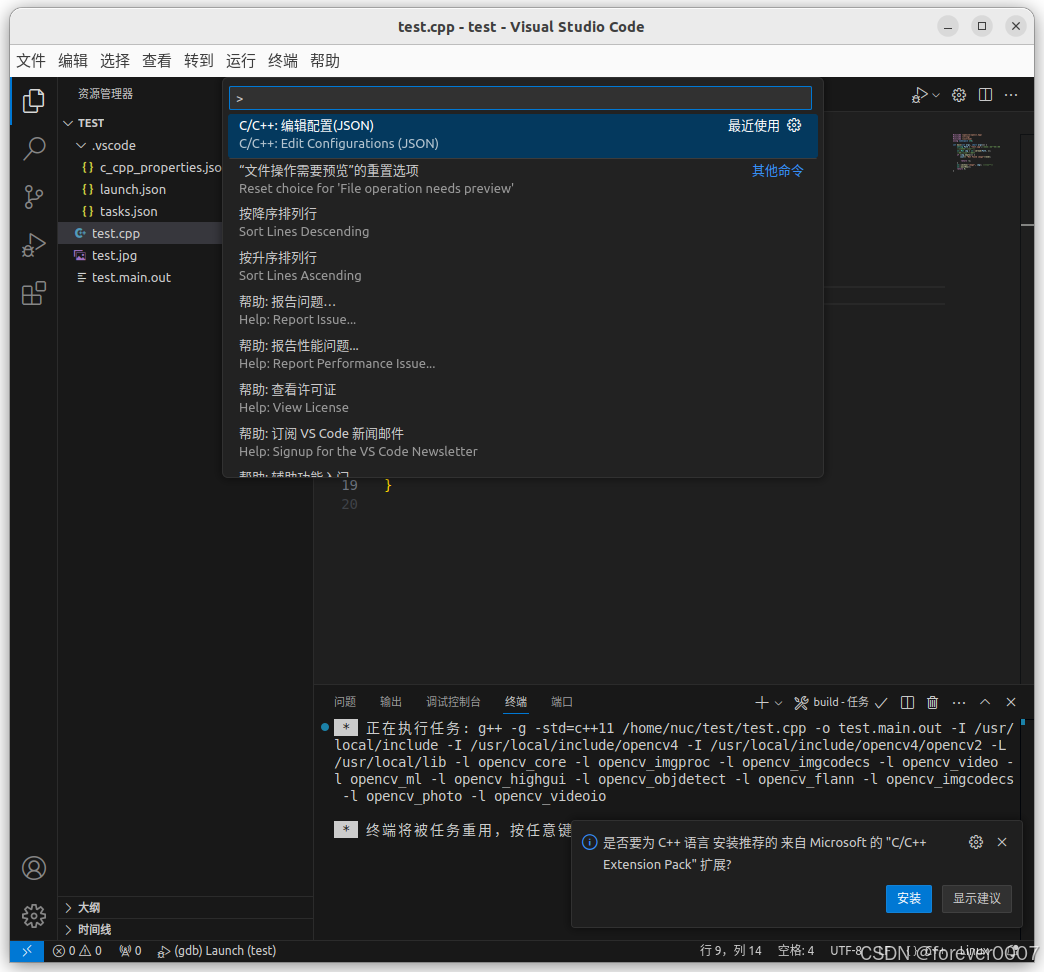
(1)按住ctrl+shift+P搜索launch.json,点击打开即可
(2)按住ctrl+shift+P 打开第一个
(1)、launch.json文件的配置
{
    // Use IntelliSense to learn about possible attributes.
    // Hover to view descriptions of existing attributes.
    // For more information, visit: https://go.microsoft.com/fwlink/?linkid=830387
    "version": "0.2.0",
    "configurations": [
        {
            "name": "g++ - Build and debug active file",
            "type": "cppdbg",
            "request": "launch",
            "program": "${fileDirname}/${fileBasenameNoExtension}", //程序文件路径
            "args": [], //程序运行需传入的参数
            "stopAtEntry": false,
            "cwd": "${fileDirname}",
            "environment": [],
            "externalConsole": false, //运行时是否显示控制台窗口
            "MIMode": "gdb",
            "setupCommands": [
                {
                    "description": "Enable pretty-printing for gdb",
                    "text": "-enable-pretty-printing",
                    "ignoreFailures": true
                }
            ],
            "preLaunchTask": "C/C++: g++ build active file",
            "miDebuggerPath": "/usr/bin/gdb"
        }
    ]
}
(2)、tasks.json文件
{
    "tasks": [
        {
            "type": "cppbuild",
            "label": "C/C++: g++ build active file", /* 与launch.json文件里的preLaunchTask的内容保持一致 */
            "command": "/usr/bin/g++",
            "args": [
                "-std=c++11",
                "-g",
                //"${file}",   /* 编译单个文件 */
                "${fileDirname}/*.cpp", /* 编译多个文件 */
                "-o",
                "${fileDirname}/${fileBasenameNoExtension}", /* 输出文件路径 */
                /* 项目所需的头文件路径 */
                "-I",
                "${workspaceFolder}/",
                "-I",
                "/usr/local/include/",
                "-I",
                "/usr/local/include/opencv4/",
                "-I",
                "/usr/local/include/opencv4/opencv2",
                /* 项目所需的库文件路径 */
                "-L",
                "/usr/local/lib",
                /* OpenCV的lib库 */
                "/usr/local/lib/libopencv_*"
            ],
            "options": {
                "cwd": "${fileDirname}"
            },
            "problemMatcher": [
                "$gcc"
            ],
            "group": {
                "kind": "build",
                "isDefault": true
            },
            "detail": "Task generated by Debugger."
        }
    ],
    "version": "2.0.0"
}
(3)、c_cpp_properties.json文件
{
    "configurations": [
        {
            "name": "Linux",
            "includePath": [
                "${workspaceFolder}/**",
                "/usr/local/include/opencv4",
                "/usr/include/**"
            ],
            "defines": [],
            "compilerPath": "/usr/bin/gcc",
            "cStandard": "gnu11",
            "cppStandard": "gnu++14",
            "intelliSenseMode": "linux-gcc-x64",
            "configurationProvider": "ms-vscode.makefile-tools"
        }
    ],
    "version": 4
}
(4)测试
创建一个test.cpp文件,输入测试代码
#include <opencv2/opencv.hpp>
#include <string>
#include <iostream>
using namespace std;
int main(int argc, char* argv[]) {
string Path = "test.jpg";//此处为的图片路径
//从文件中读入图像
cv::Mat img = cv::imread(Path, 1);
//如果读入图像失败
if (img.empty()) {
cout<< "Not Found image"<<endl;
return -1;
}
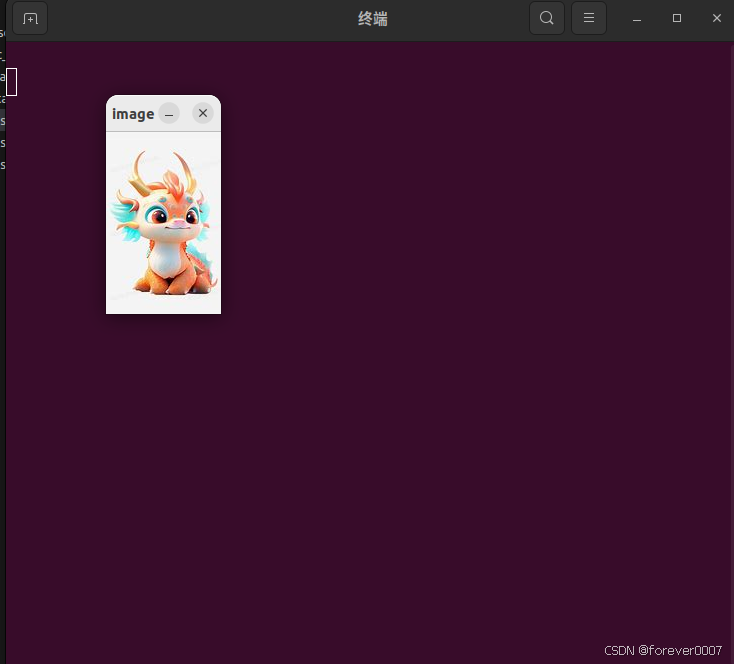
cv::imshow("image", img); //显示图像
cv::waitKey();
return 0;
}
图片显示成功,配置完成!(若成功运行仍有报错显示,重启VScode即可)