在人工智能技术飞速发展的今天,AI 编程助手已成为开发者提升效率的重要工具。DeepSeek 作为一款强大的 AI 编程助手,能够为开发者提供代码解释、优化建议、测试用例生成等功能。本文将详细介绍如何在 PyCharm 中安装 DeepSeek 并通过 API 实现 AI 编程,帮助开发者快速上手,享受 AI 编程的便利。
安装与配置步骤
1. 注册 DeepSeek 账号
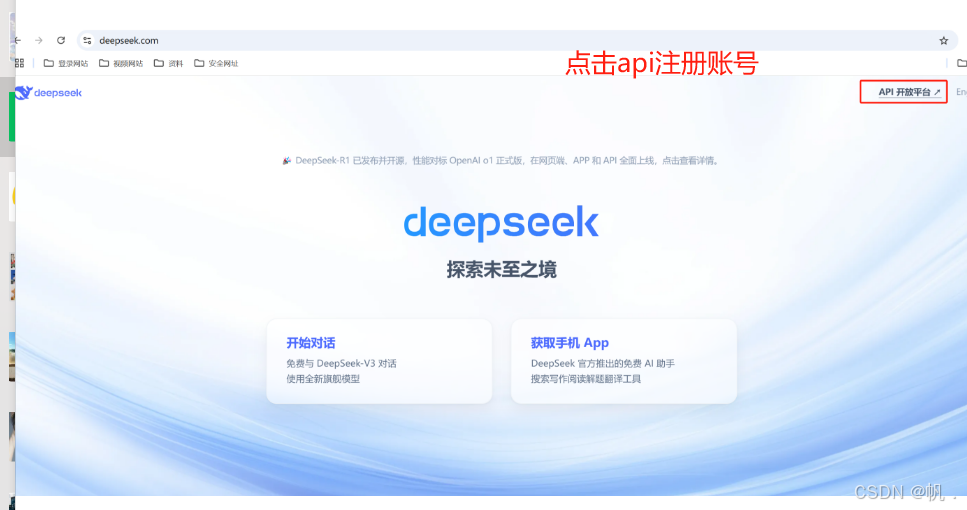
1.1注册 DeepSeek 账号:访问 DeepSeek 官网,注册并登录账号。
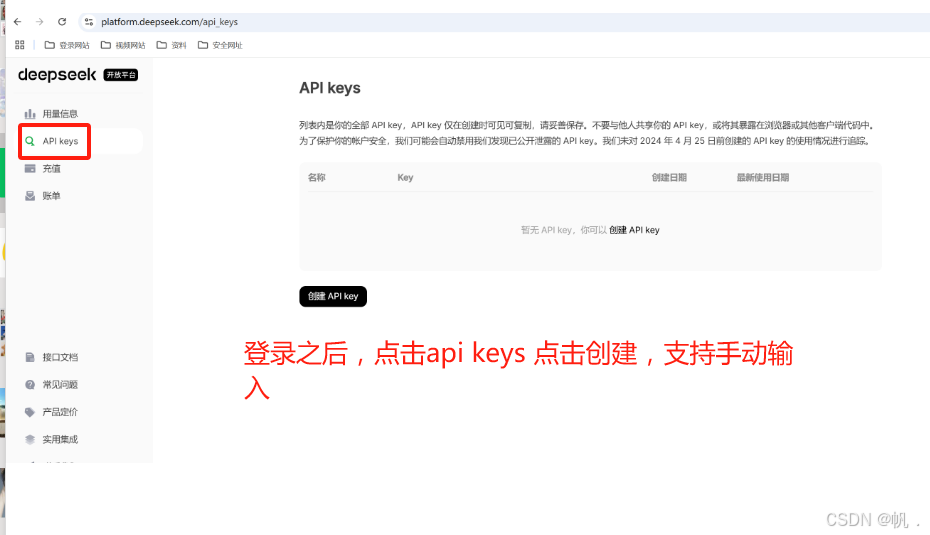
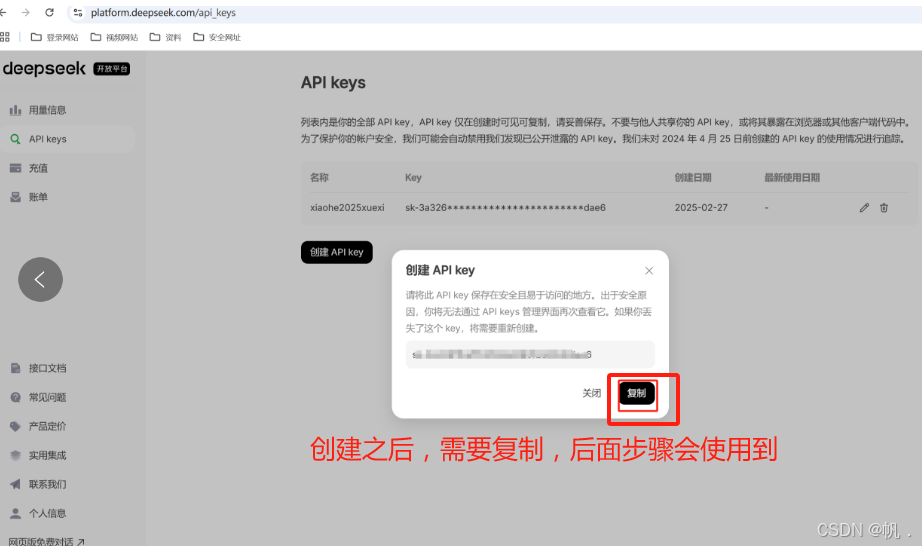
1.2 获取 API Key:登录后,进入 API 开放平台,创建并保存 API Key,支持自定义输入,创建之后,需要将api keys复制(放在记事本上),后面步骤会使用。
2. 安装 Continue 插件和配置
2.1 找插件:打开 PyCharm,依次点击 文件 -> 设置 -> 插件(或者页面有设置的直接点击设置置 -> 插件)。
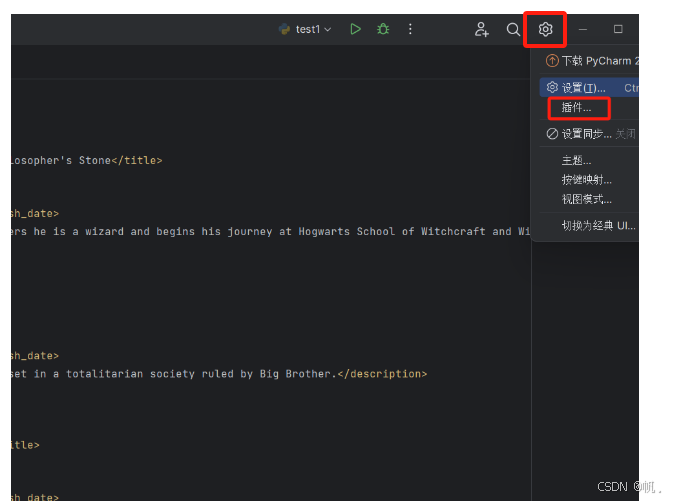
2.1 安装continue:在插件市场中搜索 Continue,点击安装。


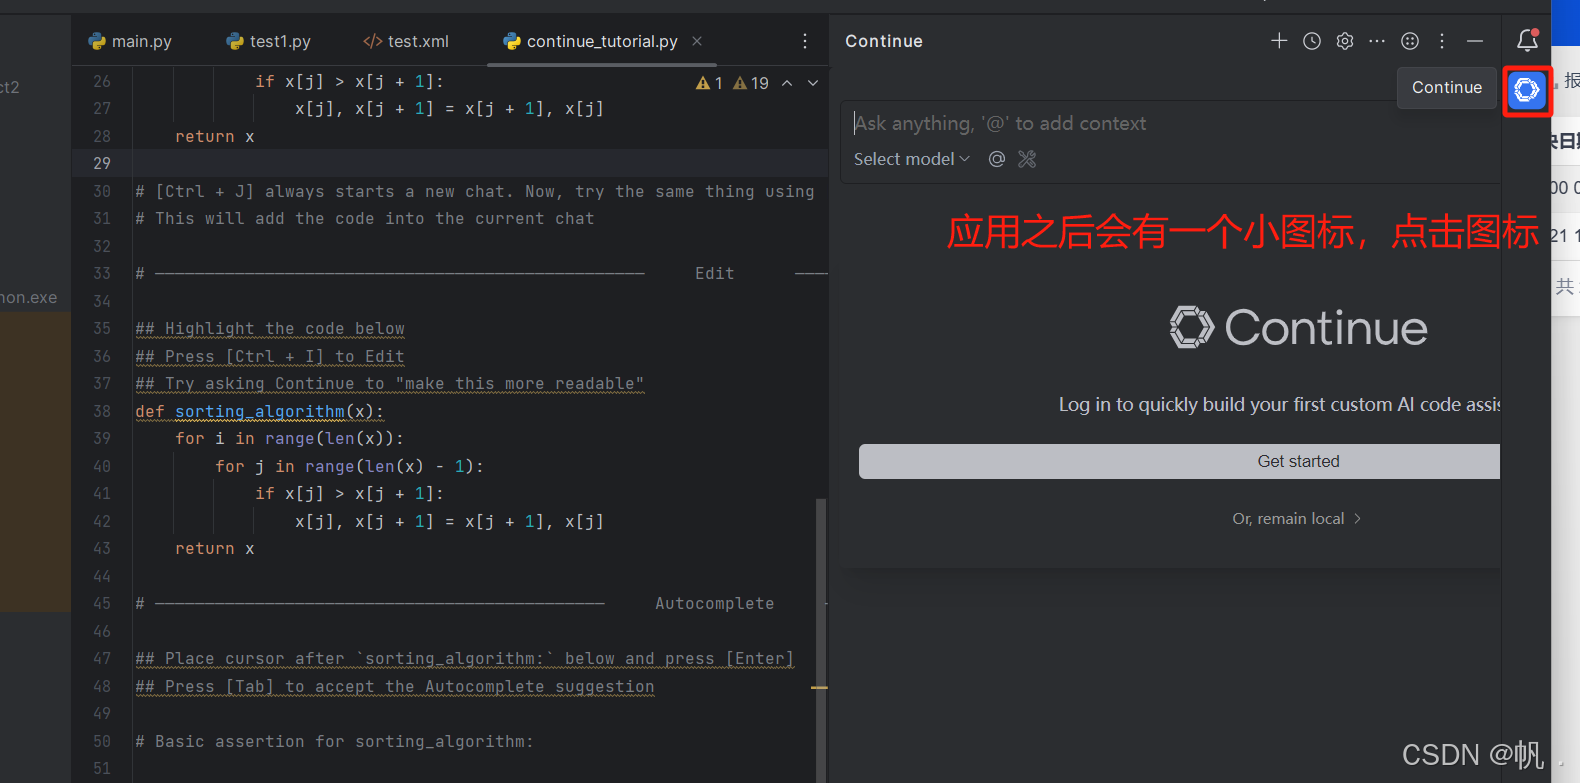
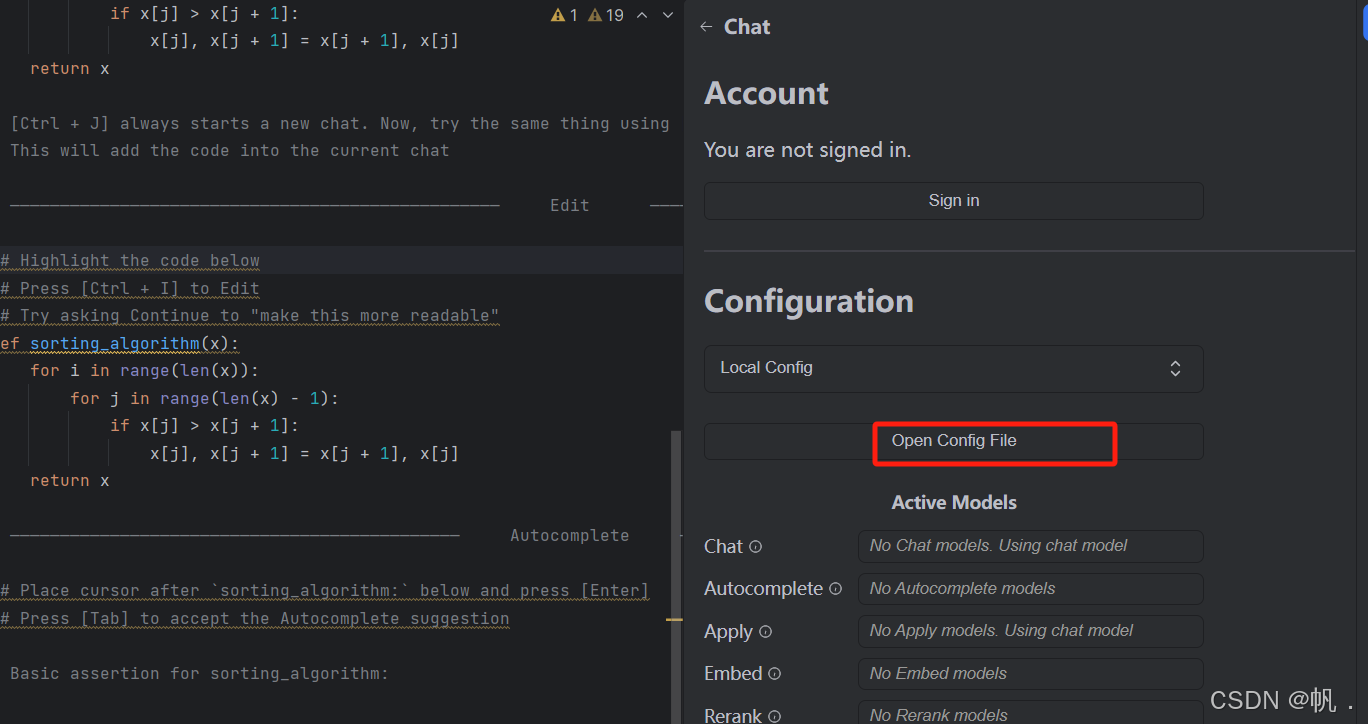
2.3 找continue的配置文件:安装之后会在右侧显示一个图标,点击图标,在点击Open Config File,打开了config.json文件。
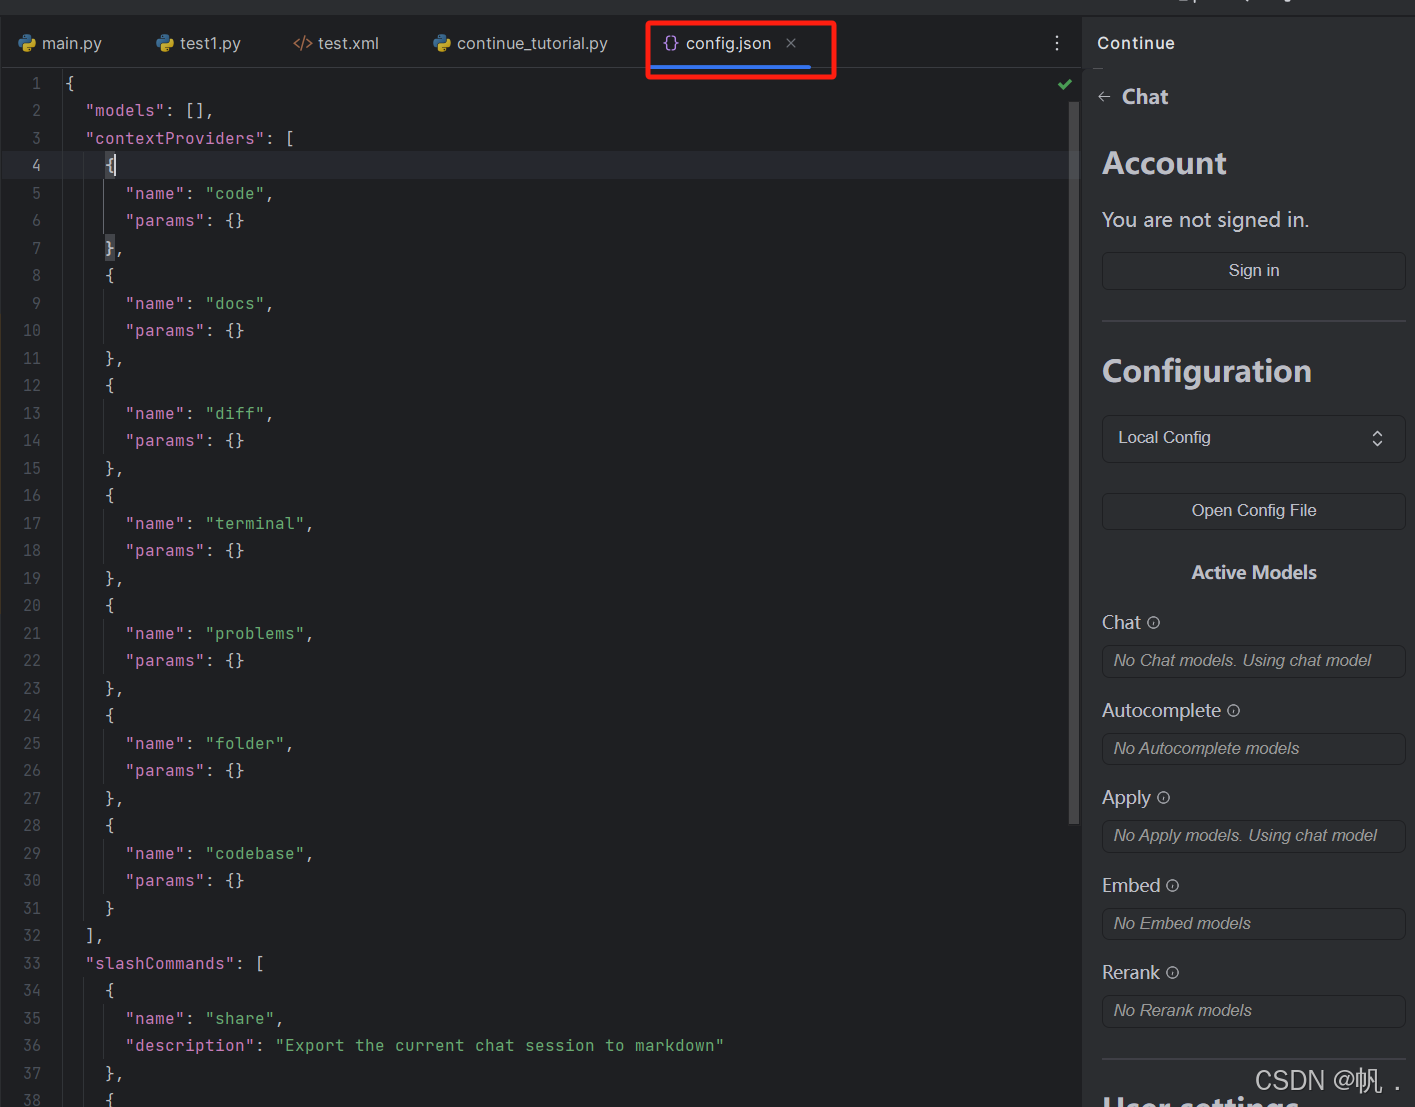
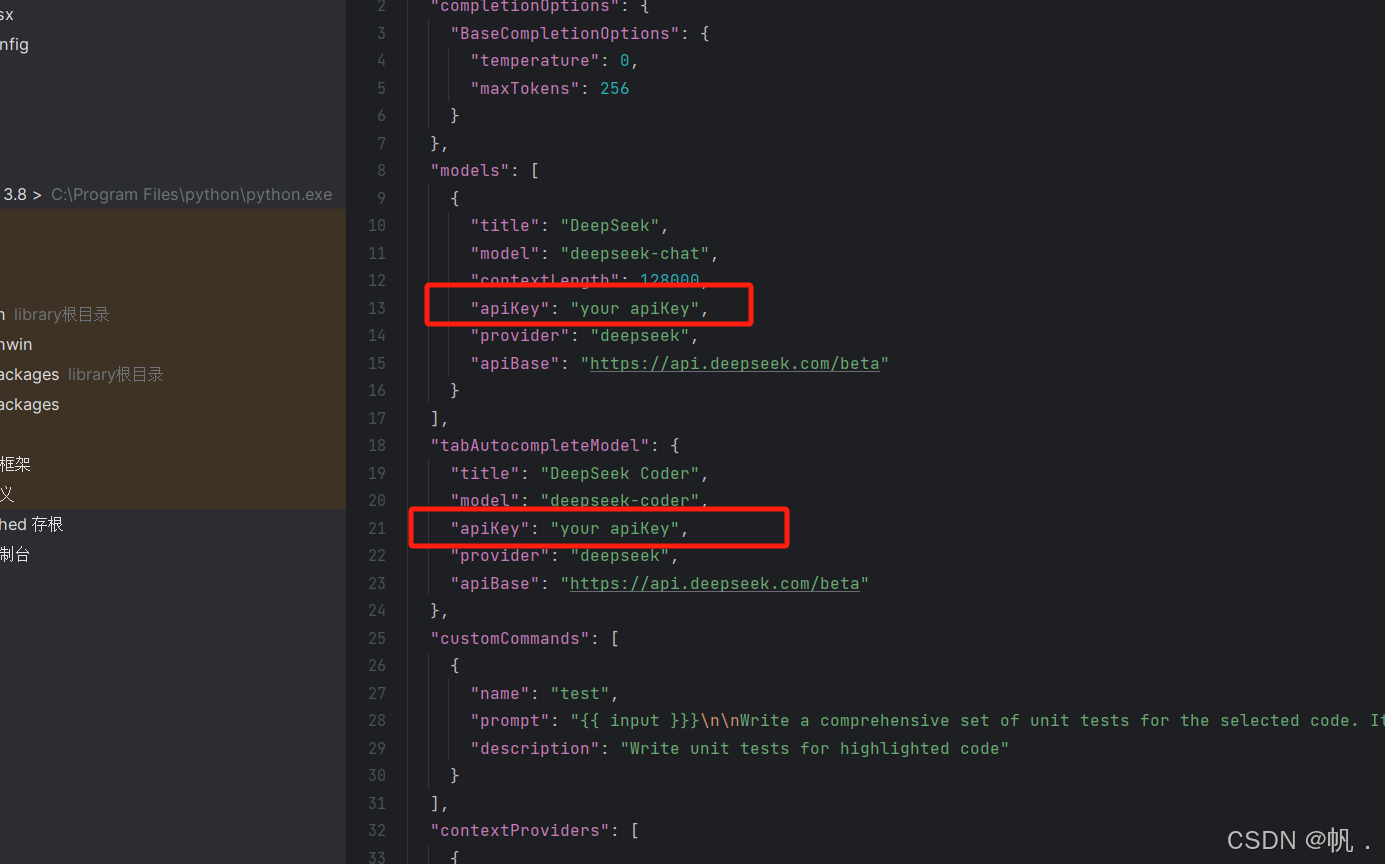
2.4 替换continue的config.json文件内容:将config.json文件内容删除,删除时会提示,直接选择默认选择,将下面的代码粘贴上去 。
{
"completionOptions": {
"BaseCompletionOptions": {
"temperature": 0.0,
"maxTokens": 256
}
},
"models": [
{
"title": "DeepSeek",
"model": "deepseek-chat",
"contextLength": 128000,
"apiKey": "your_apiKey",
"provider": "deepseek",
"apiBase": "https://api.deepseek.com/beta"
}
],
"tabAutocompleteModel": {
"title": "DeepSeek Coder",
"model": "deepseek-coder",
"apiKey": "your_apiKey",
"provider": "deepseek",
"apiBase": "https://api.deepseek.com/beta"
},
"customCommands": [
{
"name": "test",
"prompt": "{ { { input }}}\n\nWrite a comprehensive set of unit tests for the selected code. It should setup, run tests that check for correctness including important edge cases, and teardown. Ensure that the tests are complete and sophisticated. Give the tests just as chat output, don't edit any file.",
"description": "Write unit tests for highlighted code"
}
],
"contextProviders": [
{
"name": "diff",
"params": {}
},
{
"name": "folder",
"params": {}
},
{
"name": "codebase",
"params": {}
}
],
"slashCommands": [
{
"name": "share",
"description": "Export the current chat session to markdown"
},
{
"name": "commit",
"description": "Generate a git commit message"
}
]
}

2.5 替换2.4步骤代码中的api keys:将 1.2步骤复制的api keys替换代码中的内容。
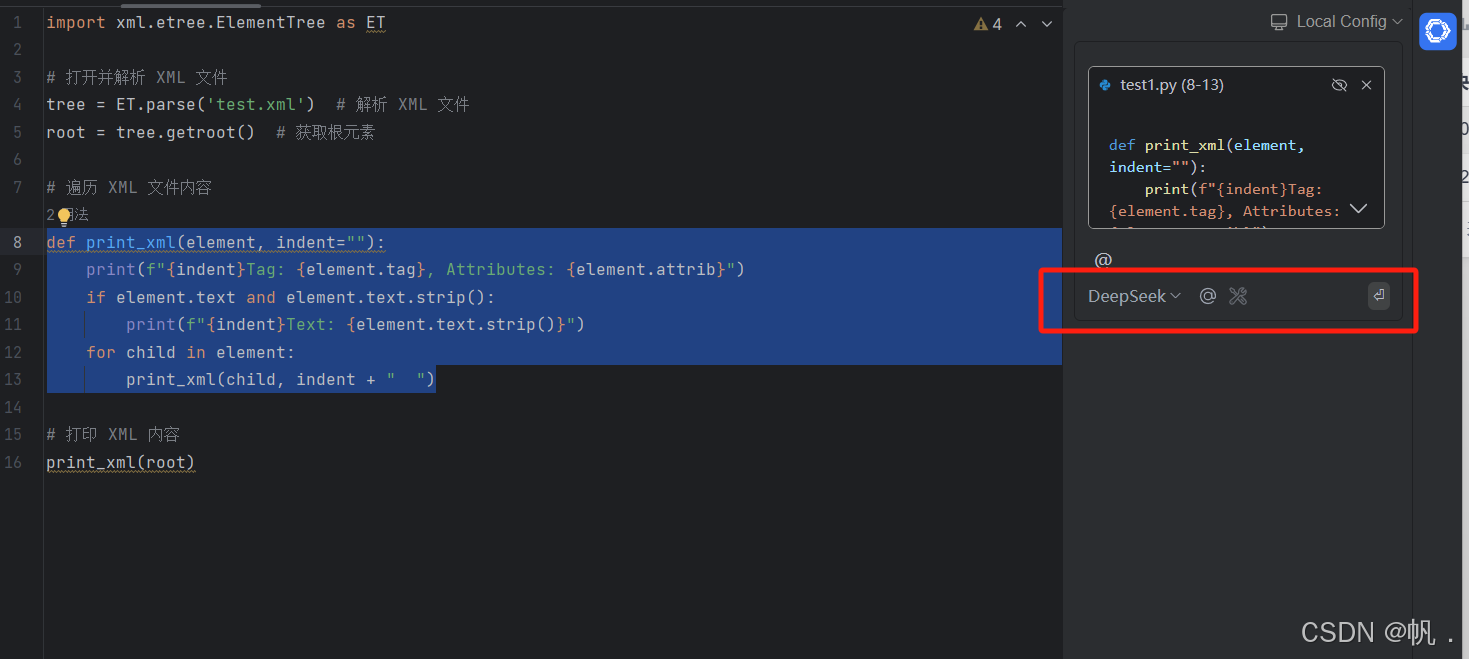
2.6 使用效果:选择已经写好的代码,点击复制。
3.注意点
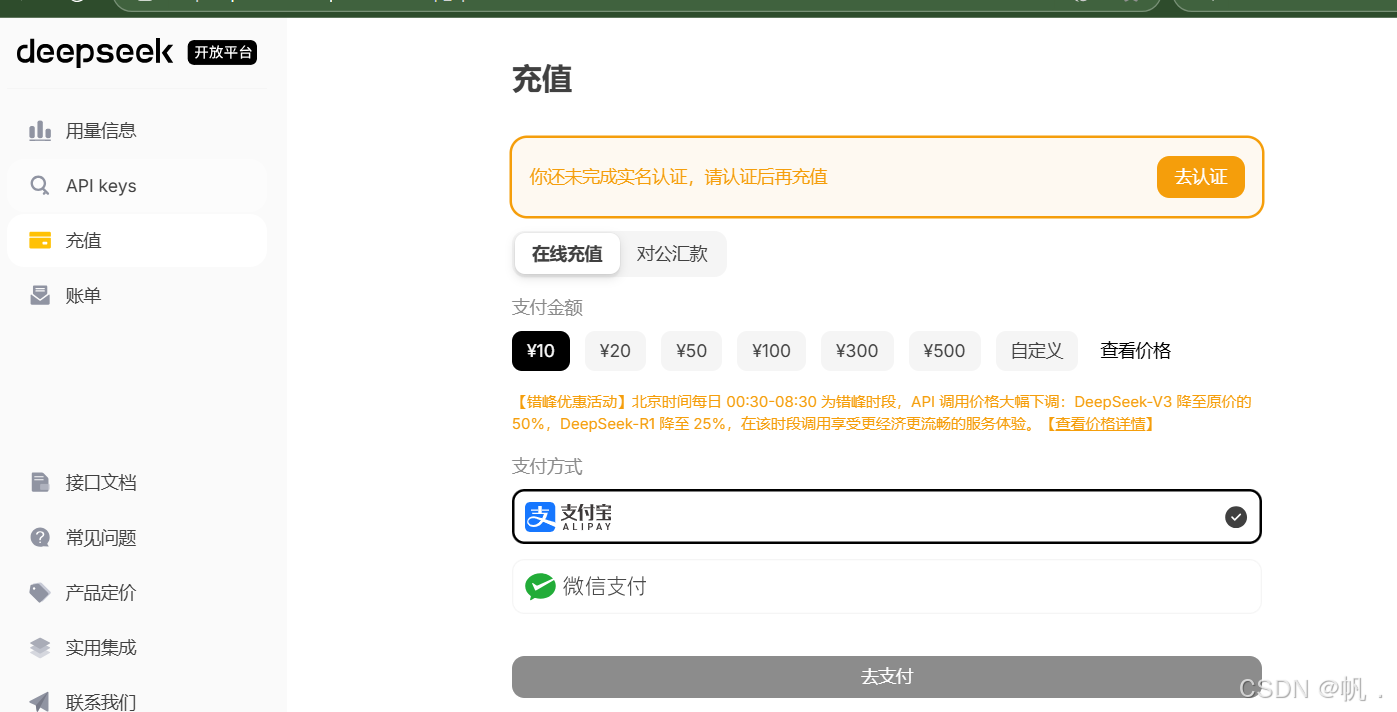
调用api的方式,需要收费的,在注册账号的时候可以充值。