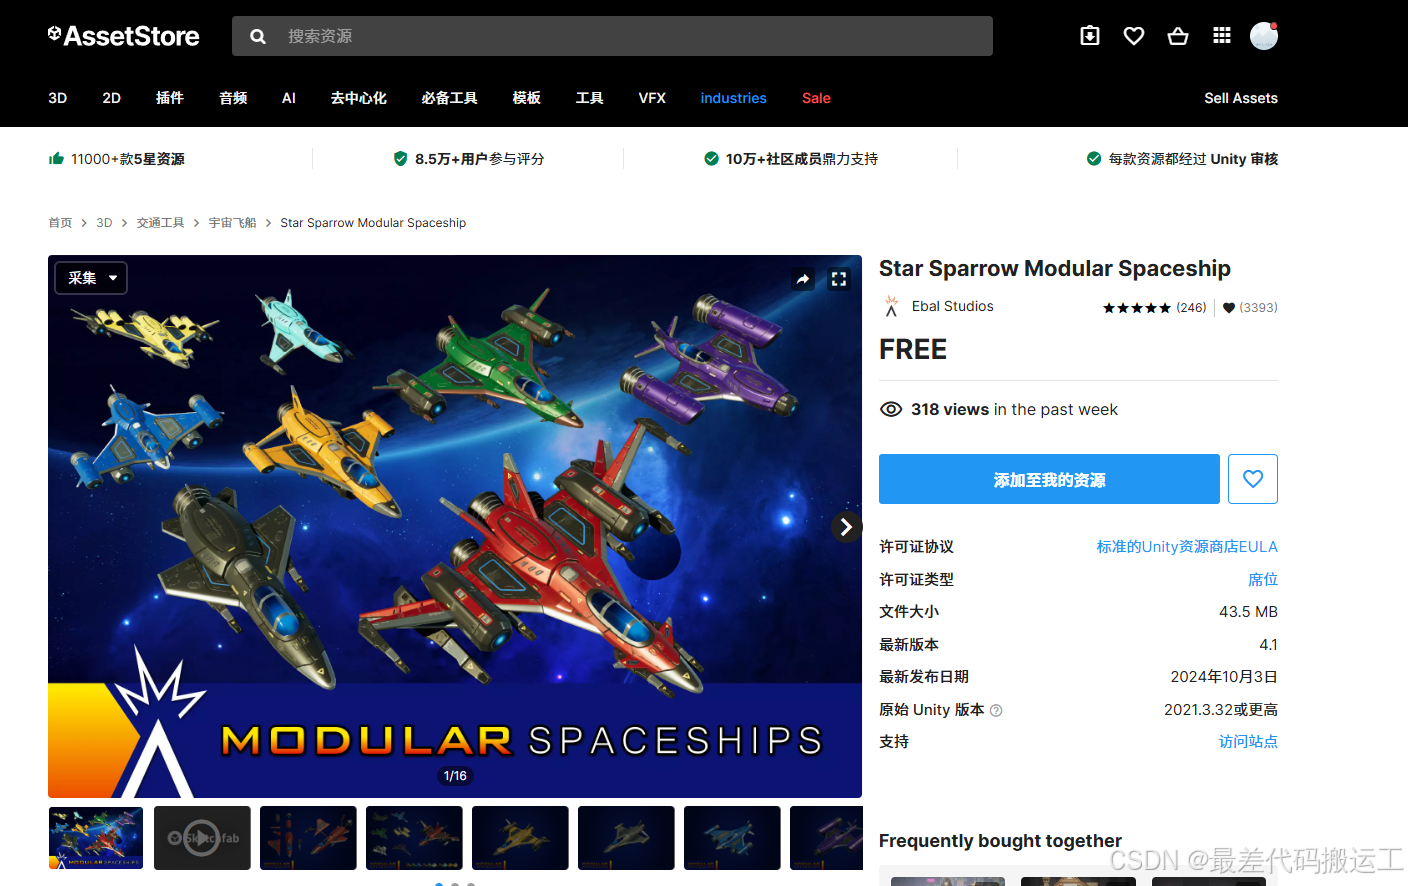
1.创建新项目,导入资源

在unity商店导入素材
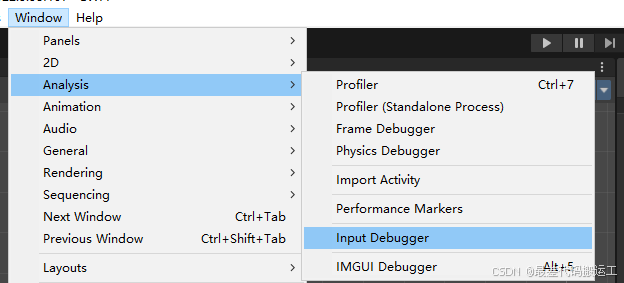
导入 Input System和Device Simulator Devices包,并进行配置。
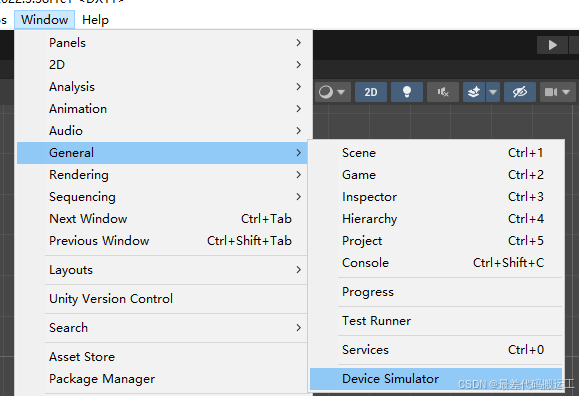
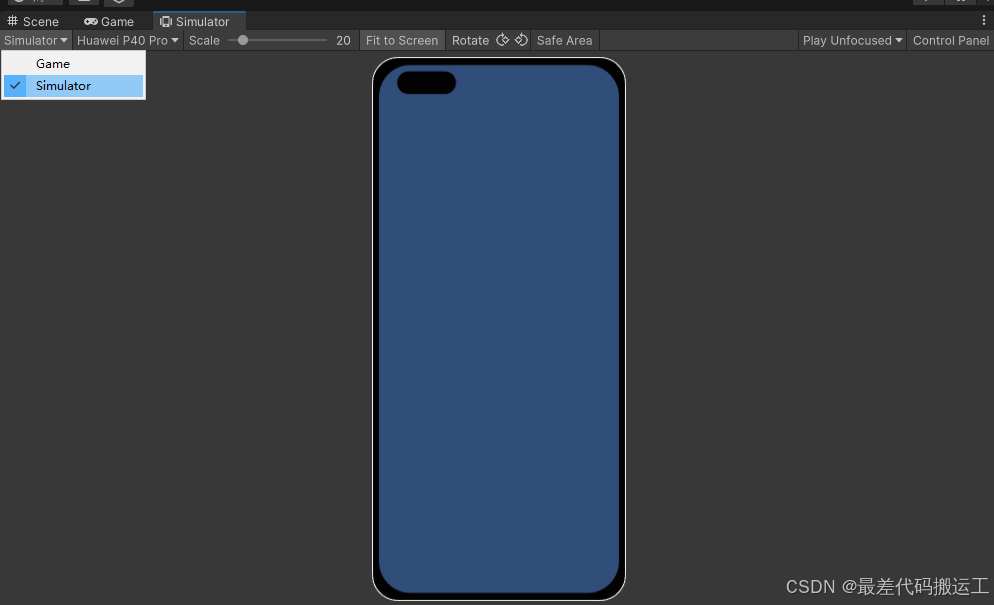
Device Simulator Devices包,UI适配神器 移动设备模拟器
Input System配置

Device Simulator Devices配置
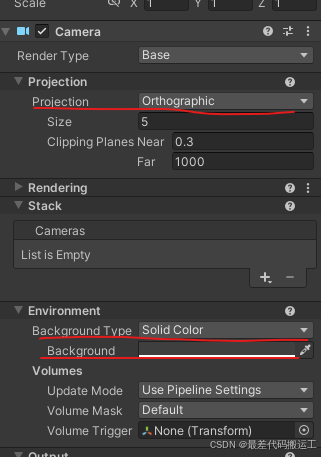
2.修改主相机的参数
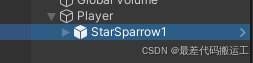
3.在场景中新建空物体Player,将位置Reset,在Player上添加组件Rigidbody。

将飞机模型预制体放到Player下方
4.在Player上新建脚本PlayerMovement,控制飞机的移动
using System.Collections;
using System.Collections.Generic;
using UnityEngine;
using UnityEngine.InputSystem;

// 玩家移动脚本,用于控制玩家角色的移动
public class PlayerMovement : MonoBehaviour
{
    // 力的大小,用于计算每帧要施加给刚体的力
    [SerializeField] private float forceMagnitude = 10f;
    // 最大力限制,用于限制刚体速度的最大值
    [SerializeField] private float maxVelocity = 5f;
    [SerializeField] private float rotationSpeed = 5f;
    // 移动方向,存储玩家每帧想要移动的方向
    private Vector3 movementDirection;
    // 刚体组件,用于控制玩家的物理行为
    private Rigidbody rb;
    // 主相机,用于将屏幕坐标转换为世界坐标
    private Camera mainCamera;

    // 初始化方法,用于缓存刚体和主相机的引用
    void Start()
    {
        rb = GetComponent<Rigidbody>();
        mainCamera = Camera.main;
    }

    // 更新方法,用于处理玩家的输入和移动方向的计算
    void Update()
    {
        // 处理玩家的输入
        ProcessInput();
        // 限制玩家在屏幕内
        KeepPlayerOnScreen();
        // 旋转对象以面对刚体的运动方向
        RotateToFaceVelocity();
    }

    // 固定更新方法,用于应用力和限制速度
    void FixedUpdate()
    {
        // 如果移动方向为零向量,则不执行任何操作
        if (movementDirection == Vector3.zero) { return; }

        // 根据移动方向和力的大小施加力给刚体
        rb.AddForce(movementDirection * forceMagnitude * Time.deltaTime, ForceMode.Force);
        // 限制刚体速度的最大值
        rb.velocity = Vector3.ClampMagnitude(rb.velocity, maxVelocity);
    }

    private void ProcessInput()
    {
        // 检查是否有触摸按下
        if (Touchscreen.current.primaryTouch.press.isPressed)
        {
            // 获取触摸位置并转换为世界坐标
            Vector2 mousePosition = Touchscreen.current.primaryTouch.position.ReadValue();
            Vector3 worldPosition = mainCamera.ScreenToWorldPoint(mousePosition);

            // 计算玩家位置与触摸位置的方向
            movementDirection = transform.position - worldPosition;
            // 忽略Z轴,仅在XOY平面上移动
            movementDirection.z = 0;
            // 归一化方向向量
            movementDirection.Normalize();
        }
        else
        {
            // 如果没有触摸按下,重置移动方向为零向量
            movementDirection = Vector3.zero;
        }
    }

    private void KeepPlayerOnScreen()
    {
        // 获取玩家当前位置
        Vector3 playerPosition = transform.position;
        // 获取玩家的视图空间位置
        Vector3 viewportPosition = mainCamera.WorldToViewportPoint(transform.position);

        // 检查玩家是否在屏幕外
        if (viewportPosition.x < 0)
        {
            // 如果在屏幕外,将玩家移动到屏幕内
            playerPosition.x = -playerPosition.x - 0.1f;
        }
        else if (viewportPosition.x > 1)
        {
            // 如果在屏幕外,将玩家移动到屏幕内
            playerPosition.x = -playerPosition.x + 0.1f;
        }
        if (viewportPosition.y < 0)
        {
            // 如果在屏幕外,将玩家移动到屏幕内
            playerPosition.y = -playerPosition.y - 0.1f;
        }
        else if (viewportPosition.y > 1)
        {
            // 如果在屏幕外,将玩家移动到屏幕内
            playerPosition.y = -playerPosition.y + 0.1f;
        }
        // 更新玩家的位置
        transform.position = playerPosition;
    }

    /// <summary>
    /// 使对象旋转以面对刚体的运动方向。
    /// </summary>
    private void RotateToFaceVelocity()
    {
        // 如果刚体的运动速度为零,则不执行旋转操作。
        if (rb.velocity == Vector3.zero) { return; }

        // 计算目标旋转,使对象面对刚体的运动方向。
        Quaternion targetRotation = Quaternion.LookRotation(rb.velocity, Vector3.back);

        // 通过插值平滑地将当前旋转过渡到目标旋转。
        transform.rotation = Quaternion.Lerp(transform.rotation, targetRotation, Time.deltaTime * rotationSpeed);
    }
}
5.将行星放入场景,飞机碰到行星后消失
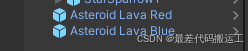

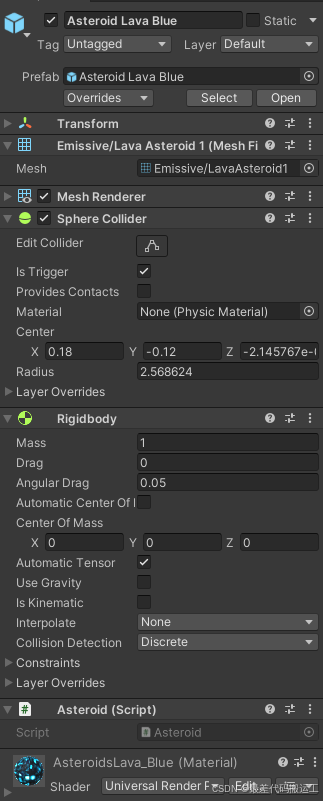
将行星模型放入场景,并做成预制体,挂载脚本Asteroid
using System.Collections;
using System.Collections.Generic;
using UnityEngine;

public class Asteroid : MonoBehaviour
{
    private void OnTriggerEnter(Collider other)
    {
        PlayerHealth playerHealth = other.GetComponent<PlayerHealth>();

        if (playerHealth == null) { return; }

        playerHealth.Crash();
    }
}
给Player物体挂载脚本PlayerHealth
using System.Collections;
using System.Collections.Generic;
using UnityEngine;

public class PlayerHealth : MonoBehaviour
{
    public void Crash()
    {
        gameObject.SetActive(false);
    }
}

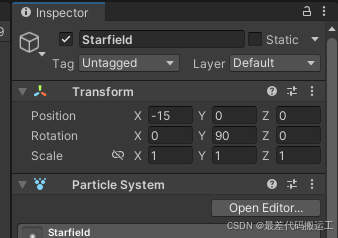
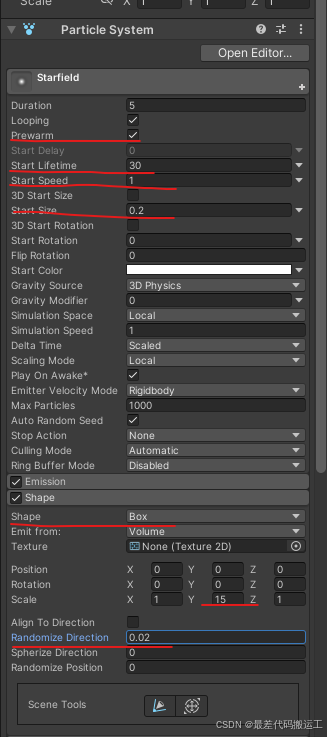
6.添加星空背景特效,在Hierarchy面板右键,选择Effrcts-Particle System
7.行星的实例化与移动
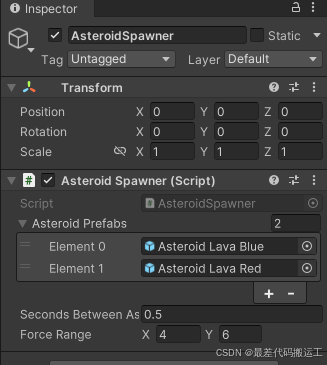
创建一个空物体AsteroidSpawner,在上面挂载一个脚本AsteroidSpawner
using System.Collections;
using System.Collections.Generic;
using UnityEngine;

public class AsteroidSpawner : MonoBehaviour
{
    /// 要生成的小行星预制体数组。
    [SerializeField] private GameObject[] asteroidPrefabs;
    /// 每次生成小行星之间的间隔时间(秒)。
    [SerializeField] private float secondsBetweenAsteroids;

    /// 小行星生成时的速度范围。
    [SerializeField] private Vector2 forceRange;

    /// 主摄像机引用。
    private Camera mainCamera;
    /// 计时器,用于控制生成小行星的时间间隔。
    private float timer;

    /// <summary>
    /// 设置主摄像机引用。
    /// </summary>
    void Start()
    {
        mainCamera = Camera.main;
    }

    /// <summary>
    /// 用于检查是否需要生成新的小行星。
    /// </summary>
    void Update()
    {
        timer -= Time.deltaTime;
        if (timer <= 0)
        {
            SpawnAsteroid();

            timer += secondsBetweenAsteroids;
        }
    }

    /// <summary>
    /// 生成小行星的方法。
    /// </summary>
    private void SpawnAsteroid()
    {
        // 随机选择一个边作为生成点
        int side = Random.Range(0, 4);

        Vector2 spawnPoint = Vector2.zero;
        Vector2 direction = Vector2.zero;

        // 根据选择的边设置生成点和方向
        switch (side)
        {
            case 0:
                spawnPoint.x = 0;
                spawnPoint.y = Random.value;
                direction = new Vector2(1f, Random.Range(-1f, 1f));
                break;
            case 1:
                spawnPoint.x = 1;
                spawnPoint.y = Random.value;
                direction = new Vector2(-1f, Random.Range(-1f, 1f));
                break;
            case 2:
                spawnPoint.x = Random.value;
                spawnPoint.y = 1;
                direction = new Vector2(Random.Range(-1f, 1f), -1);
                break;
            case 3:
                spawnPoint.x = Random.value;
                spawnPoint.y = 0;
                direction = new Vector2(Random.Range(-1f, 1f), 1);
                break;
        }

        // 将生成点从视口坐标转换为世界坐标
        Vector3 worldSpawnPoint = mainCamera.ViewportToWorldPoint(spawnPoint);

        // 设置生成点的 Z 坐标为 0
        worldSpawnPoint.z = 0;

        // 随机选择一个小行星预制体
        GameObject asteroidPrefab = asteroidPrefabs[Random.Range(0, asteroidPrefabs.Length)];

        // 实例化小行星
        GameObject asteroidInstance = Instantiate(asteroidPrefab, worldSpawnPoint, Quaternion.Euler(0, 0, Random.Range(0, 360f)));

        // 获取小行星的刚体组件并设置其速度
        Rigidbody rb = asteroidInstance.GetComponent<Rigidbody>();

        rb.velocity = direction.normalized * Random.Range(forceRange.x, forceRange.y);
    }
}
修改行星预制体上脚本Asteroid
using System.Collections;
using System.Collections.Generic;
using UnityEngine;

public class Asteroid : MonoBehaviour
{
    /// <summary>
    /// 当触发器被激活时调用此方法,检查碰撞对象是否为玩家,并对玩家造成撞击效果。
    /// </summary>
    /// <param name="other">与之发生碰撞的碰撞器。</param>
    private void OnTriggerEnter(Collider other)
    {
        // 尝试获取碰撞对象的玩家健康组件
        PlayerHealth playerHealth = other.GetComponent<PlayerHealth>();

        // 如果碰撞对象不是玩家,则忽略
        if (playerHealth == null) { return; }

        // 对玩家造成撞击效果
        playerHealth.Crash();
    }

    /// <summary>
    /// 当对象变得不可见时调用此方法,销毁当前游戏对象。
    /// </summary>
    private void OnBecameInvisible()
    {
        // 销毁当前游戏对象
        Destroy(gameObject);
    }
}
将场景中行星删除。