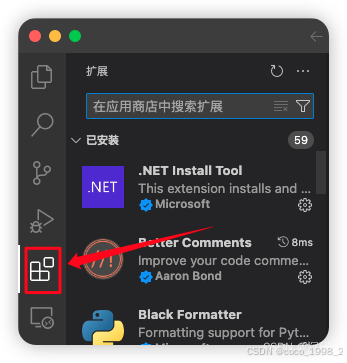
1. 安装 Python 插件
快捷键:Ctrl+Shift+X,或者点击左侧的插件面板,安装 Python 相关插件:
- Python
- Jupyter
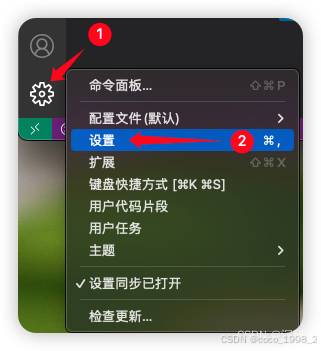
2. 推荐修改默认设置
快捷键:Ctrl+,,或者点击左侧的设置按钮:
- Send Selection To Interactive Window -->true 选中代码后,按shift+enter 打开交互运行窗口并运行
- python.languageServer -> Pylance 将Python语法服务器类型设置为 Pylance,来改善Python编程体验
- notebook.output.scrolling–>True 当Python输出超出vscode设置的行数限制时,以滚动形式显示
- terminal.integrated.inheritEnv–>false 不继承
3. 选择 Python 环境
在 VS Code 界面,点击右下角的 Select Interpreter 选项,[或者按 F1, 输入Python: Select interpreter],从列出的 Python 环境,选择自己需要的环境。
推荐使用 Anaconda,设置 Python 环境,以便于切换运行多个 Python 版本。

4. 配置代码格式化
常见的代码格式化包有:ruff, black, autopep8, yapf 等.
其中, ruff 是新起之秀,其由 rust 语言编写,速度极快,可自定制化程度高, 一经推出便受到广泛关注,迅速成为各大 Python 开源项目的标配。所以,我们这里以 ruff 为例进行配置。
4.1 安装 ruff
pip install ruff
# or
conda install ruff
pip 是 Python 的包安装程序,通过 pip 我们可以安装各种各样的包,从而在程序中调用许多功能强大且方便快捷的函数。
关于 pip 的详细信息可以在 官方网站 上看到,关于 pip的安装,官网上面也有较为详细的说明,这里仅作简洁的摘要。
4.2 Settings.json 设置
使用快捷键 Ctrl + , 打开设置,点击右上角的切换按钮,进入 settings.json 文件中。

"[python]": {
"editor.formatOnSave": true,
"editor.codeActionsOnSave": {
"source.fixAll": "explicit",
"source.organizeImports": "explicit"
},
"editor.defaultFormatter": "charliermarsh.ruff"
},
"notebook.formatOnSave.enabled": true,
"notebook.codeActionsOnSave": {
"notebook.source.fixAll": "explicit",
"notebook.source.organizeImports": "explicit"
}
在 Python 文件中,单击右键,选择格式化文档。快捷键 Shift + Alt + F