在图像像素公式g(x)=a*f(x)+b其中:
- 参数f(x)表示源图像像素。
- 参数g(x) 表示输出图像像素。
- 参数a(需要满足a>0)被称为增益(gain),常常被用来控制图像的对比度。
- 参数b通常被称为偏置(bias),常常被用来控制图像的亮度。
为了访问图像的每一个像素,我们使用这样的语法: image.at<Vec3b>(y,x)[c]
其中,y是像素所在的行, x是像素所在的列, c是R、G、B(对应0、1、2)其中之一。
因为我们的运算结果可能超出像素取值范围(溢出),还可能是非整数(如果是浮点数的话),所以我们要用saturate_cast对结果进行转换,以确保它为有效值。
这里的a也就是对比度,一般为了观察的效果,取值为0.0到3.0的浮点值,但是我们的轨迹条一般取值都会整数,所以在这里我们可以,将其代表对比度值的nContrastValue参数设为0到300之间的整型,在最后的式子中乘以一个0.01,这样就可以完成轨迹条中300个不同取值的变化。所以在式子中,我们会看到saturate_cast<uchar>( (g_nContrastValue*0.01)*(image.at<Vec3b>(y,x)[c] ) + g_nBrightValue )中的g_nContrastValue*0.01。
程序示例如下:
#include <opencv2/core/core.hpp>
#include<opencv2/highgui/highgui.hpp>
#include"opencv2/imgproc/imgproc.hpp"
#include <iostream>
using namespace cv;
static void ContrastAndBright(int, void *);
int g_nContrastValue; //对比度值
int g_nBrightValue; //亮度值
Mat g_srcImage, g_dstImage;
//-----------------------------------【main( )函数】--------------------------------------------
// 描述:控制台应用程序的入口函数,我们的程序从这里开始
//-----------------------------------------------------------------------------------------------
int main()
{
//改变控制台前景色和背景色
system("color5F");
//读入用户提供的图像
g_srcImage = imread("8.jpg");
if (!g_srcImage.data) { printf("读取图片失败!\n"); return false; }
g_dstImage = Mat::zeros(g_srcImage.size(), g_srcImage.type());
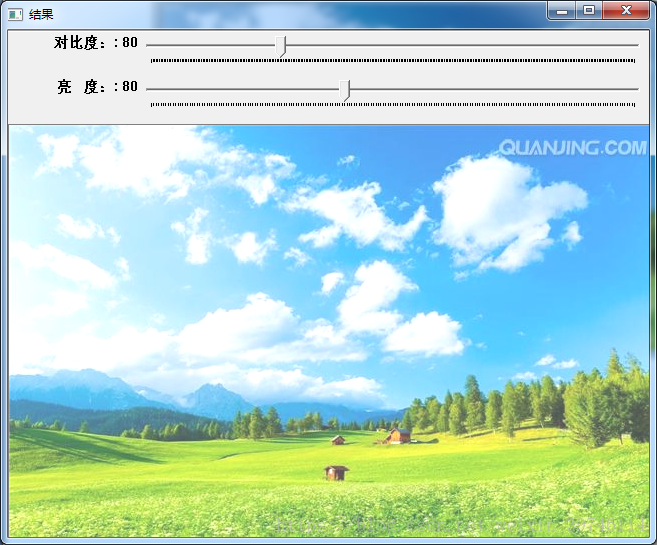
//设定对比度和亮度的初值
g_nContrastValue = 80;
g_nBrightValue = 80;
//创建窗口
namedWindow("结果", 1);
//创建轨迹条
createTrackbar("对比度:", "结果", &g_nContrastValue, 300, ContrastAndBright);
createTrackbar("亮 度:", "结果", &g_nBrightValue, 200, ContrastAndBright);
//调用回调函数
ContrastAndBright(g_nContrastValue, 0);
ContrastAndBright(g_nBrightValue, 0);
//按下“q”键时,程序退出
while (char(waitKey(1)) != 'q') {}
return 0;
}
//-----------------------------【ContrastAndBright( )函数】------------------------------------
// 描述:改变图像对比度和亮度值的回调函数
//-----------------------------------------------------------------------------------------------
static void ContrastAndBright(int, void *)
{
//创建窗口
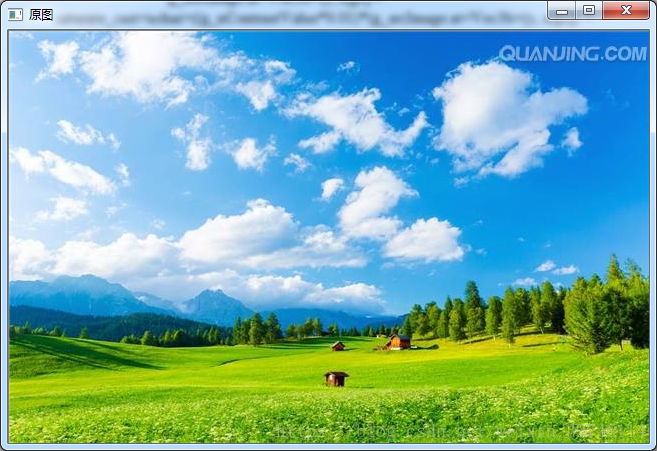
namedWindow("原图", 1);
//三个for循环,执行运算 g_dstImage(i,j) =a*g_srcImage(i,j) + b
for (int y = 0; y < g_srcImage.rows; y++)
{
for (int x = 0; x < g_srcImage.cols; x++)
{
for (int c = 0; c < 3; c++)
{
g_dstImage.at<Vec3b>(y, x)[c] = saturate_cast<uchar>((g_nContrastValue*0.01)*(g_srcImage.at<Vec3b>(y, x)[c]) + g_nBrightValue);
}
}
}
//显示图像
imshow("原图", g_srcImage);
imshow("结果", g_dstImage);
}
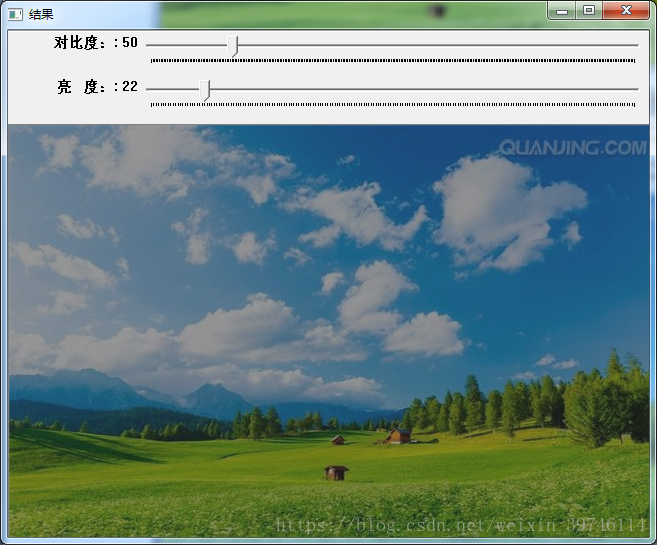
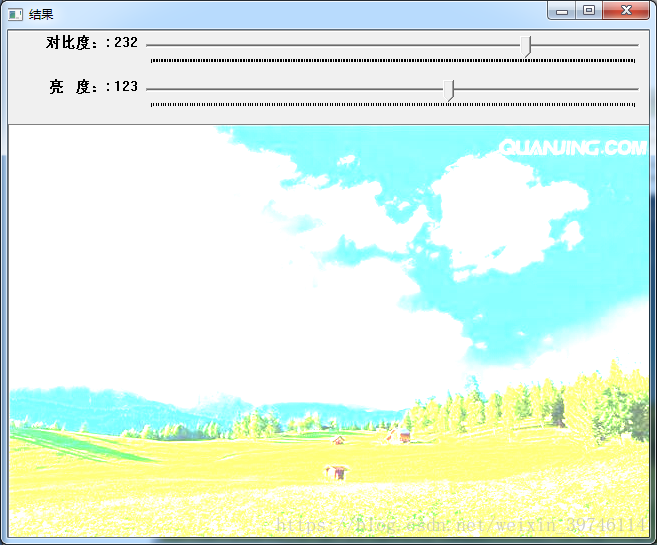
运行结果:
参考:
本系列文章是学习下列文章的笔记。
@浅墨_毛星云 出品,转载请注明出处。
文章链接: http://blog.csdn.net/poem_qianmo/article/details/21479533
作者:毛星云(浅墨) 邮箱: [email protected]