说明 147服务器上安装zabbix_service
要监控146服务器,只需要在146服务器上安装zabbix_Agent 就可以了,
安装 Agent
[root@146 ~]# yum install -y curl curl-devel net-snmp net-snmp-devel perl-DBI // 解决 依赖
[root@146 ~]# useradd -M -s /sbin/nologin zabbix
官网 https://www.zabbix.com/download_sources#tab:34 下载地址 我用的是3.4的
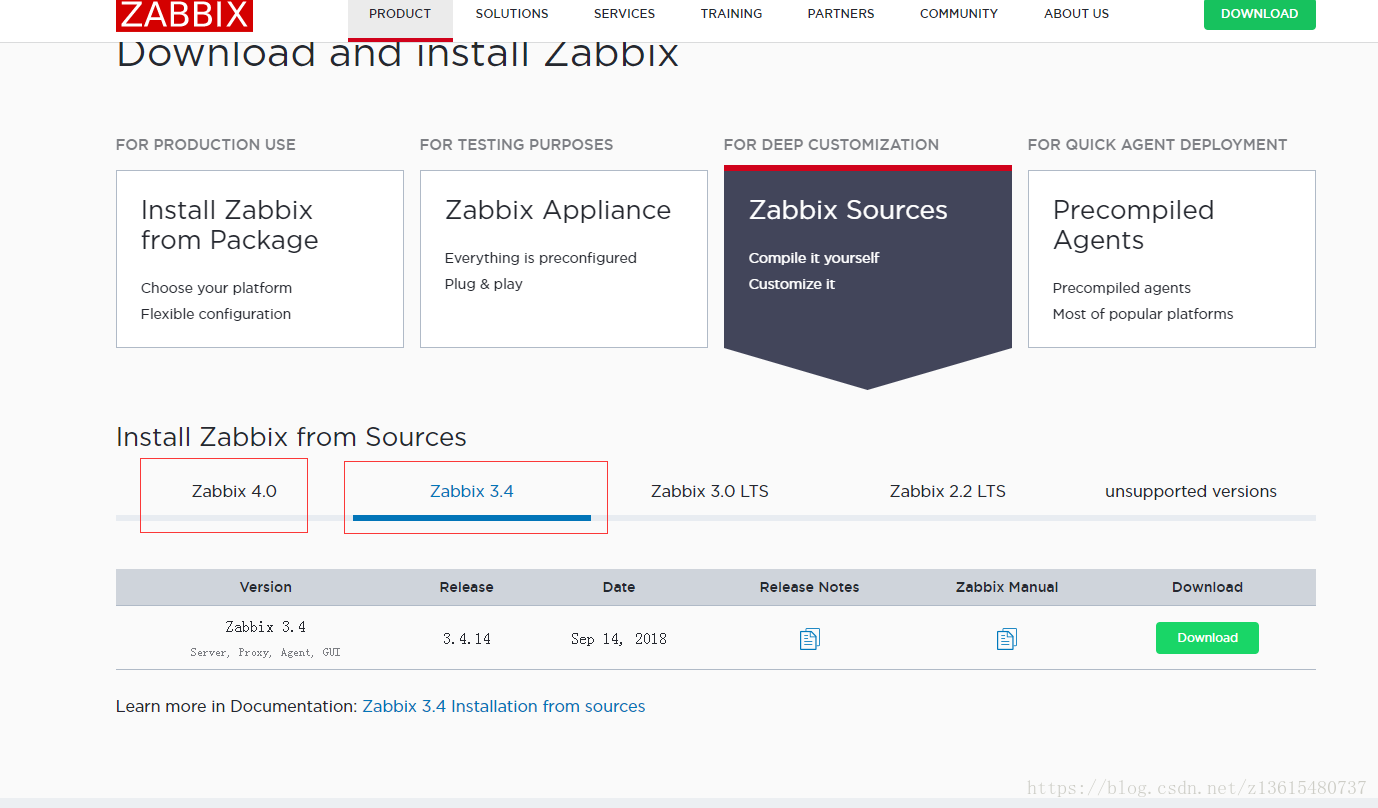
wget https://nchc.dl.sourceforge.net/project/zabbix/ZABBIX%20Latest%20Stable/3.4.14/zabbix-3.4.14.tar.gz
[root@146 ~]# tar xvf zabbix-3.4.14.tar.gz
[root@146 ~]# cd zabbix-3.4.14
[root@146 zabbix]# ./configure --prefix=/usr/local/zabbix --enable-agent //被监控端只需要部署 agnet
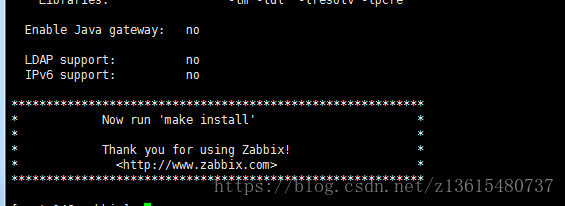
只需要make install
[root@146 zabbix]# make install
[root@146 ~]# cat /etc/services|grep zabbix
zabbix-agent 10050/tcp # Zabbix Agent
zabbix-agent 10050/udp # Zabbix Agent
zabbix-trapper 10051/tcp # Zabbix Trapper
zabbix-trapper 10051/udp # Zabbix Trapper

启动agent:
[root@146 ~]# /usr/local/zabbix/sbin/zabbix_agentd

配置 Agnet 开机启动
cp /usr/local/src/zabbix-3.4.14/misc/init.d/fedora/core5/zabbix_agentd /etc/init.d/ (复制启动脚本)
(拓展:core 和 core5 里面的文件都可以实现 zabbix 代理启动,core 里面是测试版本,core5 是稳定版本)
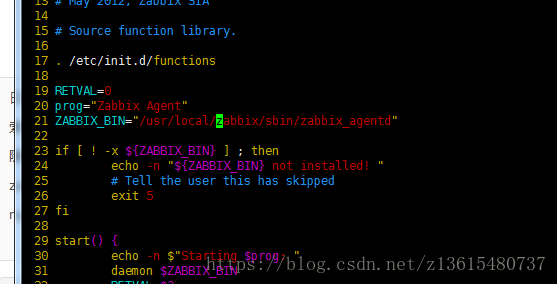
vim /etc/init.d/zabbix_agentd
ZABBIX_BIN="/usr/local/zabbix/sbin/zabbix_agentd" #修改此行
[root@146 ~]# chkconfig --add zabbix_agentd
[root@146 ~]# chkconfig zabbix_agentd on
配置 Agentd 的配置文件#客户端操作
vim /usr/local/zabbix/etc/zabbix_agentd.conf
(93行)Server=192.168.1.147 #zabbix server 地址,可以多个,用,隔开 填监控的主机
(134行)ServerActive=192.168.1.147 #主动检查的意思,主动检查主机的数据的数据发送给 Zabbix Server
(145行)Hostname=146
(280行)UnsafeUserParameters=1
265行是添加监控模板的
启动服务
[root@146 ~]# /etc/init.d/zabbix_agentd restart
[root@146 ~]# netstat -antup | grep zabbix
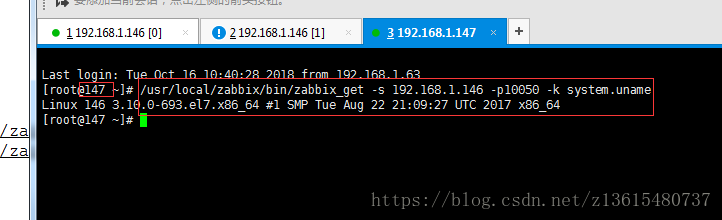
Server 端测试通讯
[root@147 ~]# /usr/local/zabbix/bin/zabbix_get -s 192.168.1.146 -p10050 -k system.uname
Linux 146 3.10.0-693.el7.x86_64 #1 SMP Tue Aug 22 21:09:27 UTC 2017 x86_64
#可以获取对方系统版本则证明没有问题
客户端这就配置好了,然后 在147上配置监控146就可以了
zabbix_agent.conf 是用超级服务(xinetd)的方式来启动的,被动检查,只有 Server 说检查的时候才检查
zabbix_agentd.conf 是以独立进程的方式来启动的,一般使用这个来做配置,自动检查,自动提交 zabbix_server.conf Server 启动配置文件,只有一个
zabbix_get 是 Zabbix 中的一个程序,用于 Zabbix-Server 到 Zabbix-Agent 的数据获取,通常可以用来 检测验证 Agent 的配置是否正确。它的使用方法如下
zabbix_get [-hV] -s <host name or IP> [-p <port>] [-I <IP address>] -k <key>
-h:远程 Zabbix-Agent 的 IP 地址或者是主机名。
-p:远程 Zabbix-Agent 的端口。
-I:本机出去的 IP 地址,用于一台机器中有多个网卡的情况。
-k:获取远程 Zabbix-Agent 数据所使用的 Key。
[expmple@~]# zabbix_get -s 192.168.1.64 -k system.uname
zabbix_sender 与 get 相反,用来发送 Zabbix 服务器处理性能数据。该工具通常用于长时间运行的用户脚 本,用于定期发送可用性和性能数据。使用方法如下
zabbix_sender [-Vhv] {[-zpsI] -ko | [-zpI] -T -i <file> -r} [-c <file>]
参数说明:
-c --config <file> 配置文件绝对路径
-z --zabbix-server <server> zabbix server 的 IP 地址
-p --port <server port> zabbix server 端口.默认 10051
-s --host <hostname> 主机名,zabbix 里面配置的主机名(不是服务器的 hostname),不能使用
ip 地址
-I --source-address <IP address> 源 IP
-k --key <key> 监控项的 key
-o --value <key value> key 值
-i --input-file <input file> 从文件里面读取 hostname、key、value 一行为一条数据,使用空格作为分
隔符,如果主机名带空格,那么请使用双引号包起来
-T --with-timestamps 一行一条数据,空格作为分隔符: <hostname><key><timestamp>
<value>,配合 --input-file option,timestamp 为 unix 时间戳
-r --real-time 将数据实时提交给服务器
-v --verbose 详细模式, -vv 更详细