1.首先下载FastDFS文件系统的docker镜像
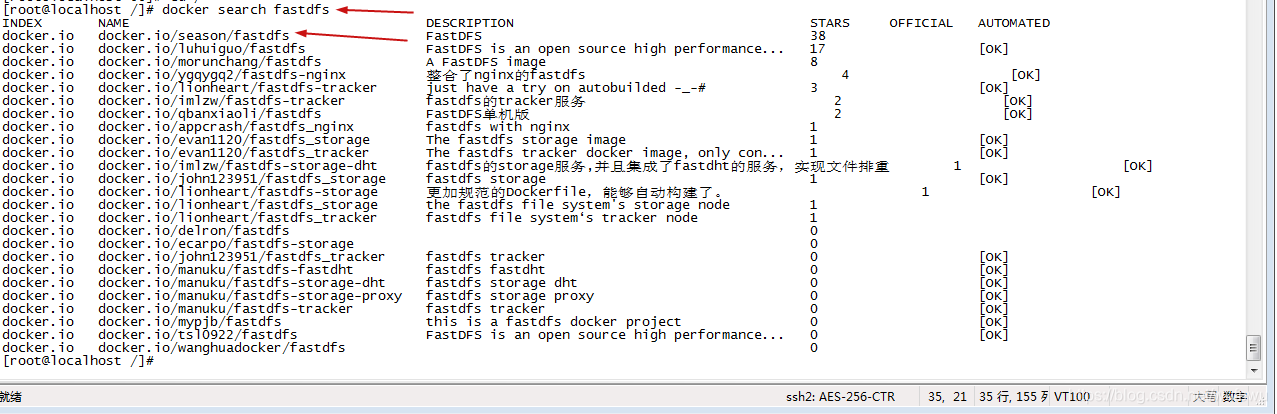
查询镜像
[root@localhost /]# docker search fastdfs
安装镜像
[root@localhost ~]# docker pull season/fastdfs
[root@localhost ~]# docker images

2.使用docker镜像构建tracker容器(跟踪服务器,起到调度的作用):
关闭防火墙
[root@localhost /]# systemctl stop firewalld
这里的防火墙也要关
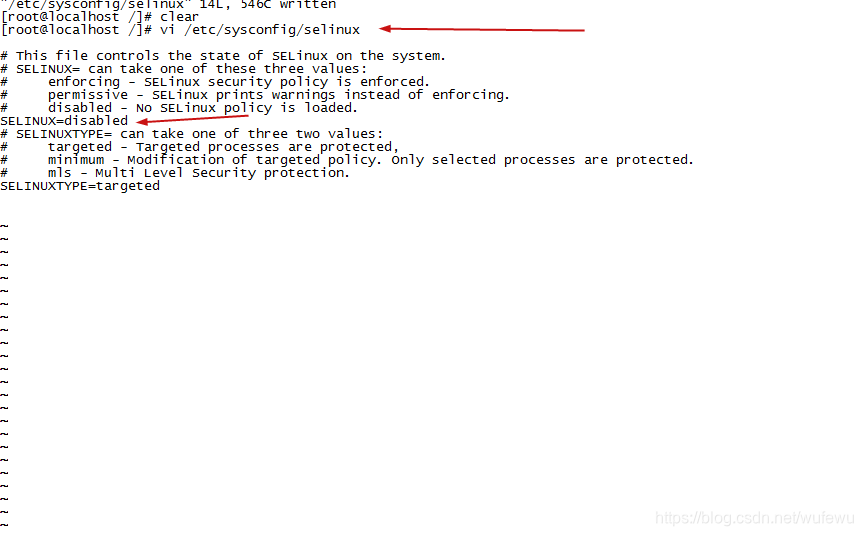
进入编辑模式:
[root@localhost /]# vi /etc/sysconfig/selinux
将SELINUX的值改成disabled,如下:
改完配置后重启
[root@localhost /]# reboot
创建tracker容器
[root@localhost /]# docker run -ti -d --name trakcer -v ~/tracker_data:/fastdfs/tracker/data --net=host season/fastdfs tracker
Tracker服务器的端口默认是22122,你可以查看是否启用端口
[root@localhost /]# netstat -aon | grep 22122
3.使用docker镜像构建storage容器(存储服务器,提供容量和备份服务):
docker run -tid --name storage -v ~/storage_data:/fastdfs/storage/data -v ~/store_path:/fastdfs/store_path --net=host -e TRACKER_SERVER:192.168.115.130:22122 -e GROUP_NAME=group1 season/fastdfs storage
4.此时两个服务都以启动,进行服务的配置。
进入storage容器,到storage的配置文件中配置http访问的端口,配置文件在fdfs_conf目录下的storage.conf。
[root@localhost /]# docker exec -it storage bash
root@localhost:/# cd fdfs_conf
root@localhost:/fdfs_conf# more storage.conf
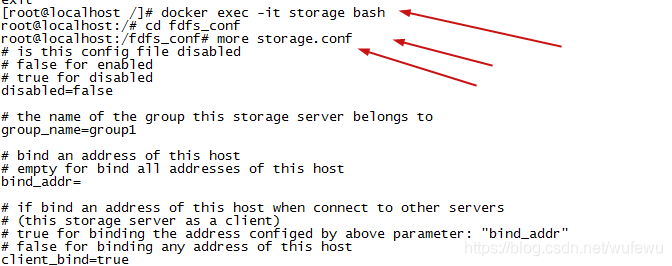
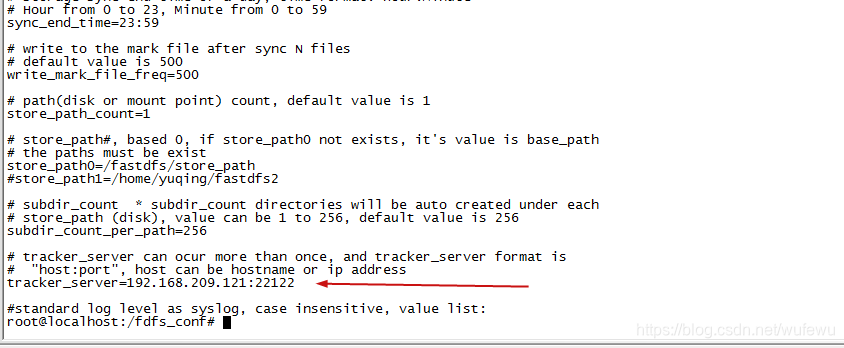
往下拉,你会发现storage容器的ip不是你linux的ip,如下:
接下来,退出storage容器,并将配置文件拷贝一份出来:
[root@localhost ~]# docker cp storage:/fdfs_conf/storage.conf ~/
[root@localhost ~]# vi ~/storage.conf

将修改后的配置文件拷贝到storagee的配置目录下:
[root@localhost ~]# docker cp ~/storage.conf storage:/fdfs_conf/
重新启动storage容器
[root@localhost ~]# docker stop storage
[root@localhost ~]# docker start storage
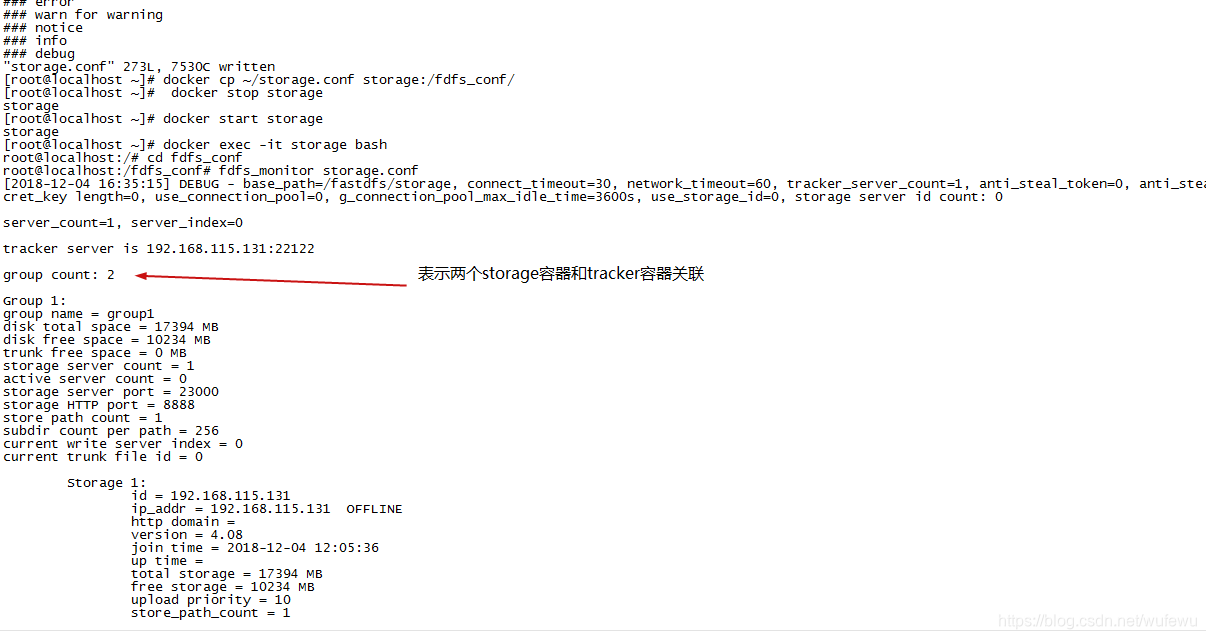
查看tracker容器和storage容器的关联
[root@localhost ~]# docker exec -it storage bash
root@localhost:/# cd fdfs_conf
root@localhost:/fdfs_conf# fdfs_monitor storage.conf
5.在docker模拟客户端上传文件到storage容器
开启一个客户端
[root@localhost 00]# docker run -tid --name fdfs_sh --net=host season/fastdfs sh
更改配置文件,因为之前已经改过一次了,所以现在直接拷贝
[root@localhost 00]# docker cp ~/storage.conf fdfs_sh:/fdfs_conf/
创建一个txt文件
[root@localhost 00]# docker exec -it fdfs_sh bash
root@localhost:/# echo hello>a.txt
进入fdfs_conf目录,并将文件上传到storage容器
root@localhost:/# cd fdfs_conf
root@localhost:/fdfs_conf# fdfs_upload_file storage.conf /a.txt
/a.txt:指要上传的文件
上传之后,根据返回的路径去找a.txt

退出去查看上传的txt文件
[root@localhost ~]# cd ~/store_path/data/00/00
[root@localhost 00]# ls

查看是否和输入的值是否相同
[root@localhost 00]# more wKhzg1wGsieAL-3RAAAABncc3SA337.txt
java代码上传文件演示
参考网址:https://github.com/luhuiguo/fastdfs-client
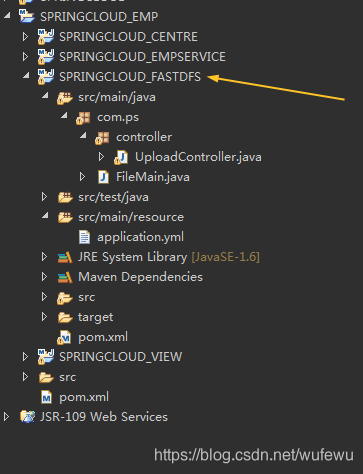
1.创建模块 SPRINGCLOUD_FASTDFS
2.加入依赖
<!-- 下载jar包的私人仓库 -->
<repositories>
		<repository>
			<id>sn</id>
			<name>sn</name>
			<url>https://oss.sonatype.org/content/repositories/releases/</url>
		</repository>
</repositories>

	<dependencies>
		<!-- 集成mysql -->
		<dependency>
			<groupId>org.springframework.boot</groupId>
			<artifactId>spring-boot-starter-data-jpa</artifactId>
		</dependency>
		<!-- mysql驱动 -->
		<dependency>
			<groupId>mysql</groupId>
			<artifactId>mysql-connector-java</artifactId>
		</dependency>
		<!-- 集成springmvc -->
		<dependency>
			<groupId>org.springframework.boot</groupId>
			<artifactId>spring-boot-starter-web</artifactId>
		</dependency>
		<!-- 连接fastdfs文件系统 -->
		<dependency>
			<groupId>com.luhuiguo</groupId>
			<artifactId>fastdfs-spring-boot-starter</artifactId>
			<version>0.2.0</version>
		</dependency>
	</dependencies>
3.添加资源文件 application.yml
server:
  port: 8899
fdfs:
# 连接Tracker服务器超时时间
  connect-timeout: 10000
# storage服务器响应的超时时间
  so-timeout: 3000
#  trakcer服务器的数量
  tracker-list:
   - 192.168.115.131:22122
spring:
  datasource:
    url: jdbc:mysql://localhost/m1dn
    password: ps123456
    username: root
    driver-class-name: com.mysql.jdbc.Driver
# 上传文件的最大的大小
  http:
    multipart:
      max-file-size: 10000000
4.模拟一个文件上传
1.上传(上传到storage服务的同时,拷贝一份数据到数据库里)
upload.html
<!DOCTYPE html>
<html>
<head>
<meta charset="UTF-8">
<title>Insert title here</title>
</head>
<body>
<!--
	上传的方式是post
	enctype的格式必须是:multipart/form-data
 -->
	<form action="myUpload" method="post" enctype="multipart/form-data">
		文件:<input type="file" name="myFile">
		<input type="submit" value="上传">
	</form>
</body>
</html>
创建一个UploadController.java (控制层)
@RestController
public class UploadController {

	@Autowired
	 private FastFileStorageClient storageClient;

	@Autowired
	JdbcTemplate jdbcTemplate;

	// MultipartFile是用来接收上传的文件
	// myFile的名字必须和上传的表单的名字一样
	@PostMapping("myUpload")
	public String upload(MultipartFile myFile) throws IOException {
		// myFile.getOriginalFilename():取到文件的名字
		// FilenameUtils.getExtension(""):取到一个文件的后缀名
		String extension = FilenameUtils.getExtension(myFile.getOriginalFilename());

		// group1:指storage服务器的组名
		// myFile.getInputStream():指这个文件中的输入流
		// myFile.getSize():文件的大小
		// 这一行是通过storageClient将文件传到storage容器
		StorePath uploadFile = storageClient.uploadFile("group1", myFile.getInputStream(), myFile.getSize(), extension);

		// 上传数据库
		String sql = "insert into file(filename,groupname,filepath) values(?,?,?)";
		jdbcTemplate.update(sql, myFile.getOriginalFilename(), uploadFile.getGroup(), uploadFile.getPath());

		// 返回它在storage容器的的路径
		return uploadFile.getFullPath();
	}
}
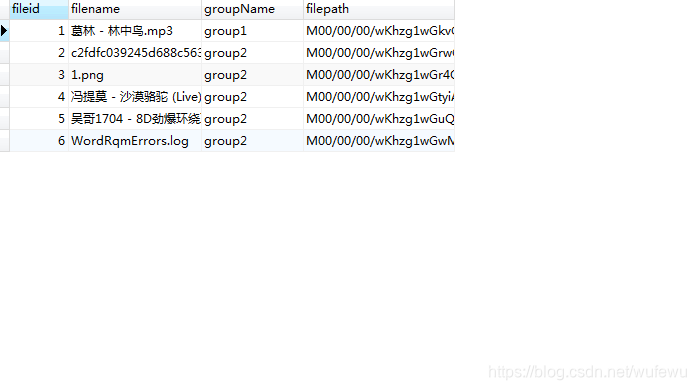
我的数据库
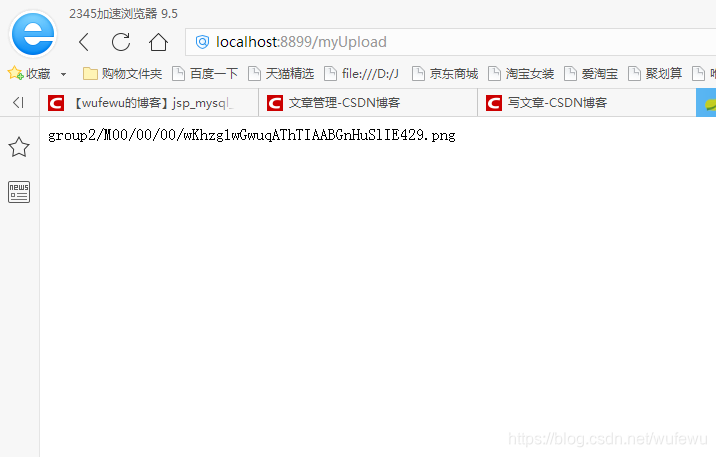
浏览器上传文件

点击上传后
进入docker查看
[root@localhost ~]# cd store_path/data/00/00

2.下载(根据数据库里面的id确定storage服务器中下载的文件)
download.html
<!DOCTYPE html>
<html>
<head>
<meta charset="UTF-8">
<title>Insert title here</title>
</head>
<body>
<!-- 这里传数据库里的id -->
<a href="fdownload/4">下载</a>
</body>
</html>
控制层
@GetMapping("/fdownload/{id}")
	public void download(@PathVariable String id, HttpServletResponse response) throws IOException {

		List query = jdbcTemplate.query("select * from file where fileid=" + id, new ColumnMapRowMapper());
		Map map = (Map) query.get(0);
		String filename = URLEncoder.encode(map.get("filename").toString(), "utf-8"); // 解决中文文件名下载后乱码的问题
		// 告诉浏览器 下载的文件名
		response.setHeader("Content-Disposition", "attachment; filename=" + filename + "");
		String groupName = map.get("groupName").toString();
		String filepath = map.get("filepath").toString();
		// 将文件的内容输出到浏览器 fastdfs
		byte[] downloadFile = storageClient.downloadFile(groupName, filepath);
		response.getOutputStream().write(downloadFile);
	}