原文地址:https://blog.csdn.net/long690276759/article/details/53535464
原文地址:https://blog.csdn.net/xcbeyond/article/details/38855069
原文地址:http://coolnull.com/3486.html
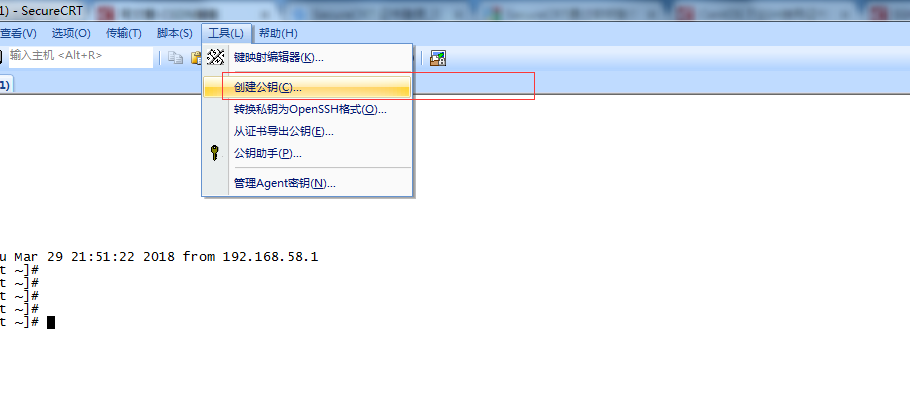
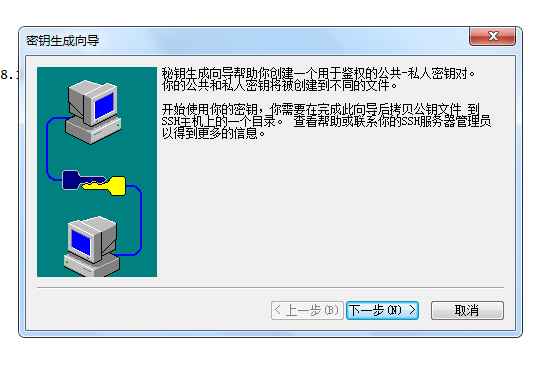
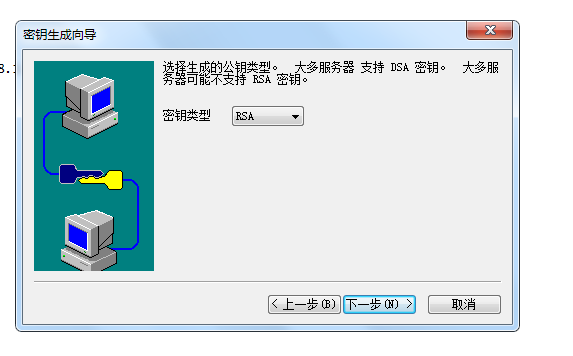
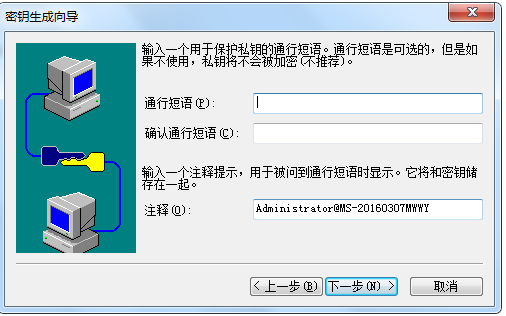
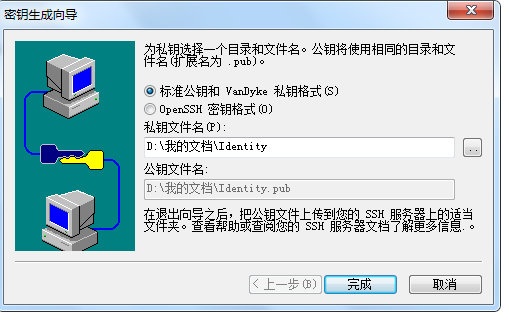
一、用SecureCRT 生成秘钥:

1、秘钥生成以后,将公钥上传到服务器目录下(比如:/root/.ssh/);
2、在 .ssh目录下新建:authorized_keys2, 命令:touch /root/.ssh/authorized_keys2
3、追加公钥到authorized_keys2中: cat /root/.ssh/id_rsa.pub >> /root/.ssh/authorized_keys2 (将id_rsa.pub的内容追加到 authorized_keys2 中)
4、设置文件的权限:
chown -R 0700 ~/.ssh
chown -R 0644 ~/.ssh/authorized_keys2
5、修改ssh的配置文件:
vi /etc/ssh/sshd_config
找到 RSAAuthentication、StrictModes、PubkeyAuthentication、AuthorizedKeysFile 并修改
RSAAuthentication yes
StrictModes no
PubkeyAuthentication yes
AuthorizedKeysFile .ssh/authorized_keys
6、重启ssh服务:systemctl restart sshd.service
二、 ssh生成秘钥对:
# ssh-keygen -t rsa (连续三次回车,即在本地生成了公钥和私钥,不设置密码)
.ssh/目录下生成了2个文件:id_rsa为私钥,id_rsa.pub为公钥 (如果是root账户,那么目录在 /root/.ssh/)
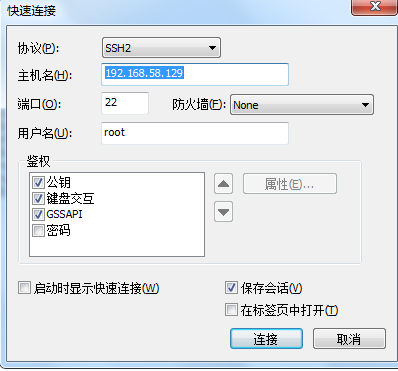
三、SecureCRT 用证书登录: