即便现在苹果努力优化他的审核部门,将审核速度提升到尽可能不可思议的一天或两天通过审核,但是对于想随意控制app实时更新的公司而言,这显示是不够的,热更新应运而生..
JSPatch -> JSPatch github 链接
也许也有很多人觉得这是个很高大上的技术,其实不然,我们只需要在项目里引入极小的引擎文件,就可以使用 JavaScript 调用任何 Objective-C 的原生接口,替换任意 Objective-C 原生方法。当然呢,目前主要用于下发 JS 脚本替换原生 Objective-C 代码,实时修复线上 bug。
JSPatch实现的内部原理
JsPatch能做到通过JS调用和改写OC方法最根本的原因是 Objective-C 是动态语言,OC上所有方法的调用/类的生成都通过 Objective-C Runtime 在运行时进行,我们可以通过类名和方法名反射得到相应的类和方法,也可以替换某个类的方法为新的实现,还可以新注册一个类,为类添加方法。这里就不详细介绍runtime了。所以 JSPatch 的原理就是:JS传递字符串给OC,OC通过 Runtime 接口调用和替换OC方法。
[JSPatch官方文档 - 作者bang]
https://github.com/bang590/JSPatch/wiki
[JSPatch原理总结 - 作者bang]
[大牛对JSPatch的整理]
http://www.jianshu.com/p/822ba5141833
[大牛对JSPatch的使用方法总结]
http://www.jianshu.com/p/2171b51faf4d
下面是我使用JSPatch的使用过程
新建一个项目,项目中代码实现如下
- (void)viewDidLoad {
[super viewDidLoad];
[self loadDemoTableVC];
}
-(void)loadDemoTableVC{
UITableView *tableView = [[UITableView alloc] initWithFrame:self.view.bounds style:UITableViewStylePlain];
tableView.delegate = self;
tableView.dataSource = self;
[self.view addSubview:tableView];
self.demoTableVC = tableView;
}
#pragma mark - UITableViewDataSource
- (NSInteger)tableView:(UITableView *)tableView numberOfRowsInSection:(NSInteger)section{
return 18;
}
- (UITableViewCell *)tableView:(UITableView *)tableView cellForRowAtIndexPath:(NSIndexPath *)indexPath{
UITableViewCell *cell = [tableView dequeueReusableCellWithIdentifier:kID];
if (!cell) {
cell = [[UITableViewCell alloc] initWithStyle:UITableViewCellStyleDefault reuseIdentifier:kID];
}
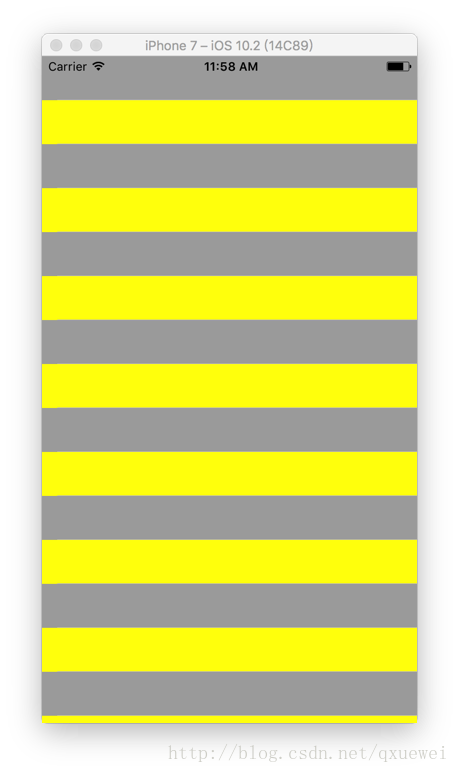
cell.backgroundColor = indexPath.row % 2 == 0 ? [UIColor lightGrayColor] : [UIColor yellowColor];
return cell;
}
运行效果为黄灰相间的tableView
下面使用JSPatch进行热更新,
修改后的OC代码为
 -(void)loadDemoTableVC{
 UITableView *tableView = [[UITableView alloc] initWithFrame:self.view.bounds style:UITableViewStyleGrouped];
 tableView.delegate = self;
 tableView.dataSource = self;
 [self.view addSubview:tableView];
 self.demoTableVC = tableView;
 }

 #pragma mark - UITableViewDataSource
 - (NSInteger)tableView:(UITableView *)tableView numberOfRowsInSection:(NSInteger)section{
 return 8;
 }

 -(NSInteger)numberOfSectionsInTableView:(UITableView *)tableView{
 return 2;
 }

 - (UITableViewCell *)tableView:(UITableView *)tableView cellForRowAtIndexPath:(NSIndexPath *)indexPath{
 UITableViewCell *cell = [tableView dequeueReusableCellWithIdentifier:kID];
 if (!cell) {
 cell = [[UITableViewCell alloc] initWithStyle:UITableViewCellStyleDefault reuseIdentifier:kID];
 }
 cell.backgroundColor = indexPath.row % 2 == 0 ? [UIColor greenColor] : [UIColor redColor];
 return cell;
 }
将其修改为红绿相间的,Group格式的tableView
OC实现相应功能是最基本的技能
使用过程最关键的OC 转化为 JSPatch支持的JS代码
1.使用 JSPatch 作者开源的转化工具进行简单转化
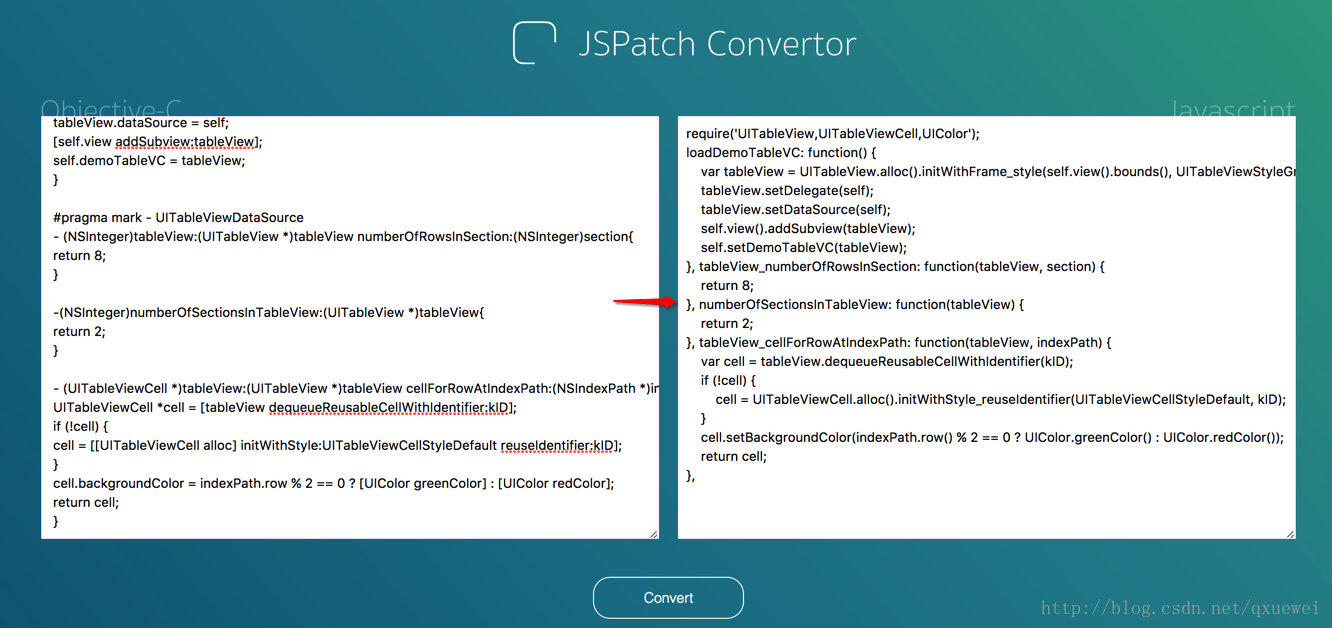
转化后的JS代码并不能直接在项目中使用,因为OC中的很多代码需要通过特定的格式进行处理
修改后的JS代码
require('UITableView,UITableViewCell,UIColor');
defineClass('ViewController',{

loadDemoTableVC: function() {
    var tableView = UITableView.alloc().initWithFrame_style(self.view().bounds(), 1);
    tableView.setDelegate(self);
    tableView.setDataSource(self);
    self.view().addSubview(tableView);
    self.setDemoTableVC(tableView);
}

})

defineClass('ViewController',{

tableView_numberOfRowsInSection: function(tableView, section) {
    return 8;
},
numberOfSectionsInTableView: function(tableView) {
    return 2;
},
tableView_cellForRowAtIndexPath: function(tableView, indexPath) {
    var cell = tableView.dequeueReusableCellWithIdentifier("kID");
    if (!cell) {
        cell = require('UITableViewCell').alloc().initWithStyle_reuseIdentifier(0, "kID");
    }
    cell.setBackgroundColor(indexPath.row() % 2 == 0 ? UIColor.greenColor() : UIColor.redColor());
    return cell;
}

})
万事俱备只欠使用->
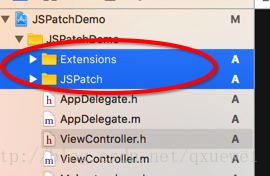
1.导入两个必要的框架
libz.1.tbz
JaveScriptCore.framework
2.导入框架
3.在AppDelegate导入头文件 #import "JPEngine.h" 中并实现
   [JPEngine startEngine];
    NSString *sourcePath = [[NSBundle mainBundle] pathForResource:@"JSPathDemo" ofType:@"js"];
    NSString *script = [NSString stringWithContentsOfFile:sourcePath encoding:NSUTF8StringEncoding error:nil];
    [JPEngine evaluateScript:script];
这里JS文件先放在本地进行测试,真实开发环境需要从服务器请求JS文件
之后是自己配置服务器分发JS还是使用 jspatch开放平台 任意,开放平台文档很全,在此就不再赘述
项目演示Demo: Github Github_CSDNDemos中JSPatchDemo