第一步:IDEA创建springboot项目
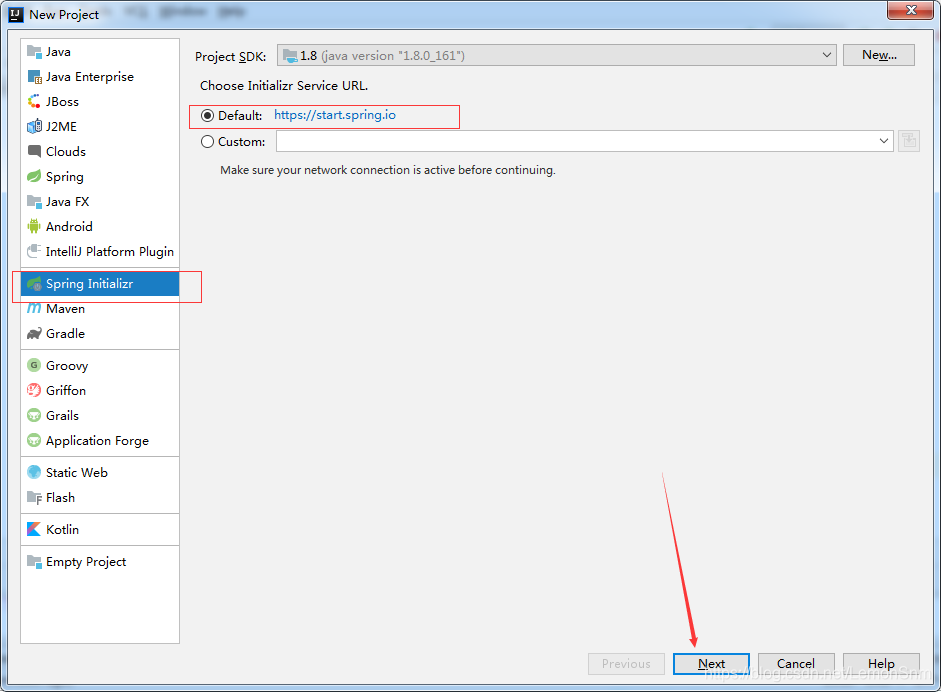


一路next就ok了
等待相关依赖的下载。。。
我们这边先建立数据库
第二步:Mybatis建表
这里使用navicat可视化工具。
当然你可以使用其他工具,或者直接控制台操作
Sql语句:
CREATE TABLE `user` (
  `id` int(11) NOT NULL AUTO_INCREMENT,
  `username` varchar(255) CHARACTER SET utf8mb4 COLLATE utf8mb4_0900_ai_ci DEFAULT NULL,
  `password` varchar(255) CHARACTER SET utf8mb4 COLLATE utf8mb4_0900_ai_ci DEFAULT NULL,
  PRIMARY KEY (`id`)
) ENGINE=InnoDB AUTO_INCREMENT=2 DEFAULT CHARSET=utf8;
也就是这张表:

加点数据:

第三步:项目配置:
目录结构:
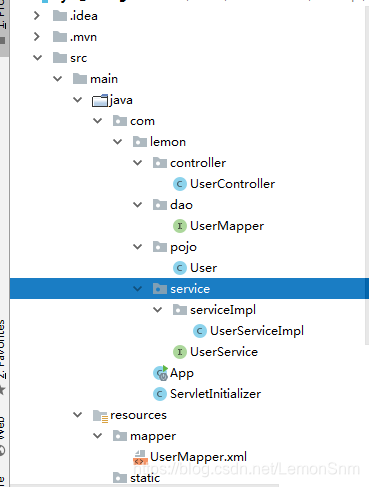
我这里前面选的war 所以有两个。如果是jar就一个App。这里都行不影响,后期如何上传服务器,做详细解释。

相关依赖下载完毕。。(可在maven中查看,我这里是准备打war包,后续会有项目如何上传至服务器)

按照项目目录,我们建立文件并配置:
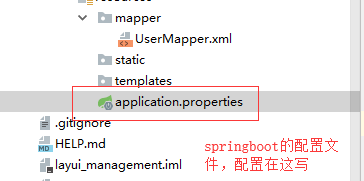
3.1application.properties相关配置
#mysql配置
spring.datasource.driver-class-name=com.mysql.cj.jdbc.Driver
spring.datasource.url=数据库
spring.datasource.username=账号(一般是root)
spring.datasource.password=密码

#mybatis配置
mybatis.mapper-locations=classpath:mapper/*.xml
mybatis.type-aliases-package=com.lemon.pojo

#freemark配置
spring.freemarker.suffix=.html
spring.freemarker.content-type=text/html
spring.freemarker.cache=false
spring.freemarker.charset=UTF-8
#freemarker的模版保存路径(正常情况下,此项不需要放开,springboot默认就是templates路径,打开以后反而需要在模版里面添加templates目录)
#spring.freemarker.template-loader-path=classpath:/templates
spring.freemarker.request-context-attribute=request
spring.freemarker.settings.number_format=#

这里可以先不用配置freemark配置,freemark模板为后期html页面做准备
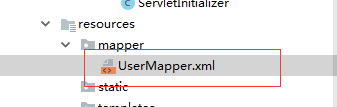
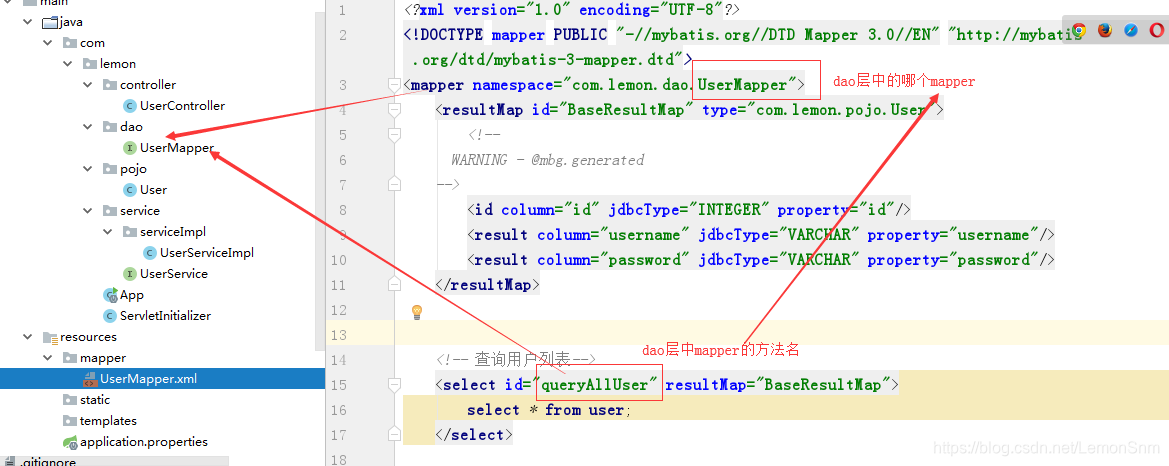
3.2、mybatis映射文件的配置 UserMapper.xml
<?xml version="1.0" encoding="UTF-8"?>
<!DOCTYPE mapper PUBLIC "-//mybatis.org//DTD Mapper 3.0//EN" "http://mybatis.org/dtd/mybatis-3-mapper.dtd">
<mapper namespace="com.lemon.dao.UserMapper">
    <resultMap id="BaseResultMap" type="com.lemon.pojo.User">
        <!--
      WARNING - @mbg.generated
    -->
        <id column="id" jdbcType="INTEGER" property="id"/>
        <result column="username" jdbcType="VARCHAR" property="username"/>
        <result column="password" jdbcType="VARCHAR" property="password"/>
    </resultMap>


    <!-- 查询用户列表-->
    <select id="queryAllUser" resultMap="BaseResultMap">
        select * from user;
    </select>

</mapper>
3.3、User.java实体类
对应前面建立的数据库

package com.lemon.pojo;

/**
 * 用户实体类
 * @author lemonsun
 * @data 2020-01-11
 */
public class User {
    private Integer id;

    private String username;

    private String password;

    @Override
    public String toString() {
        return "User{" +
                "id=" + id +
                ", username='" + username + '\'' +
                ", password='" + password + '\'' +
                '}';
    }

    public Integer getId() {
        return id;
    }

    public void setId(Integer id) {
        this.id = id;
    }

    public String getUsername() {
        return username;
    }

    public void setUsername(String username) {
        this.username = username;
    }

    public String getPassword() {
        return password;
    }

    public void setPassword(String password) {
        this.password = password;
    }
}
3.4、dao层构建:UserMapper.java
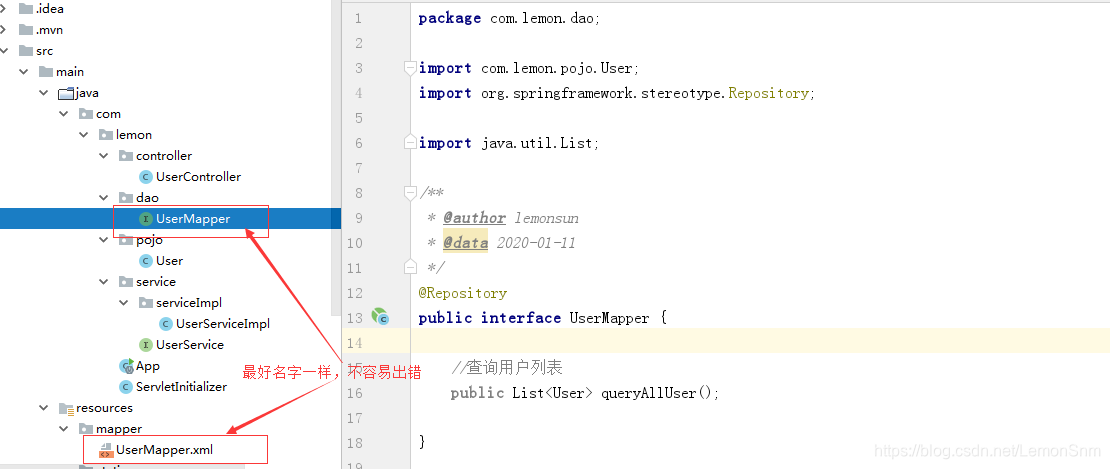
package com.lemon.dao;

import com.lemon.pojo.User;
import org.springframework.stereotype.Repository;

import java.util.List;

/**
 * @author lemonsun
 * @data 2020-01-11
 */
@Repository
public interface UserMapper {

    //查询用户列表
    public List<User> queryAllUser();

}
细心的小伙伴应该发现了,dao层对应mapper映射文件
3.5、service层:UserService.java、UserServiceImpl.java接口与实现类
当然你可以直接写一个类,不用接口
UserService.java
/**
 * @author lemonsun
 * @data 2020-01-11
 */
public interface UserService {

    //查询用户列表
    public List<User> queryAllUser();
}
UserServiceImpl.java
package com.lemon.service.serviceImpl;

import com.lemon.dao.UserMapper;
import com.lemon.pojo.User;
import com.lemon.service.UserService;
import org.springframework.beans.factory.annotation.Autowired;
import org.springframework.stereotype.Service;

import java.util.List;

/**
 * @author lemonsun
 * @data 2020-01-11
 */
@Service
public class UserServiceImpl implements UserService {

    @Autowired
    private UserMapper userMapper;

    @Override
    public List<User> queryAllUser() {
        return userMapper.queryAllUser();
    }
}
3.6、Controller层:UserController.java
package com.lemon.controller;

import com.lemon.pojo.User;
import com.lemon.service.serviceImpl.UserServiceImpl;
import org.springframework.beans.factory.annotation.Autowired;
import org.springframework.stereotype.Controller;
import org.springframework.web.bind.annotation.RequestMapping;
import org.springframework.web.bind.annotation.ResponseBody;

import java.util.List;

/**
 * @author lemonsun
 * @data 2020-01-11
 */
@Controller
@RequestMapping("/user")
public class UserController {

    @Autowired
    private UserServiceImpl userService;

    @RequestMapping("/list")
    @ResponseBody
    public List<User> queryUserList(){
        return userService.queryAllUser();
    }
}
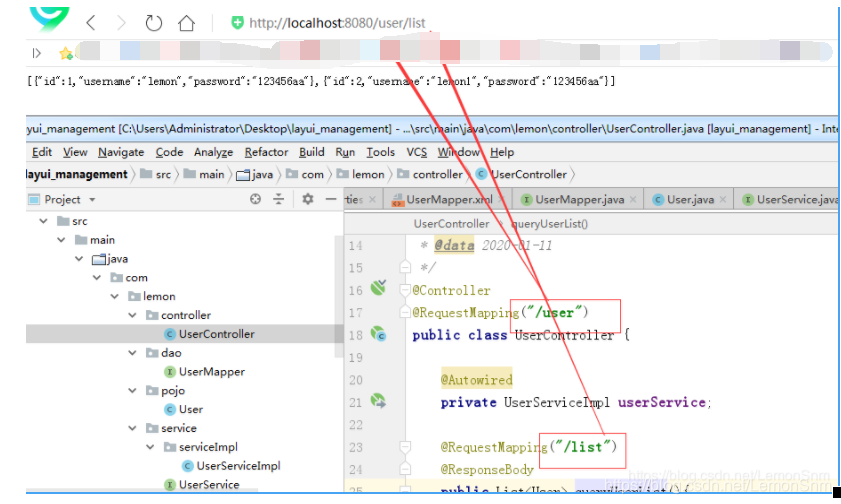
其中@RequestMapping,用来配置路由。
最后是springboot启动类的配置:
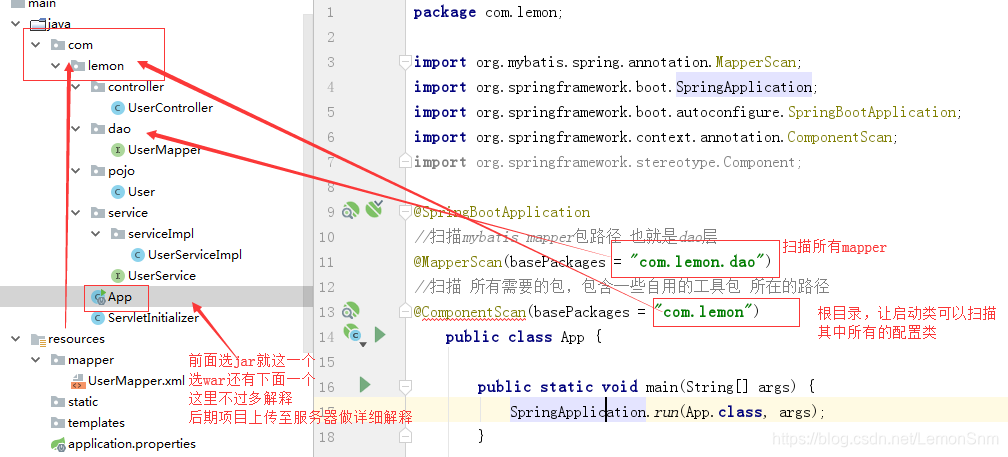
启动类:App.java
package com.lemon;

import org.mybatis.spring.annotation.MapperScan;
import org.springframework.boot.SpringApplication;
import org.springframework.boot.autoconfigure.SpringBootApplication;
import org.springframework.context.annotation.ComponentScan;
import org.springframework.stereotype.Component;

@SpringBootApplication
//扫描mybatis mapper包路径 也就是dao层
@MapperScan(basePackages = "com.lemon.dao")
//扫描 所有需要的包,包含一些自用的工具包 所在的路径
@ComponentScan(basePackages = "com.lemon")
    public class App {

        public static void main(String[] args) {
            SpringApplication.run(App.class, args);
        }

}
右击启动App.java

启动成功:

浏览器访问:
http://localhost:8080/user/list
springboot默认端口号为8080,这里当然可以自己设置端口号:

配置完毕,重启服务器:(此时的8080已经访问不到了)
http://localhost:9999/user/list

到此整合结束。后续小编会有更多相关博客。有需要什么的小伙伴也可以下方留言。
感谢关注哦~
声明:本博客仅为个人日常笔记,记录、相关分享 。
