KVM virtual machine
One, KVM overview
- Introduction:
KVM is the abbreviation of Kernel Virtual Machine. Currently, Redhat only supports running on 64-bit Rhel5.4 and above systems, and the hardware needs to support VT technology. The predecessor of KVM was QEMU. It was acquired by Redhat in 2008 and acquired a hypervisor technology. However, Redhat's KVM is considered to be the mainstream of the future linux hypervisor. To be precise, KVM is not just a module of the linux kernel. To manage and create the completed KVM virtual machine, more auxiliary tools are needed - Deployment environment:
When the utilization rate of linux servers is not very high, in order to make full use of these linux servers, you can deploy KVM and run multiple business systems on physical machines, thereby increasing the utilization rate of linux servers
Second, the virtual machine startup conditions
-
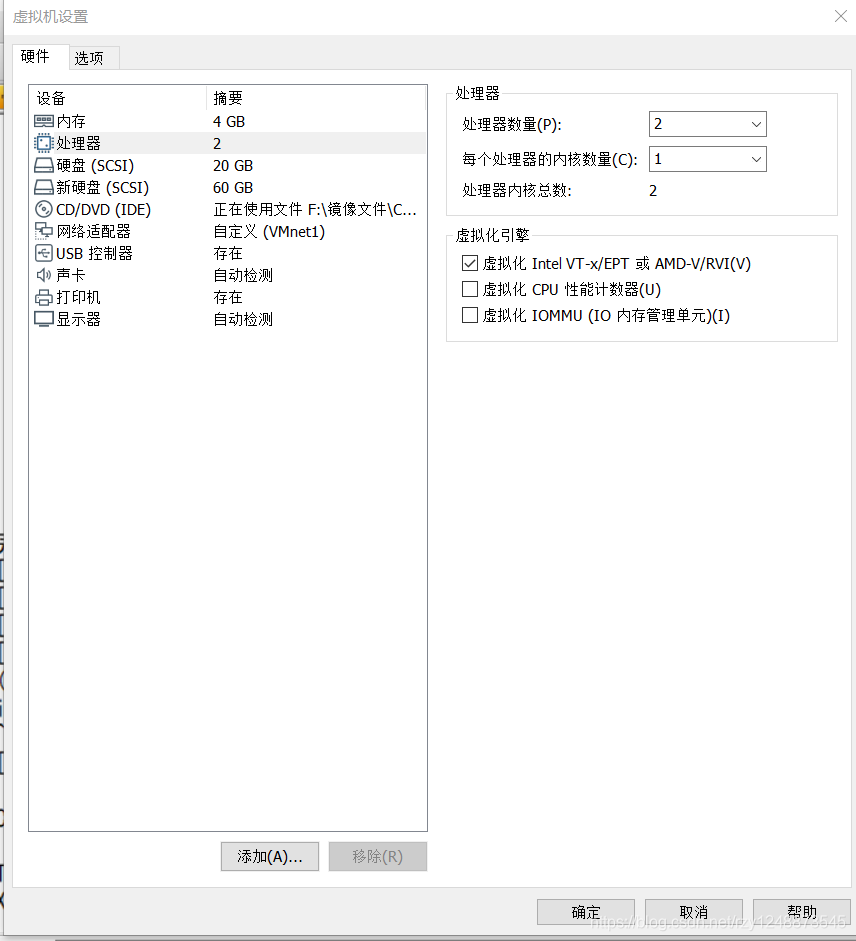
Hardware:
(1) Memory: above 2048M
(2) Processor: Number of cores 2
(3) Virtualization engine: preferred mode intel VT-x or AMD-V
(4) Hard disk: above 60G (depending on your needs)
-
Operating environment:
Method 1:
Use CentOS7 to enable cpu virtualization support
最简单的安装方法就是在安装系统的时候,选择桌面安装——虚拟化选项即可 -
Method 2:
Based on the existing command line or graphical system, install the software steps required for KVM
:
******查看主机的KVM内核模块
[root@KVM ~]#  lsmod |grep kvm
kvm_intel             188688  0
kvm                   636969  1 kvm_intel
irqbypass              13503  1 kvm
******检测CPU是否支持虚拟化,vmx代表Intel CPU,svm代表AMD CPU
[root@KVM ~]# grep -E '(vmx|svm)' /proc/cpuinfo (输入后会有深红色字体)
******将新添加的60G硬盘分区格式化
[root@KVM ~]# fdisk /dev/sdb    (创建新的分区)
欢迎使用 fdisk (util-linux 2.23.2)。

更改将停留在内存中,直到您决定将更改写入磁盘。
使用写入命令前请三思。

Device does not contain a recognized partition table
使用磁盘标识符 0xea058649 创建新的 DOS 磁盘标签。

命令(输入 m 获取帮助):n
Partition type:
   p   primary (0 primary, 0 extended, 4 free)
   e   extended
Select (default p):
Using default response p
分区号 (1-4,默认 1):
起始 扇区 (2048-125829119,默认为 2048):
将使用默认值 2048
Last 扇区, +扇区 or +size{

    K,M,G} (2048-125829119,默认为 125829119):
将使用默认值 125829119
分区 1 已设置为 Linux 类型,大小设为 60 GiB

命令(输入 m 获取帮助):p

磁盘 /dev/sdb:64.4 GB, 64424509440 字节,125829120 个扇区
Units = 扇区 of 1 * 512 = 512 bytes
扇区大小(逻辑/物理):512 字节 / 512 字节
I/O 大小(最小/最佳):512 字节 / 512 字节
磁盘标签类型:dos
磁盘标识符:0xea058649

   设备 Boot      Start         End      Blocks   Id  System
/dev/sdb1            2048   125829119    62913536   83  Linux

命令(输入 m 获取帮助):w
The partition table has been altered!

Calling ioctl() to re-read partition table.
正在同步磁盘。
[root@KVM ~]# mkfs -t xfs /dev/sdb1   (格式化新的分区)
meta-data=/dev/sdb1              isize=512    agcount=4, agsize=3932096 blks
         =                       sectsz=512   attr=2, projid32bit=1
         =                       crc=1        finobt=0, sparse=0
data     =                       bsize=4096   blocks=15728384, imaxpct=25
         =                       sunit=0      swidth=0 blks
naming   =version 2              bsize=4096   ascii-ci=0 ftype=1
log      =internal log           bsize=4096   blocks=7679, version=2
         =                       sectsz=512   sunit=0 blks, lazy-count=1
realtime =none                   extsz=4096   blocks=0, rtextents=0
******将新的分区挂载给/opt,作为KVM虚拟机的存储池
[root@KVM ~]# mount /dev/sdb1 /opt/   (手动挂载)
[root@KVM ~]# echo "/dev/sdb1 /opt xfs defaults 0 0" >> /etc/fstab  (自动挂载)
******配置好本地yum源
[root@KVM ~]# cat /etc/yum.repos.d/centos7.repo
[aaa]
name=aaa
baseurl=file:///media/cdrom
enabled=1
gpgcheck=0
以上,准备工作完成
Three, the steps after the preparation work is completed
桌面环境和命令行环境都可以做
******安装GNOME桌面环境
[root@KVM ~]# mount /dev/cdrom /media/cdrom/
mount: /dev/sr0 写保护,将以只读方式挂载
[root@KVM ~]# yum -y install qemu-kvm libvirt virt-install virt-manager
(用户空间的工具、管理kvm虚拟机、安装kvm虚拟机、图形化虚拟机管理器)
。。。。。。
完毕!
[root@KVM ~]# systemctl start libvirtd (开启)
[root@KVM ~]# systemctl enable libvirtd (设置为开机自启)
******将Windows7的镜像传到/tmp目录下
我这里使用的是Xshell连接的centos7,所以直接使用自带的xftp传了,没有的话可以先挂载然后把文件复制到/tmp下,记得要分开目录
[root@KVM ~]# cd /tmp/
[root@KVM tmp]# ls (传输完成)
[root@CentOS7-1 tmp]# ls
anaconda.log
cn_windows_7_ultimate_with_sp1_x64_dvd_618537.iso
。。。。。。
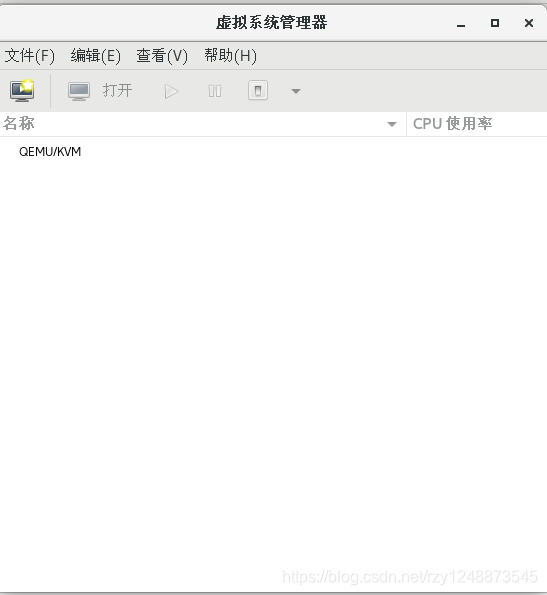
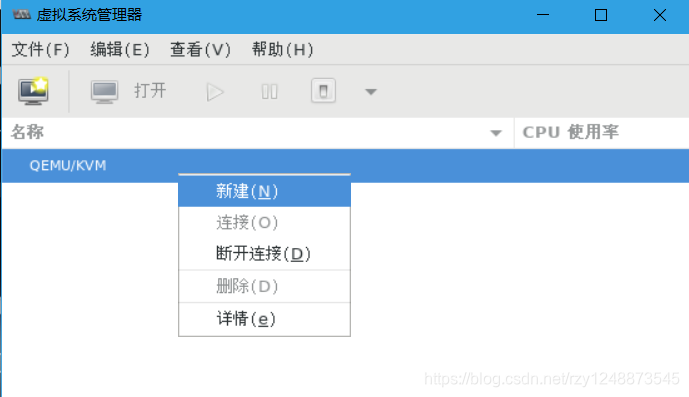
******开启KVM虚拟机管理器
[root@KVM tmp]# virt-manager
我这里使用的是图行化系统,命令行和图形化是一样的,图行化点击应用程序——系统工具——虚拟系统管理器
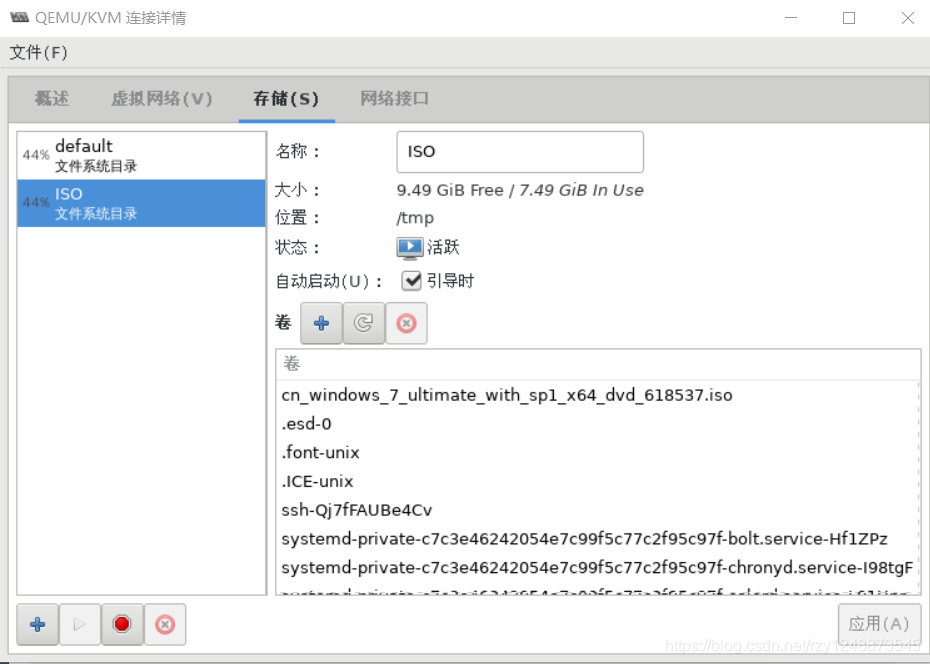
- Double click: QEMU, set "Storage"
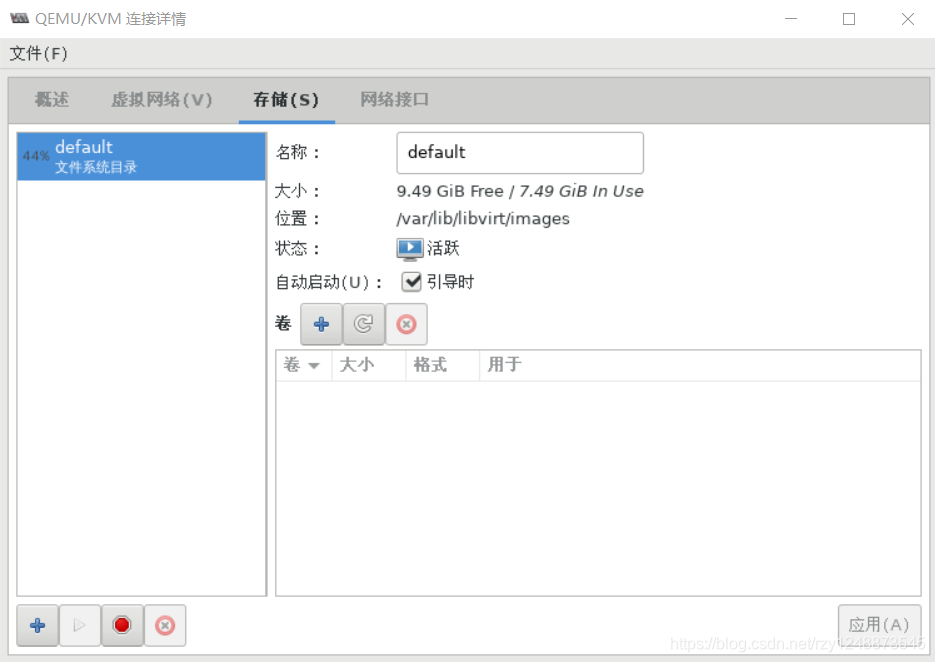
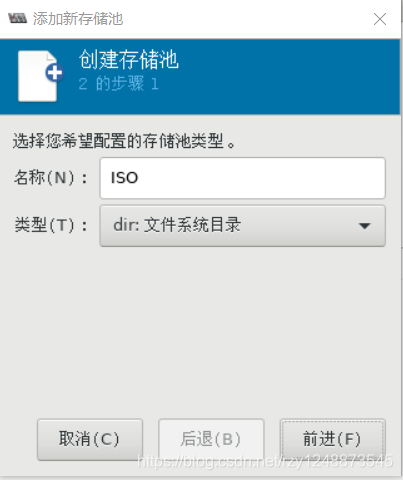
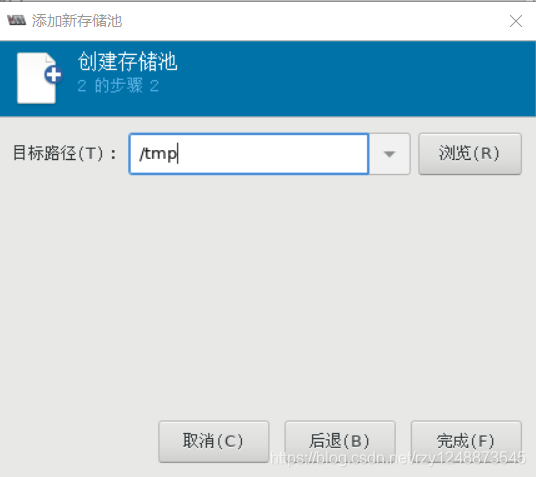
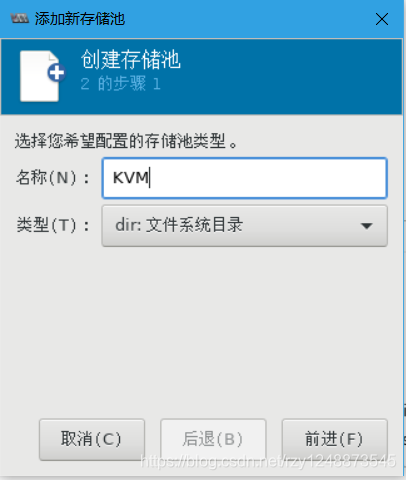
- Add storage pool:
- Add the directory /tmp where the image file is located to the storage pool and name it ISO (click the + sign in the lower left corner) (this is where the image file is stored)
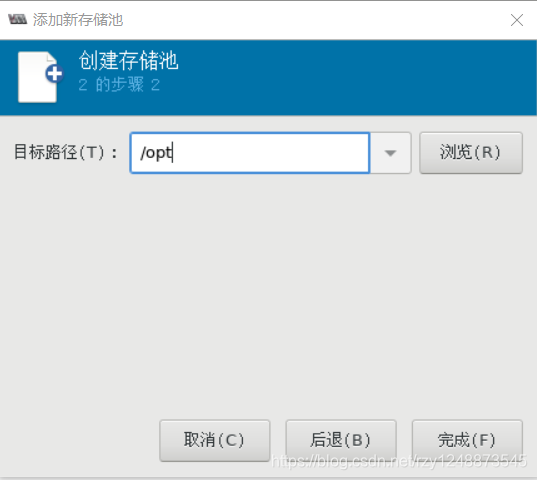
- Add the /opt directory to the storage pool and name it KVM, which is used as the storage directory of the installed virtual machine.
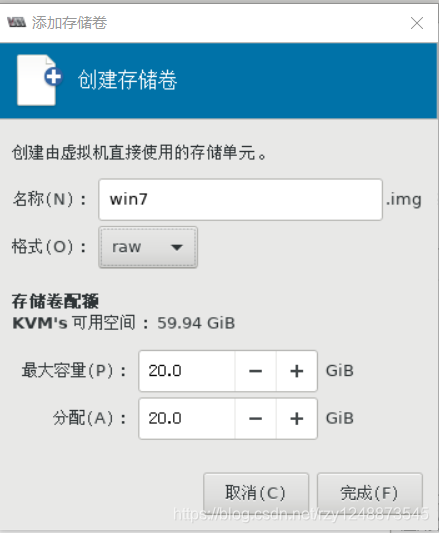
Add a storage volume (still the + sign in the lower left corner) (this is the hard disk space directory of the created virtual machine)
- Select KVM, click the plus sign in the middle
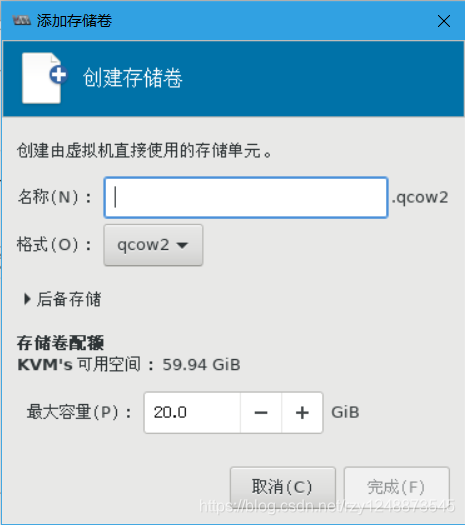
- Add a virtual machine named win7, the type is raw, and click Finish, then close the window
- Right click on QEMU and click New
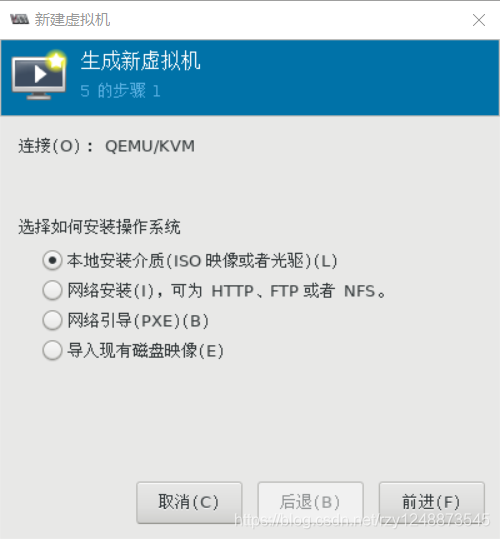
- Select the local installation medium (the first one), click forward
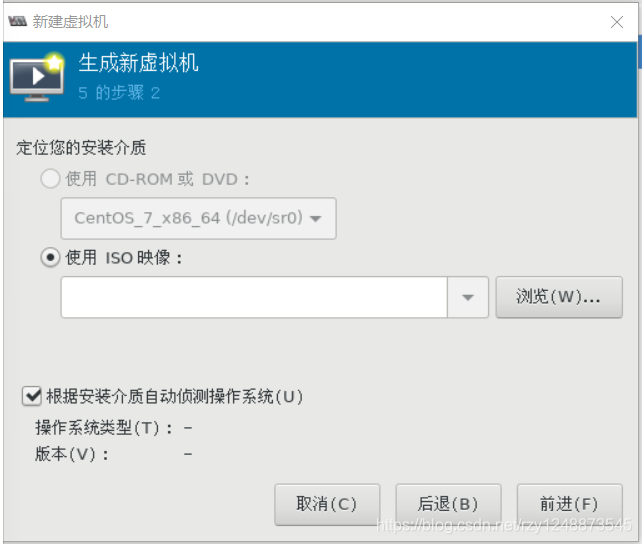
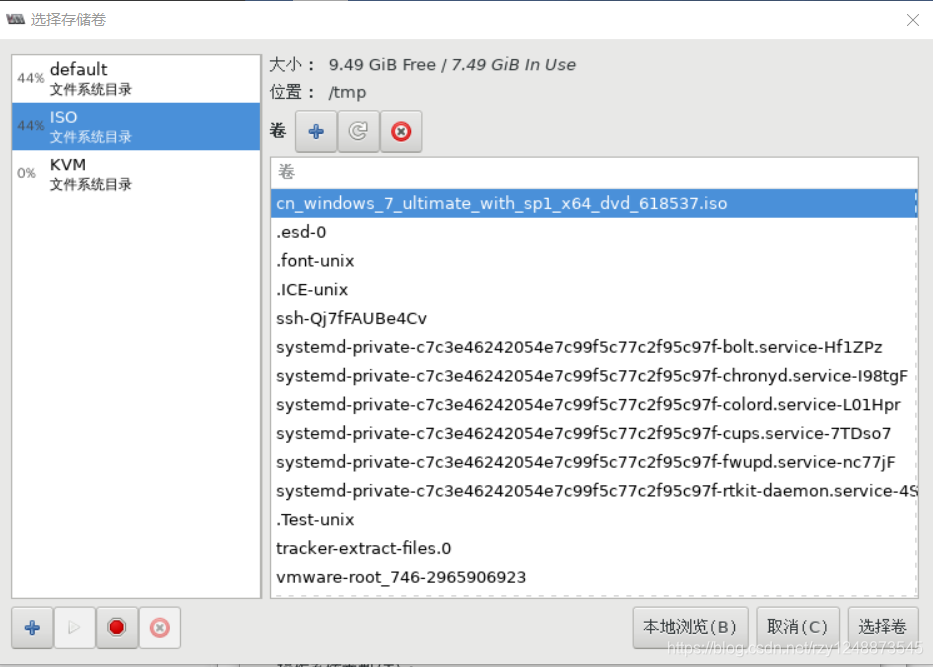
- Click Browse, click the created ISO storage volume, select win7 image
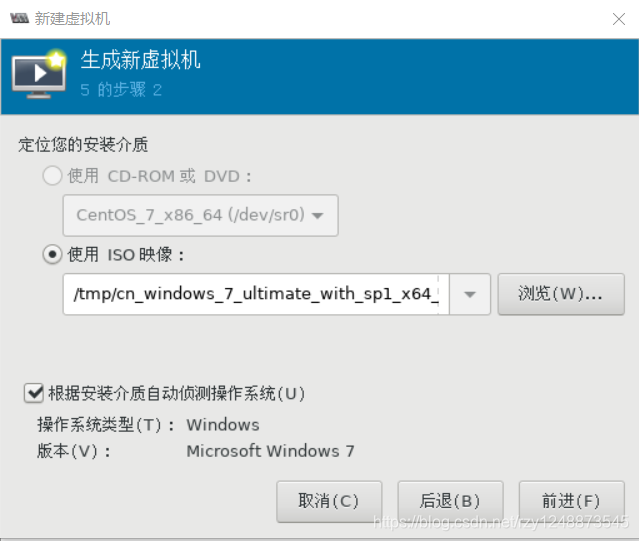
- Click forward
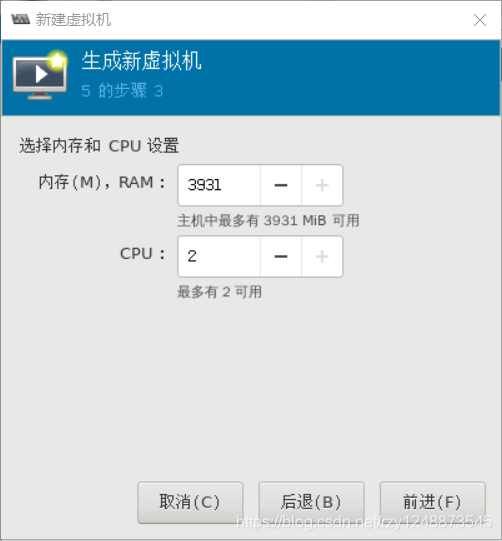
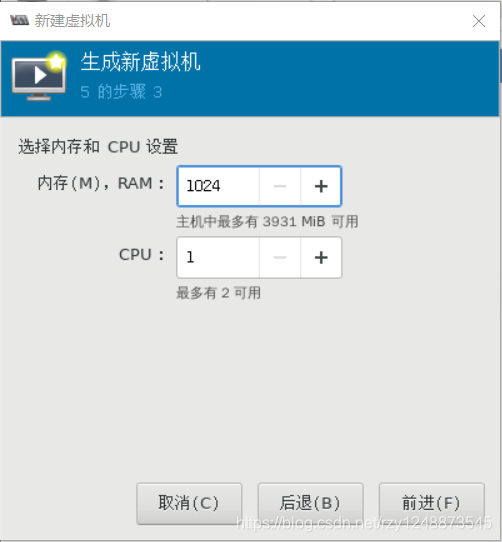
- Choose 1024 for memory, choose 1 for cpu, click forward
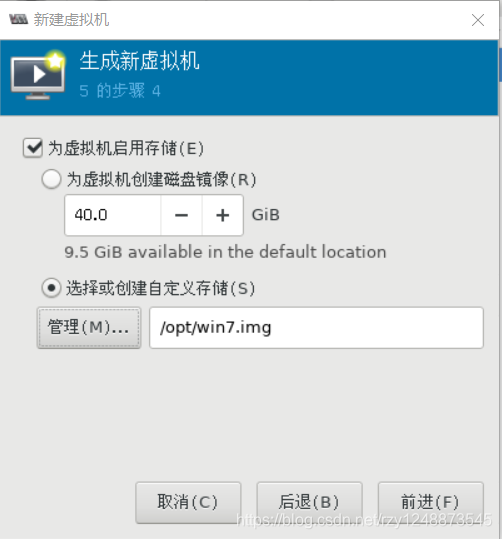
- Select the created KVM storage volume, select win7.img
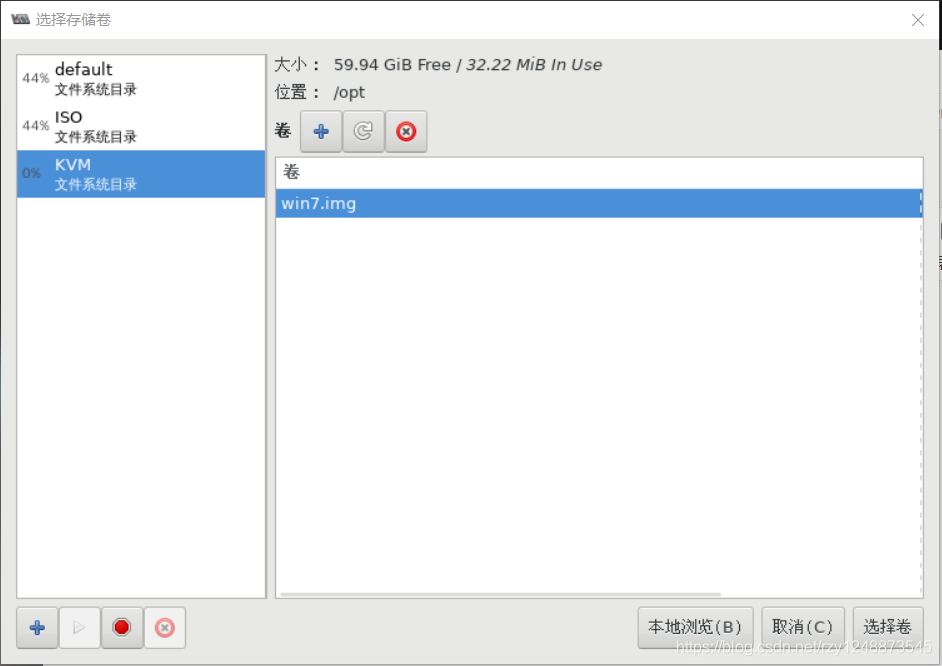
- Click forward
- Check "Customize configuration before installation" and click Finish
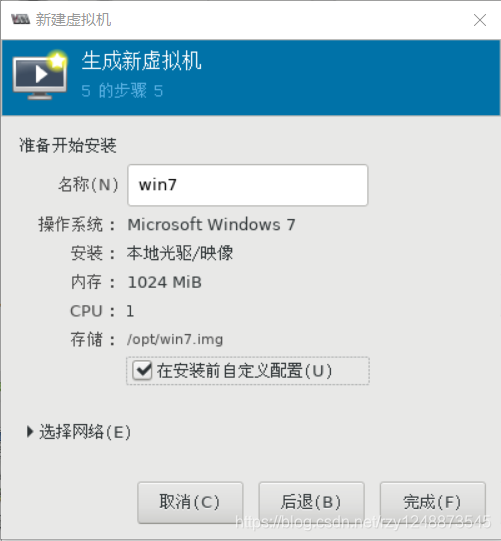
- You can configure it in the pop-up window, according to your needs

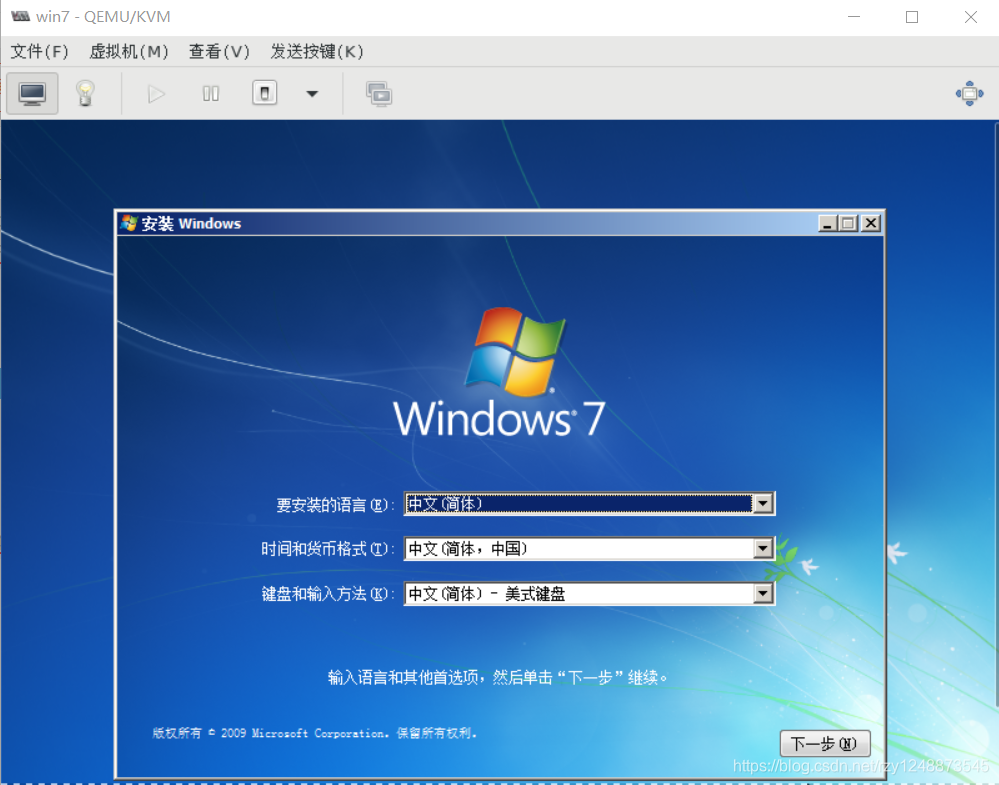
- Finally click on the application, click to start the installation

- At this time, the virtual machine has been installed, and the KVM virtual machine service has been built.
Four, KVM virtual machine management
- Method 1: Use graphical management directly
- Method 2: Use KVM command set management
******KVM基本功能管理
帮助————virsh -h
现实配置文档位置————ls /etc/libvirt/qemu/
查看虚拟机状态————virsh list --all
关机————virsh shutdown *虚拟机名称*
开机————virsh start *虚拟机名称*
关闭电源————virsh destory *虚拟机名称*
通过配置文件启动虚拟机————virsh create /etc/libvirt/qemu/*后缀是.xml的虚拟机文件名*
挂起————virsh suspend *虚拟机名称*
恢复————virsh resume *虚拟机名称*
自动随宿主机一起启动(开机自启)—————virsh autostart *虚拟机名称*
导出虚拟机配置————virsh dumpxml *虚拟机名称* > /etc/libvirt/qemu/*后缀是.xml的新的虚拟机文件名*
删除虚拟机————virsh undefine *虚拟机名称*
通过备份的配置文件重新定义虚拟机————virsh define *后缀是.xml的虚拟机文件名*
编辑配置文档————两种方法:(1)vim /etc/libvirt/qemu/*后缀是.xml的虚拟机文件*
                        (2)virsh edit *虚拟机名称*
******KVM文件管理
可以使用yum先安装工具————yum -y install libguestfs-tools
查看当前磁盘格式————qemu-img info /data_kvm/store/*后缀为.img的虚拟机磁盘文件*
转换磁盘格式————qemu-img convert -f raw -O qcow2 /data_kvm/store/*后缀为.img的虚拟机磁盘文件* /data_kvm/store/*后缀为.img的新的虚拟机磁盘文件*
******虚拟机克隆
克隆001主机到002————virt-clone -o 001 -n 002 -f /data_kvm/store/002.qcow2
******虚拟机快照
KVM虚拟机使用镜像功能,磁盘格式必须为qcow2
创建虚拟机快照————virsh snapshot-create *虚拟机名称*
查看快照版本信息————virsh snapshot-current *虚拟机名称*
查看快照信息————cirsh snapshot-list *虚拟机名称*
恢复快照到指定位置————virsh snapshot-revert *虚拟机名称* *快照名称*
删除快照————virsh snapshot-delete *虚拟机名称* *快照名称*
两种都可以使用,个人感觉图形化方便点,看个人喜好了