Nucleic acid detection results contain personal privacy data and the data volume is large. How to enable nucleic acid detection personnel to securely store / query massive data in the cloud has become the primary problem of nucleic acid detection data storage. Huawei AppGallery Connect provides two serverless services, authentication service and cloud database service , which can respectively implement basic device-cloud collaboration functions such as user authentication login and data writing / querying, which can perfectly solve the query / storage problem of nucleic acid detection data, and can be used for security purposes. The authentication function guarantees the security of the data.
The activity of "Codelabs Challenge - Building a Certification Query System from Zero Basics" is in full swing. Share your works and have the opportunity to win great gifts such as Huawei freebuds pro wireless earphones, Huawei band 6nfc version, and alliance backpacks. Come and participate >> https: //developer.huawei.com/consumer/cn/forum/topic/0202851788421280176?fid=0102822233052010012
Starting from the above requirements and business pain points, this paper uses the two serverless services of authentication service and cloud database to build a nucleic acid test result authentication query system. The system functions and technology selection are as follows:
| Business functions |
Technical selection |
option source |
| System authentication - registration login and logout |
Certification Services |
|
| Inspection data import and query |
cloud database |
|
| Display of test data |
SmartTable |
development preparation
Subscribe to a service
To use the services of AppGallery Connect ( AGC for short ), you need to activate it on the AGC management console ( you can experience all the services provided by AGC in one-stop on the AGC console). Before activating the service, you need to register a Huawei developer account, and you can follow the guidance documents , which will not be repeated here.
This article mainly introduces the login authentication function of the system, so it only introduces the corresponding service - the activation of the authentication service in the application. Before activating the service, you need to create the corresponding project and the application under the project:
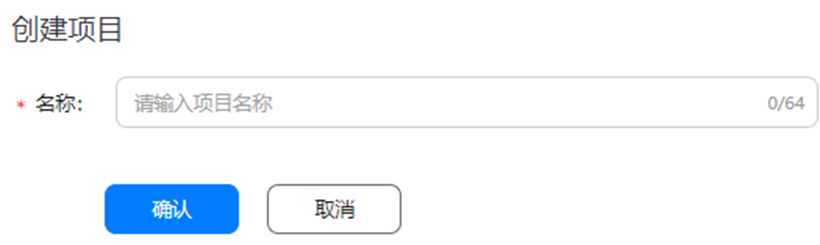
1. Log in to the AGC console , click "My Projects", select "Add Project", and fill in the project name.
2. Click "Add Application" on the project settings page to be jumped to, fill in the application information and confirm.
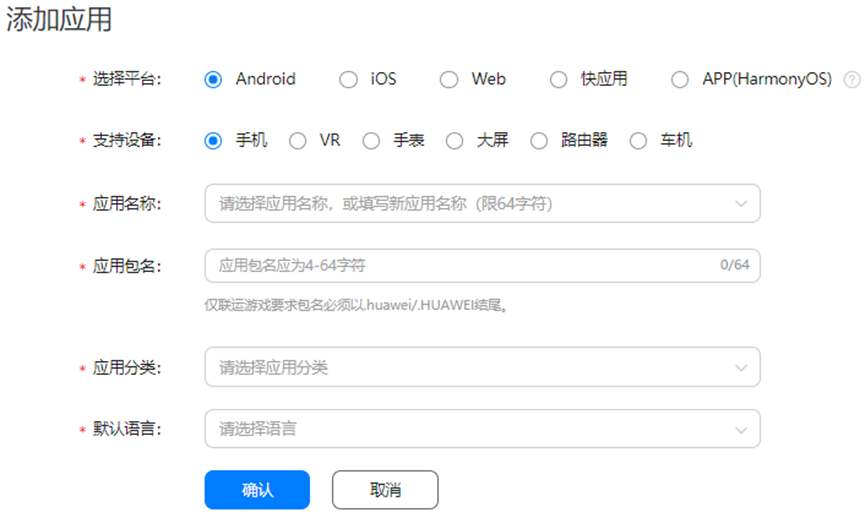
At this point, the project and the application under the project have been created.
3. Find and hit "Build - Authentication Service" in the menu directory, click "Activate Now" in the upper right corner, and select the data processing location (the data processing location is the desired storage location for processing your application and user data ), generally selected in China "China". Then, choose to enable the "Mobile Number" authentication method.

So far, the authentication service has been successfully activated.
Integrated SDK
AGC has opened up its anonymous login capability for accounts such as HUAWEI ID and game ID in the form of SDK. Before developing the authentication function, it needs to integrate the authentication service SDK and download the JSON file provided by AGC to obtain the basic information and data processing of the application. location information, etc.
1.1 Integrated SDK
When you create a project in Android Studio , the integration steps of the SDK in the project are as follows:
1. Configure the maven warehouse and AGC plugin addressunder the project-level build.gradle file
// Top-level build file where you can add configuration options common to all sub-projects/modules.
buildscript {
    repositories {
        google()
        jcenter()
        //maven仓地址
        maven {url 'https://developer.huawei.com/repo/'}
    }
    dependencies {
        classpath "com.android.tools.build:gradle:4.1.0"
        //AGC插件地址
        classpath 'com.huawei.agconnect:agcp:1.6.5.300'
        // NOTE: Do not place your application dependencies here; they belong
        // in the individual module build.gradle files
    }
}

allprojects {
    repositories {
        google()
        jcenter()
        //maven仓地址
        maven {url 'https://developer.huawei.com/repo/'}
    }
}

task clean(type: Delete) {
    delete rootProject.buildDir
}
2. Configure the compilation dependencies and authentication service SDK under the application-level build.gradle file
plugins {
id 'com.android.application'
//添加AGC的依赖
    id 'com.huawei.agconnect'
}

android {
    compileSdkVersion 30
    buildToolsVersion "30.0.1"

    defaultConfig {
        applicationId "com.huawei.covid19detection"
        minSdkVersion 19
        targetSdkVersion 30
        versionCode 1
        versionName "1.0"

        testInstrumentationRunner "androidx.test.runner.AndroidJUnitRunner"
    }

    buildTypes {
        release {
            minifyEnabled false
            proguardFiles getDefaultProguardFile('proguard-android-optimize.txt'), 'proguard-rules.pro'
        }
    }
    compileOptions {
        sourceCompatibility JavaVersion.VERSION_1_8
        targetCompatibility JavaVersion.VERSION_1_8
    }
}

dependencies {
    //agc-core的依赖
    implementation 'com.huawei.agconnect:agconnect-core:1.6.5.300'
    implementation 'androidx.appcompat:appcompat:1.3.0'
    implementation 'com.google.android.material:material:1.3.0'
    implementation 'androidx.constraintlayout:constraintlayout:2.0.4'
    testImplementation 'junit:junit:4.+'
    androidTestImplementation 'androidx.test.ext:junit:1.1.3'
androidTestImplementation 'androidx.test.espresso:espresso-core:3.4.0'
//认证服务sdk
    implementation 'com.huawei.agconnect:agconnect-auth:1.6.5.300'
    }
After the above SDK or dependencies are added, you need to click " Sync Now" in the upper right corner to wait for the synchronization to complete.
1.2 Add configuration file
In order to simplify the configuration steps for developers, a configuration file for saving application configuration information is provided to developers. Just add the configuration file to the project directory and integrate the AGC plug-in. The AGC plug-in can automatically load application information into the development environment.
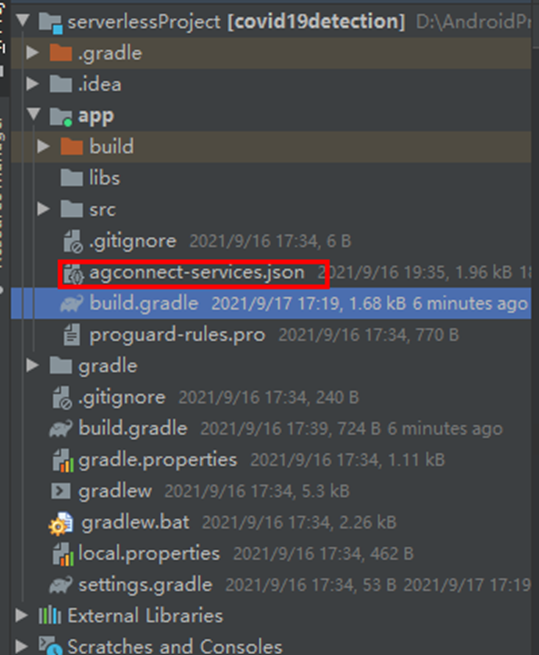
1. Open the "Project Settings" of the project you just created, and download the configuration file "agconnect-services.json".
2. Put the downloaded JSON file in the application-level directory of the Android Studio project. After the subsequent integration of the cloud database, the JSON file must be re-downloaded and placed.
interface design
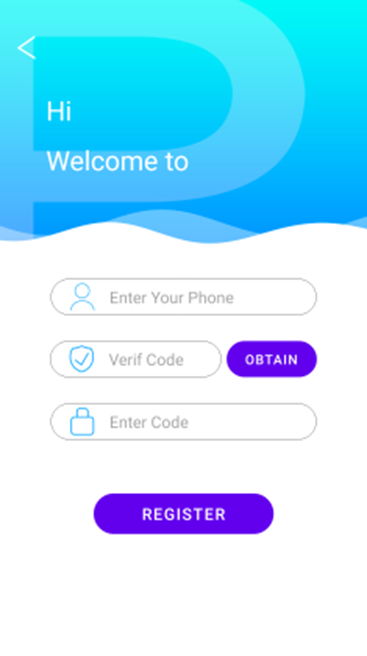
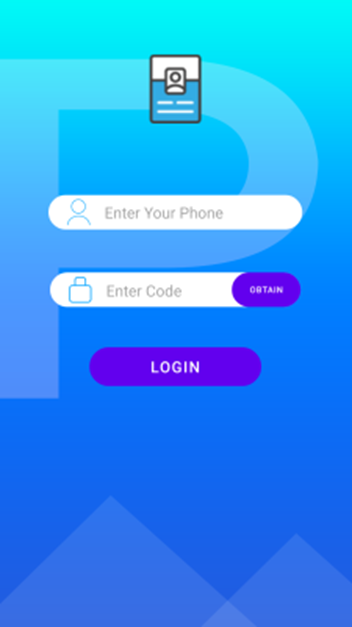
To put it simply, there are only two requirements for the interface to complete the login authentication function with the help of the authentication service using a mobile phone account: having the necessary registration interface (including the input of account number, password and verification code) and having the necessary login interface (this time I use the verification code to log in, so there are account input and verification code input), the sample interface and code are as follows:
Registration interface:
login interface:
Account registration
The nucleic acid detection and query system should have complete account registration and login functions to ensure the security and reliability of the system. The AGC authentication service provides the function of mobile phone account registration. After successful registration, you can quickly log in.
1. After reviewing the official documents, it is found that you need to obtain a verification code to register a mobile account. AGC also provides an interface for obtaining verification code AGConnectAuth.requestVerifyCode . From the API document, fill in the country code and mobile phone number, and click " OBTAIN " to apply. .
findViewById(R.id.verification_code_obtain).setOnClickListener(new View.OnClickListener() {
            @Override
            public void onClick(View view) {

                String phoneNumberStr = editText_num.getText().toString().trim();
                VerifyCodeSettings settings = new VerifyCodeSettings.Builder()
                        .action(VerifyCodeSettings.ACTION_REGISTER_LOGIN)
                        .sendInterval(30)
                        .locale(Locale.CHINA)
                        .build();
                Task<VerifyCodeResult> task = AGConnectAuth.getInstance().requestVerifyCode(countryCodeStr, phoneNumberStr, settings);
                task.addOnSuccessListener(TaskExecutors.uiThread(), new OnSuccessListener<VerifyCodeResult>() {
                    @Override
                    public void onSuccess(VerifyCodeResult verifyCodeResult) {
                        //验证码申请成功
                        Log.d(TAG, "onSuccess: message send successfully"+phoneNumberStr);
                        Toast.makeText(RegisterActivity.this,"send phone verify code success",Toast.LENGTH_LONG).show();
                    }
                }).addOnFailureListener(TaskExecutors.uiThread(), new OnFailureListener() {
                    @Override
                    public void onFailure(Exception e) {
                        //失败就销户
                        //AGConnectAuth.getInstance().deleteUser();
                        Log.e(TAG, "onSuccess: message send failed"+phoneNumberStr);
                        Toast.makeText(RegisterActivity.this, "requestVerifyCode fail:" + e, Toast.LENGTH_SHORT).show();
                    }
                });
            }
        });
The Toast prompt on the page " send phone verify code success " means that the verification code application is successful. An example of the received verification code is as follows:
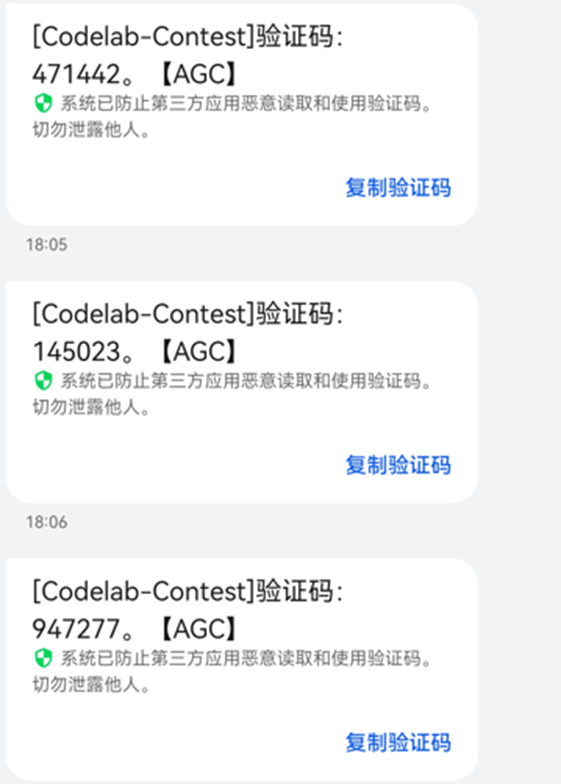
Fill in the verification code in EditText and click " Rigister " to register successfully.
Corresponds to the registered user interface for AGConnectAuth.createUser . After successful registration, please go to the login page to log in.
findViewById(R.id.register).setOnClickListener(new View.OnClickListener() {
            @Override
            public void onClick(View view) {
                String phoneNumberStr = editText_num.getText().toString().trim();
                String vericode = veri_code.getText().toString().trim();
                String rePsd = repsd_txt.getText().toString().trim();
                PhoneUser phoneUser = new PhoneUser.Builder()
                        .setCountryCode(countryCodeStr)
                        .setPhoneNumber(phoneNumberStr)
                        .setVerifyCode(vericode)
                        .setPassword(rePsd)
                        .build();
                AGConnectAuth.getInstance().createUser(phoneUser)
                        .addOnSuccessListener(new OnSuccessListener<SignInResult>() {
                            @Override
                            public void onSuccess(SignInResult signInResult) {
                                //创建帐号成功后,默认已登录,进入主页面
                                Intent intent = new Intent();
                                intent.setClass(RegisterActivity.this, LoginActivity.class);
                                startActivity(intent);
                            }
                        })
                        .addOnFailureListener(new OnFailureListener() {
                            @Override
                            public void onFailure(Exception e) {
                                Toast.makeText(RegisterActivity.this, "register fail:" + e, Toast.LENGTH_SHORT).show();
                            }
                        });
            }
        });
login authentication
After successful registration, there are two ways to use the AGC authentication service to log in to the application: verification code login and password login. Only verification code login is implemented here. For password login implementation, please refer to the guidance document .
1. The interface involved in applying for a verification code is the same as the account registration , just refer to the application.
2. Use the obtained verification code to generate the login credentials for the mobile phone account. Since we have not set the input password box, the password parameter here can be filled with null .
AGConnectAuthCredential credential = PhoneAuthProvider.credentialWithVerifyCode(countryCodeStr, phoneNumberStr, null, userVeri);3. Use the generated account credentials to log in to the app, see AGConnectAuth.signIn for details .
findViewById(R.id.btn_login).setOnClickListener(new View.OnClickListener() {
            @Override
            public void onClick(View view) {
                String phoneNumberStr = loginText_num.getText().toString().trim();
                String vericode = loginVeri_code.getText().toString().trim();
                AGConnectAuthCredential credential = PhoneAuthProvider.credentialWithVerifyCode(countryCodeStr,phoneNumberStr,"",vericode);
                AGConnectAuth.getInstance().signIn(credential)
                        .addOnSuccessListener(new OnSuccessListener<SignInResult>() {
                            @Override
                            public void onSuccess(SignInResult signInResult) {
                                Intent intent = new Intent();
                                intent.setClass(LoginActivity.this, DatabaseActivity.class);
                                startActivity(intent);
                                Log.i(TAG, "onSuccess: login success");
                            }
                        })
                        .addOnFailureListener(new OnFailureListener() {
                            @Override
                            public void onFailure(Exception e) {
                            }
                        });
            }
        });
After successful login, you can jump to the main interface of the application. The main interface displays the nucleic acid test result data. We will elaborate on the import and display of the data in the next guide.
Summarize
Using the AGC authentication service to register and log in the account by applying for a verification code The size of Huawei AGC SDK is revealed ).
In the next article, we will introduce how to use AGC 's cloud database to import / record nucleic acid test result data and query and display it.
Reference documentation:
How to use the mobile phone account to register and log in the application: https://developer.huawei.com/consumer/cn/doc/development/AppGallery-connect-Guides/agc-auth-android-phone-0000001053333941#section204291139102115
API reference for authentication service registration and login :
Required reading for development preparation and SDK integration :
Another example explanation is attached: [Codelabs Challenge Example Explanation 2] Nucleic Acid Test Result Authentication Query System - Data Import and Query