01 Email notification
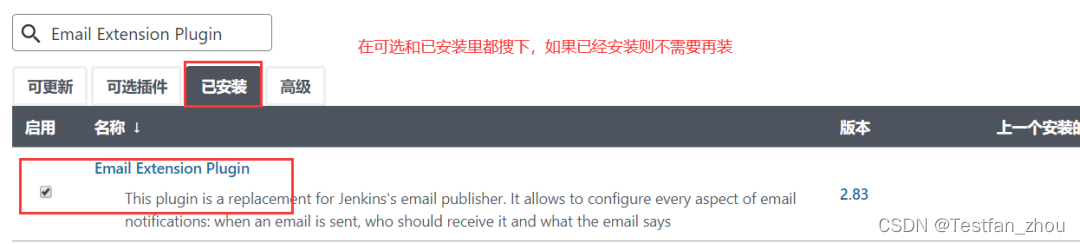
Email Extension Plugin Install Email Extension Plugin, if it is already installed, you don't need to install it again
This plugin can provide more detailed email sending settings
QQ mailbox preparation
The company will use the enterprise mailbox as the sender, and the relevant information will be consulted by the mailbox administrator. In this example, the qq mailbox is used as the mail administrator and sender
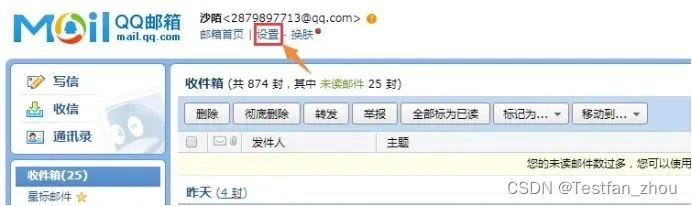
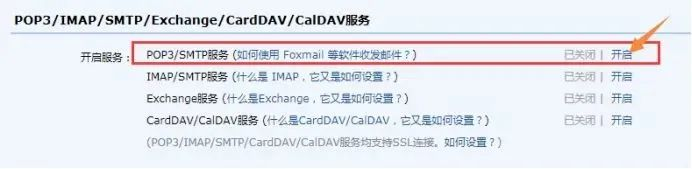
1. Open QQ mailbox SMTP service, open QQ mailbox and enter settings
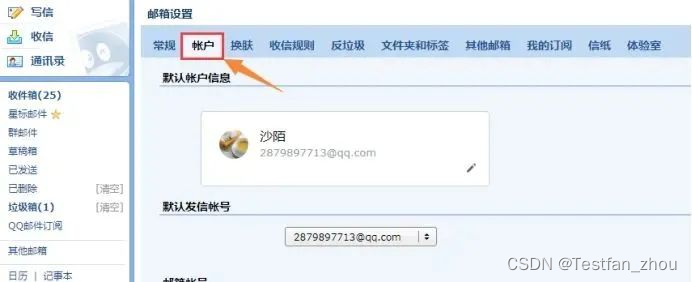
2. Enter the account
3. Enable SMTP service
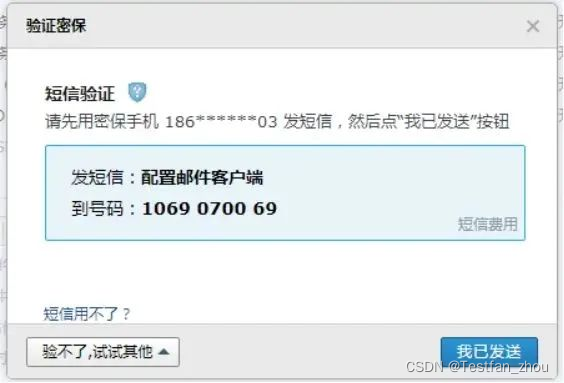
4. Send the verification code to the specified number
5. Obtain the authorization code and save the authorization code to a txt file. This authorization code is required to configure the mailbox in Jenkins

6. Click OK, the SMTP service is enabled

Jenkins comes with mail configuration
Here we can first test whether our mailbox configuration is correct and whether the mail can be sent successfully
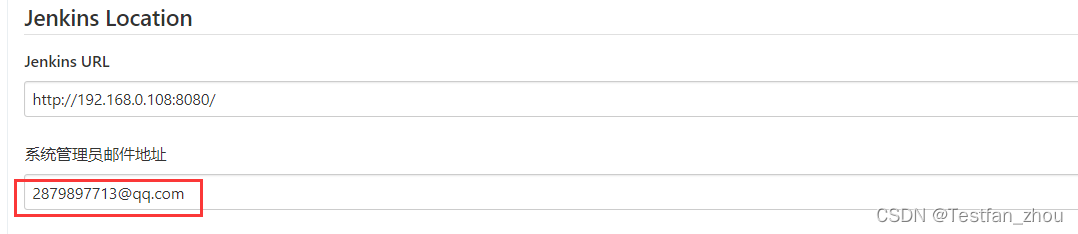
Go to System Management -> System Configuration and do the following configuration
First add the system administrator email address
Find the area for email notification, configure and test
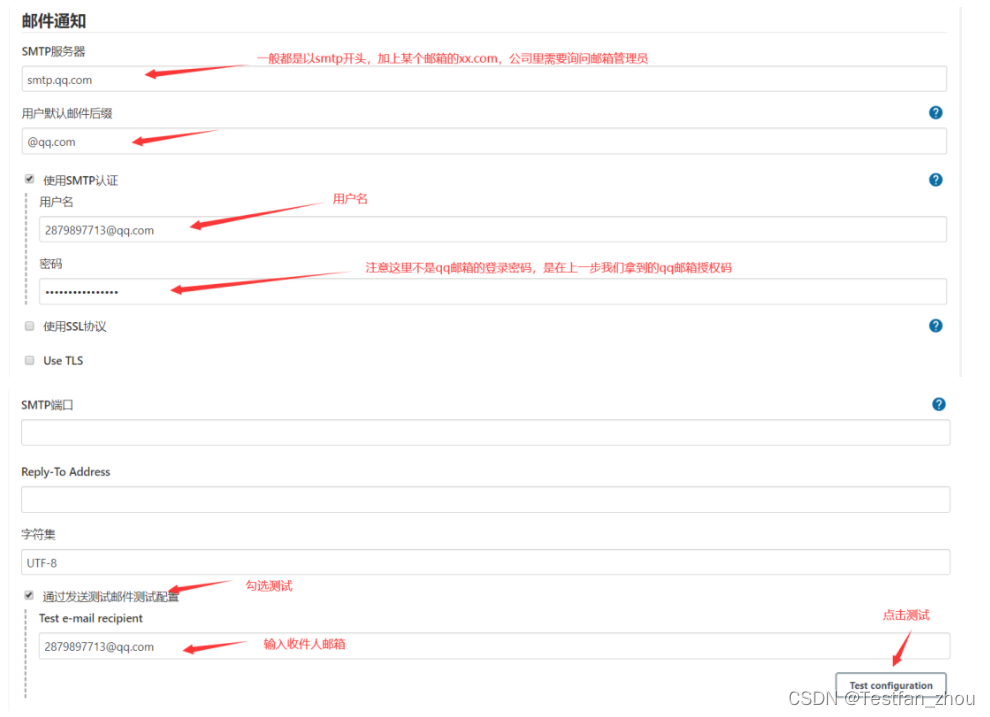
After clicking the test, the prompt is successful, and the mailbox will receive an email, indicating that there is no problem with sending the email
Configure extension mailboxes
This configuration will be used as the email template after our jenkins task is executed
Go to System Management -> System Configuration, find the Extended E-mail Notification area,
Do the following configuration:
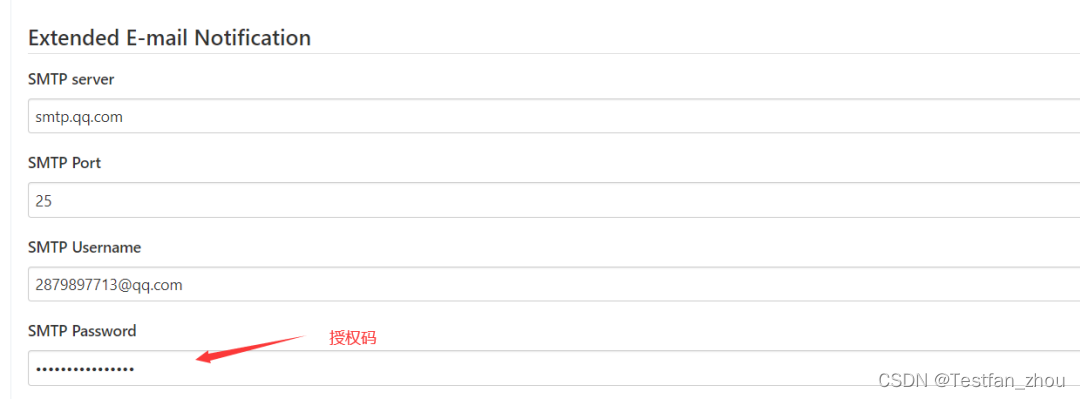
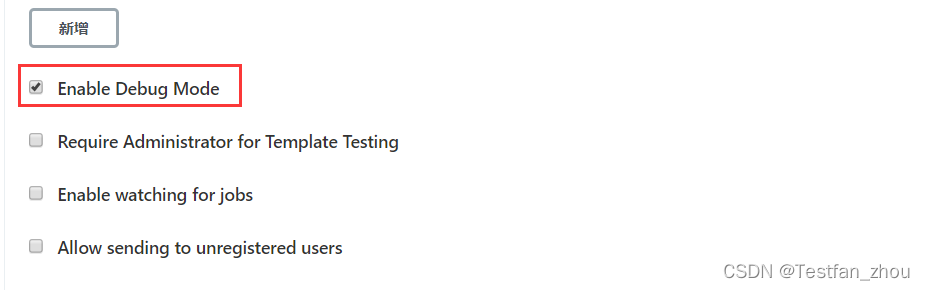
If you want to see the detailed log when the task sends emails, you can check the following options, which are mainly used for debugging when there is a problem with sending emails.
02 DingTalk Notification
Install DingTalk notification plugin

Log in to DingTalk and configure the DingTalk robot
Reference link:
https://developers.dingtalk.com/document/robots/custom-robot-access
Configure Dingding in jenkins
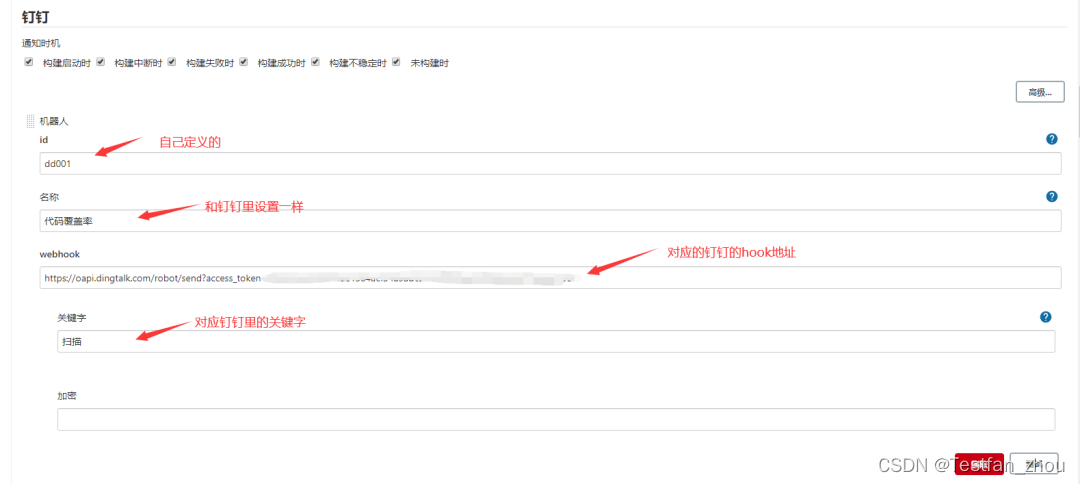
Go to System Management -> System Configuration, find the DingTalk area, and do the following configuration
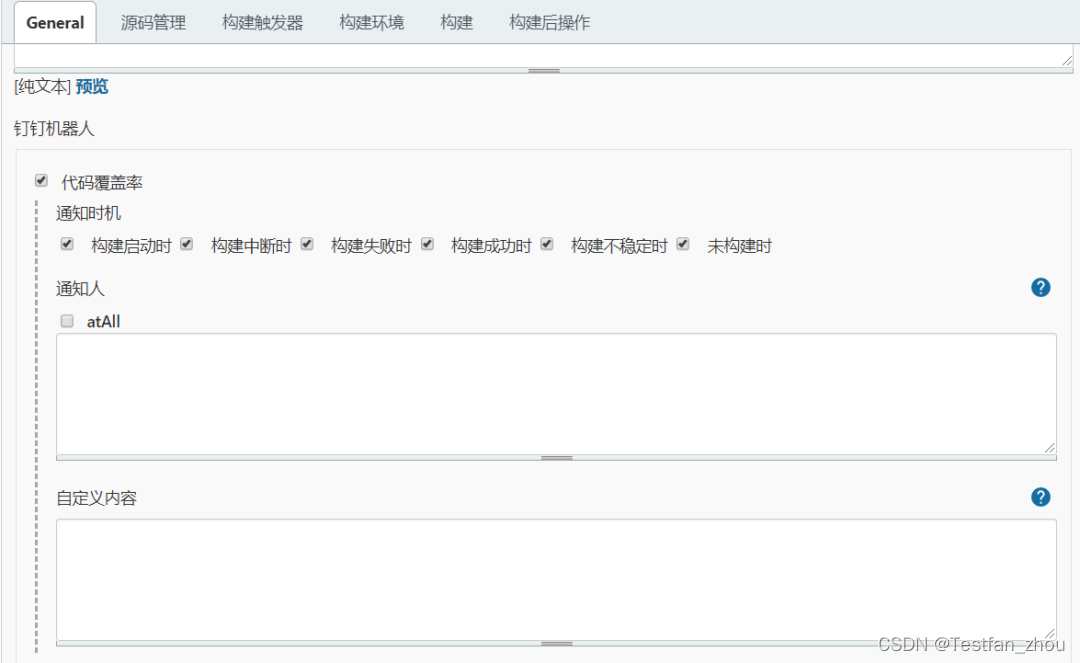
jenkins task configuration
DingTalk only supports free-style tasks, not maven-style, so let's create a free-style task first.
1. Create Freestyle Projects
2. Build immediately after saving
You can see that the DingTalk group has received the message of the task execution

03 WeChat notification
Check the jdk configuration first
If jdk is the version of openjdk, then be sure to uninstall it and use oracle's jdk, otherwise it may go wrong
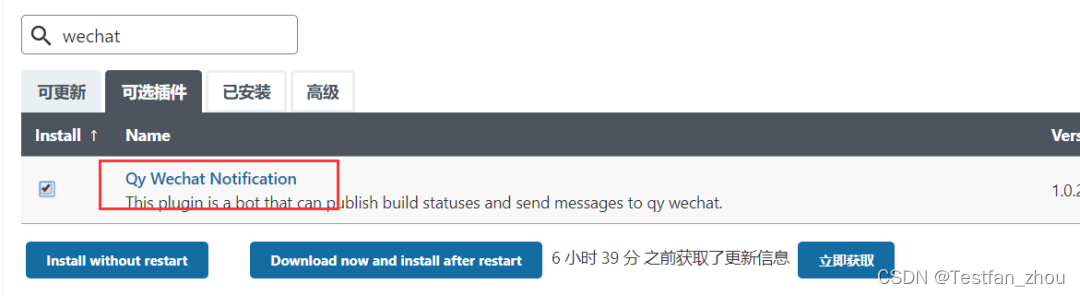
Install WeChat notification plugin
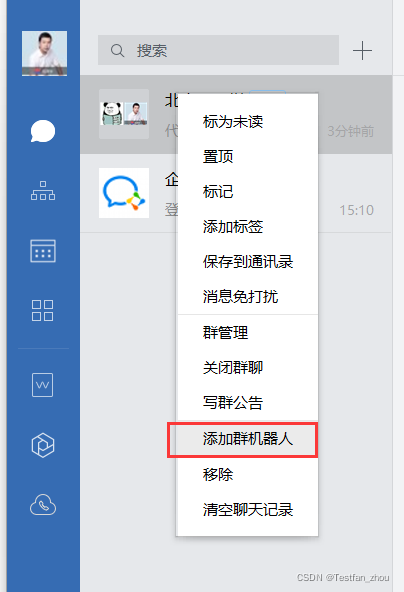
Log in to Enterprise WeChat and add a WeChat robot
1. Right-click on the group message and click Add Robot
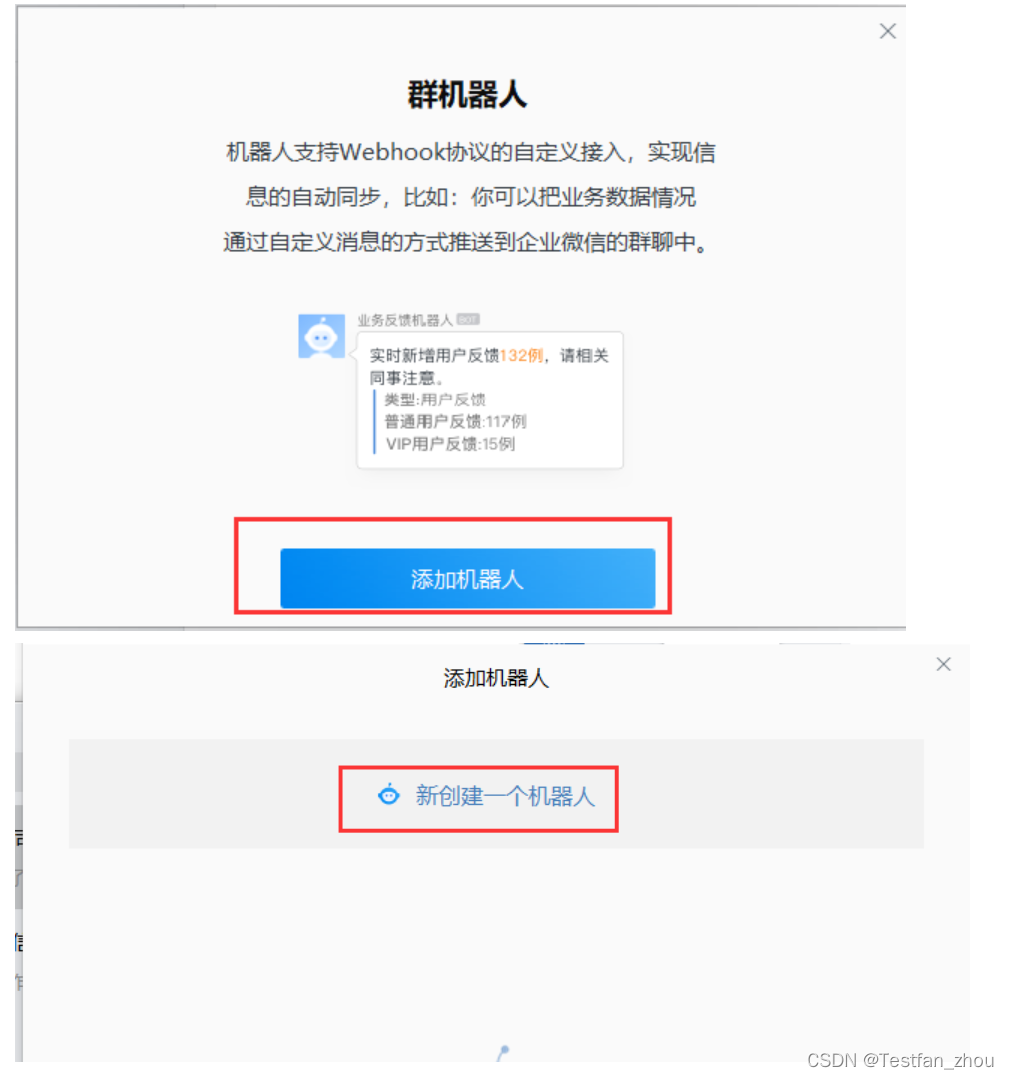
2. After clicking Add a robot, click New to create a robot
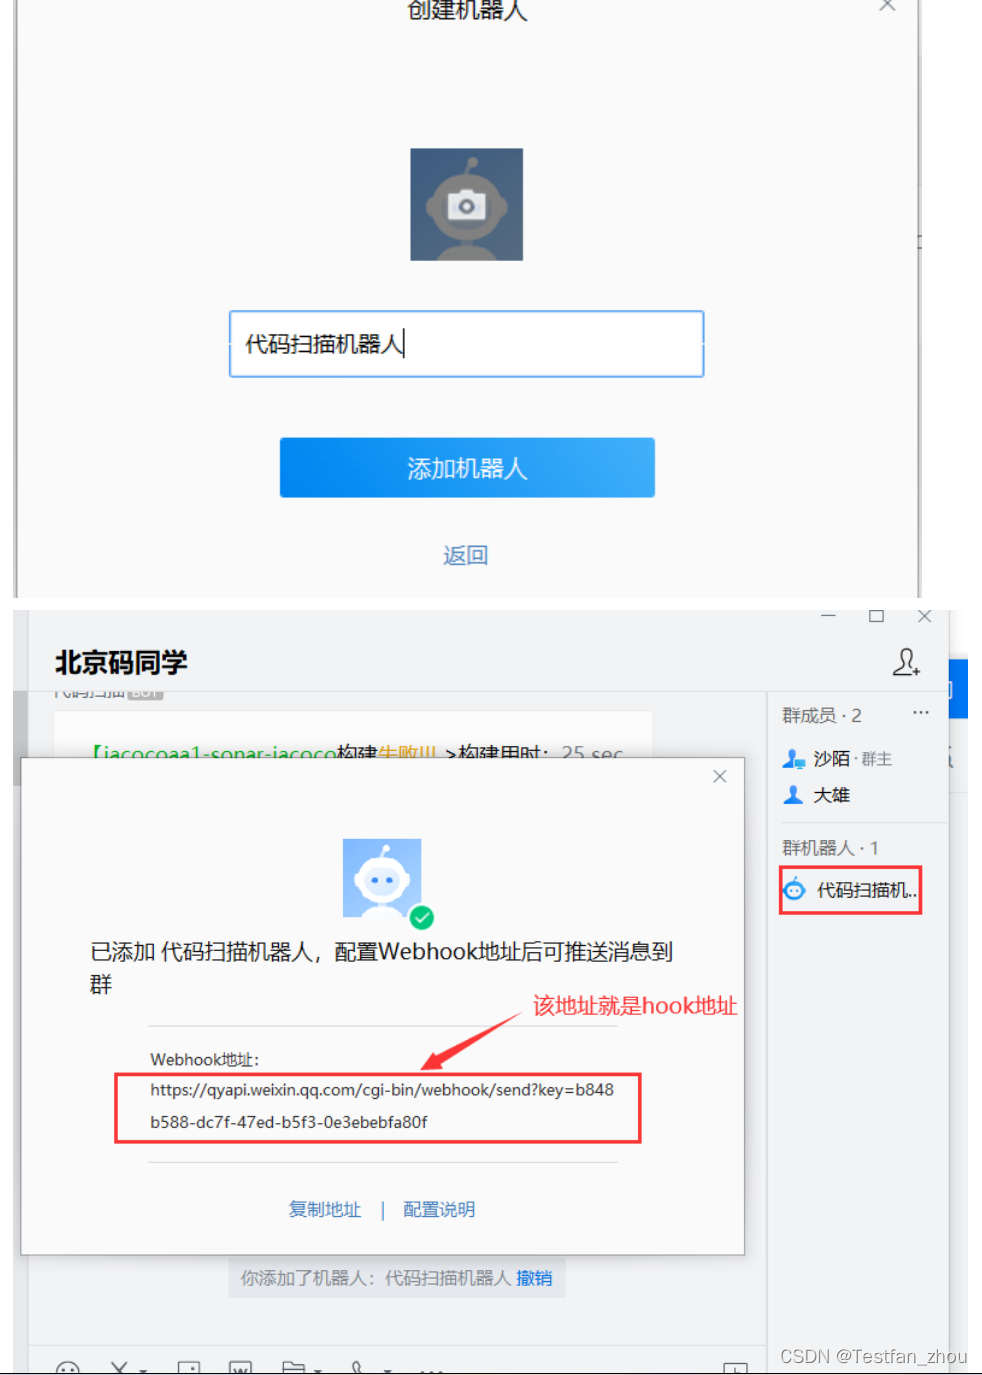
3. Enter the robot name and click Add
Jenkins task configuration WeChat notification
Enter the task configuration interface, pull to the bottom, and add enterprise WeChat notifications
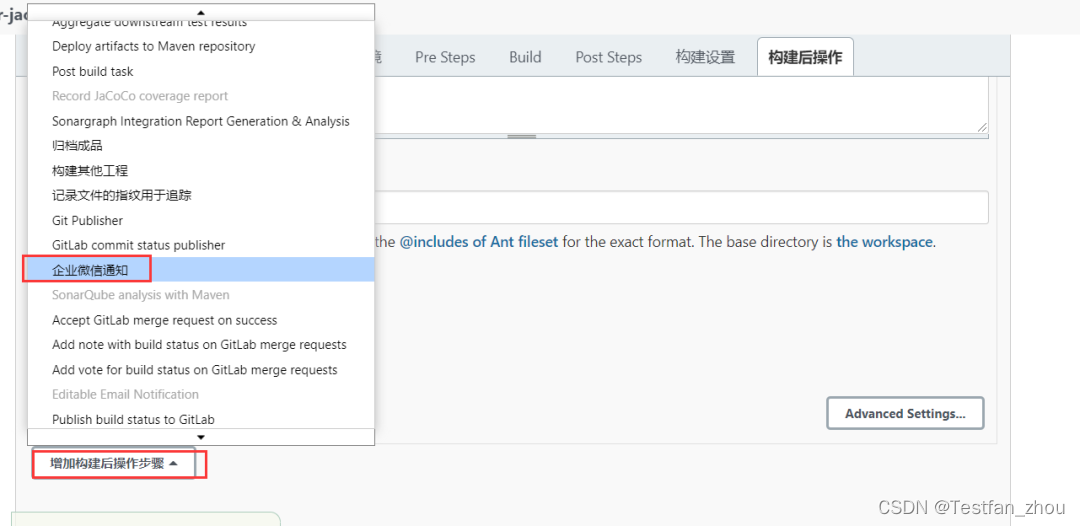
Do the following settings:

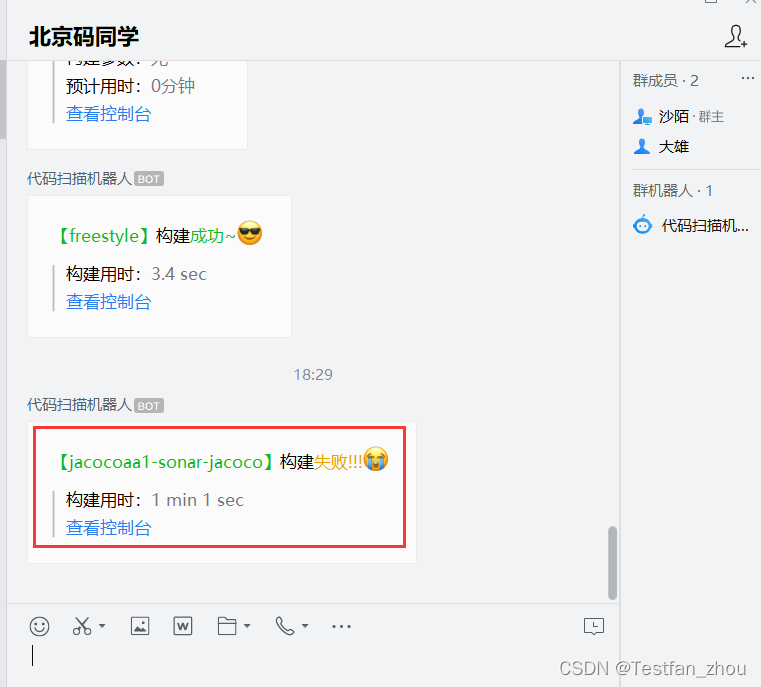
Perform tasks, and the enterprise WeChat group will receive a notification
04 Email Content Template
email template
 <div>

 <table width="95%" cellpadding="0" cellspacing="0"    style="font-size: 11pt; font-family: Tahoma, Arial, Helvetica, sans-serif">

 <tr>

    <th align="center" colspan="2"><br />
        <h2>构建信息</h2>

    </th>

 </tr>

   <tr>

     <td>

        <ul>

           <li>项目名称 :$PROJECT_NAME</li><br />

           <li>代码覆盖率报告:<a href=${BUILD_URL}jacoco target='_blank'>${BUILD_URL}jacoco</a></li><br />
           <li>sonar扫描报告:<a href=http://192.168.0.107:9000/dashboard?id=jacocoaa1${BUILD_NUMBER} target='_blank'>http://192.168.0.107:9000/dashboard?id=jacocoaa1${BUILD_NUMBER}</a></li><br />
           <li>详细测试日志 :<a href=${BUILD_URL}console target='_blank'>${BUILD_URL}console</a></li><br />
           <li>触发原因:${CAUSE}</li><br />
           <li>项目Url :<a href=‘$BUILD_URL’ target='_blank'>$BUILD_URL</a></li><br />
       </ul>

    </td>

    <td height="350px" style="overflow:hidden;display:block">${JELLY_SCRIPT,template="html"}<br/>
   </tr>

 </table>
How to know what built-in variables jenkins has? (remember to replace the ip with your own)
Address: http://192.168.0.108:8080/env-vars.html/
05 DingTalk and WeChat notification expansion
DingTalk can only be used in free-style projects, and WeChat notifications cannot customize the message content, so they are not perfect.
Then we can extend this part by customizing the script, and execute a certain script after the task is built to achieve our purpose. The following plugins are required to execute the script after the build

Familiar with DingTalk robot message interface
https://developers.dingtalk.com/document/robots/custom-robot-access
You can use the interface test tool to debug the interface first, and then write the script after the debugging is passed.
Edit the script in post build as follows:
#Access the result api of the current task and store the result in the result.json file
curl -u admin:123456 ${BUILD_URL}api/json>result.json
#Use awk to parse result.json and get the task execution result
result=$(awk -F ‘“result”:’ ‘{print $2}’ result.json|awk -F ‘[",]’ ‘{print $1$2}’)
echo ${result}
#Use awk to parse result.json and get the task executor
user=$(awk -F ‘“userName”:’ ‘{print $2}’ result.json|awk -F ‘[",]’ ‘{print $1$2}’)
echo ${user}
#Use curl to call Dingding's webhook address, and splicing task-related variables in the parameter text parameter
curl ‘https://oapi.dingtalk.com/robot/send?access_token=b23d3a9cf410a4f7b4b05b1e5fe73ead7f589aa92572bd367cbb919d46904c6b’ \
-H ‘Content-Type: application/json’ \
-d '{
    "msgtype": "markdown",

    "markdown": {

        "title":"dingding",

        "text": "#### '${JOB_NAME}'项目扫描任务  \n - 任务:第'${BUILD_NUMBER}'次\n - 状态:'${result}' \n - 执行人: '${user}' \n \n[查看控制台]('${BUILD_URL}')"

   },

   "at": {

       "atMobiles": [

       ],

       "atUserIds": [

       ],

       "isAtAll": false

  }
}’
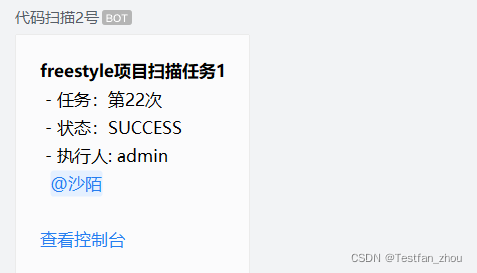
The final message received:
Familiar with the message interface of WeChat bot
Interface related information can be seen in the enterprise WeChat robot configuration interface
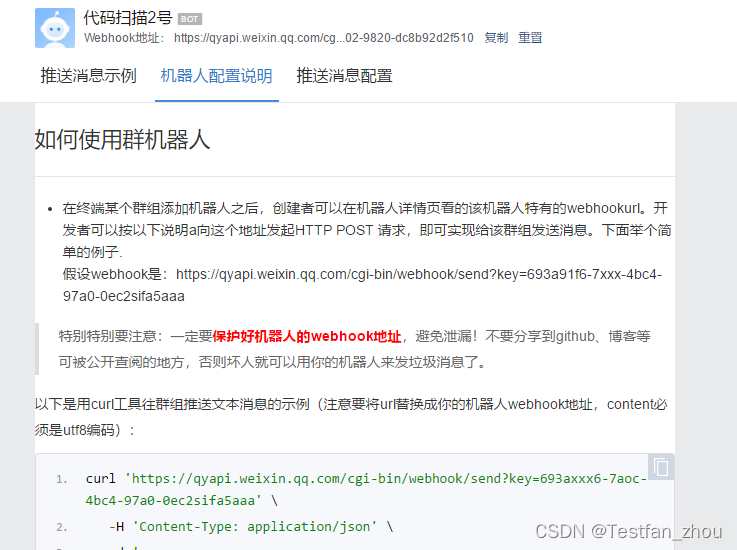
You can use the interface test tool to debug the interface first, and then write the script after the debugging is passed.
Edit the script in post build as follows:
#Access the result api of the current task and store the result in the result.json file
curl -u admin:123456 ${BUILD_URL}api/json>result.json
#Use awk to parse result.json and get the task execution result
result=$(awk -F ‘“result”:’ ‘{print $2}’ result.json|awk -F ‘[",]’ ‘{print $1$2}’)
echo ${result}
#Use awk to parse result.json and get the task executor
user=$(awk -F ‘“userName”:’ ‘{print $2}’ result.json|awk -F ‘[",]’ ‘{print $1$2}’)
echo ${user}
#Use curl to call WeChat's webhook address, and splicing task-related variables in the parameter content parameter
curl ‘https://qyapi.weixin.qq.com/cgi-bin/webhook/send?key=a2a30ae8-4c5f-4302-9820-dc8b92d2f510’ \
-H ‘Content-Type: application/json’ \
-d '{
     "msgtype": "markdown",

     "markdown": {

         "content": "#### '${JOB_NAME}'项目扫描任务1  \n - 任务:第'${BUILD_NUMBER}'次\n - 状态:'${result}' \n - 执行人: '${user}' \n <@沙陌> \n \n[查看控制台]('${BUILD_URL}') "

  }
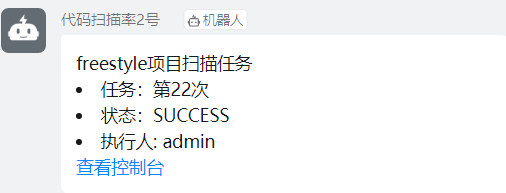
}’
The final message received: