Introduction
This article describes the first compilation and installation task after the Raspberry Pi 4B Raspberry Pi OS (64-bit) is started: Qt5 + GStreamer, which is also the preparation work before OpenCV compilation and installation, so: Start -> Qt5 + GStreamer -> The order of OpenCV cannot be wrong.
-
Install Qt5
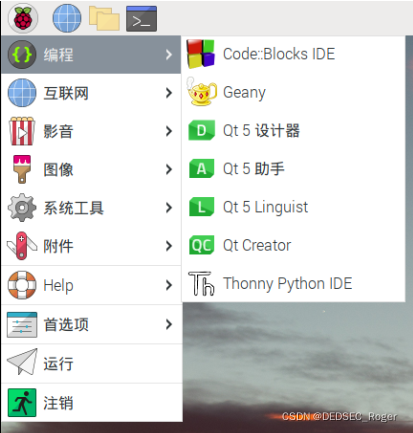
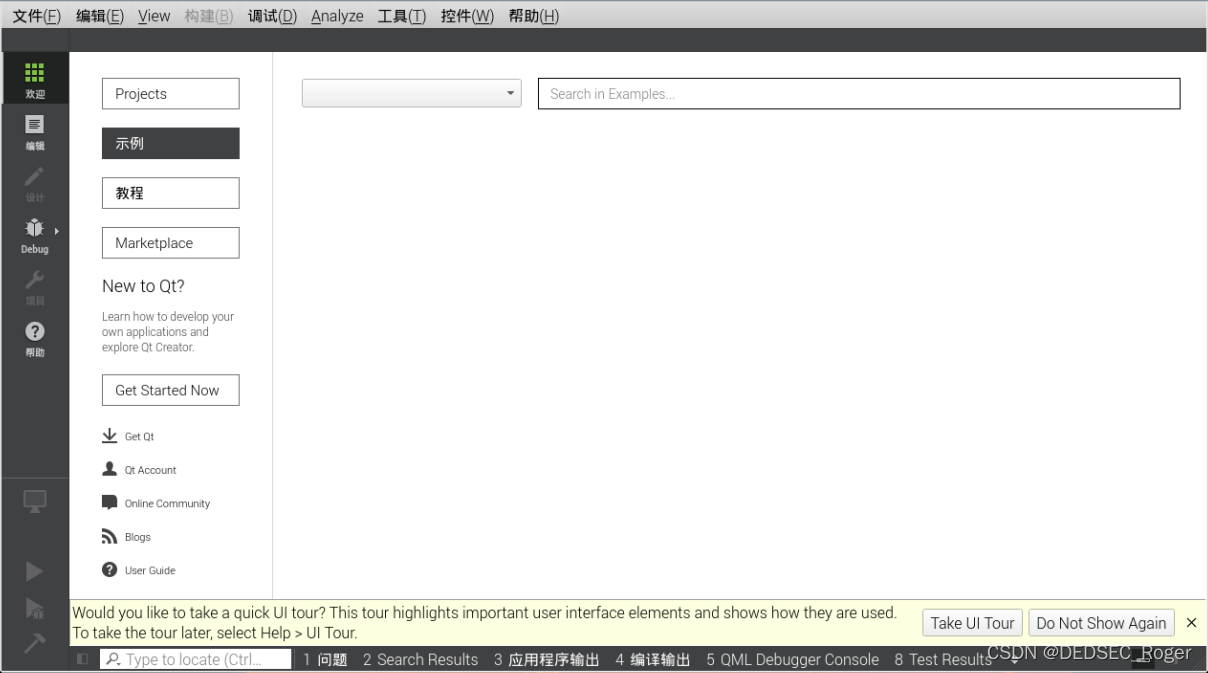
sudo apt-get update
sudo apt-get upgrade
sudo apt-get install clang qtbase5-dev qtchooser
sudo apt-get install qt5-qmake qtbase5-dev-tools
sudo apt-get install qtcreator
sudo apt-get install qtdeclarative5-dev
If all goes well, you should see the following welcome screen when starting Qt Creator.
-
Install GStreamer
-
install dependencies
sudo apt-get install libx264-dev libjpeg-dev -
Install remaining plugins
sudo apt-get install libgstreamer1.0-dev \ libgstreamer-plugins-base1.0-dev \ libgstreamer-plugins-bad1.0-dev \ gstreamer1.0-plugins-ugly \ gstreamer1.0-tools \ gstreamer1.0-gl \ gstreamer1.0-gtk3 # 如果安装了Qt5的话,安装接下来这个 sudo apt-get install gstreamer1.0-qt5 # 如果您想要使用音频,请安装 sudo apt-get install gstreamer1.0-pulseaudio -
Connect the camera to test it
gst-launch-1.0 videotestsrc ! videoconvert ! autovideosink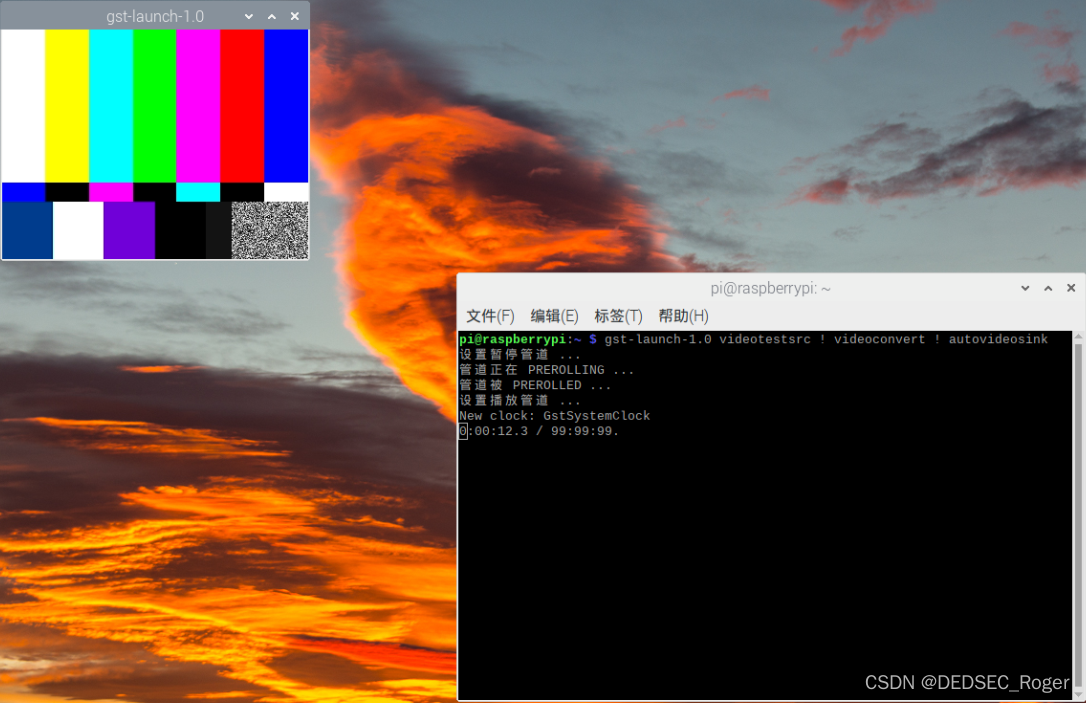
gst-launch-1.0 libcamerasrc ! video/x-raw, width=640, height=480, framerate=30/1 ! videoconvert ! videoscale ! clockoverlay time-format="%D %H:%M:%S" ! autovideosink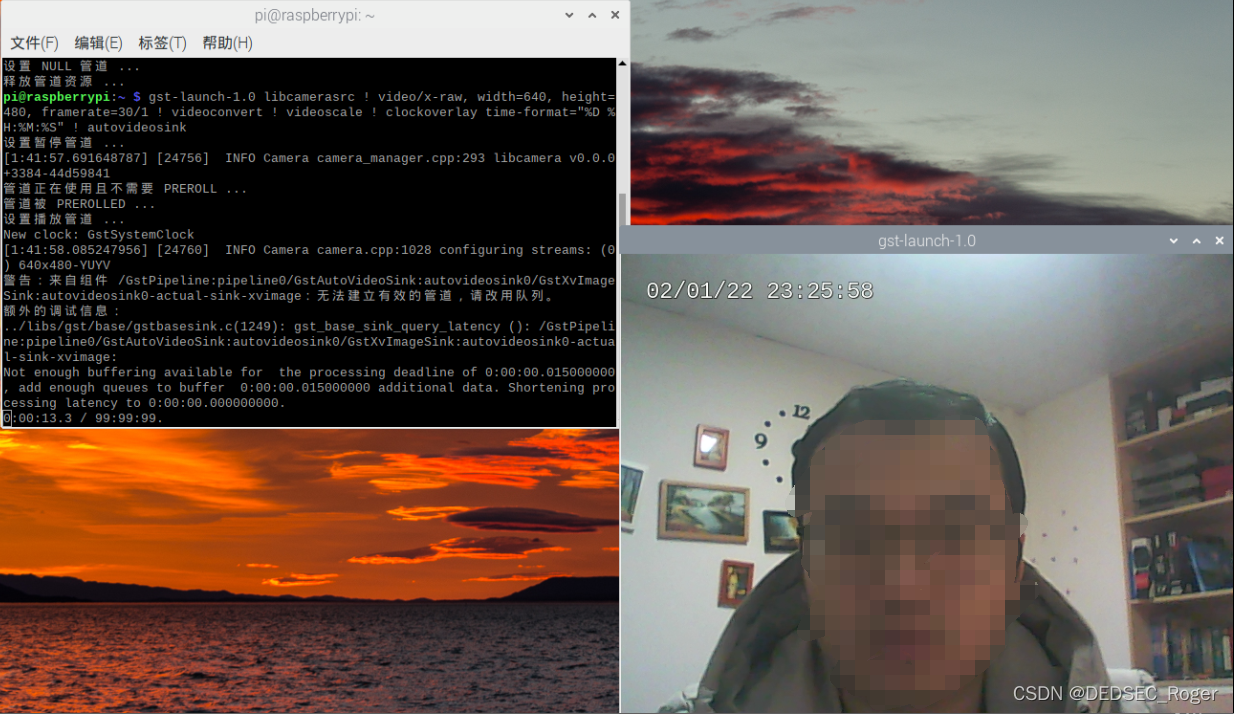
-
If the tests are successful, you can proceed to the next step: compile and install OpenCV