uni-app uni.request interface encapsulation
When I was working on the uni-app project today, I found that calling the background interface in the uni-app required a lot of repeated editing. I was wondering if I could encapsulate a Vue project like this.$axios.get(url,data).then (); format, which reduces a lot of code duplication! !
Encapsulated as this.$axios.get(url,data).then(); format
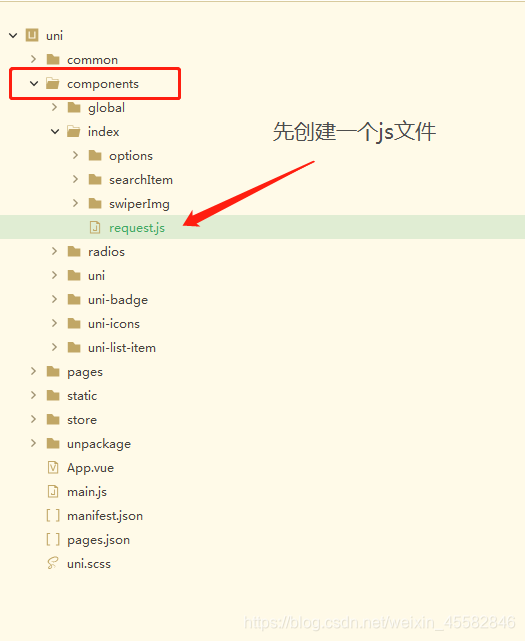
first step,
Let's first create a js file in the component part of the index home page;
second step,
We introduce the request.js file in the entry file of uni-app ;
mount it on the uni-app instance in the entry file;

third step,
Start interface encapsulation:
(The following is the js file code)
//先把接口暴露出去
export default{


	//我们先定一个uni-app方法 以便于以下操作使用uni-app调取接口时便利
	request(options){


		///我们使用Promise方法来实现调用接口时后面多个.then()的方法
		//只有Promise能实现如同$axios后面连续多个.then()的方法
	 	return new Promise((reslove,reject)=>{


			uni.request({


				...options,
				success:res=>{


					//判断我们在使用封装的自定义时第三个参数是否为native
					//当native为true时 我们返回原数据
					if(options.native){


						reslove(res)
					}
					//当native为false时 我们直接返回data中的数据
					if(res.statusCode === 200){


						reslove(res.data)
					}else{


						//加入接口参数错误或接口地址错误时 我们返回原错误提示
						reject(res)
					}
				}
			})
		})
	},
	//在方法中 第二个参数和第三个参数用ES6新语法来添加默认值
	//接口调取get方法
	get(url,data={

    },options={

    }){


		//我们把传过来的参数赋给options,这样我们在使用uni-app
		//this.request()方法时 传递一个参数就可以
		options.url = url;
		options.data = data;
		options.method = 'get';
		//调用上面自己定义的this.request()方法传递参数
		return this.request(options)
	},
	//接口调取post方法
	post(url,data={

    },options={

    }){


		options.url = url;
		options.data = data;
		options.method = 'post';
		return this.request(options)
	}
}
In this way, we have completed the packaging, and the next step is to use it in the page!
the fourth step,
We can call the packaged custom events in the page
Example 1:
Personally, I suggest using the ES6 new syntax arrow function, otherwise it is too troublesome to re-declare the definition outside to use this, and it will be much more convenient to use the arrow function
			// 已封装好的接口方法
			//本案例调取接口时 没有参数上传 直接调用的
			//这样使用方法时只传递了一个参数,也就是接口地址
			//第二个参数没有写,默认为空;假如有参数的话 可以直接填写
			//后面的参数都为接口内已经定义好的默认值:{}空对象
			//里面的res为接口返回数据中的data里面的内容
			this.$H.get('/api/getIndexCarousel.jsp').then(res=>{


				//res打印出来是接口返回数据中data里面的数据
				console.log(res)
				//赋给数据区的变量,方便本页面使用
				this.swiperData = res
			});
example two,
			// 已封装好的接口方法
			//本案例使用时 传递了三个参数
			//第一个为:接口地址
			//第二个为:调取接口传递的参数,方法使用时不用传参,写空对象就好
			//第三个为:自定义事件中 native 的属性 若为true 则返回原数据
			//若想返回原数据,必须要填写第二个参数,若没有参数,也要写空对象
			//因为方法调用时 是按照传参顺序调用的,若不写 参数传递就会出错
			this.$H.get('/api/getIndexCarousel.jsp',{

    },{


				native:true
			}).then(res=>{


				//res打印出来的数据是接口返回来的原数据
				console.log(res)
				//赋给数据区的变量,方便本页面使用
				this.swiperData = res
			});