k210 C language development-4
Let’s upload the result picture first, I wish everyone a happy new year! The original video of
station B. The full code is at the end of the article.
The day before yesterday, I accidentally saw an event on CSDN. I saw that as long as it was related to fireworks, I was going to use k210 to play a video of fireworks. As a result, after I finished the whole thing, I found that this activity is to use code to realize the fireworks, and the text is wrong. . . Well, let's record the process.
The general idea is to convert the video file into a binary file and put it in the SD card, and then the microcontroller reads it and plays it on the LCD. It has been realized that k210 uses LCD and sd card
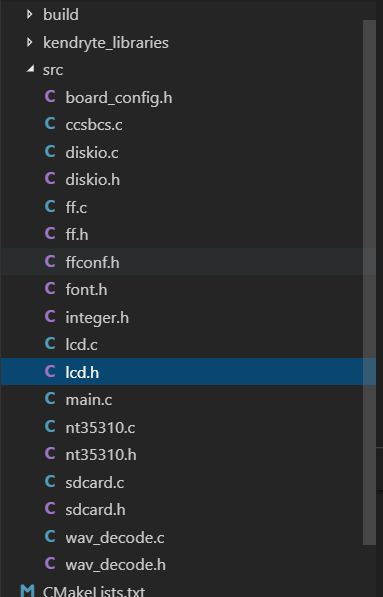
before . In the same way, first integrate the required files: I found the spi0 interface used by the original LCD and SD card. So I need to change the interface in the code. K210 has FPIOA (Field Programmable IO Array), we can map 255 internal functions to 48 free IOs on the periphery of the chip. So we can change the function of some pins. For example, the original SD card is connected to spi0, but now it can be changed to spi1.
void io_mux_init(void) {


  fpioa_set_function(27, FUNC_SPI1_SCLK);
  fpioa_set_function(26, FUNC_SPI1_D1);
  fpioa_set_function(28, FUNC_SPI1_D0);
  fpioa_set_function(29, FUNC_SPI1_SS3);
}
Also, the spi0 that was originally called should be changed to 1.

These are all in a sdcard.c file, just replace all SPI_DEVICE_0 with SPI_DEVICE_1.
Then test it, it can output normally.
Now it is to convert a picture into a bin file and put it in the sd card, and then read the bin file and display it on the LCD.
I used this image for testing. I think clear colors can make it easier to see some problems. The

modeling software uses Image2Lcd, which is very full-featured.
Open the picture, select binary as the output data type, select 16-bit true color as the output gray scale, and then select the output shape according to the screen size, and the shape of the input and output images is displayed at the bottom of the software.
The way of scanning is very important, I have repeated it several times here.
First of all, I made sure that the input scanning direction of my screen in the direction of DIR_XY_LRDU is like this:

so the direction of my image modulo should also be in this order. The software Image2Lcd shows the scanning mode under the current setting on the upper left.
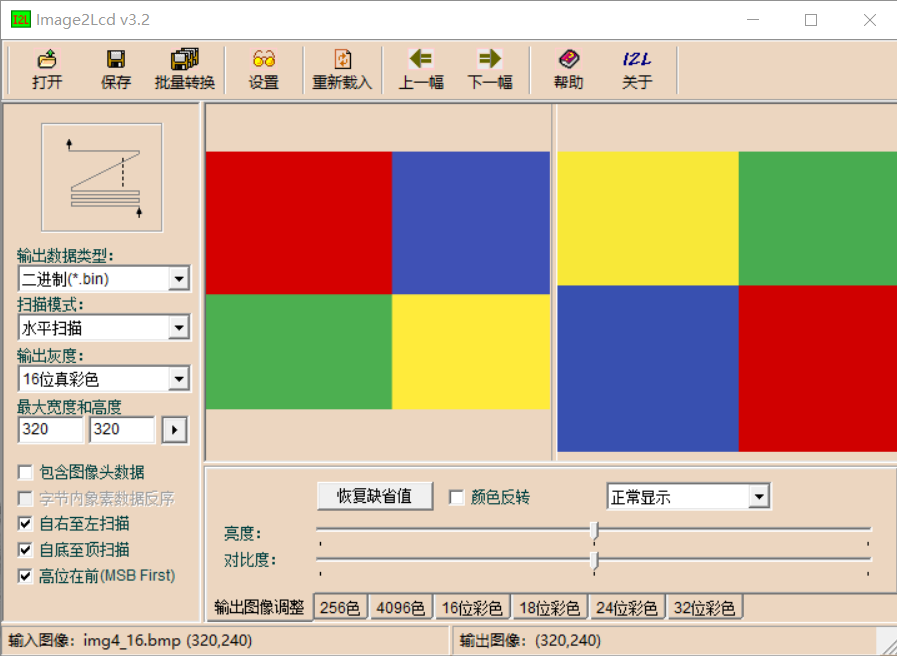
Be careful not to include images. Header data, which is convenient for us to read.
Use a card reader to put the converted bin file into the SD card.
Use f_read() to read, under 16-bit true color, each pixel is represented by 2 bytes, so the total number of bytes is 320 240 2=153,600.
ret = f_read(&file, (void *)v_buf, 320 * 240 * 2, &v_ret_len);
Then I looked at the LCD display picture function in the library, and found that it actually asked me to put an array of type uint32_t
void lcd_draw_picture(uint16_t x1, uint16_t y1, uint16_t width, uint16_t height,
                      uint32_t *ptr) {


  lcd_set_area(x1, y1, x1 + width - 1, y1 + height - 1);
  tft_write_word(ptr, width * height / 2, lcd_ctl.mode ? 2 : 0);
}
But this small screen only needs uint16_t for one pixel.
Later I found out that it uses one uint32_t to display two pixels. I don't understand why it is designed this way, but anyway, I have to convert the uint8_t directly, so it doesn't matter.
So now it is to put 4 bytes into a uint32_t to display two pixels.
      for (int n = 0; n < 320 * 240 / 2; n++) {


        img_buf[n] = (v_buf[4 * n] << 24) | (v_buf[4 * n + 1] << 16) |
                     (v_buf[4 * n + 2] << 8) | v_buf[4 * n + 3];
      }
Then
lcd_draw_picture(0, 0, 240, 320, img_buf);
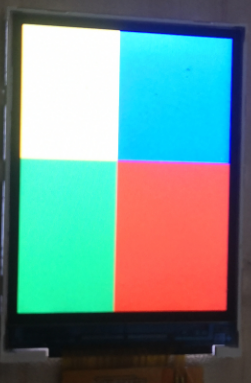
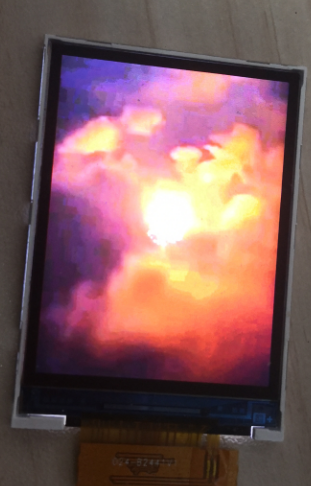
This picture is wrong because the scanning direction was not adjusted at that time.
Now it is basically more than half successful. In theory, playing pictures in a loop is a video.
Download the video from station B, and up gave the link of Baidu Netdisk in the comment area. If you think the download speed is slow, check the oil monkey plug-in and IDM.
Then there is video conversion and cropping. These online conversion tools are available on Baidu.
After the whole thing is like this:
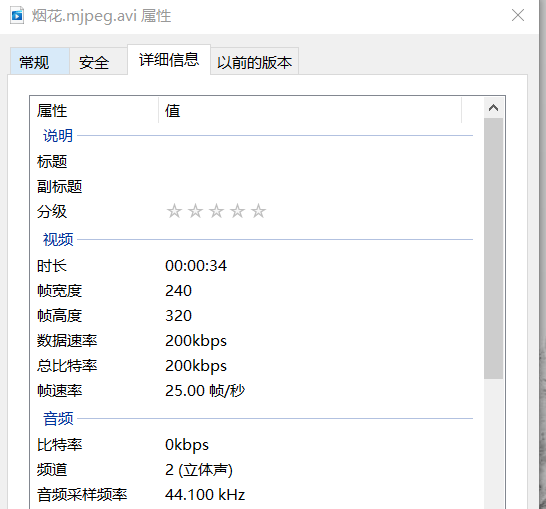
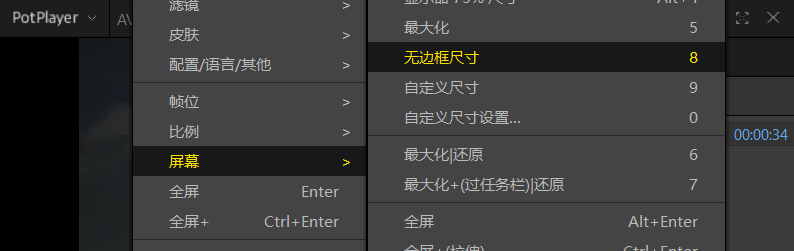
put this in PotPlayer to get the picture of each frame.
First set to borderless size
and then select continuous screenshots:
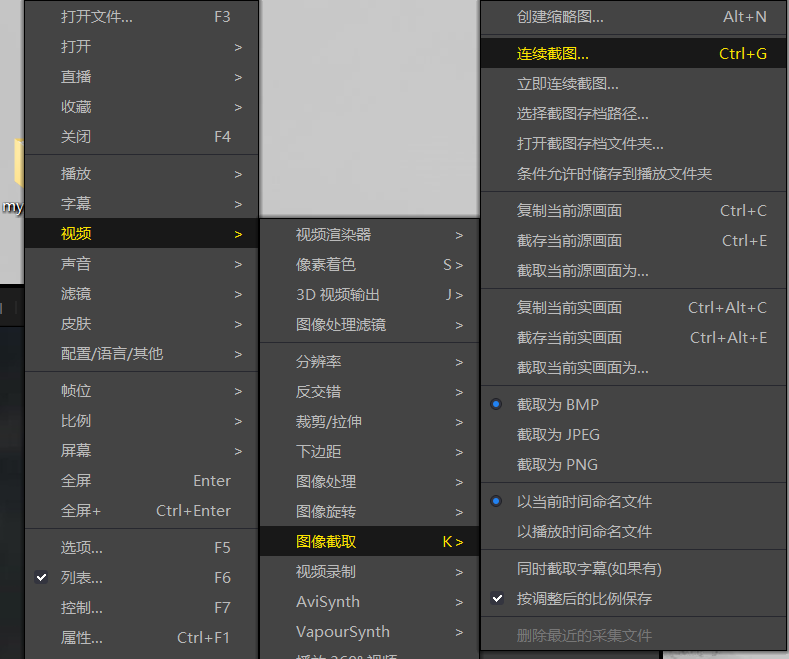
select the method of screenshots, frame rate
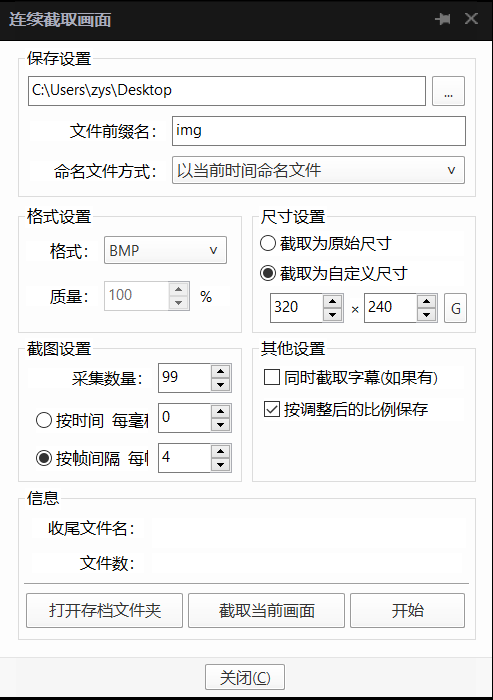
Note that since the picture is obtained by taking a screenshot, it must be borderless and the video must be in the playing state when clicking to start.
Then I got a folder with a lot of frame images.
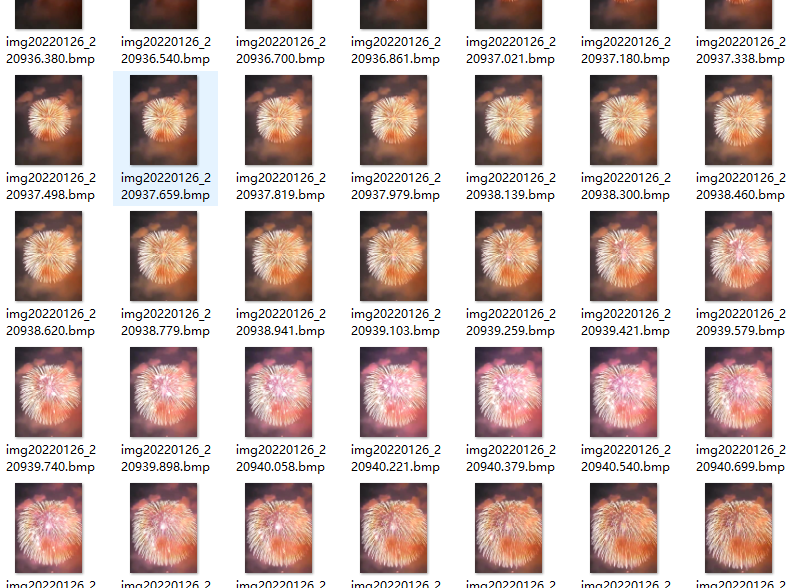
Take a picture and display it to try:
not bad, and then use Image2Lcd to take models in batches, and the files after taking the models are placed in the folder of frame images.
After clicking, there are many bin files, we need to merge them into one bin file.
There are many ways, I use the cat command of linux.
Under WSL, cd to the bin folder
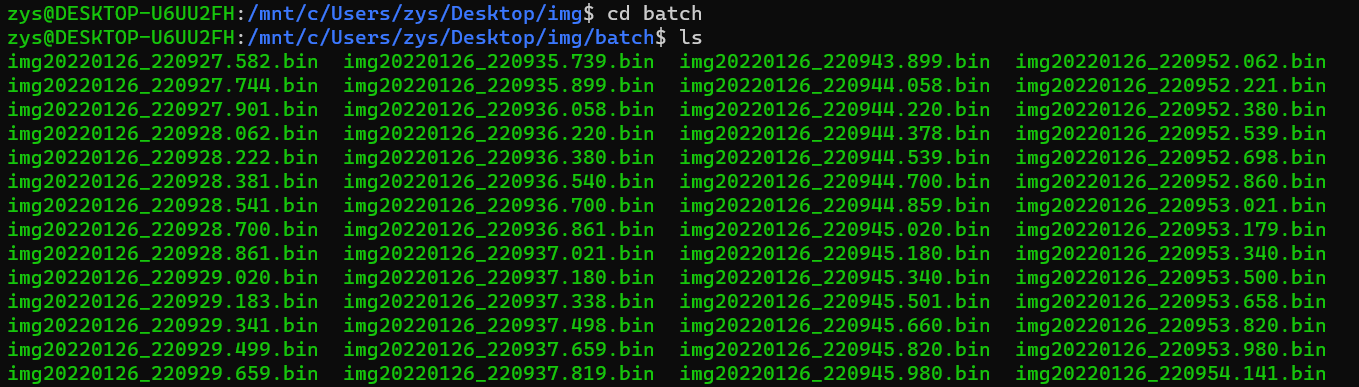
and use the cat command to synthesize it.

Now the vedio.bin file is all the data of this video.
The display of a picture has been realized before, and now it is a matter of a for loop
for (uint32_t i = v_fileinfo.fsize / (320 * 240 * 2); i > 0; i--) {


      ret = f_read(&file, (void *)v_buf, 320 * 240 * 2, &v_ret_len);
      if (ret != FR_OK) {


        printf("Read %s err[%d]\n", path, ret);
      } else {


        // printf("Read :> %d %d bytes lenth\n", v_buf, v_ret_len);
      }

      for (int n = 0; n < 320 * 120; n++) {


        img_buf[n] = (v_buf[4 * n] << 24) | (v_buf[4 * n + 1] << 16) |
                     (v_buf[4 * n + 2] << 8) | v_buf[4 * n + 3];
      }

      lcd_draw_picture(0, 0, 240, 320, img_buf);
      // 加地址偏移
      img_offset += 320 * 240 * 2;
      ret = f_lseek(&file, img_offset);

      if (ret != FR_OK) return -3;
      // printf("%d\n", v_buf[0]);
      // printf("%d\n", v_buf[1]);
      // printf("%d\n", img_buf[0]);
      // printf("%d\n", img_buf[70100]);
    }
You're done.
Finally put the complete code: 0 credits set by the code , you should be able to download it directly.