Vue2.0+SpringBoot+SpringSecurity connected to UEditor
1. Introduce UEditor+ front-end configuration
1. Download
Link: https://github.com/fex-team/ueditor/releases/tag/v1.4.3.3
Pay attention to download the JSP version

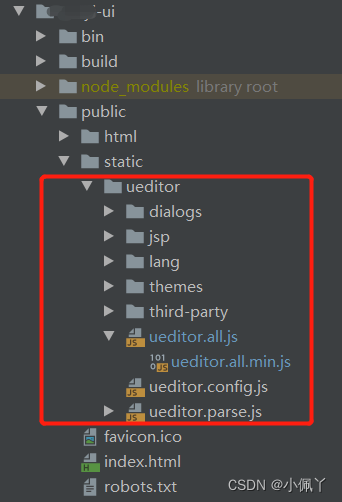
2. Put it into the project
, unzip the file, utf8-jspcopy the file to the front-end project XX\public\static, and utf8-jspchange the folder name to ueditor
3. Install vue-ueditor-wrap
and execute the command in the Terminal (terminal):npm i vue-ueditor-wrap
4. main.js introduces vue-ueditor-wrap
//Ueditor富文本框组件
import VueUeditorWrap from 'vue-ueditor-wrap'
import '../public/static/UEditor/ueditor.config.js'
import '../public/static/UEditor/ueditor.parse.min.js'
import '../public/static/UEditor/ueditor.all.min.js'
import '../public/static/UEditor/lang/zh-cn/zh-cn.js'
And mount it globally
Vue.component('vue-ueditor-wrap', VueUeditorWrap)
5. Configuration in the .env.development file
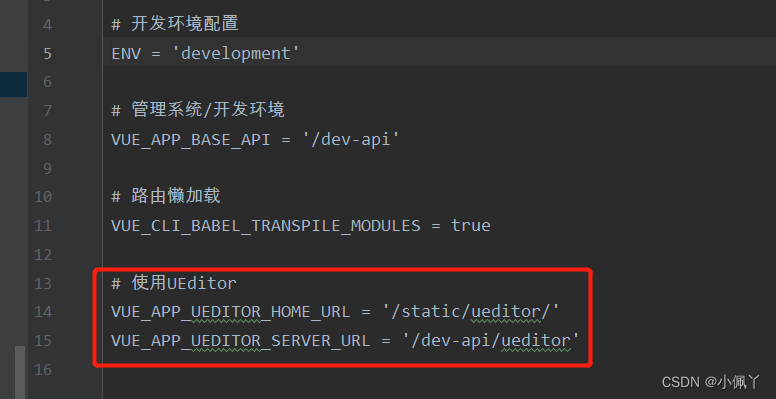
#使用UEditor
VUE_APP_UEDITOR_HOME_URL = '/static/ueditor/'
VUE_APP_UEDITOR_SERVER_URL = '/dev-api/ueditor'
6. The front-end test page uses Ueditor
<template>
  <div class="app-container home">
    <vue-ueditor-wrap v-model="myModel" :config="myConfig"></vue-ueditor-wrap>
  </div>
</template>

<script>

export default {


  name: "Index",
  data() {


    return {


      myModel: '我是渲染字段',
      myConfig: {


        // 编辑器不自动被内容撑高
        autoHeightEnabled: false,
        // 初始容器高度
        initialFrameHeight: 450,
        // 初始容器宽度
        initialFrameWidth: '100%',
        // 这里的serverUrl,UEDITOR_HOME_URL用到的值就是在环境配置文件中统一设置的
        serverUrl: process.env.VUE_APP_UEDITOR_SERVER_URL,
        // serverUrl: "http://localhost:80/ueditor",
        UEDITOR_HOME_URL: process.env.VUE_APP_UEDITOR_HOME_URL
      },
    };
  },
  methods: {


  },
};
</script>
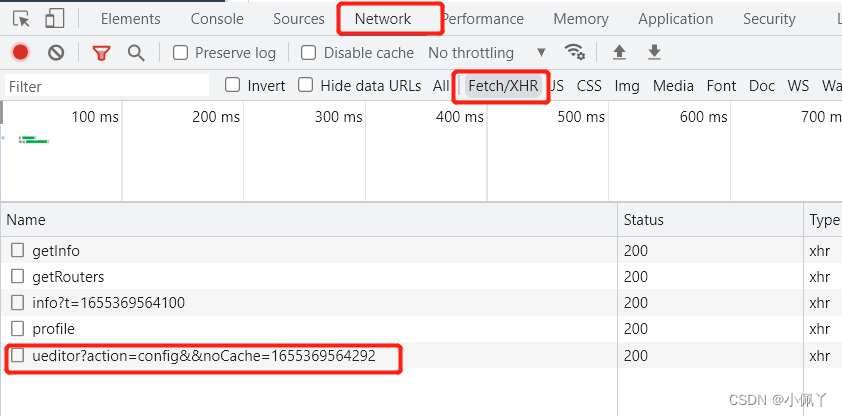
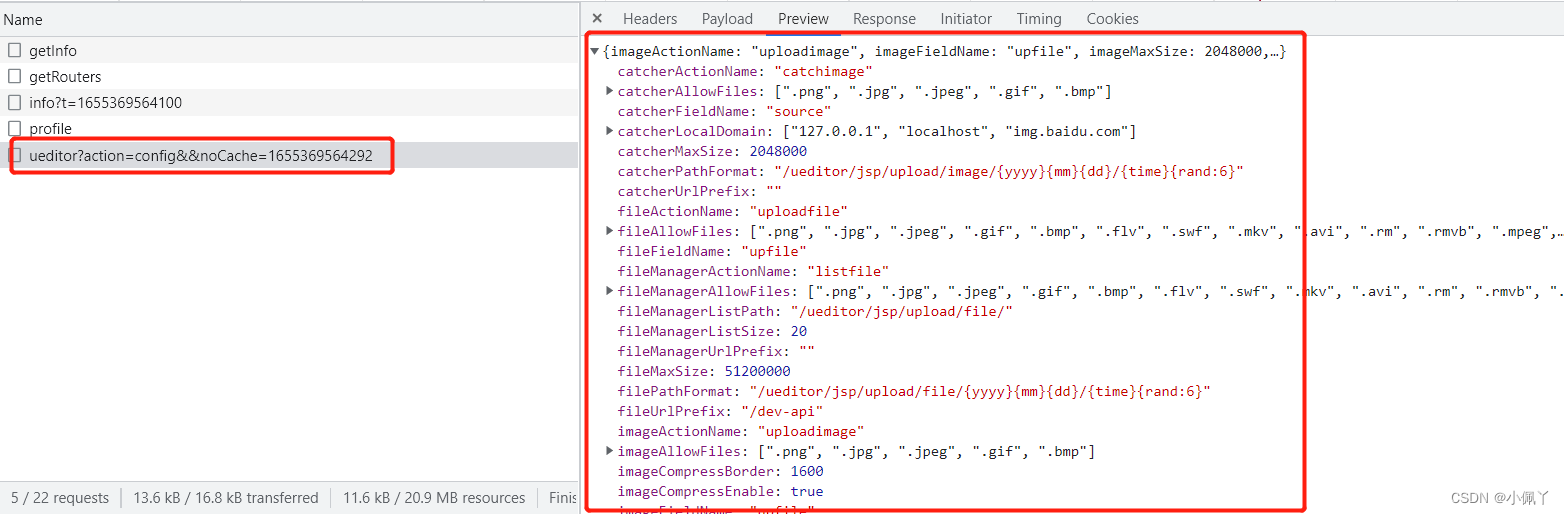
So far, the test page has been able to appear as a rich text box, but the uploaded attachment is still unavailable, and the console will report “后端配置项没有正常加载,上传插件不能正常使用”an error.
It is not difficult to see from the Network that the first step of ueditor is to request the config file from the backend, and its parameter is action=config.
So we also need to return config.jsonthe file to ueditor from the backend, which is the configuration file of ueditor.
2. Backend modification
1. Add dependencies to pom.xml
<dependency>
    <groupId>commons-codec</groupId>
    <artifactId>commons-codec</artifactId>
    <version>${commons.codec.version}</version>
</dependency>
<dependency>
    <groupId>commons-io</groupId>
    <artifactId>commons-io</artifactId>
    <version>2.4</version>
</dependency>
<dependency>
    <groupId>commons-io</groupId>
    <artifactId>commons-io</artifactId>
    <version>2.4</version>
</dependency>
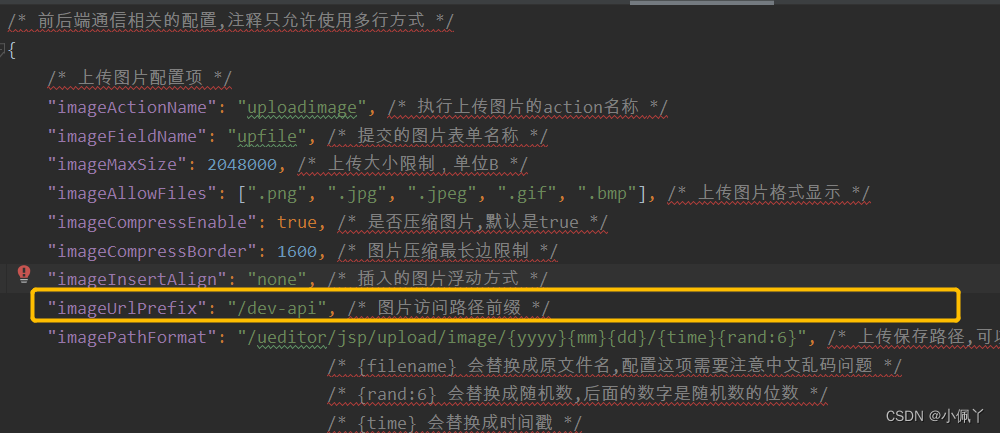
2. Copy config.json to the resource directory and
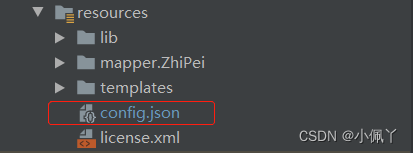
modify the access path prefix imageUrlPrefix, videoUrlPrefix, fileUrlPrefixto"/dev-api"
3. Upload the address in the application.yml configuration file

editorUpload:
  profile: D:/myProject/uploadPath
4. Create a new UeditorControllerclass
in the Controller layer . The content is as follows:
import com.XXX.Ret;
import org.apache.commons.io.FileUtils;
import org.springframework.util.Assert;
import org.springframework.web.bind.annotation.*;
import org.springframework.web.multipart.MultipartFile;

import javax.servlet.ServletOutputStream;
import javax.servlet.http.HttpServletResponse;
import java.io.*;
import java.net.URL;
import java.util.UUID;

@RestController
@RequestMapping("/ueditor")
public class UeditorController {


	@Value("${editorUpload.profile}")
    private String profile;

    private static final String CONFIG = "config";
    private static final String UPLOAD_IMAGE = "uploadimage";
    private static final String UPLOAD_VIDEO = "uploadvideo";
    private static final String UPLOAD_FILE = "uploadfile";
    private static final String CONFIG_PATH = "config.json";
    private static final String SAVE_IMAGEPATH = profile + "\\image\\";
    private static final String SAVE_VIDEOPATH = profile + "\\video\\";
    private static final String SAVE_FILEPATH = profile + "\\file\\";

    /**
     * 富文本server地址
     *
     * @param
     * @return
     * @throws
     */
    @RequestMapping
    public String ueditor(@RequestParam("action") String action, MultipartFile upfile) throws IOException {


        // Check action
        Assert.notNull(action, "Request api:[/ue] param:[action] is null");
        // Request action route
        switch (action) {


            case CONFIG:
                return readConfig();
            case UPLOAD_IMAGE:
                // Image save to local
                String suffix_image = upfile.getOriginalFilename().substring(upfile.getOriginalFilename().lastIndexOf('.'));
                StringBuffer filename_image = new StringBuffer().append(UUID.randomUUID()).append(suffix_image);
                FileUtils.copyInputStreamToFile(upfile.getInputStream(), new File(SAVE_IMAGEPATH + filename_image.toString()));
                return new Ret(upfile.getOriginalFilename(),
                        String.valueOf(upfile.getSize()),
                        filename_image.toString(), suffix_image,
                        "/image/"+filename_image.toString()).toJsonString();
            case UPLOAD_VIDEO:
                // Video save to local
                String suffix_video = upfile.getOriginalFilename().substring(upfile.getOriginalFilename().lastIndexOf('.'));
                StringBuffer filename_video = new StringBuffer().append(UUID.randomUUID()).append(suffix_video);
                FileUtils.copyInputStreamToFile(upfile.getInputStream(), new File(SAVE_VIDEOPATH + filename_video.toString()));
                return new Ret(upfile.getOriginalFilename(),
                        String.valueOf(upfile.getSize()),
                        filename_video.toString(), suffix_video,
                        "/video/"+filename_video.toString()).toJsonString();
            case UPLOAD_FILE:
                // File save to local
                String suffix_file = upfile.getOriginalFilename().substring(upfile.getOriginalFilename().lastIndexOf('.'));
                StringBuffer filename_file = new StringBuffer().append(UUID.randomUUID()).append(suffix_file);
                FileUtils.copyInputStreamToFile(upfile.getInputStream(), new File(SAVE_FILEPATH + filename_file.toString()));
                return new Ret(upfile.getOriginalFilename(),
                        String.valueOf(upfile.getSize()),
                        filename_file.toString(), suffix_file,
                        "/file/"+filename_file.toString()).toJsonString();
            default:
                throw new IllegalStateException("Request api:[/ue] param:[action] mismatching");
        }
    }

    /**
     * 图片读取地址
     *
     * @param
     * @return
     * @throws
     */
    @GetMapping("/image/{name}")
    public void previewImage(@PathVariable String name, HttpServletResponse response) {


        this.readImage(name, response);
    }
    /**
     * 视频读取地址
     *
     * @param
     * @return
     * @throws
     */
    @GetMapping("/video/{name}")
    public void previewVideo(@PathVariable String name, HttpServletResponse response) {


        this.readVideo(name, response);
    }
    /**
     * 视频读取地址
     *
     * @param
     * @return
     * @throws
     */
    @GetMapping("/file/{name}")
    public void previewFile(@PathVariable String name, HttpServletResponse response) {


        this.readFile(name, response);
    }

    /**
     * 读取配置信息
     *
     * @return String
     * @throws throws IOException
     */
    private String readConfig() throws IOException {


        StringBuffer sb = new StringBuffer();
        URL resource = UeditorController.class.getClassLoader().getResource(CONFIG_PATH);
        BufferedReader bufferedReader = new BufferedReader(new FileReader(resource.getPath()));
        while (bufferedReader.ready()) {


            sb.append(bufferedReader.readLine());
        }
        // 字符串过滤(过滤注释信息、空格)
        String config = sb.toString().replaceAll("/\\*[\\s\\S]*?\\*/", "").replace(" ", "");
        return config;
    }

    /**
     * 读取图片(读取本地图片)
     *
     * @param name     图片名
     * @param response 响应对象
     */
    private void readImage(String name, HttpServletResponse response) {


        OutPutStream(response, name, SAVE_IMAGEPATH);
    }
    /**
     * 读取视频(读取本地视频)
     *
     * @param name     视频名
     * @param response 响应对象
     */
    private void readVideo(String name, HttpServletResponse response) {


        OutPutStream(response, name, SAVE_VIDEOPATH);
    }

    /**
     * 读取文件(读取本地文件)
     *
     * @param name     文件名
     * @param response 响应对象
     */
    private void readFile(String name, HttpServletResponse response) {


        OutPutStream(response, name, SAVE_FILEPATH);
    }

    private void OutPutStream(HttpServletResponse response, String name, String savePath) {


        try (ServletOutputStream outputStream = response.getOutputStream();
             InputStream inputStream = new FileInputStream(savePath + name)) {


            // Read IO Write outputStream
            byte[] buffer = new byte[4096];
            int count;
            while ((count = inputStream.read(buffer)) > 0) {


                outputStream.write(buffer, 0, count);
            }
            outputStream.flush();
        } catch (Exception e) {


            e.printStackTrace();
        }
    }

}
5. Create a new class in domainthe layerRet
import com.alibaba.fastjson2.JSON;
import java.io.Serializable;

/***
 * 图片上传成功响应类
 */
public class Ret {


    private String state;

    private String original;

    private String size;

    private String title;

    private String type;

    private String url;

    public Ret(String original, String size, String title, String type, String url) {


        this.state = "SUCCESS";
        this.original = original;
        this.size = size;
        this.title = title;
        this.type = type;
        this.url = url;
    }

    public String toJsonString() {


        return JSON.toJSONString(this);
    }

    public String getState() {


        return state;
    }

    public void setState(String state) {


        this.state = state;
    }

    public String getOriginal() {


        return original;
    }

    public void setOriginal(String original) {


        this.original = original;
    }

    public String getSize() {


        return size;
    }

    public void setSize(String size) {


        this.size = size;
    }

    public String getTitle() {


        return title;
    }

    public void setTitle(String title) {


        this.title = title;
    }

    public String getType() {


        return type;
    }

    public void setType(String type) {


        this.type = type;
    }

    public String getUrl() {


        return url;
    }

    public void setUrl(String url) {


        this.url = url;
    }
}
So far, if your project is not used SpringSecurity, or does not need to be carried tokento make a request, you can go to this step.
3. Combining Spring Security to carry token or bypass security restrictions on requests
(1) Add token to the request of the config.json file
1. Modify ueditor.all.js
The principle is to obtain the token, and then assign it to the request header of ajax.
(Here my token is stored in the cookie in the form of "Admin-Token", so it is directly obtained from the cookie. You can modify it according to the actual project situation.)
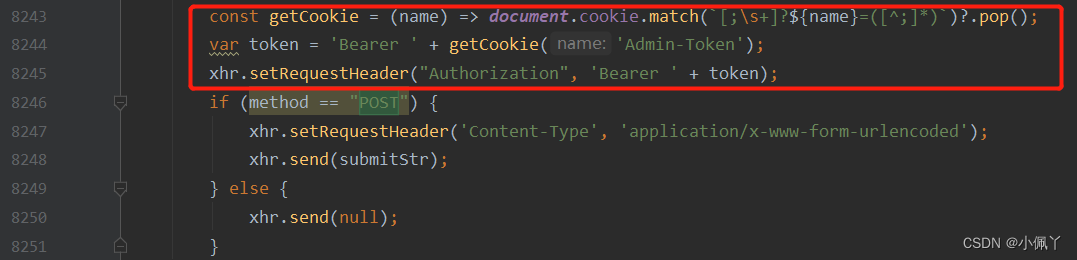
const getCookie = (name) => document.cookie.match(`[;\s+]?${

      name}=([^;]*)`)?.pop();
var token = 'Bearer ' + getCookie('Admin-Token');
xhr.setRequestHeader("Authorization", 'Bearer ' + token);
2. Compressed into ueditor.all.min.js
Note that what we main.jsintroduced is ueditor.all.min.js, so only modification ueditor.all.jscannot take effect, and the modified file needs to be compressed into min.js.
(Some people directly refer to ueditor.all.js in main.js. You can try it. Anyway, mine will report an error.)
The compression tool is used here:uglifyjs
①Installation:
npm install uglify-js
②Enter the directory of ueditor and execute the command:
uglifyjs ueditor.all.js -m -o ueditor.all.min.js
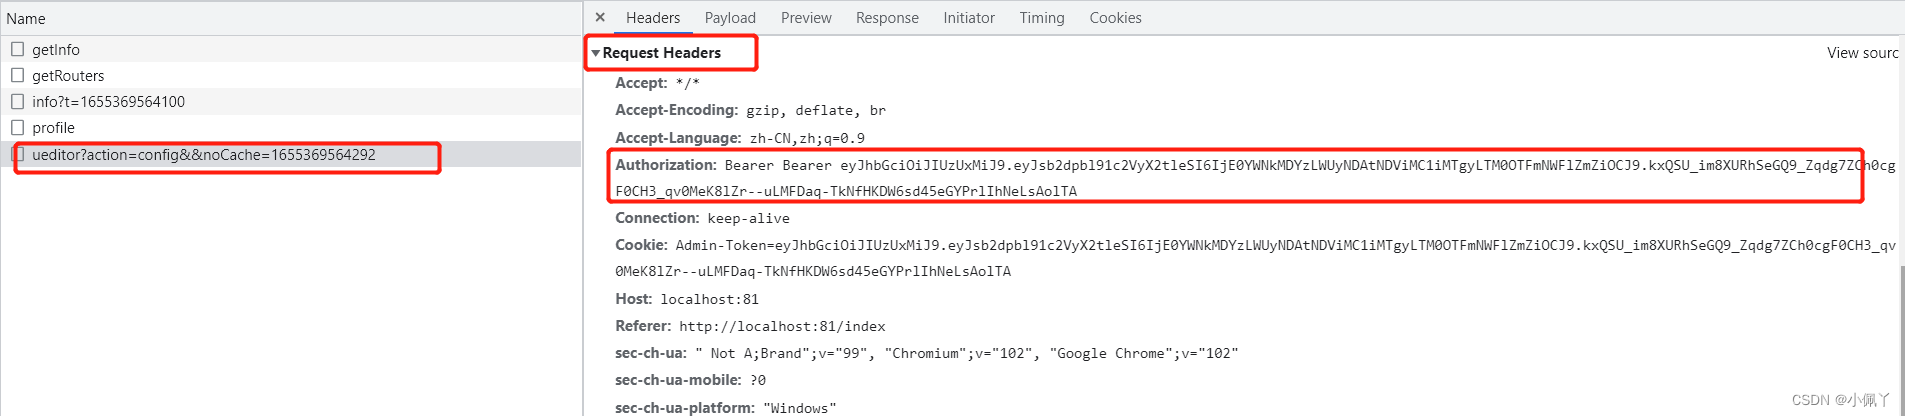
It's OK at this point. You can see that the request header already carries the Authrization parameter, and the content is returned correctly.
(2) [Upload multiple pictures] Carry token
modify ueditor/dialog/image/image.jsfile
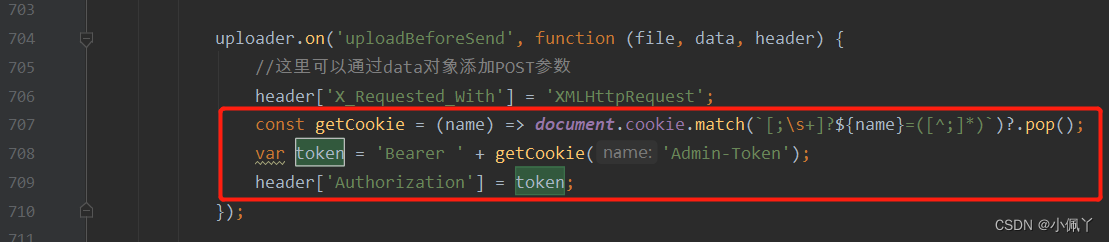
const getCookie = (name) => document.cookie.match(`[;\s+]?${

      name}=([^;]*)`)?.pop();
var token = 'Bearer ' + getCookie('Admin-Token');
header['Authorization'] = token;
(3) Pictures, attachments, and video echoes
If you don't do this step, your picture may not be displayed normally in the rich text box.
SecurityConfigLet go of 图片、附件、视频the requested interface in :
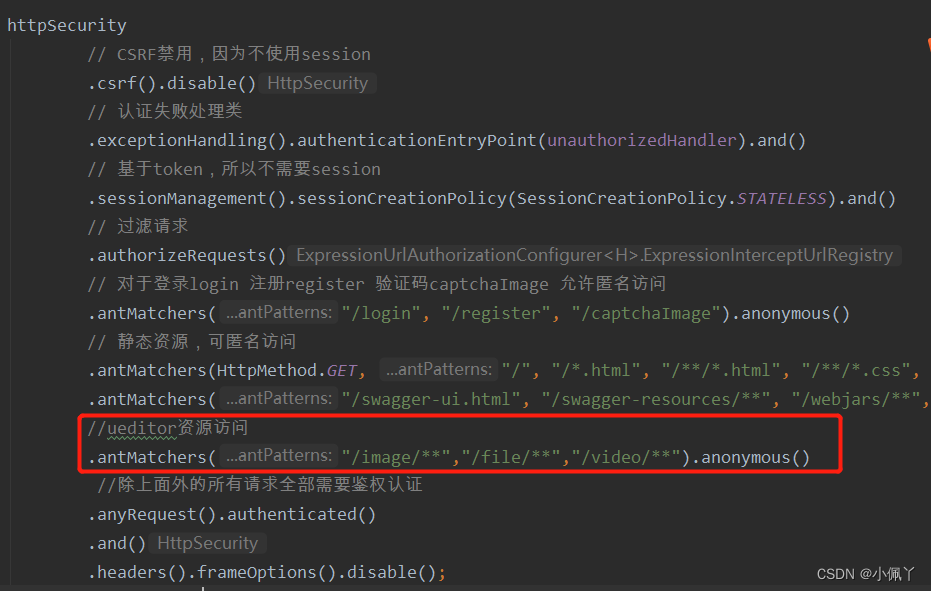
//ueditor资源访问
.antMatchers("/image/**","/file/**","/video/**").anonymous()
So far, images are echoed normally and attachments are downloaded normally. However, there may be cases where the video cannot be played.
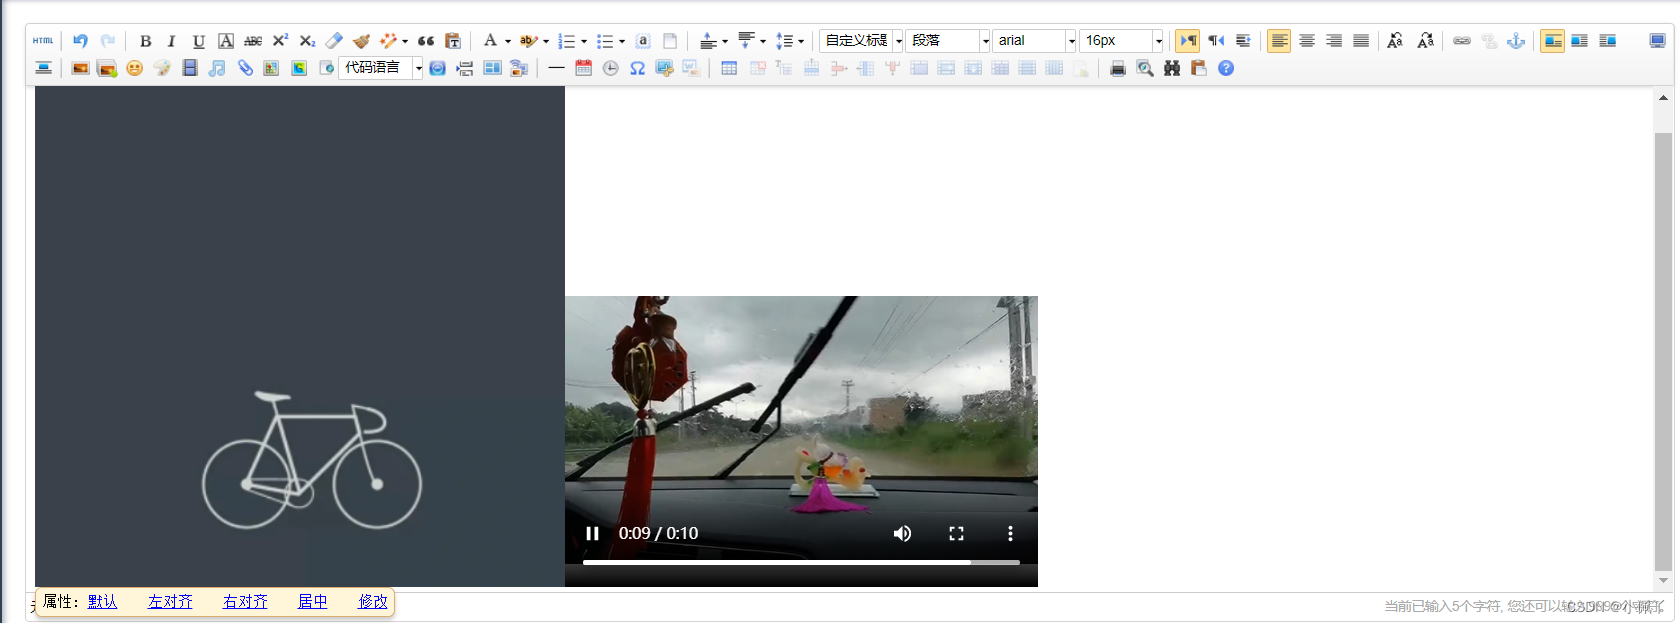
(4) Solve the problem that the video cannot be displayed and played
1. In the ueditor.all.js file
Comment out lines 7343, 7344, and 7345
//var root = UE.htmlparser(html);
//me.filterInputRule(root);
//html = root.toHtml();
2. Line 17683, the last image is changed to video
var html = creatInsertStr( img2video ? node.getAttr('_url') : node.getAttr('src'),node.getAttr('width'),node.getAttr('height'),null,node.getStyle('float') || '',className,img2video ? 'video':'video');
3. Line 17769, the last image is changed to video
html.push(creatInsertStr( vi.url, vi.width || 420, vi.height || 280, id + i, null, cl, 'video'));
4. Effect