1. Relevant dependencies required for installation
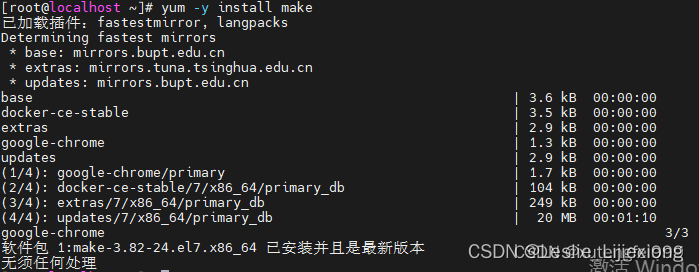
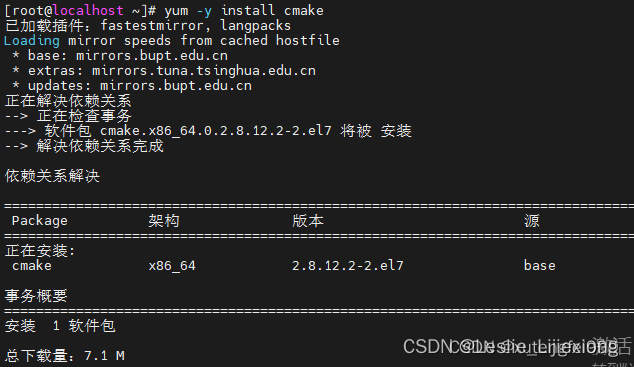
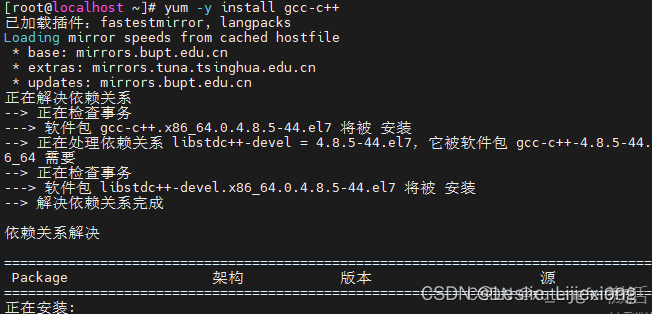
yum -y install make cmake gcc gcc-c++
Because my server has already installed gcc, so omit
Use gcc -v to check the version
yum -y install zip unzip
Install the performance event notification library
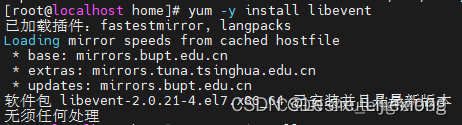
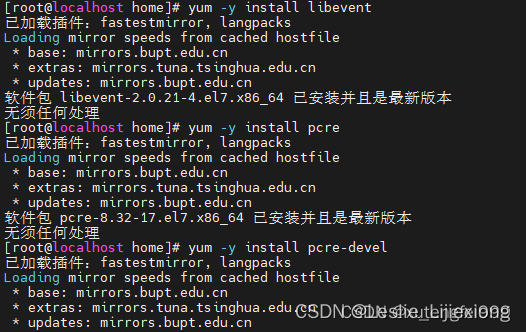
yum -y install libevent
Install nginx dependencies
yum -y install libevent
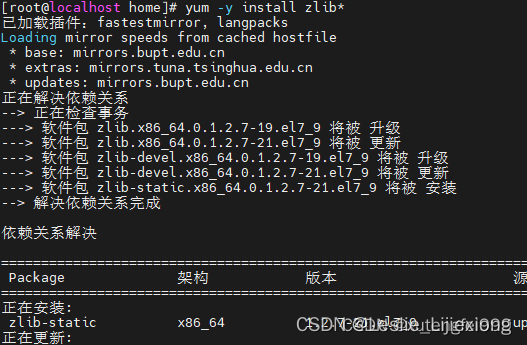
yum -y install zlib*
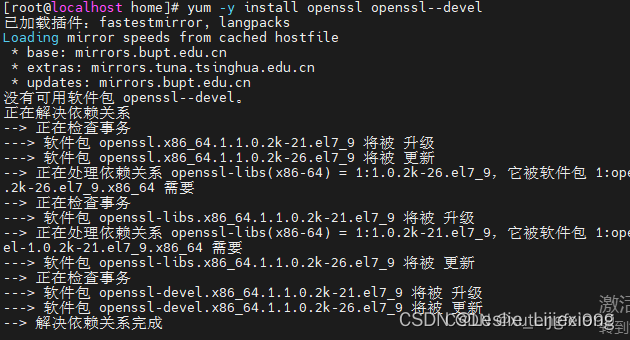
yum -y install openssl openssl--devel
install git
yum -y install git
2. Install Fastdfs
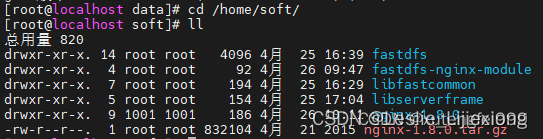
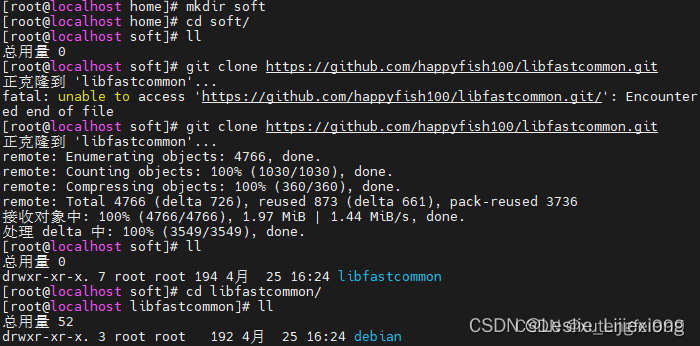
The installation directory of all packages used /home/soft
1. Install libfastcommon first
git clone https://github.com/happyfish100/libfastcommon.git

cd libfastcommon
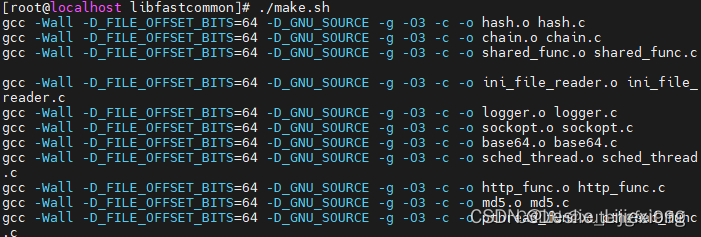
./make.sh
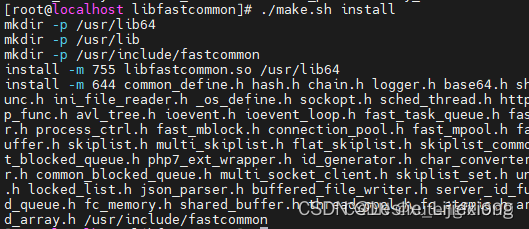
install
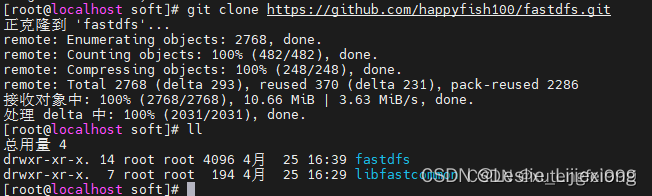
2. Install fastdfs
cd /home/soft

git clone https://github.com/happyfish100/fastdfs.git
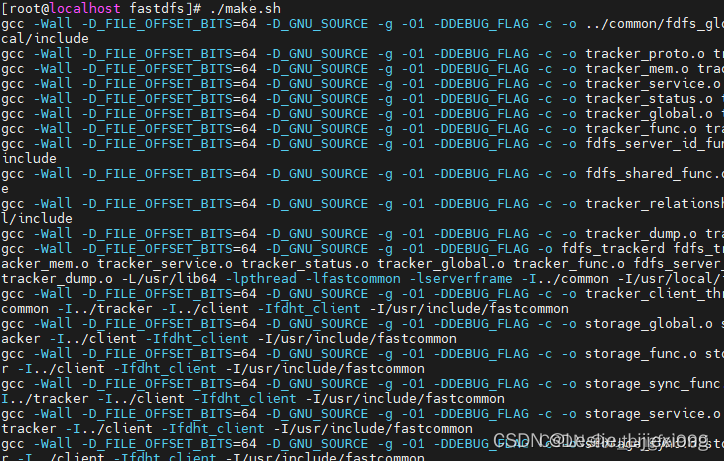
./make.sh
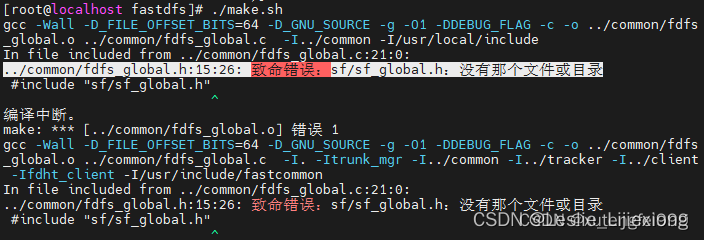
Error resolution:
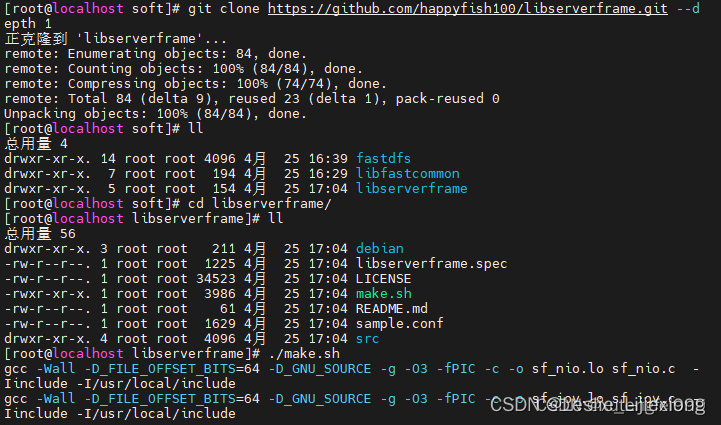
2.1 Install libserverframe
cd /home/soft
git clone https://github.com/happyfish100/libserverframe.git --depth 1
cd libserverframe/
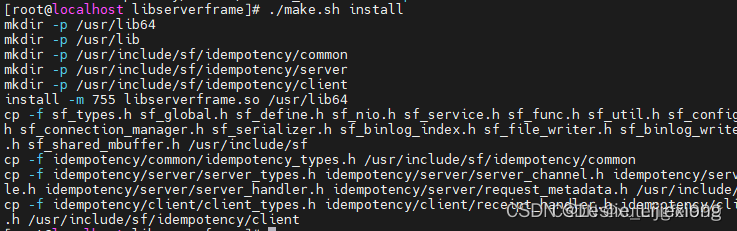
./make.sh
./make.sh install
Return to the fastdfs directory after the libserverframe installation is complete
cd /home/soft/fastdfs/

After compiling and installing, generate the configuration file to the /etc/fdfs/ directory
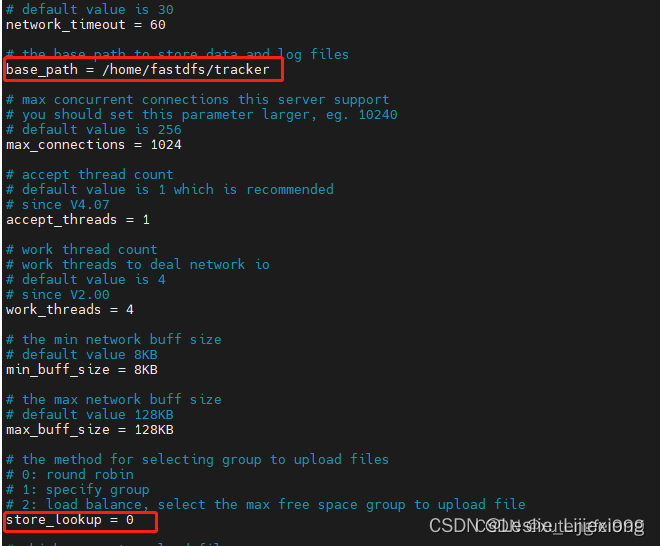
3. Tracker configuration
cd /etc/fdfs
vim tracker.conf
Modify the configuration, store_lookup is changed to 0 rotation training strategy, the default is 2 load balancing strategy, if the value is 1, it means that upload and download operations must always be performed to a certain group, then store_group will work Create a tracker data directory and set
permissions
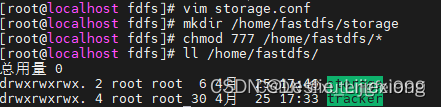
mkdir -p /home/fastdfs/tracker
chmod 777 /home/fastfds/*
start fastdfs tracker
/usr/bin/fdfs_trackerd /etc/fdfs/tracker.conf

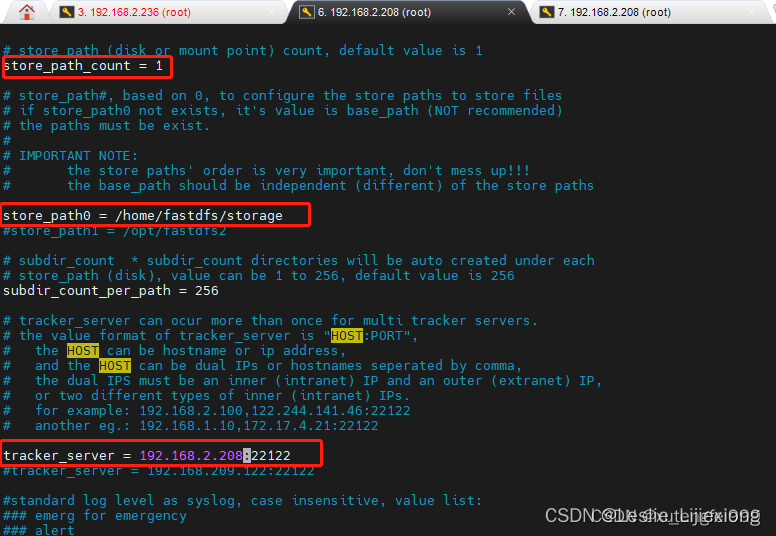
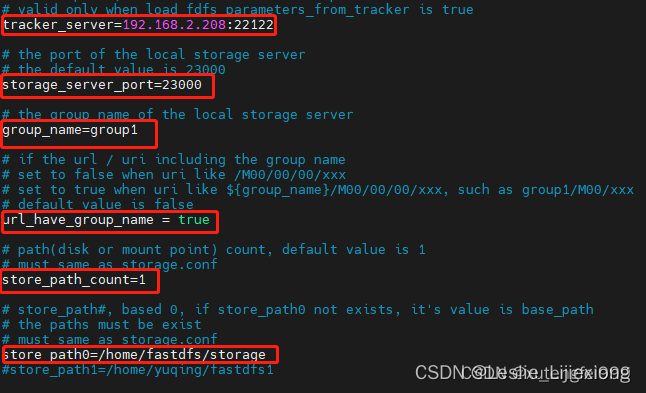
4. Configure storage
cd /etc/fdfs
vim storage.conf
Change setting
group_name=group1
base_path=/home/fastdfs/storage
Create a storage folder and set permissions
mkdir /home/fastdfs/storage
chmod 777 /home/fastdfs/*
start storage
/usr/bin/fdfs_storaged /etc/fdfs/storage.conf

Client testing, and server testing on the same machine

Five, configure nginx
1. Install fastdfs-nginx-module on the storage server
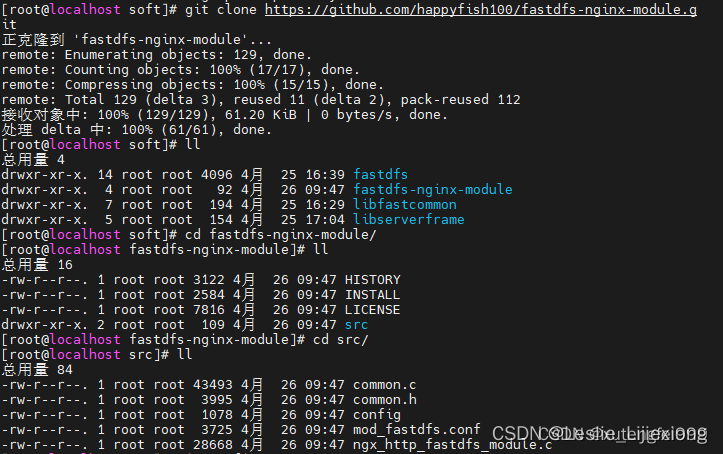
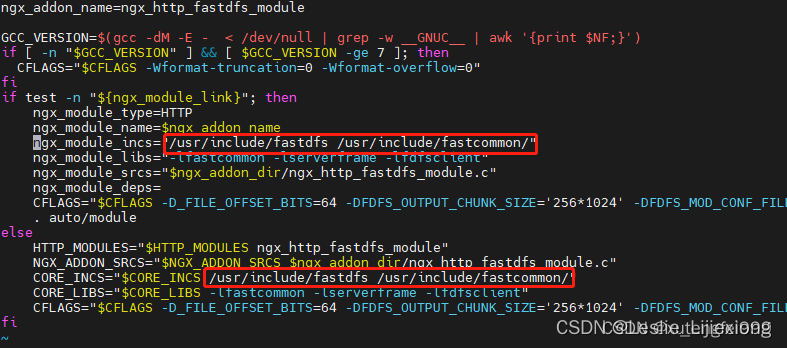
vim config
Remove local, because it is installed under /usr/include during installation
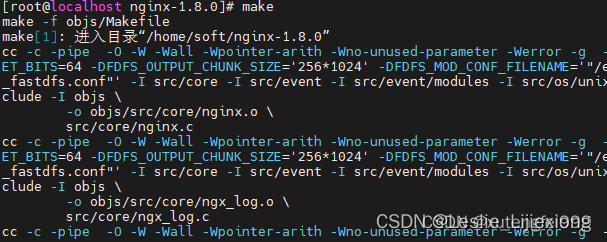
2. Install nginx
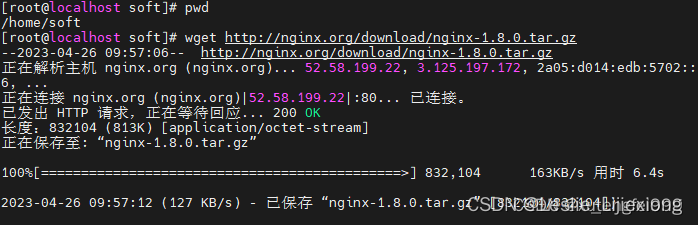
 cd /home/soft

git clone http://nginx.org/download/nginx-1.8.0.tar.gz
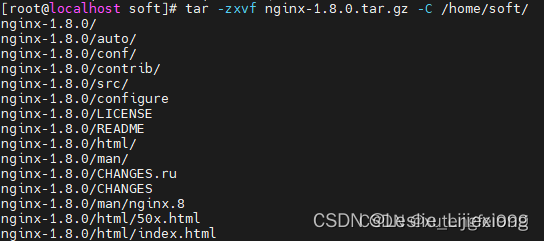
tar -zxvf nginx-1.8.0.tar.gz -C /home/soft/
./configure --add-module=/home/soft/fastdfs-nginx-module/src
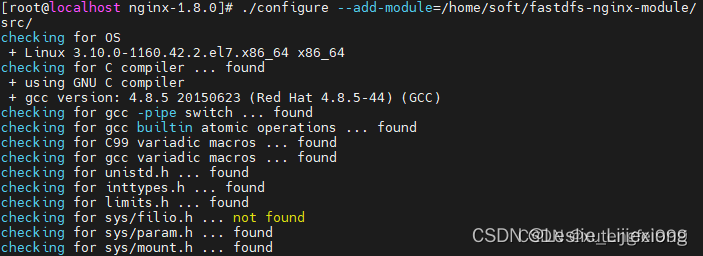
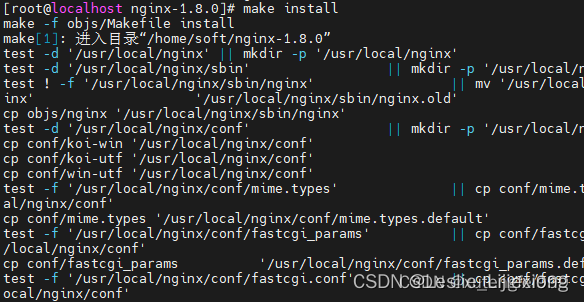
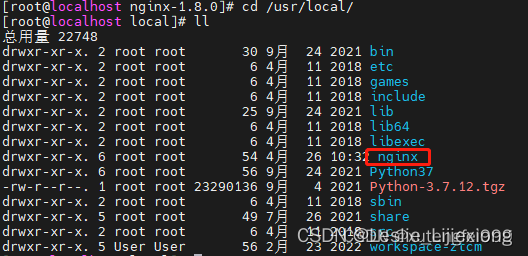
After the installation is successful, the nginx folder will be generated under /usr/local
3. fdfs-nginx configuration
Perform the following operations in the fastdfs-nginx-module/src directory

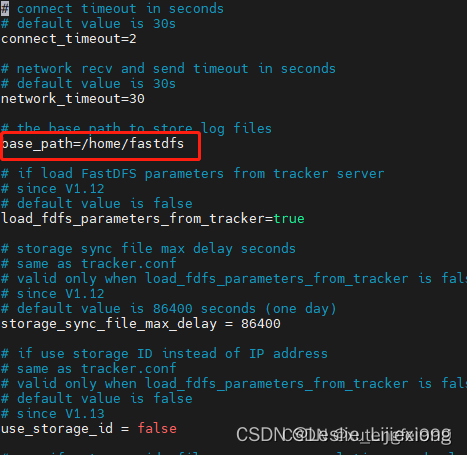
cd /etc/fdfs
vim mod_fastdfs.conf
Change the following configuration
base_path=/home/fastdfs

Create fastdfs configuration
Copy the configuration file in the fastfds installation package directory to /etc/fdfs/
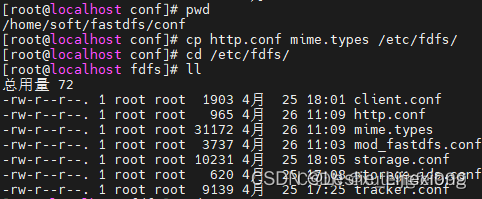
to create a soft connection

4. Configure nginx
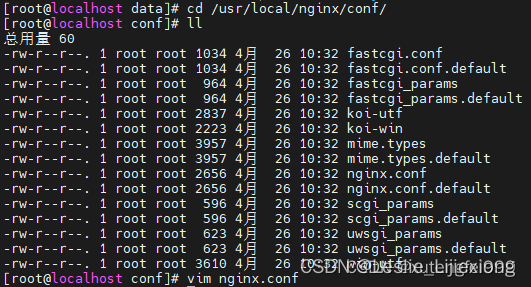
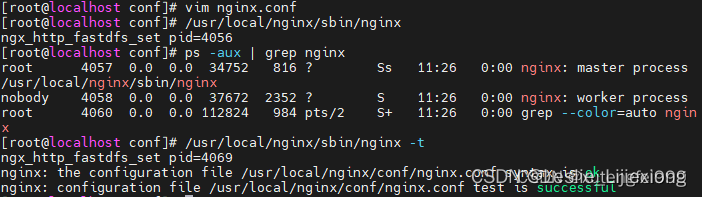
Change nginx.conf configuration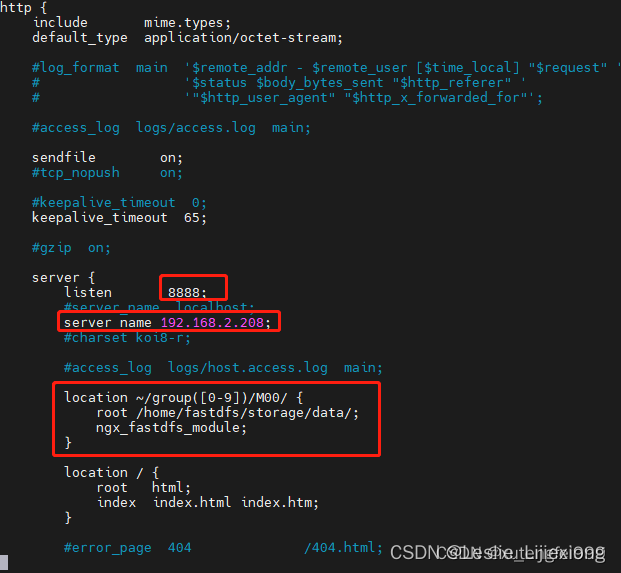
start nginx
/usr/local/nginx/sbin/nginx
restart nginx
/usr/local/nginx/sbin/nginx -s reload
Verify that the modified configuration file is correct
/usr/local/nginx/sbin/nginx -t
Permanently release port 8888 of the firewall

6. Verification
Original text: https://www.xjx100.cn/news/251513.html?action=onClick