Maven private server Nexus-3.49.0 configuration
-
-
- 1. Download the Windows archive version
- 2. Unzip
- 3. start
- 4. Visit nexus [http://localhost:8081/](http://localhost:8081/)
- 5. Warehouse classification and upload
- 6. Create a new host warehouse
- 7. About manual resource upload
- 8. Configure the local warehouse to access the private server
- 9. IDEA access private server and component upload
- 10. Windows 10 boots automatically
-
Official Nexus:
https://help.sonatype.com/repomanager3/product-information/download
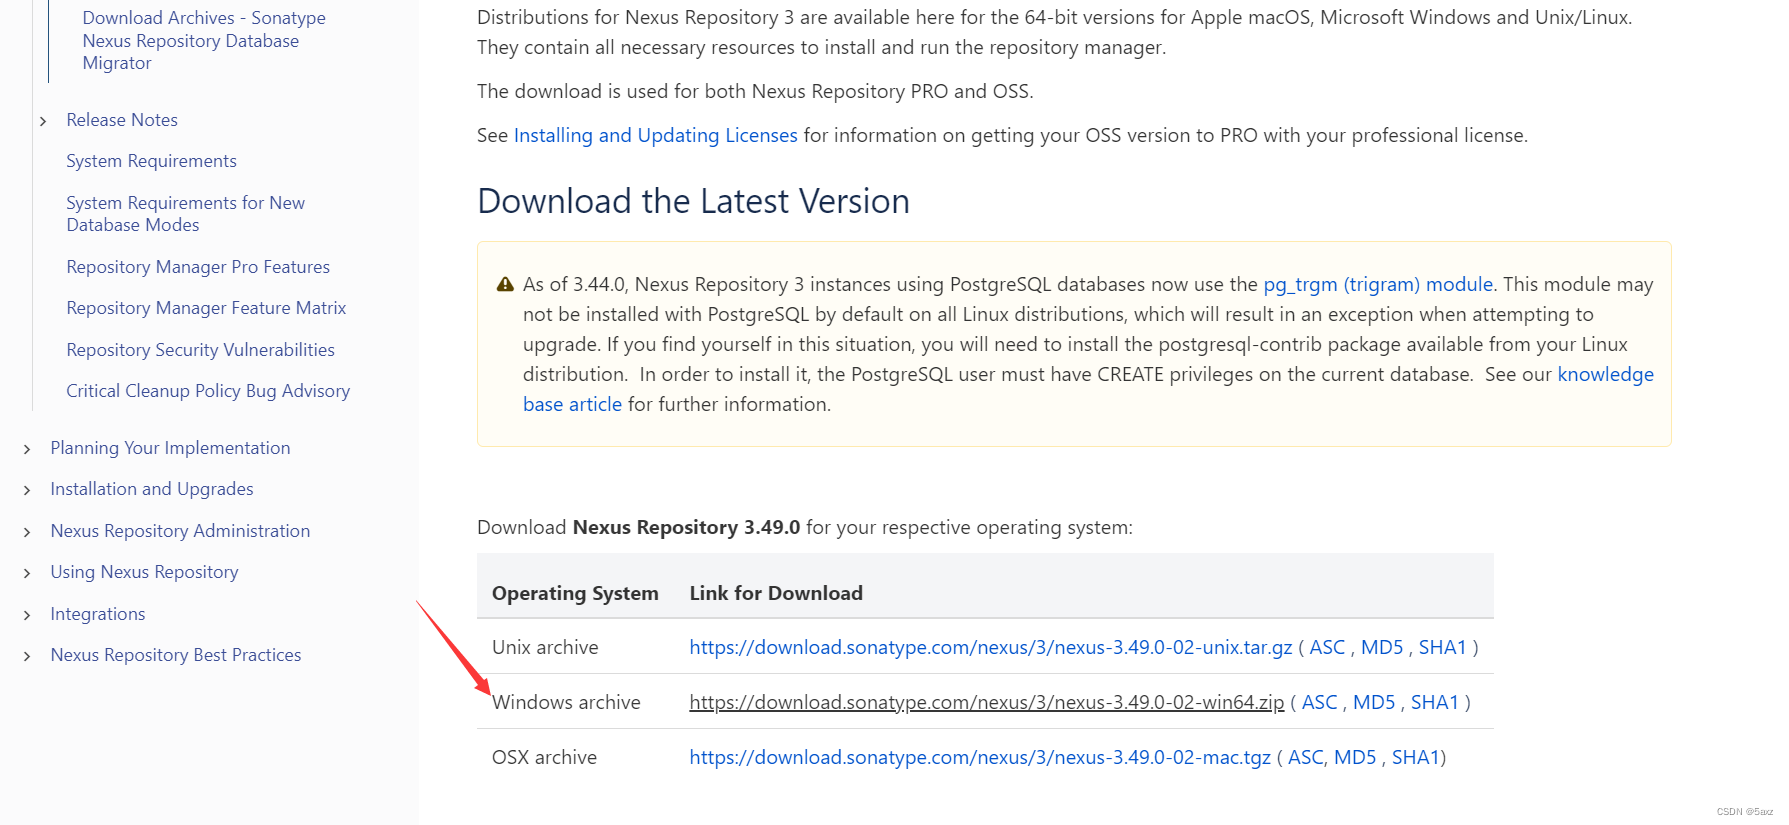
1. Download the Windows archive version
1.1 The official download is too slow (over the wall):
https://download.sonatype.com/nexus/3/nexus-3.49.0-02-win64.zip
1.2 Save a 123 cloud disk:
https://www.123pan.com/s/vLRrVv-od7q3.html Extraction code: 2023
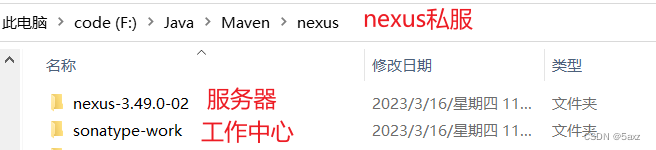
2. Unzip

2.1 After decompression, renamed and removed -win64 (see personal preference naming)

2.2 Catalog introduction
3. start
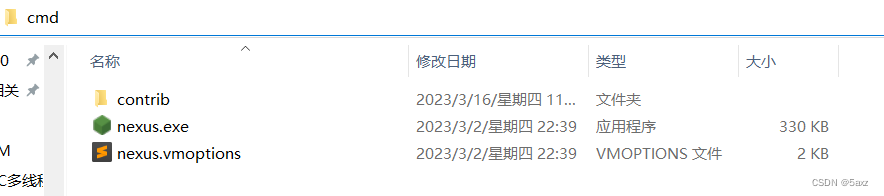
3.1 Enter the bin directory
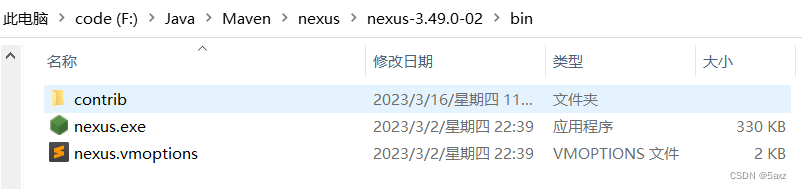
3.2 Enter CMD in the address bar and press Enter to open the console
3.3 Start commandnexus /run nexus

Seeing this sentence means that the startup is complete

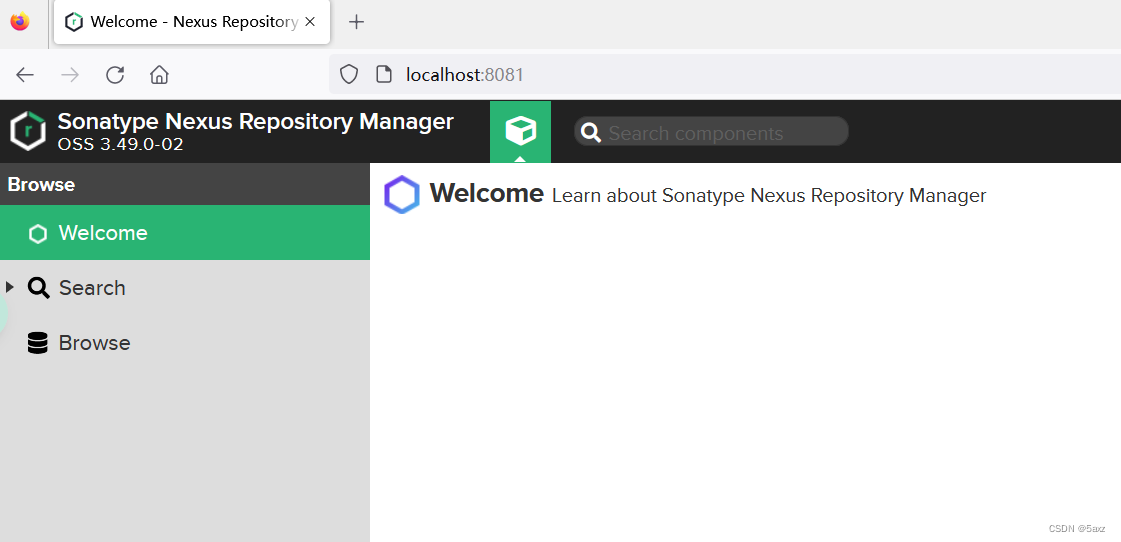
4. Visit nexus http://localhost:8081/
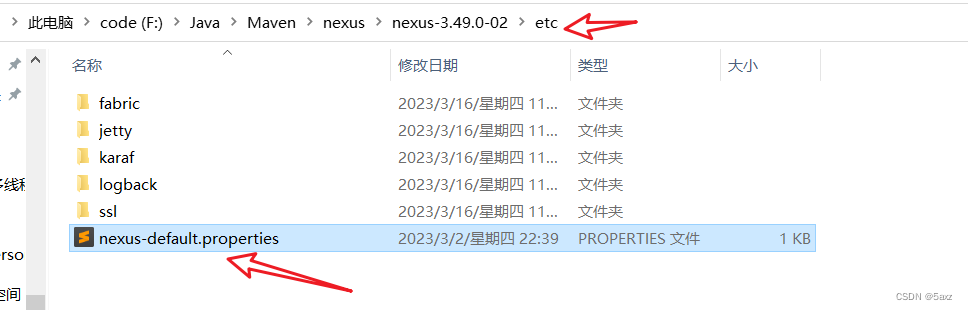
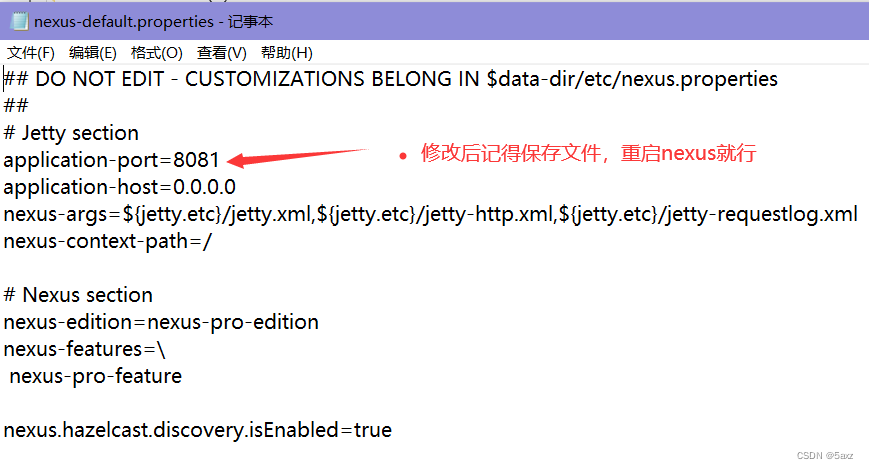
4.1 About modifying and specifying the port number:
nexus-default.propertiesIn the files in the etc directory
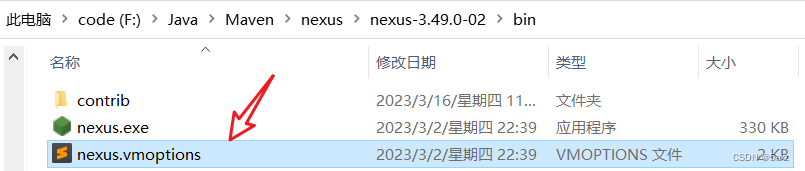
4.2 Adjust the parameters related to server startup such as memory and threads
nexus.vmoptionsIn the file in the bin directory
5. Warehouse classification and upload
log in first

5.1 Account name and password
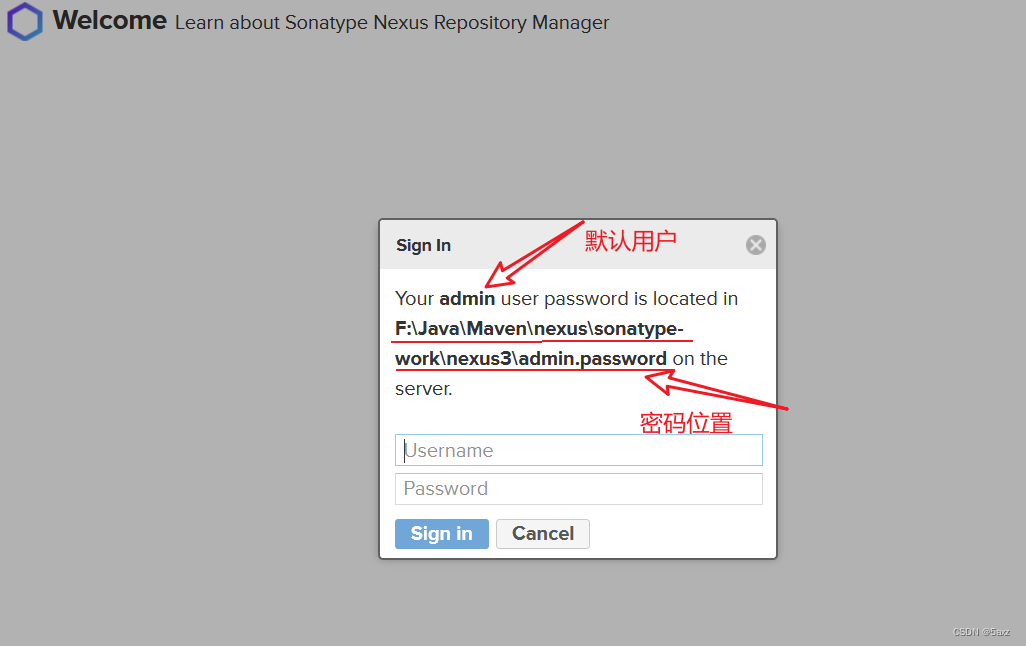
5.2 Complete the wizard installation next step

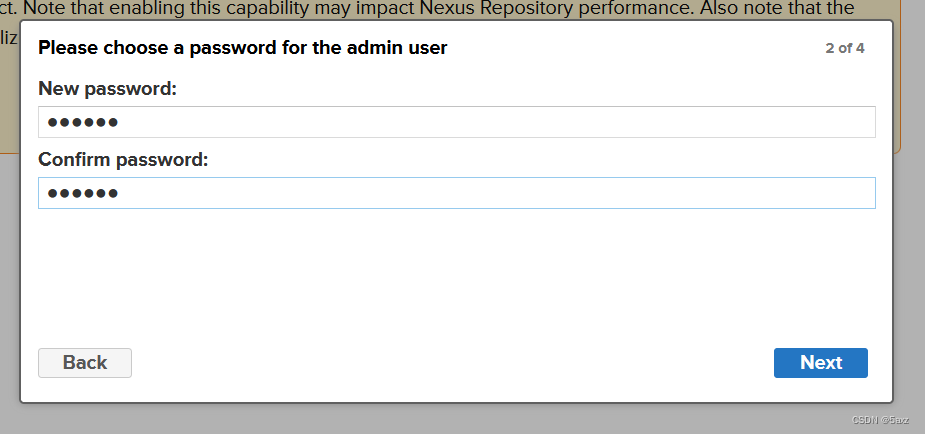
5.3 Set a new login password
5.4 Whether to enable anonymous access (here I choose to disable)
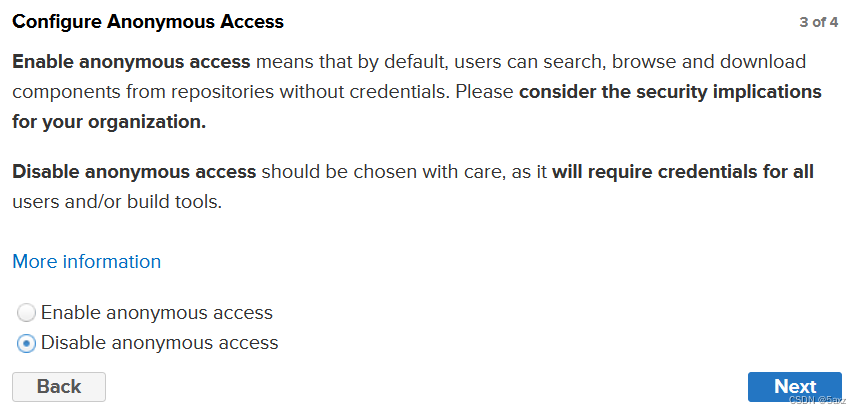
Interpretation: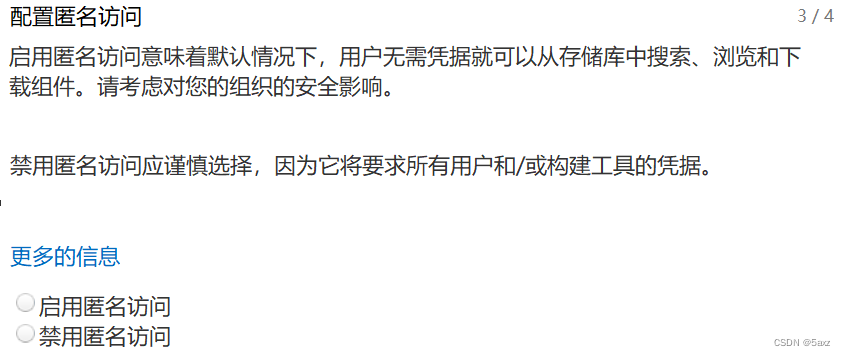
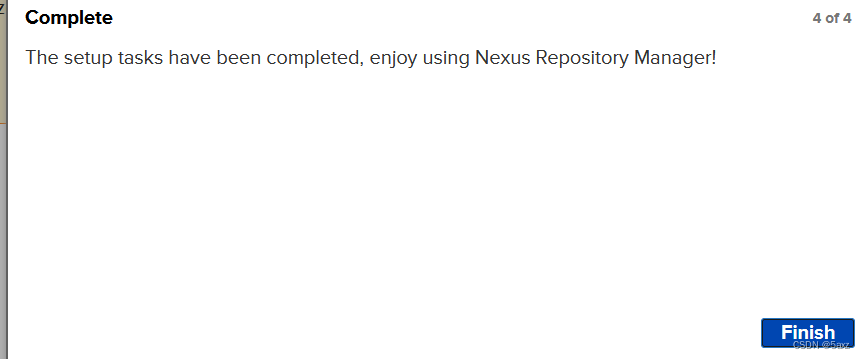
5.5 completed
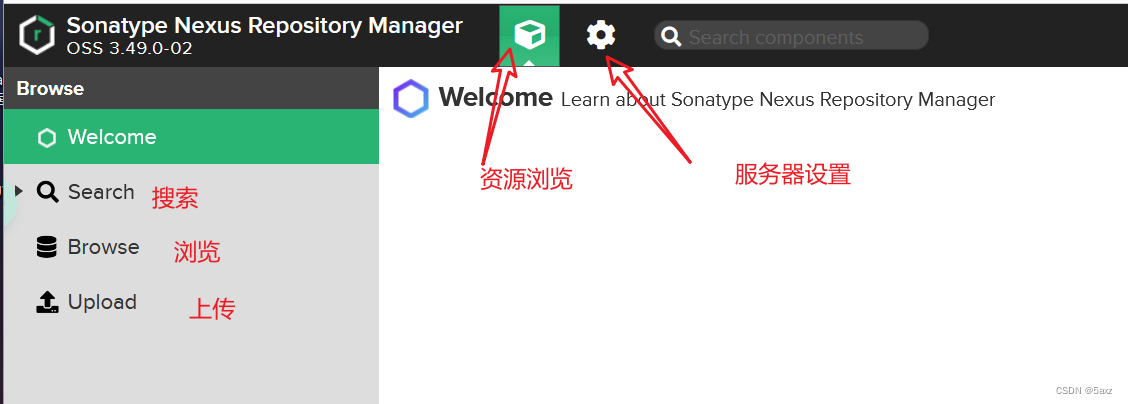
5.6 Interface Introduction
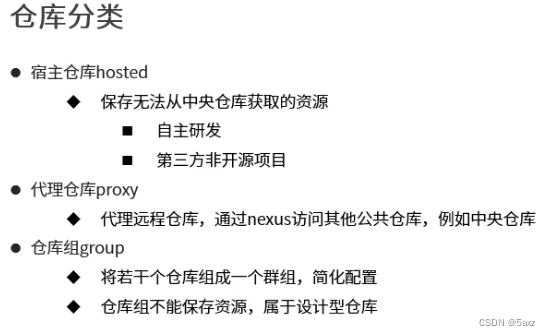
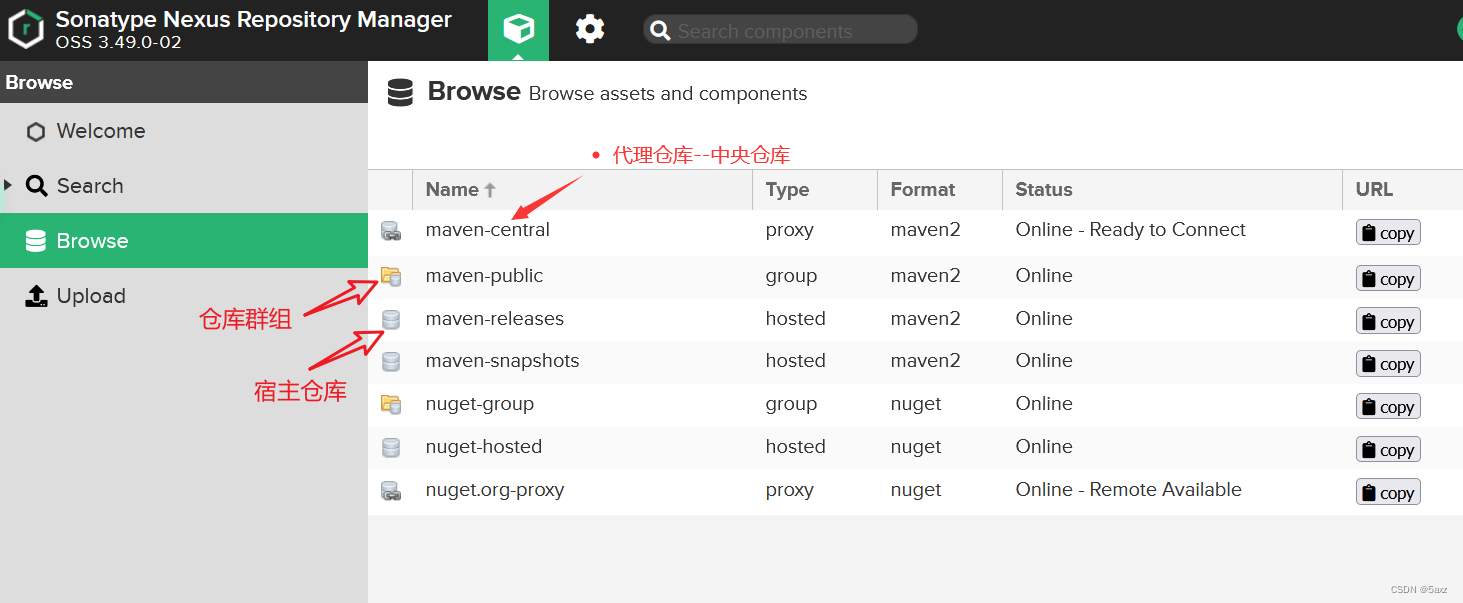
5.7 Warehouse introduction:
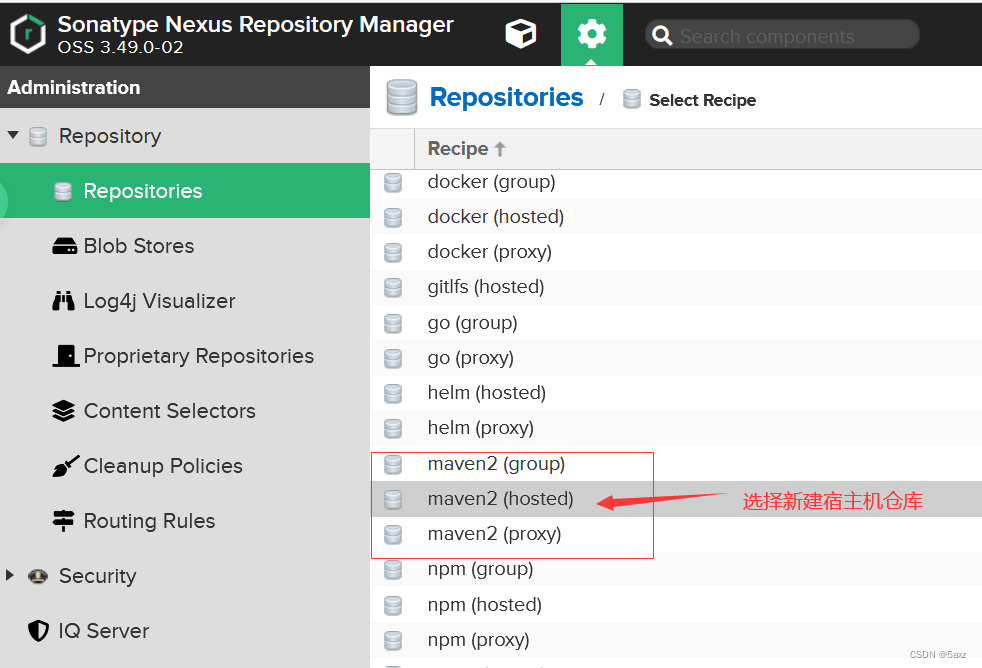
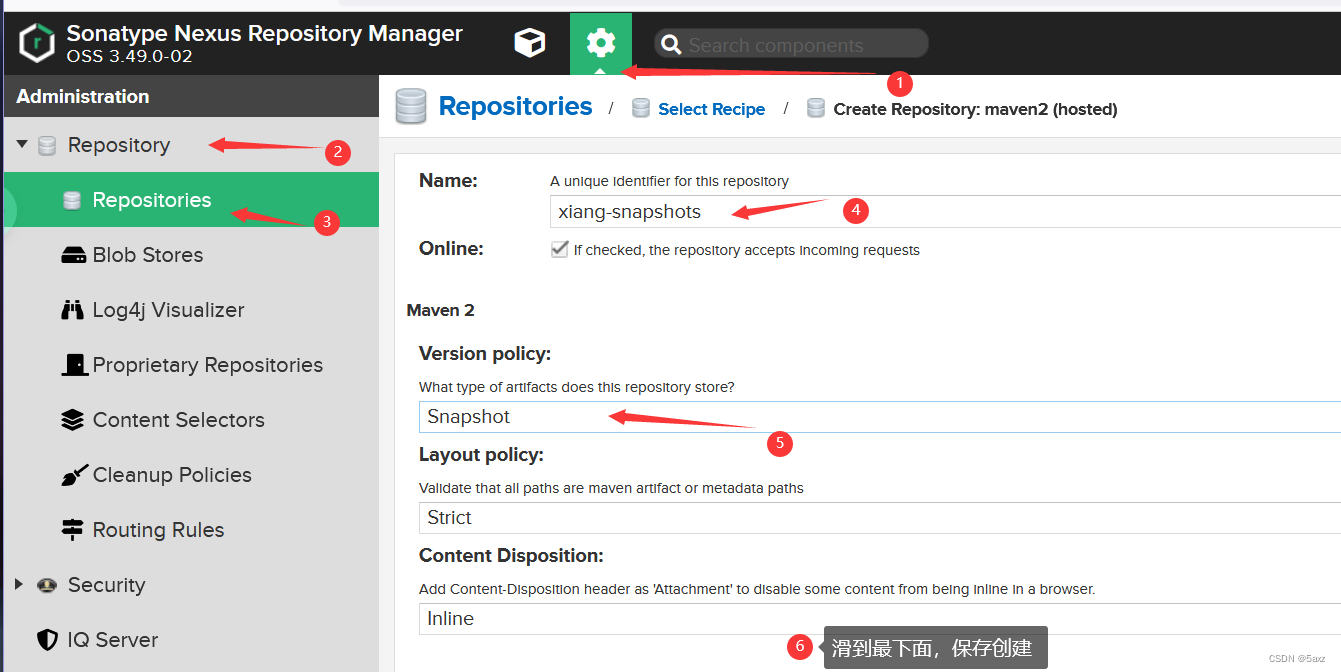
6. Create a new host warehouse
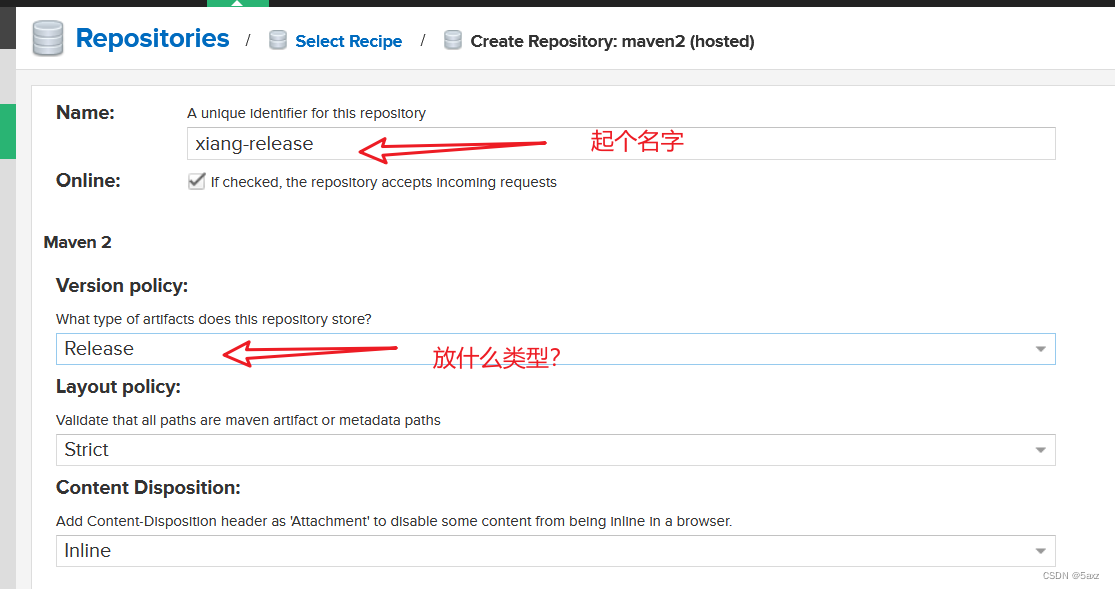
6.1 Create two warehouses of release and snapshots
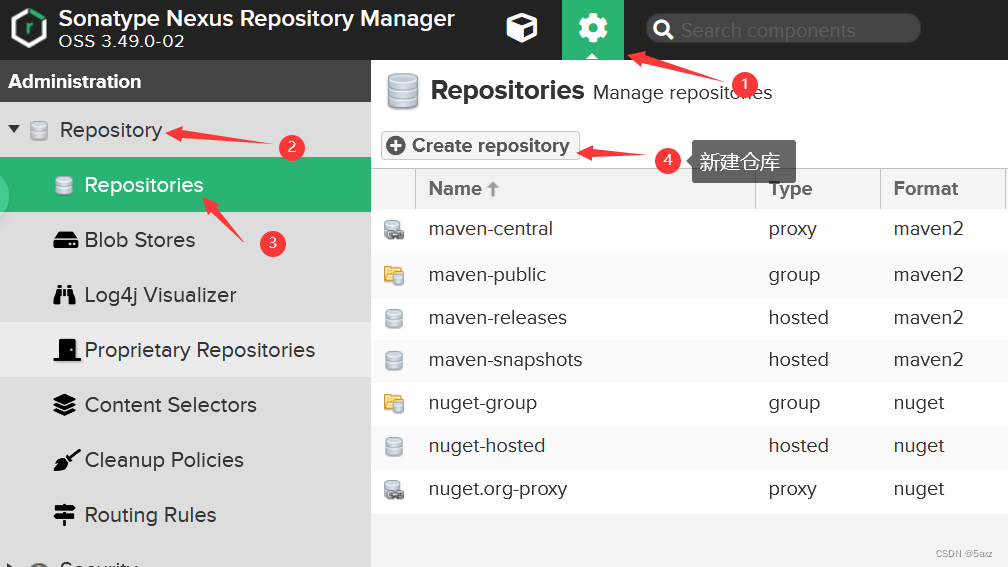
To facilitate subsequent resource access, the仓库放入群组
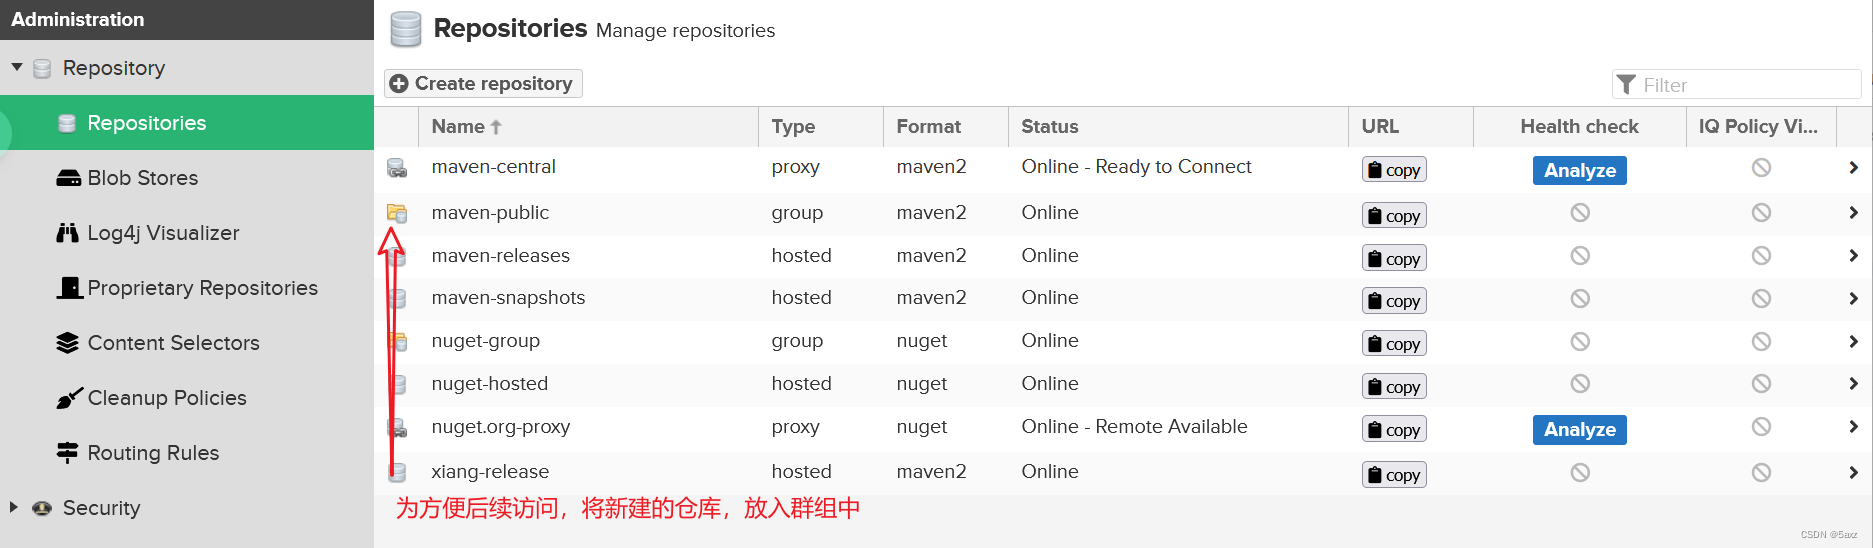
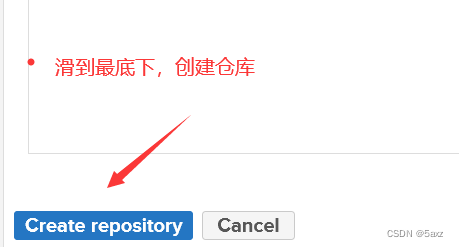
The configuration is as follows:
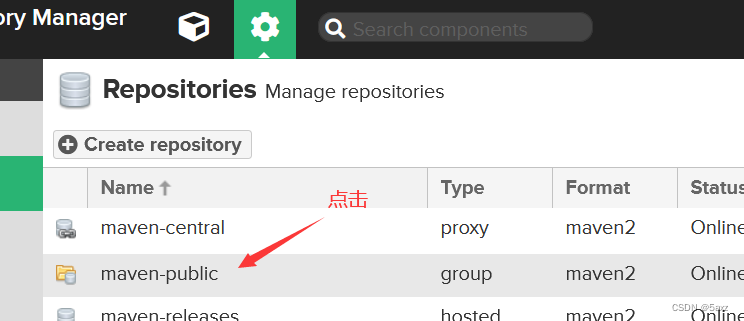
6.2 Click Group
6.3 Add and save, so that you can find resources in the central warehouse and our private warehouse later
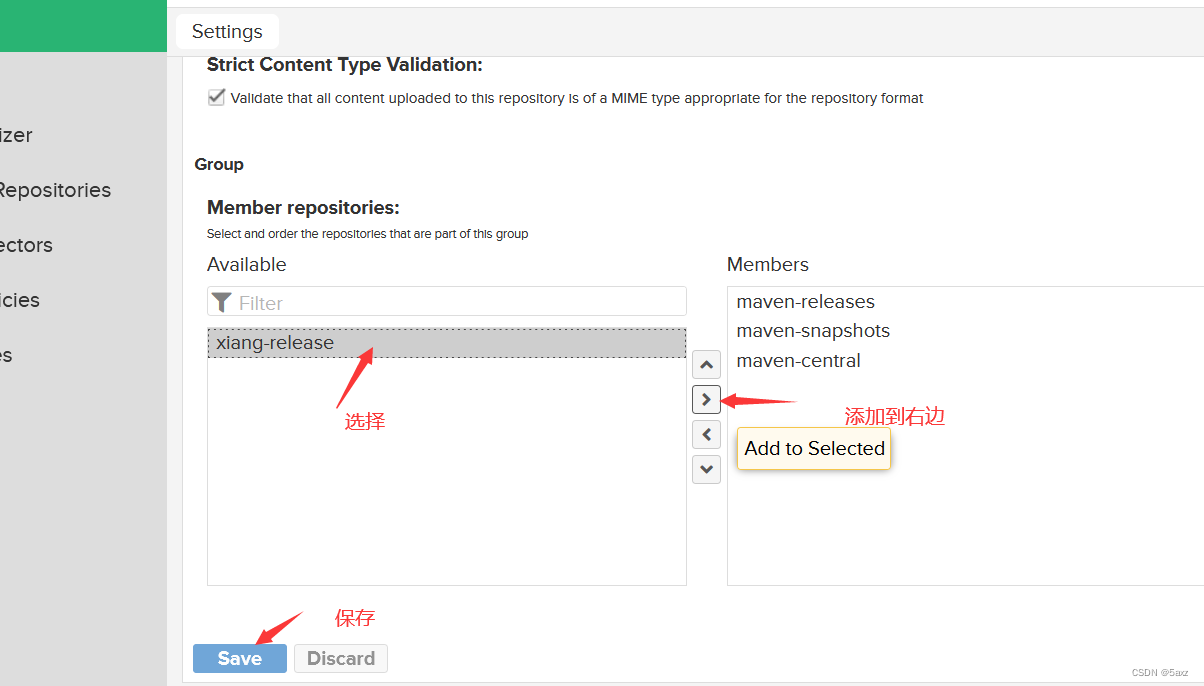
According to the above 3 steps, build another xiang
-snapshotswarehouse
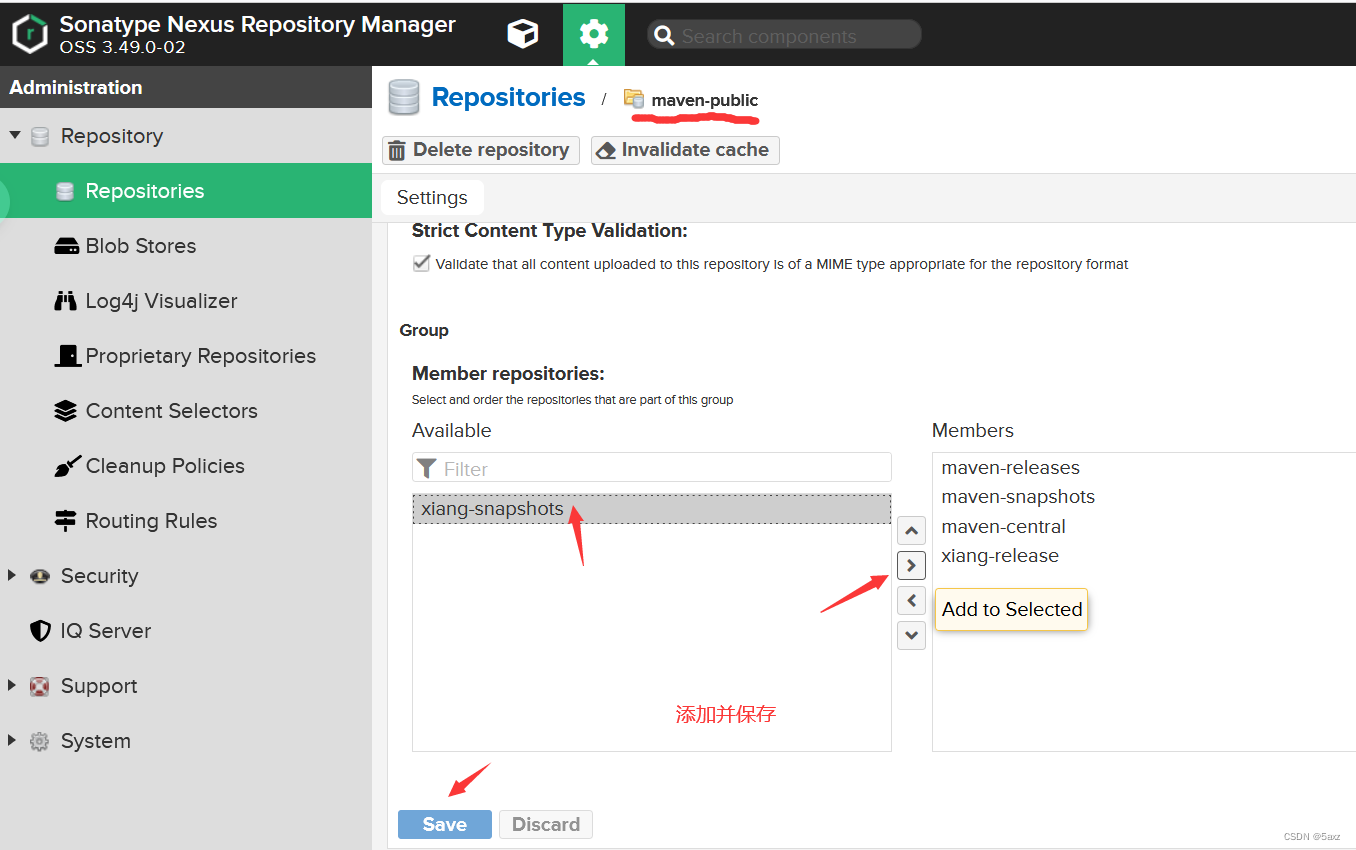
Warehouse configuration complete
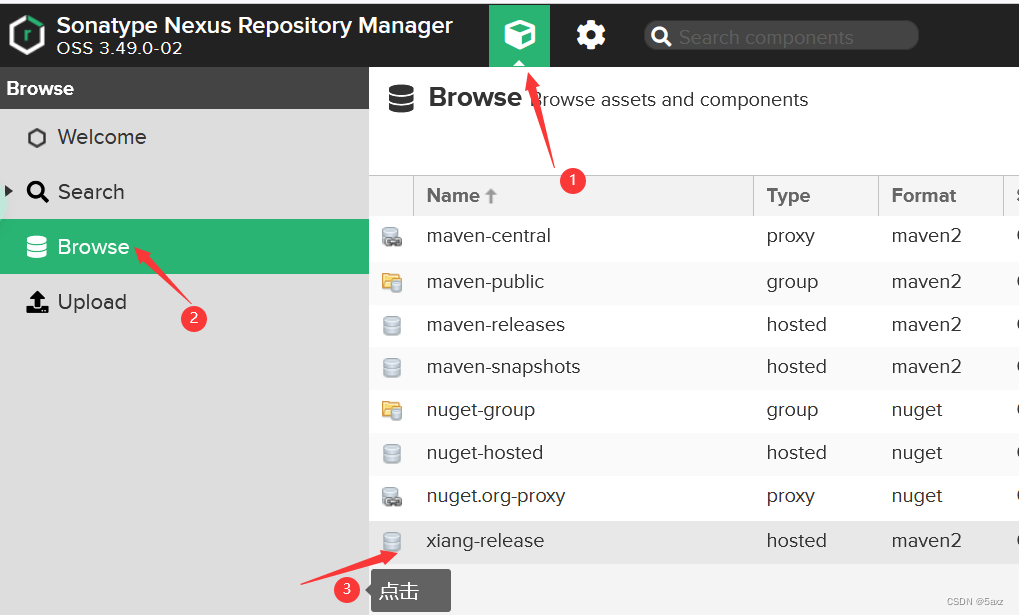
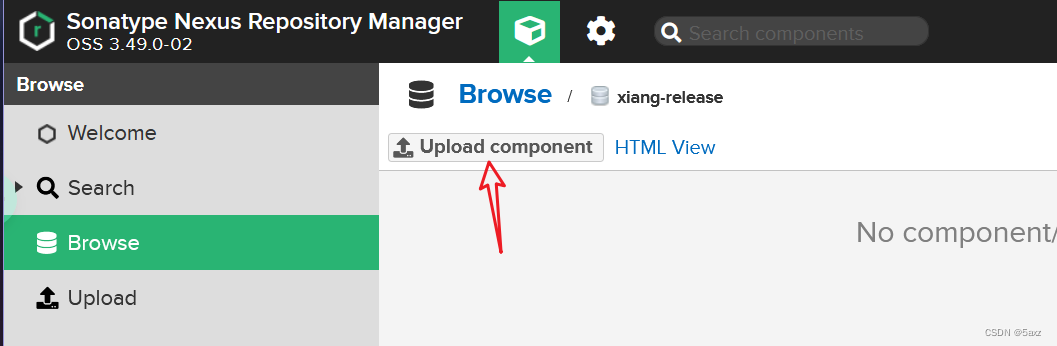
7. About manual resource upload
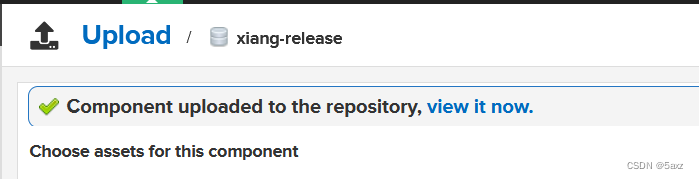
7.1 Upload steps:
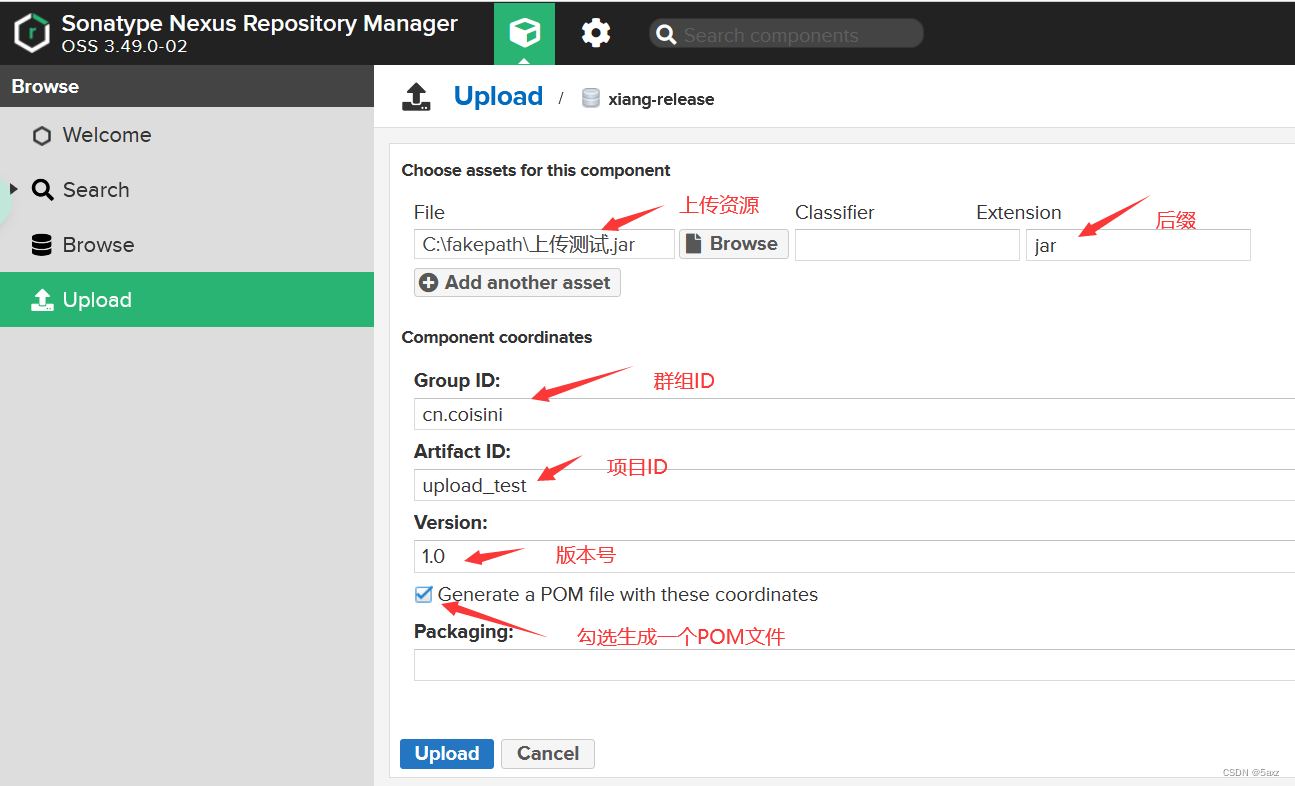
Upload succeeded:
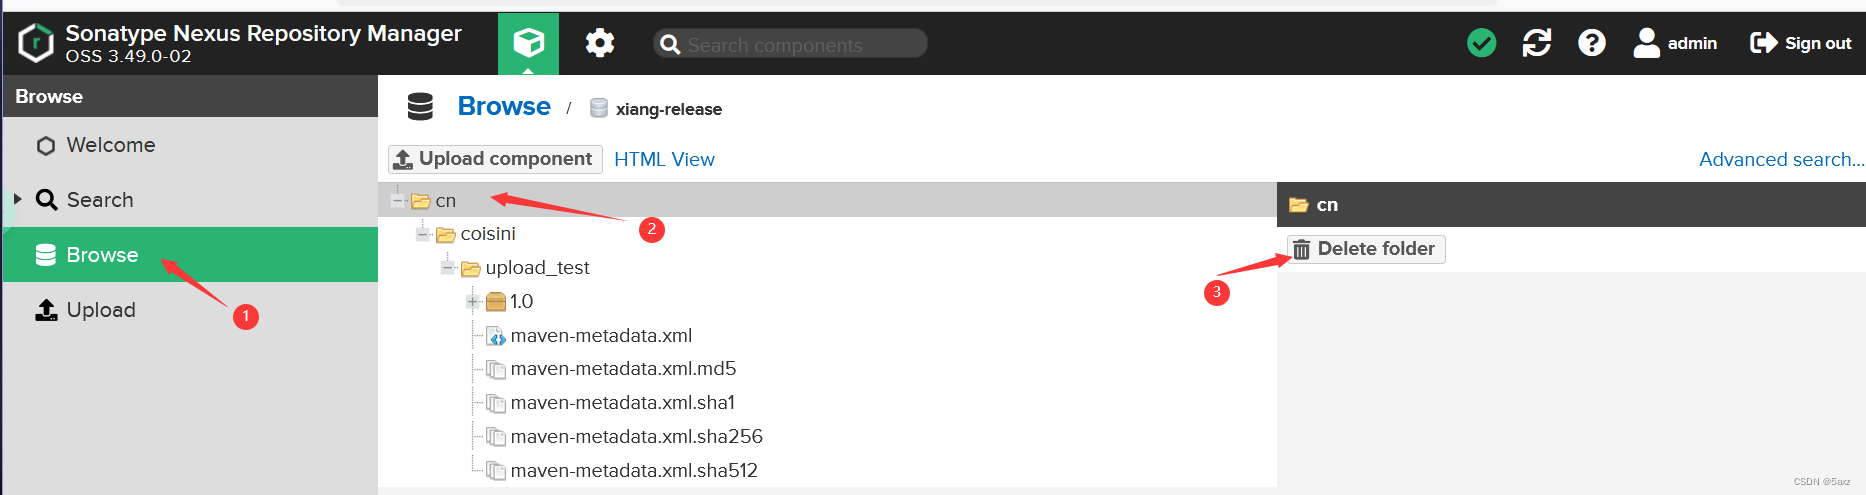
7.2 Delete resources
If you don’t want it anymore, click on the warehouse and delete it directly
8. Configure the local warehouse to access the private server
IDEA–>local–>–username/password to access private server, upload location (host address)–>private server
IDEA<–local<—username/password to access private server, download location (group address)—<–private server
8.1 Modified mavenconfiguration files settings.xmlin two places
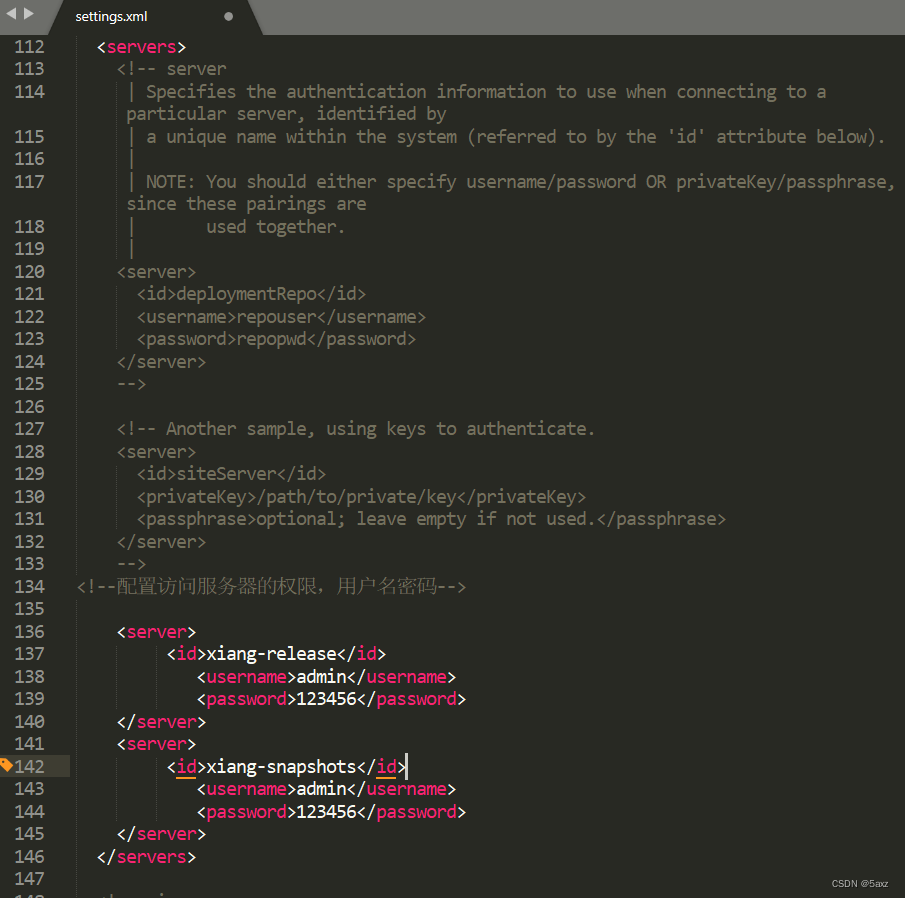
8.1.1 About 112 servers
Configure the access permissions of the local warehouse to the private server, and add the warehouse information of two private servers , as shown in the following figure:
<!--配置访问服务器的权限,用户名密码-->
	<server>
		 <id>xiang-release</id>
     	 	<username>admin</username>
      		<password>123456</password>
	</server>
	<server>
		 <id>xiang-snapshots</id>
     	 	<username>admin</username>
      		<password>123456</password>
	</server>
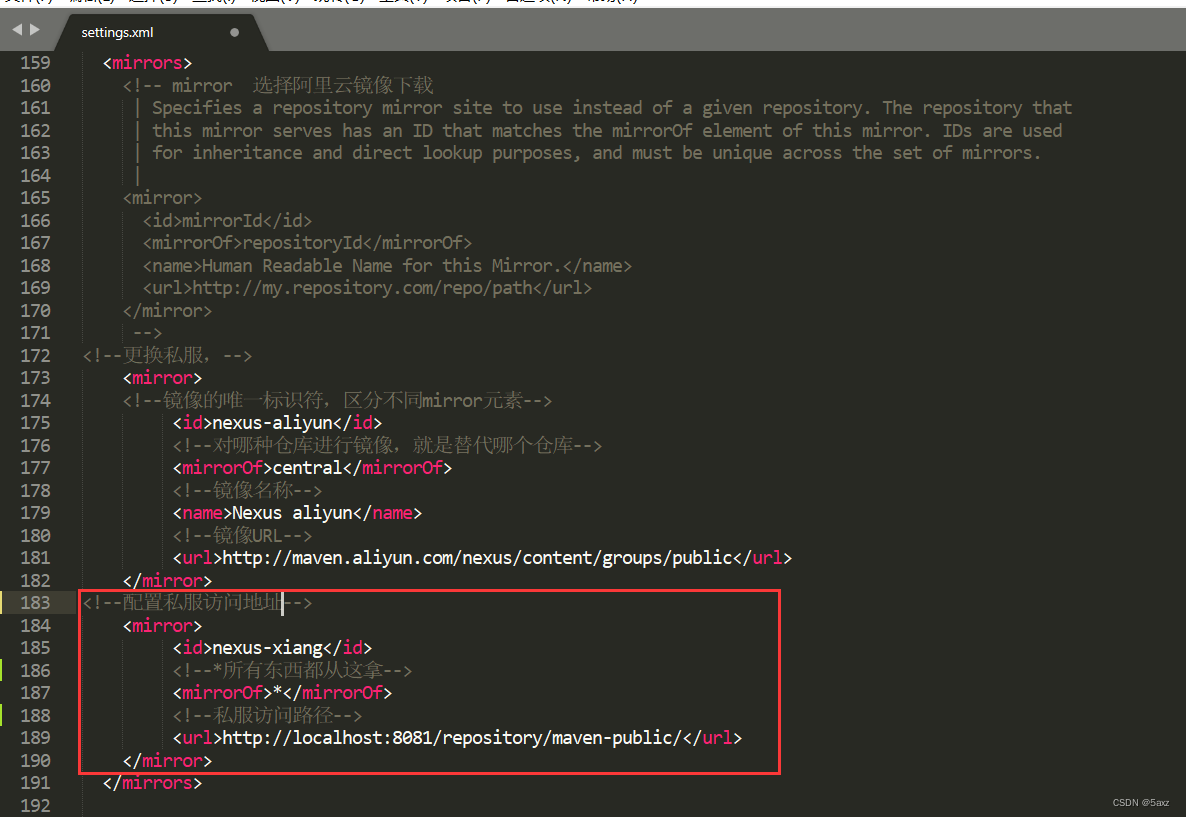
8.1.2 About 159 lines of mirrors
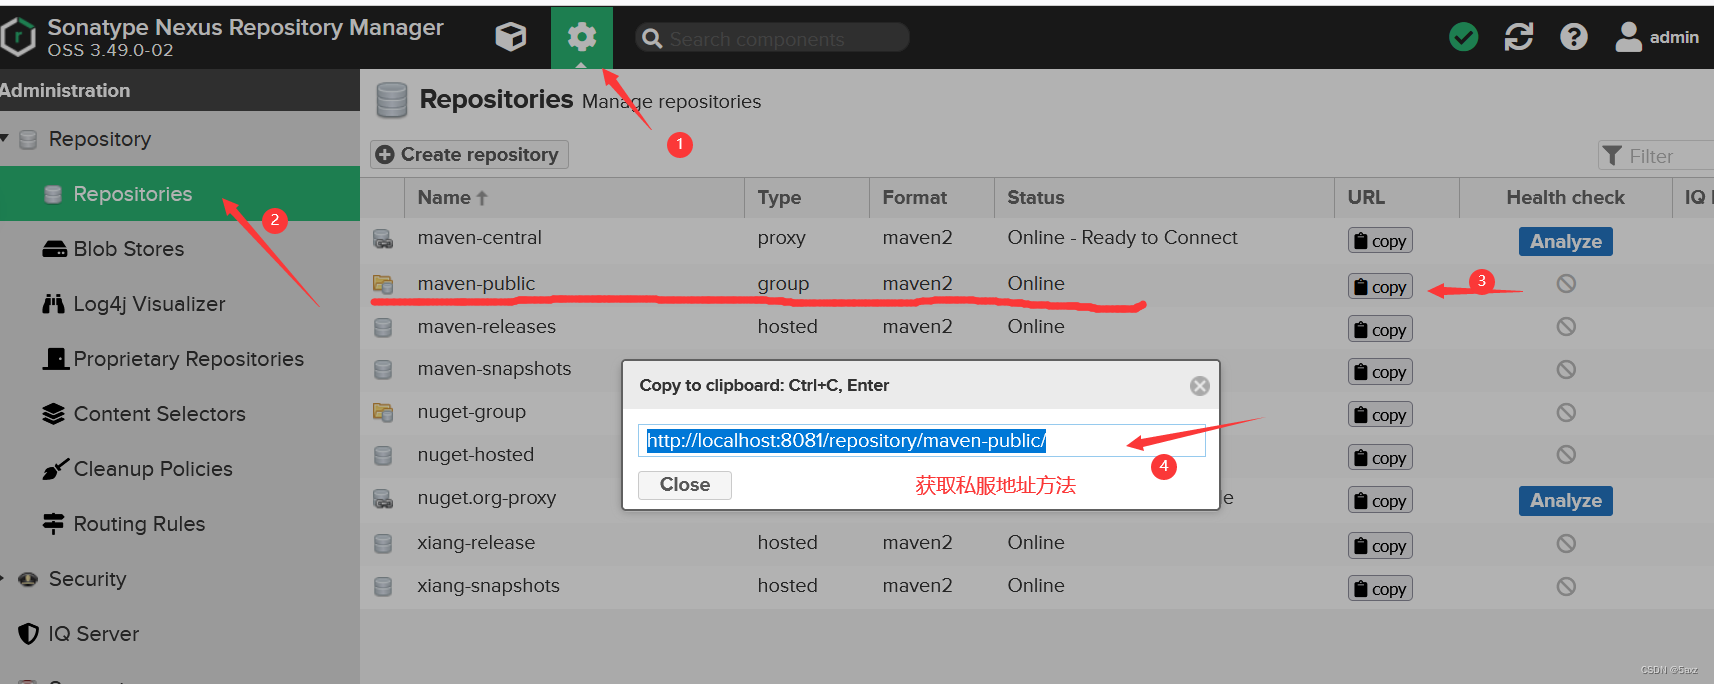
Add a private server address and configure the resource source of the local warehouse , as follows:
About private server address acquisition:
<!--自定义私服-->
      <mirror>
         <id>nexus-xiang</id>
         <!--*所有东西都从这拿-->
         <mirrorOf>*</mirrorOf>
         <!--私服访问路径-->
         <url>http://localhost:8081/repository/maven-public/</url>
      </mirror>
Maven configuration complete
9. IDEA access private server and component upload
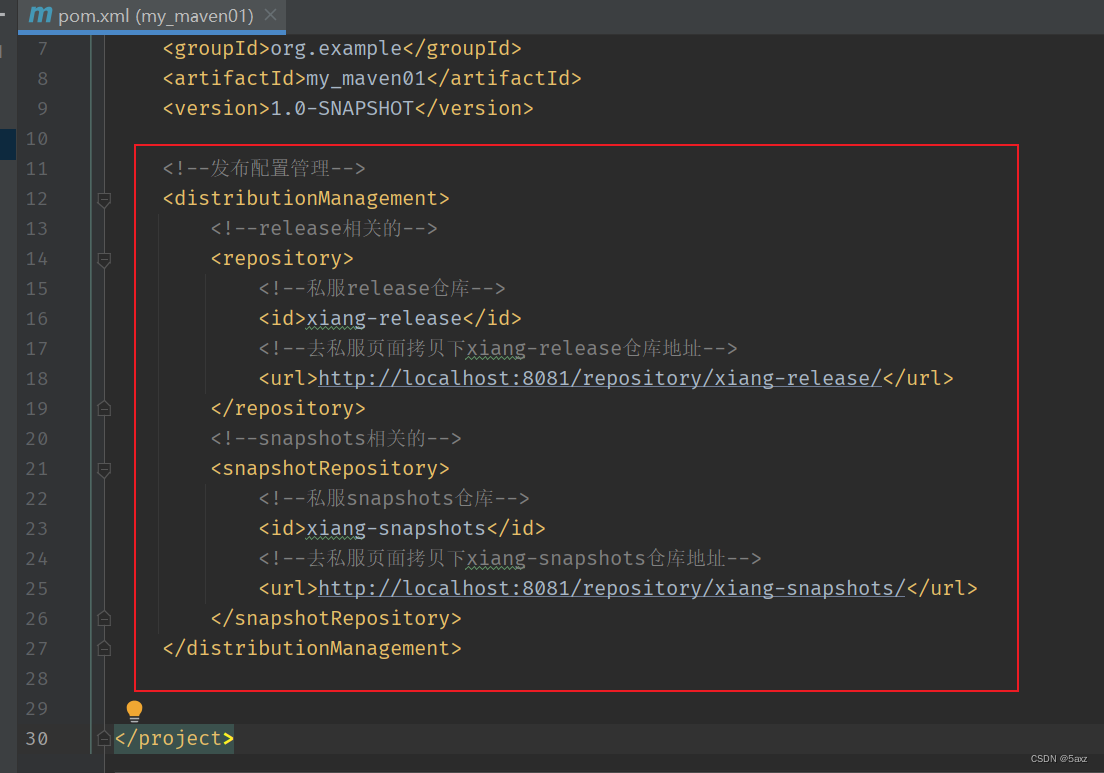
9.1 Configure pom.xml
Add configuration to IDEA's project pom.xml :

<!--发布配置管理-->
    <distributionManagement>
        <!--release相关的-->
        <repository>
            <!--私服release仓库-->
            <id>xiang-release</id>
            <!--去私服页面拷贝下xiang-release仓库地址-->
            <url>http://localhost:8081/repository/xiang-release/</url>
        </repository>
        <!--snapshots相关的-->
        <snapshotRepository>
            <!--私服snapshots仓库-->
            <id>xiang-snapshots</id>
            <!--去私服页面拷贝下xiang-snapshots仓库地址-->
            <url>http://localhost:8081/repository/xiang-snapshots/</url>
        </snapshotRepository>
    </distributionManagement>
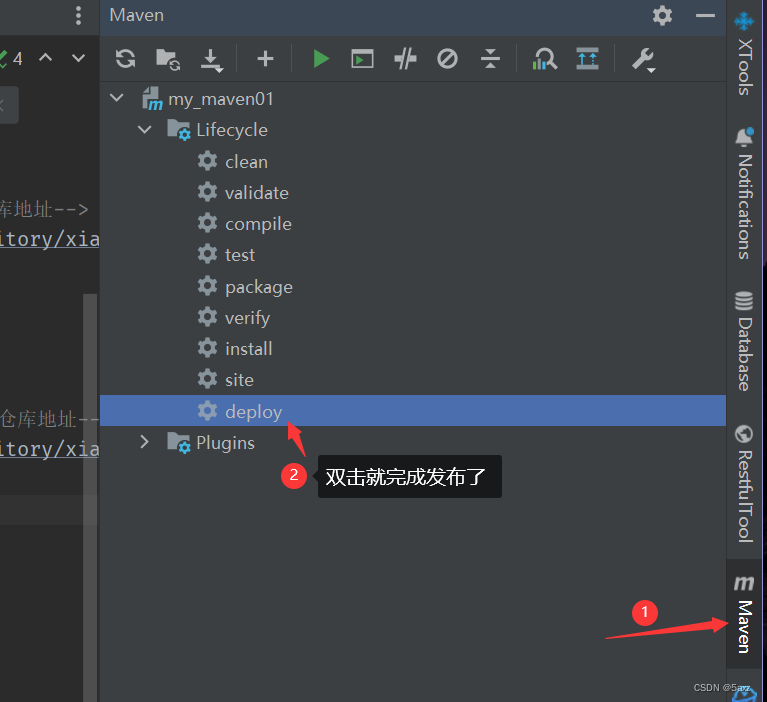
9.2 Resource publishing
About publishing resources to the private server command mvn deploy
IDEA, just double-click directly
9.3 view
Published resources can be viewed on the page:
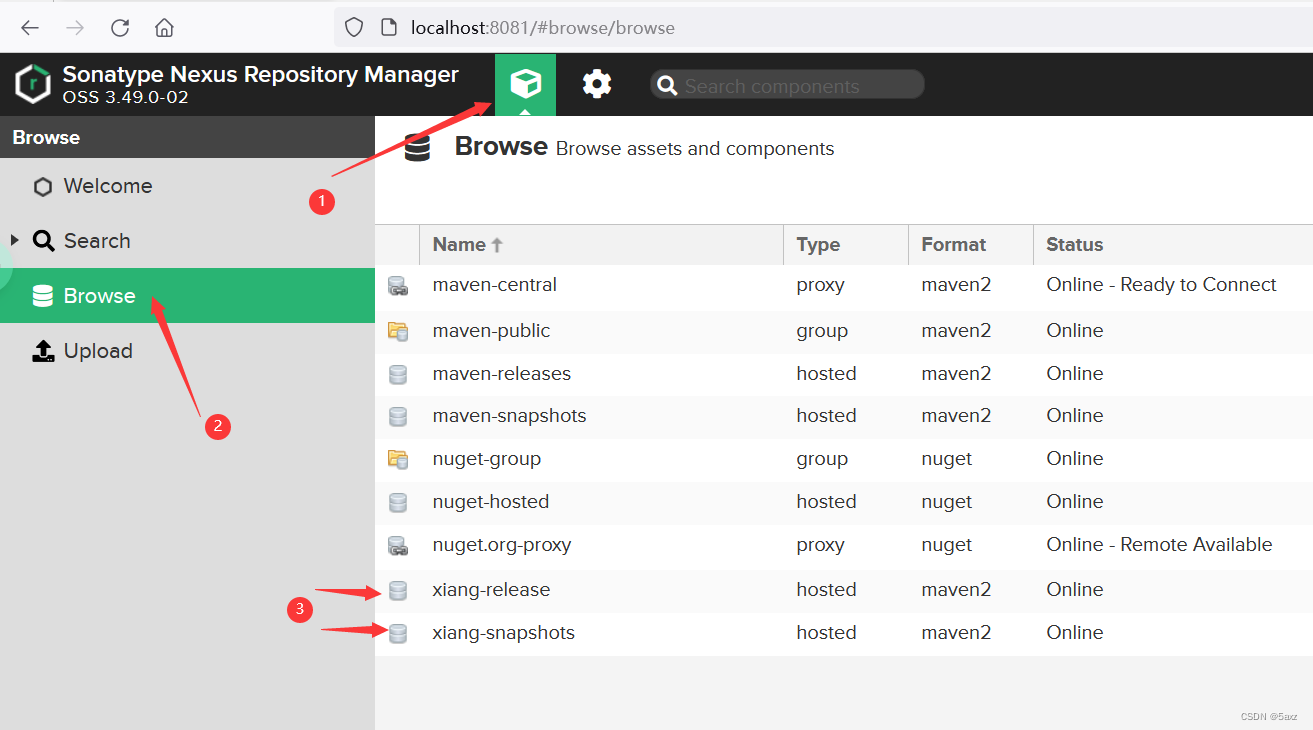
In this way, the order in which maven loads jar packages is to find the private server first, and then go to Alibaba Cloud to find it if the private server is not available~
10. Windows 10 boots automatically
Tested the bat file to start automatically after booting, to solve the problem of starting it manually every time the computer is turned on:
(1) Create a new txt file named NexusStart,
(2) Write the following code (note your nexus path),
(3) Change the file suffix to .bat
(4) Put it into the Windows self-starting file, the path is as follows:
C:\Users\用户名\AppData\Roaming\Microsoft\Windows\Start Menu\Programs\Startup

@echo on
F:
cd "F:\Java\Maven\nexus\nexus-3.49.0-02\bin\"
start nexus /run nexus
Code Analysis:
Open the display of the DOS command line,
enter the F disk ,
enter the bin path of nexus, and
execute the command nexus /run nexus
Done, so that it can start automatically every time you turn on~
About the end of the configuration of Maven private server Nexus-3.49.0, thank you for reading.
END