0.Preface
DCC-DIF is an article from 2022CVPR, the full name is Learning Deep Implicit Functions for 3D Shapes with Dynamic Code Clouds[ Paper ].
Deep Implicit Functions (DIF) have emerged as an efficient 3D shape representation method. To capture geometric details, current methods typically learn DIF using local latent codes, which spatially discrete and regular 3D grids (or octrees), and store local codes at grid points (or octrees). fork tree node). Given a query point, local features are computed by interpolating its neighboring local codes with their locations. However, native codes are limited in discrete and regular locations (e.g., grid points), which makes it difficult to optimize code locations and limits their expressive power. In order to solve this problem, the author of the paper proposes to use Dynamic Code Cloud to learn DIF, named DCC-DIF. The author's method associates local codes with learnable position vectors, and the position vectors are continuous and can be dynamically optimized, thereby improving representation capabilities. In addition, the authors of the paper propose a novel code position loss to optimize code positions and heuristically guide more local latent codes to be distributed in regions with complex geometric details. In contrast to previous methods, DCC-DIF more efficiently represents 3D shapes with a small number of local codes and improves reconstruction quality. Experiments show that DCC-DIF achieves better performance than previous methods
1. Code and data set download
1.1. Provided by the author of the paper
- Data processing (preprocessing code, inference code, data demo): [ Data ] (need to circumvent the firewall)
- DCC-DIF main program (training, verification code): [ Pytorch Code ]
1.2. Other sources
-
Occupancy Network is used to extract the geometric information of mesh and convert it into watertight mesh
-
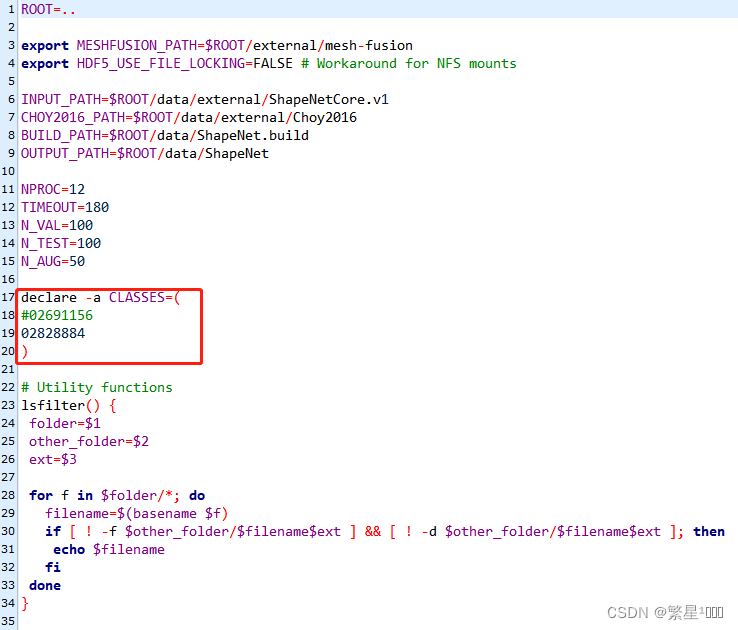
The article uses ShapeNetCore.v1 , and you need to register a ShapeNet account to download. The complete data set is 30.3GB, and you can also download a subset of it. The categories used in the article are as follows:
‘04256520’: ‘sofa’
‘02691156’: ‘plane’
‘03636649’: ‘lamp’
‘04401088’: ‘phone’
‘04530566’: ‘watercraft’
‘03691459’: ‘speaker’
‘03001627’: ‘chair’
‘02933112’: ‘cabinet’
‘04379243’: ‘table’
‘03211117’: ‘display’
‘02958343’: ‘car’
‘02828884’: ‘bench’
‘04090263’: ‘rifle’
References: [3D Vision] ShapeNet Dataset Introduction
2. Environment configuration
2.1 Data preprocessing
2.1.1 Occupancy Networks
a. First establish the basic environment according to environment.yaml
conda env create -f environment.yaml
conda activate mesh_funcspace
b. Compile extension module
cd occupancy_networks
python setup.py build_ext --inplace
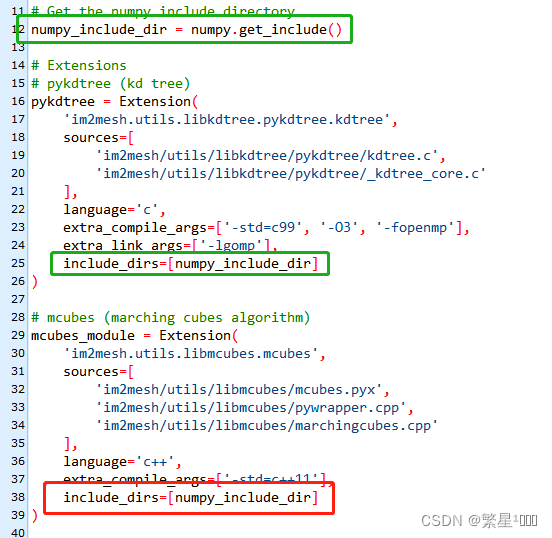
If an error that numpy cannot be found is reported, add numpy paths to all extensions in setup.py (some are not necessary and it is okay, multiple paths are not in the way). The original path for numpy is only in pykdtree.
pykdtree,
mcubes_module,
triangle_hash_module,
mise_module,
simplify_mesh_module,
voxelize_module,
dmc_pred2mesh_module,
dmc_cuda_module,
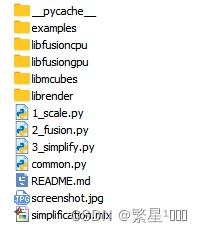
c. Compile the modules in mesh_fusion
After the module here is compiled, call it to scale, fuse, and simplify the mesh
. Use the following command to compile. If the compilation error is reported:
fatal error: GL/glut.h
fatal error: GL/glu.h
is missing this openGL library. , then directly apt to install, refer to ubuntu openGL installation
cd external/mesh-fusion
# build libfusiongpu
cd libfusiongpu
mkdir build
cd build
cmake ..
make
cd ..
python setup.py build_ext --inplace

#如果没有gpu,那就build libfusioncpu
cd libfusioncpu
mkdir build
cd build
cmake ..
make
cd ..
python setup.py build_ext --inplace

cd ..
# build pyrender
cd librender
python setup.py build_ext --inplace

cd ..
# build PyMCubes
cd libmcubes
python setup.py build_ext --inplace
d. Install meshlabserver
Meshlabserver is an executable program developed by meshlab, but meshlabserver will not be provided starting from version 2020.12. Please refer to the article [ubuntu] to install meshlabserver . We can just install it directly with apt
sudo apt install meshlab
e. Install parallel
GNU Parallel is a shell tool that can perform computing tasks in parallel on one or more computers.
Install
wget https://ftp.gnu.org/gnu/parallel/parallel-20190122.tar.bz2
tar jxvf parallel-20190122.tar.bz2
cd parallel-20190122
./configure
make -j 4
make install
2.1.2 sample_SDF_points
a. Create a new environment dccdif
conda env create -n dccdif
conda activate dccdif
- The requirements.txt file is as follows, but you cannot directly pip install -r requirements.txt. Because the torch installed in this way cannot be used, an error may be reported: libtorch_cuda_cu.so: cannot open shared object file: No such file or directory , because the torch installed in this way is incomplete.
numpy1.19.2
setuptools57.4.0
tinyobjloader2.0.0rc6
torch1.7.1
So you need to remove the torch in the requirements, and install it with the command on the pytorch official website . Select the command according to your own system and cuda version.
- In addition, I installed not 1.7.1 but 1.8.0 here because my GPU has a computing power of 86, and torch 1.7.1 supports a maximum computing power of 70. And 1.8.0 supports hashrate 86. Therefore, the choice should be based on the machine’s GPU computing power.
Please refer to the blog for this question: Solving CUDA error: no kernel image is available for execution on the device
pip install torch==1.8.0+cu111 torchvision==0.9.0+cu111 torchaudio==0.8.0
# 把requirments中的torch给去掉
pip install -r requirments.txt
If the download is slow, change the source, such as Tsinghua pip source
NOTE: The mesh2sdf library is also used here, which is the cuda version of mesh2sdf. You cannot directly pip install mesh2sdf, because the mesh2sdf in the pypi warehouse is a normal version, and an error will be reported when running: module 'mesh2sdf' has no attribute 'mesh2sdf_gpu ' .
b. Compile and install extensions
cd sample_SDF_points/extensions/
chmod +x build_ext.sh && ./build_ext.sh
After completion, mesh2sdf with mesh2sdf_gpu attribute is installed.
2.2 DCC-DIF main program
The DCC-DIF main program and sample_SDF_points can share the same environment.
conda activate dccdif
pip install -r requirements.txt
Here we also need to remove the torch in the requirements, and install it with the command on the pytorch official website . According to your own system, cuda version, and GPU computing power, select the corresponding version of the installation command. We have already installed it before, so we can remove it directly.
2.3 usage_demo (reasoning demo program)
It can share an environment with DCC-DIF main program and sample_SDF_points.
3. Run the code
3.1 Data preprocessing
3.1.1 Run the Occupancy Networks program
Convert the original mesh into a watertight mesh, and normalize the watertight mesh (actually, translate and scale it so that it falls on a unit cube, and the center of the model is at the center of the cube.)
Building the dataset
Alternatively, you can also preprocess the dataset yourself.
To this end, you have to follow the following steps:
- download the ShapeNet dataset v1 and put into
data/external/ShapeNet. (After downloading, put it into the corresponding directory) - download the renderings and voxelizations from Choy et al. 2016 and unpack them in
data/external/Choy2016(this may not be required) - build our modified version of mesh-fusion by following the instructions in the
external/mesh-fusionfolder (done before)
Edit scripts/config.sh and change it to the category you want to process. You can put multiple categories.
Create a data set
conda activate mesh_funcspace
cd scripts
bash dataset_shapenet/build.sh
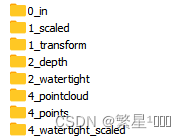
After running, 5 folders will be generated for each category.
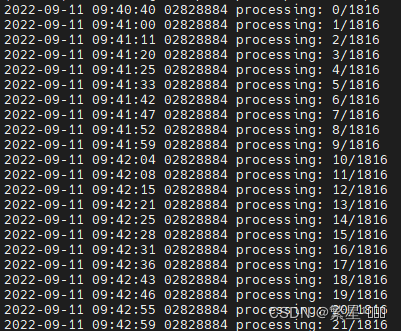
3.1.2 Run the sample_SDF_points program
The normalized wattertight mesh is sampled, and the (x, y, z) coordinates and ground truth signed distance are recorded for each sampling point.
- Modify parameters in main.py

- Run code
conda activate dccdif
cd sample_SDF_points
python main.py
Output folder output , organizational structure:
output
├── 02691156
│ ├── 10155655850468db78d106ce0a280f87.npy
│ ├── …
│ └── fff513f407e00e85a9ced22d91ad7027. npy
│
├── …
│
└── 04530566
├── 10212c1a94915e146fc883a34ed13b89.npy
├─ ─ …
└── ffffe224db39febe288b05b36358465d.npy
3.2 DCC-DIF main program
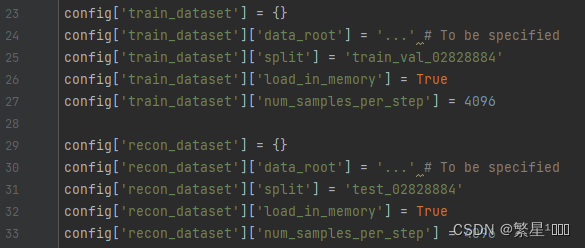
3.2.1 First modify the parameters in configs/bench.py .
The data path and split file path need to be modified.
The split file [ Data ] is given by the author of the paper. After downloading, you can extract the files inside to the output folder.
- Training data config['train_dataset']['data_root'] = address of the output folder after data preprocessing
- Test data config['recon_dataset']['data_root'] = address of the output folder after data preprocessing
- split_file: Note that the full path containing the split file name should be given
- gt_mesh_dir: The address of normalized watertight meshes generated by occupancy network in data preprocessing

3.2.2 Training
python train.py configs.bench
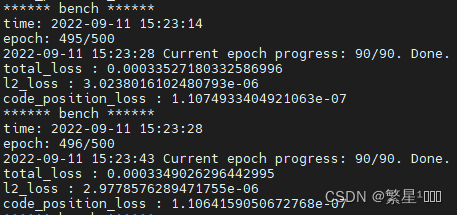
During training, the decoder and latent code parameters are saved every 100 epochs. After completion, the folder experiments is output. Its organizational structure is: experiments
├──
bench
│ ├── ckpt
│ │ ├──epoch0-decoder.pth
│ │ ├──epoch0 -decoder_lr_scheduler.pth
│ │ ├──epoch0-decoder_optimizer.pth
│ │ ├──epoch0-latent_codes.pth
│ │ ├──epoch0-latent_codes_lr_scheduler.pth
│ │ ├──epoch0-latent _codes_optimizer.pth
│ │ ├── …
│ │ └── epoch500-latent_codes_optimizer.pth
│ │
│ ├── log
│ │ ├──events.out.tfevents.1662873831.amax.3793721.0
│ │ ├── …
│ ├ ── src
│ │ ├──dataset .py
│ │ ├── …
│ │ ├──train.py
│ ├── config.json
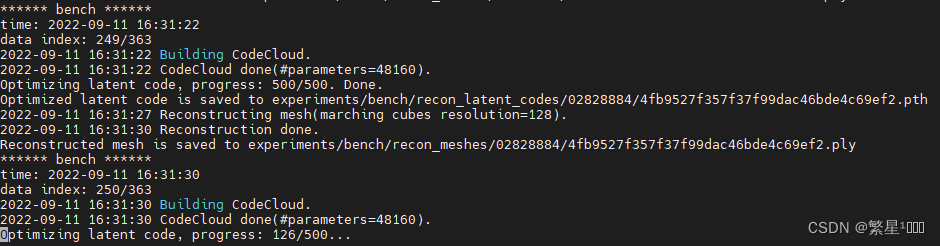
3.2.3 Rebuild
python reconstruct.py configs.bench
3.2.4 Verification
python evaluate.py configs.bench

3.3 usage_demo
Reconstruct the mesh model using pre-trained latent code and decoder decoding
python main.py
Complete the mesh model