Preface : The advantages of plug-in in Android development are self-evident. There are many articles introducing the advantages of plug-in, so I won’t go into details here. I used the DroidPlugin plug-in framework in a project a while ago. Some minor problems arose when I was preparing to put it into the production environment recently, so I decided to spend some time studying the principles of the DroidPlugin plug-in framework so that I can deal with it calmly when problems arise again. After opening the source code, I found that there are a lot of hooks, binders, classloaders, etc., and it is difficult to figure out the clue. Fortunately, there are many enthusiastic experts who have thoroughly analyzed the principles of DroidPlugin. At the end of the article, I will explain Reference article acknowledgments.
· Proxy mode
A large number of dynamic proxies are used in DroidPlugin, so if we want to understand the principle of DroidPlugin, first we need to know what a dynamic proxy is. When talking about dynamic proxies, we will inevitably think of static proxies. So what is a proxy?
The intention of the proxy pattern is to control access to the object by providing a proxy (Proxy) or placeholder. By analogy in our lives, agents can be found everywhere, among which intermediaries are a good example. It will be easier to understand if we regard agents as intermediaries in life. Just imagine, if we want to rent or buy a house, can we go through the middleman? We have great peace of mind.
1. Static proxy
In order to ensure consistency with the functional behavior of the object it represents, the proxy class generally needs to implement the same interface implemented by the entity class. The following is the structure of the most basic proxy pattern.
First define an interface for entity classes and proxy classes to implement. (For example: interface Sbuject1)
1 /**
2  * Created by liuwei on 17/3/1.
3  */
4 public interface Subject1 {


5     void method1();
6     void method2();
7 }
Then create an implementation class of Subject1.
 1 /**
 2  * 实体类
 3  * Created by liuwei on 17/3/1.
 4  */
 5 public class RealSubject1 implements Subject1 {


 6     @Override
 7     public void method1() {


 8         Logger.i(RealSubject1.class, "我是RealSubject1的方法1");
 9     }
10     @Override
11     public void method2() {


12         Logger.i(RealSubject1.class, "我是RealSubject1的方法2");
13     }
14 }
Then create a proxy class for RealSubject1.
 1 /**
 2  * 静态代理类
 3  * Created by liuwei on 17/3/1.
 4  */
 5 public class ProxySubject1 implements Subject1 {


 6     private Subject1 subject1;
 7     public ProxySubject1(Subject1 subject1) {


 8         this.subject1 = subject1;
 9     }
10     @Override
11     public void method1() {


12         Logger.i(ProxySubject1.class, "我是代理,我会在执行实体方法1之前先做一些预处理的工作");
13         subject1.method1();
14     }
15     @Override
16     public void method2() {


17         Logger.i(ProxySubject1.class, "我是代理,我会在执行实体方法2之前先做一些预处理的工作");
18         subject1.method2();
19     }
20 }
It can be found that the proxy mode is still very simple. We will soon write a basic proxy structure. Next, we will write a test class and run it to see the effect.
 1 /**
 2  * Created by liuwei on 17/3/1.
 3  */
 4 public class ProxyTest {


 5     public static void main(String[] args){


 6         // static proxy
 7         ProxySubject1 proxySubject1 = new ProxySubject1(new RealSubject1());
 8         proxySubject1.method1();
 9         proxySubject1.method2();
10 }
The output is very simple and will not be posted here. We see that in the test class, we only need to call the object of ProxySubject1 to implement the operation of RealSubject1. At the same time, we also found that we need to pass in the object of RealSubject1 when initializing ProxySubject1. Of course, we can completely encapsulate the object of RealSubject1 into the proxy class. This is just a different manifestation of the proxy mode according to business needs. Many people use this as the basis for distinguishing the proxy mode and the adapter mode. This is wrong. Since the focus of this article is to pave the way for the principle of plug-in, as for the difference between the proxy mode and the adapter mode, I will write a special article in the future. Introduction, I won’t go into details here.
In fact, this simple example may not reflect the advantages of the proxy mode, and it seems more troublesome to create one more proxy class. In fact, the obvious benefit of the proxy mode is that access to entity objects can be controlled through the proxy, thereby improving security. Moreover, some preprocessing and aftermath work can be done when calling the methods of the entity class. This ensures that the entity class can put aside complex business logic and only implement some of the purest functions, improving the readability and flexibility of the code. sex.
2. Dynamic proxy
Dynamic proxy is the focus of this article and is also the basis of the DroidPlugin plug-in framework. Dynamic proxy sounds quite high-end at first, but fortunately, it is not as unpredictable as we think, so we don't have to be afraid of it.
Suppose we add another RealSubject2 class in the static proxy example above, and the interface it implements is Subject2. At this time, what do we need to do if we want to proxy RealSubject2? This is simple. We can directly create a ProxySubject2 by analogy with ProxySubject1. This is okay, but if there are a lot of entity classes and they all implement different interfaces, then don’t we need to create a lot of proxy classes: ProxySubject1, ProxySubject2... ProxySubjectN! Is there a more elegant way? The answer is yes, dynamic proxy can solve this problem. (Of course, this is not the only advantage of dynamic proxies)
Dynamic proxy does not need to care about who is being represented during the implementation phase, and only specifies the proxy object during the running phase. Creating a dynamic proxy class is very simple. JDK has already provided us with the dynamic proxy interface InvocationHandler. We only need to implement it to create a dynamic proxy class. The following is a simple example:
 1 /**
 2  * 动态代理
 3  * Created by liuwei on 17/3/1.
 4  * 注:动态代理的步骤:
 5  *  1、写一个InvocationHandler的实现类,并实现invoke方法,return method.invoke(...);
 6  *  2、使用Proxy类的newProxyInstance方法生成一个代理对象。例如:生成Subject1的代理对象,注意第三个参数中要将一个实体对象传入
 7  *          Proxy.newProxyInstance(
 8                          Subject1.class.getClassLoader(),
 9                          new Class[] {Subject1.class},
10                          new DynamicProxyHandler(new RealSubject1()));
11
12  */
13 public class DynamicProxyHandler implements InvocationHandler {


14     private Object object;
15
16     public DynamicProxyHandler(Object object) {


17         this.object = object;
18     }
19
20     @Override
21     public Object invoke(Object proxy, Method method, Object[] args) throws Throwable {


22         Logger.i(DynamicProxyHandler.class, "我正在动态代理[" + object.getClass().getSimpleName() + "]的[" + method.getName() + "]方法");
23         return method.invoke(object, args);
24     }
25
26     /**
27      * 调用Proxy.newProxyInstance即可生成一个代理对象
28      * @param object
29      * @return
30      */
31     public static Object newProxyInstance(Object object) {


32         // 传入被代理对象的classloader,实现的接口,还有DynamicProxyHandler的对象即可。
33         return Proxy.newProxyInstance(object.getClass().getClassLoader(),
34                 object.getClass().getInterfaces(),
35                 new DynamicProxyHandler(object));
36     }
37 }
This is a dynamic proxy class named DynamicProxyHandler, in which the invoke method completes the call to the proxy object method and must be implemented. Next, it is very simple to use this type of proxy for other entity classes. Just use Proxy's newProxyInstance() method and pass in the corresponding parameters to obtain a proxy object. Next, we add some code to the test class. The code is as follows:
 1 /**
 2  * Created by liuwei on 17/3/1.
 3  */
 4 public class ProxyTest {


 5     public static void main(String[] args){


 6         // static proxy
 7         ProxySubject1 proxySubject1 = new ProxySubject1(new RealSubject1());
 8         proxySubject1.method1();
 9         proxySubject1.method2();
10
11         // 如果想对RealSubject2代理显然不得不重新再写一个代理类。
12         ProxySubject2 proxySubject2 = new ProxySubject2(new RealSubject2());
13         proxySubject2.method1();
14         proxySubject2.method2();
15
16         Logger.i(ProxyTest.class, "----------分割线----------\n");
17
18         // 如果写一个代理类就能对上面两个都能代理就好了,动态代理就解决了这个问题
19         Subject1 dynamicProxyHandler1 = (Subject1) DynamicProxyHandler.newProxyInstance(new RealSubject1());
20         dynamicProxyHandler1.method1();
21         dynamicProxyHandler1.method2();
22
23         Subject2 dynamicProxyHandler2 = (Subject2)DynamicProxyHandler.newProxyInstance(new RealSubject2());
24         dynamicProxyHandler2.method1();
25         dynamicProxyHandler2.method2();
26     }
27 }
The output is very simple and will not be given here.
3. Summary
At this point, I believe we have a basic understanding of dynamic proxies. In fact, in addition to the ordinary proxies (a type of static proxies) and dynamic proxies mentioned above, there are many other proxy modes, such as remote proxies, virtual proxies, Intelligent agents, etc. will not be introduced one by one here.
In fact, the principle of plug-in is simply to use dynamic proxies to hook some methods in the system through mechanisms such as reflection, thereby achieving the purpose of hijacking system methods to tamper with system methods. For example, you can start an Activity that is not configured in the manifest file by hooking the startActivity method of AMS. The next article will introduce the Hook mechanism in detail and the actual embodiment of reflection in Hook.
Finally, I share a set of "Advanced Materials on the Eight Major Modules of Android" written by Alibaba's senior architects to help you systematically organize messy, scattered, and fragmented knowledge, so that you can systematically and efficiently master various knowledge points of Android development. .
Due to the large content of the article and the limited space, the information has been organized into PDF documents. If you need the complete document of "Advanced Materials on Eight Modules of Android", you can add WeChat to get it for free!
PS: (There are also small benefits for using the ChatGPT robot at the end of the article!! Don’t miss it)

"Advanced Notes on the Eight Modules of Android"

Compared with the fragmented content we usually read, the knowledge points in this note are more systematic, easier to understand and remember, and are strictly arranged according to the knowledge system.
1. Source code analysis collection

2. Collection of open source frameworks

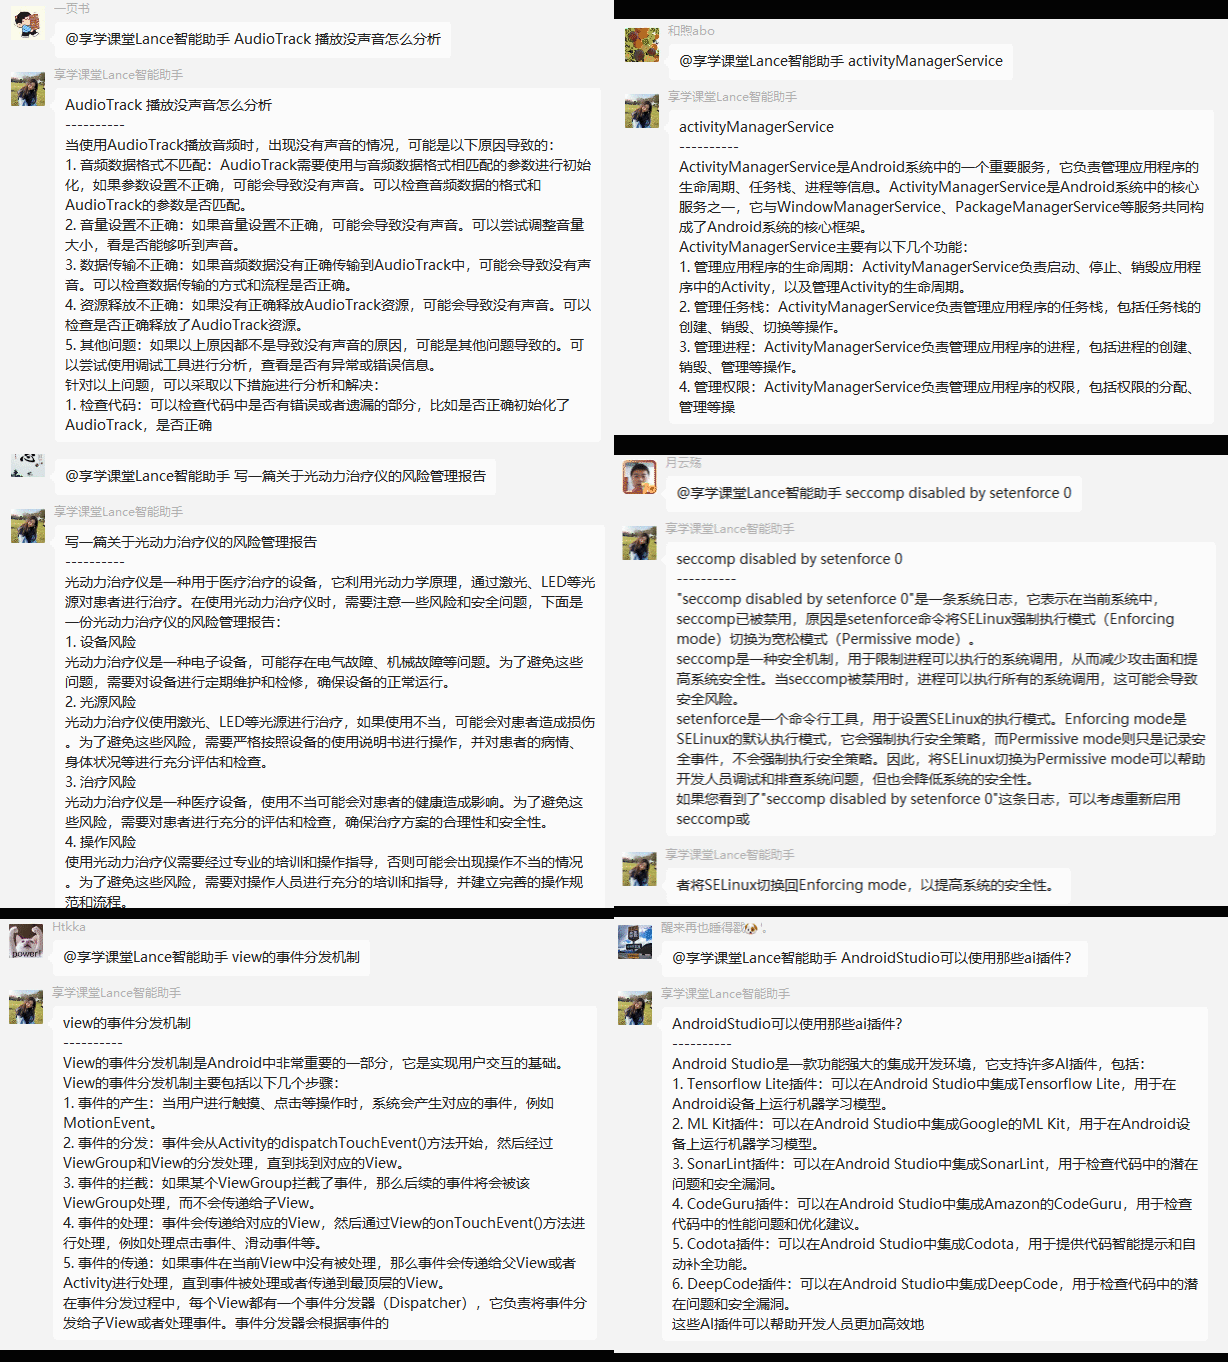
At the same time, a WeChat group chat robot based on chatGPT has been built here to answer difficult technical questions for everyone 24 hours a day .

