Preface
Spring is a very powerful Inversion of Control (IOC) framework to help separate dependencies between project components. Therefore, it can be said that the registration and management of beans by the Spring container can be said to be its core content and the most important functional part.
Therefore, this article mainly introduces: various ways to register beans with the Spring container
7 ways to register beans with the Spring IOC container
1. XML method (old method, rarely used now)
Create a file in the resource classpath: beans.xml
<?xml version="1.0" encoding="UTF-8"?>
<beans xmlns="http://www.springframework.org/schema/beans"
       xmlns:xsi="http://www.w3.org/2001/XMLSchema-instance"
       xsi:schemaLocation="http://www.springframework.org/schema/beans http://www.springframework.org/schema/beans/spring-beans.xsd">

    <bean id="person" class="com.sayabc.boot2demo1.bean.Person">
        <property name="name" value="cuzz"></property>
        <property name="age" value="18"></property>
    </bean>

</beans>
Then the main function uses ClassPathXmlApplicationContext to start the Spring container container:
    public static void main(String[] args) {
        ApplicationContext applicationContext = createNewApplicationContext();
        Person bean = applicationContext.getBean(Person.class);
        System.out.println(bean); //Person(name=fsx, age=18)
    }

    //创建、启动Spring容器
    private static ApplicationContext createNewApplicationContext() {
        return new ClassPathXmlApplicationContext("classpath:beans.xml");
    }
It can be seen from this that this bean is placed directly in the Spring container.
2. @Configuration @Bean configuration class method
Create a configuration class
/**
 * @author fangshixiang
 * @description
 * @date 2019-01-30 14:28
 */
@Configuration //该注解就相当于一个xml配置文件
public class MainConfig {

    @Bean(value = "person")
    public Person person() {
        return new Person("fsx", 18);
    }

}
In this way we use AnnotationConfigApplicationContext to start the container:
    //创建、启动Spring容器
    private static ApplicationContext createNewApplicationContext() {
        return new AnnotationConfigApplicationContext(MainConfig.class);
    }
The effect is the same as above, and a Bean can also be placed in the container.
If @Bean does not specify a value, the bean's id defaults to the name of the method name. You can specify init-method and destroy-method methods. But please note: the single-instance bean container manages the init and destroy methods of the bean, but the multi-instance bean container only helps you create and init, and Spring will not care about it after that.
@Bean related attention: @Scope, @Lazy, etc.
If it is a single instance Bean, the Bean will be created immediately when the IOC container starts, and all subsequent acquisitions will be obtained from the container (of course you can also add the @Lazy annotation to make the single instance Bean lazy loading). If it is a multi-instance Bean, the Bean will be created once when it is acquired.
3. Use @ComponentScan to scan registered components
As long as the annotation is marked, it can be scanned such as: @Controller @Service @Repository @component
Add this annotation to the configuration class:
@Configuration //该注解就相当于一个xml配置文件
@ComponentScan("com.fsx")
public class MainConfig {

}
Add a component component to the entity class so that it can scan:
@Component
public class Person {

    private String name;
    private Integer age;

}
Add a component component to the entity class so that it can scan:
@Component
public class Person {

    private String name;
    private Integer age;

}
You can see the output of starting the Spring container:
    //创建、启动Spring容器
    private static ApplicationContext createNewApplicationContext() {
        return new AnnotationConfigApplicationContext(MainConfig.class);
    }

输出为:
Person(name=null, age=null)
Note: In this scanning method, please ensure that there is an empty constructor, otherwise an error will be reported. . .
@ComponentScan has many properties to achieve more accurate scanning. For example: basePackageClasses, includeFilters, excludeFilters, lazyInit, useDefaultFilters, etc. It should be noted that for includeFilters to take effect, useDefaultFilters=false is required, otherwise the default is to scan all
The filter type enumerated by FilterType can achieve precise matching of annotations, regular expressions, etc. Of course, you can also CUSTOM your own implementation of the interface to filter, which is very powerful.
4. @Conditional registers the Bean with Spring mid-term according to the conditions
 /*
 * @author Phillip Webb
 * @author Sam Brannen
 * @since 4.0
 * @see Condition
 */
@Target({ElementType.TYPE, ElementType.METHOD})
@Retention(RetentionPolicy.RUNTIME)
@Documented
public @interface Conditional {

	/**
	 * All {@link Condition}s that must {@linkplain Condition#matches match}
	 * in order for the component to be registered.
	 */
	Class<? extends Condition>[] value();

}
This interface is provided by Spirng4. This interface is used extensively at the bottom of SpringBoot to register beans according to conditions.
Judging from the attribute value of the annotation, we can pass in the Condition condition, so we can pass in the system's own, or we can implement this interface ourselves and register the Bean according to our needs. As can be seen from the
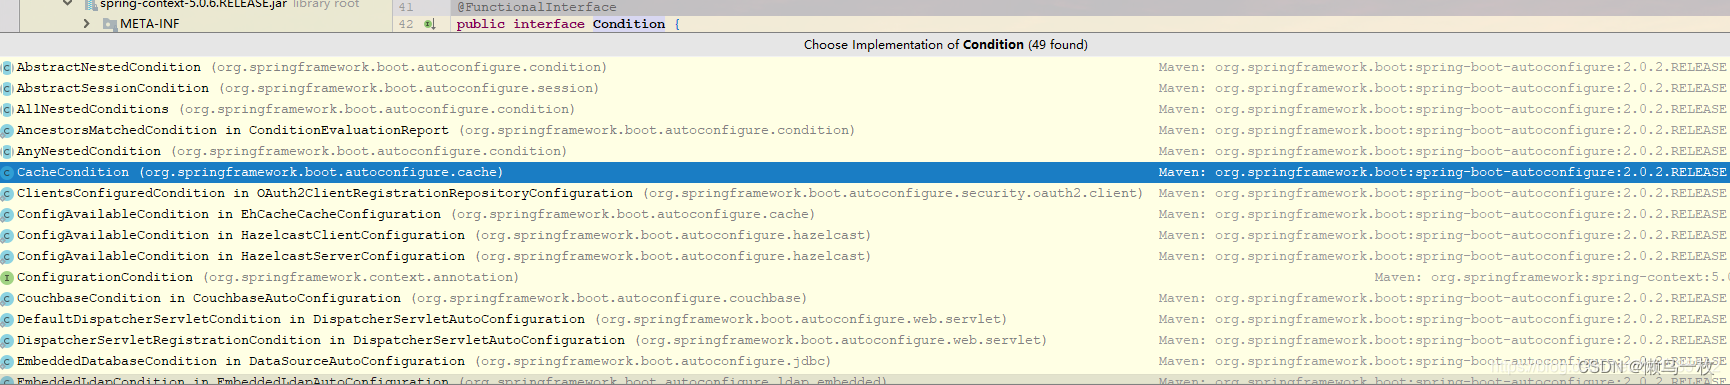
above figure, the SpringBoot project There are a large number of implementations of this interface in China. This article uses its own implementation to see the power of registering beans based on conditions.
For example, we want to implement the following functions:
if the system is windows, inject "bill" into the container; if the system is linux, inject "linus" into the container
  public class WindowCondition implements Condition{

      /**
       * @param context 判断条件
       * @param metadata 注释信息
       * @return boolean
       */
      @Override
      public boolean matches(ConditionContext context, AnnotatedTypeMetadata metadata) {
          Environment environment = context.getEnvironment();
          String property = environment.getProperty("os.name");
          if (property.contains("Windows")) {
              return true;
          }
          return false;
      }
  }
It should be noted that context also has the following methods:
  // 能获取ioc使用的beanfactory
  ConfigurableListableBeanFactory beanFactory = context.getBeanFactory();
  // 能获取到类加载器
  ClassLoader classLoader = context.getClassLoader();
  // 获取到环境变量
  Environment environment = context.getEnvironment();
  // 获取到Bean定义的注册类
  BeanDefinitionRegistry registry = context.getRegistry();
The writing method of LinuxCondition class is briefly described. The configuration classes are as follows:
@Configuration
public class MainConfig2 {

    @Conditional({WindowCondition.class})
    @Bean("bill")
    public Person person01() {
        return new Person("Bill Gates", 60);
    }
    @Conditional({LinuxCondition.class})
    @Bean("linux")
    public Person person02() {
        return new Person("linus", 45);
    }

}
Run: (You can set the runtime parameters during testing: -Dos.name=linux)
结果我们会发现,注册的Bean已经按照我们的条件去注册了
Note: @Conditonal annotation can be annotated not only on methods, but also on classes. If the annotation is on the configuration class, then if it does not take effect, the configuration class will no longer take effect.
5. @Improt quickly imports a component
@Improt fast import is particularly important and plays a very critical role in the SpringBoot automatic assembly process.
@Target(ElementType.TYPE)
@Retention(RetentionPolicy.RUNTIME)
@Documented
public @interface Import {

	/**
	 * {@link Configuration}, {@link ImportSelector}, {@link ImportBeanDefinitionRegistrar}
	 * or regular component classes to import.
	 */
	Class<?>[] value();

}
@Import can import third-party packages or classes written by yourself, which is more convenient. The Id defaults to the full class name (you need to pay attention to this)
For example, create a new class Color:
public class Color {
}
On the configuration class:
@Import({Color.class})
@Configuration
public class MainConfig2 {}
6、ImportSelector和ImportBeanDefinitionRegistrar
ImportSelector:
public class MyImportSelector implements ImportSelector{

    // 返回值就导入容器组件的全类名
    // AnnotationMetadata:当前类标注的@Import注解类的所有注解信息
    @Override
    public String[] selectImports(AnnotationMetadata importingClassMetadata) {
        return new String[] {"com.cuzz.bean.Car"};
    }
}
In the configuration class, import via @Import
@Import({Color.class, MyImportSelector.class})
@Configuration
public class MainConfig2 {}
In this way we find that the Car class has been imported.
ImportBeanDefinitionRegistrar:
public class MyImportBeanDefinitionRegistrar implements ImportBeanDefinitionRegistrar {
    /**
     * @param importingClassMetadata 当前类的注解信息
     * @param registry 注册类
     */
    @Override
    public void registerBeanDefinitions(AnnotationMetadata importingClassMetadata, BeanDefinitionRegistry registry) {
        // 查询容器
        boolean b = registry.containsBeanDefinition("com.cuzz.bean.Car");
        // 如果有car, 注册一个汽油类
        if (b == true) {
            // 需要添加一个bean的定义信息
            RootBeanDefinition rootBeanDefinition = new RootBeanDefinition(Petrol.class);
            // 注册一个bean, 指定bean名
            registry.registerBeanDefinition("petrol", rootBeanDefinition);
        }

    }
}
Configuration class:
@Import({Color.class, MyImportSelector.class, MyImportBeanDefinitionRegistrar.class})
@Configuration
public class MainConfig2 {}
For use in Spring Boot, for example:
the parsing of the annotation @ServletComponentScan, as can be seen from the following code:
@Target(ElementType.TYPE)
@Retention(RetentionPolicy.RUNTIME)
@Documented
@Import(ServletComponentScanRegistrar.class)
public @interface ServletComponentScan {}
For use in Spring Boot, for example:
the parsing of the annotation @ServletComponentScan, as can be seen from the following code:
@Target(ElementType.TYPE)
@Retention(RetentionPolicy.RUNTIME)
@Documented
@Import(ServletComponentScanRegistrar.class)
public @interface ServletComponentScan {}
It is registered and parsed by ServletComponentScanRegistrar. Take a look at this class:
class ServletComponentScanRegistrar implements ImportBeanDefinitionRegistrar {}
It is a standard ImportBeanDefinitionRegistrar. Then I did a lot of things in the registerBeanDefinitions method: such as adding annotated post-processors, etc.
7. Use FactoryBean to register components
FactoryBeans. This Bean is very important, because third-party frameworks that integrate with Spring are mostly achieved by implementing this interface.

public interface FactoryBean<T> {
	T getObject() throws Exception;
	Class<?> getObjectType();
	default boolean isSingleton() {
		return true;
	}
}
For example, I will implement this Bean interface myself:
public class ColorFactoryBean implements FactoryBean<Color> {
    // 返回一个Color对象
    @Override
    public Color getObject() throws Exception {
        return new Color();
    }

    @Override
    public Class<?> getObjectType() {
        return Color.class;
    }
    // 是否为单例
    @Override
    public boolean isSingleton() {
        return true;
    }
}
Inject into the container through @Bean:
    @Bean
    public ColorFactoryBean colorFactoryBean() {
        return new ColorFactoryBean();
    }
have a test:
@Test
public void test05() {
    AnnotationConfigApplicationContext applicationContext = new AnnotationConfigApplicationContext(MainConfig2.class);

    Object bean = applicationContext.getBean("colorFactoryBean");
    // 工厂bean调用的是getClass()方法
    System.out.println("colorFactoryBean的类型是: " + bean.getClass());
}
Output it and find that the method called by the bean at this time is the getObjectType method. The output is: class com.fsx.boot2demo1.bean.Color
If you need to get the FactoryBean itself, you can add an "&" logo in front of the id.
Object bean2 = applicationContext.getBean("&colorFactoryBean");
The output at this time is: com.fsx.boot2demo1.bean.ColorFactoryBean
Raising a question: Why not use @Bean directly, but use FactoryBean?
There are two types of beans in Spring, one is a common bean, and the other is a factory bean, namely FactoryBean. FactoryBean is different from ordinary beans in that the object returned is not an instance of the specified class, but the object returned by the getObject method of the FactoryBean. Whether the created object is a singleton is determined by the return in isSingleton.
Official explanation:
FactoryBean is usually used to create more complex beans. General beans can be configured directly with xml. However, if the creation process of a bean involves many other beans and complex logic, it is more difficult to configure with xml. This You can consider using FactoryBean.
My explanation:
Simply put: it is used to handle complex beans, which need to do a lot of things during the initialization process (such as MyBatis's SqlSessionFactoryBean, etc.), thereby shielding the internal implementation and a solution that is friendly to the caller/user plan.
If this kind of Bean is configured using xml, it is almost impossible. When annotations are used to drive @Bean, although it is possible, it is obviously very unfriendly to calls (because when we use MyBatis, we don't want to know what it has to do during initialization). So using this method is the most elegant solution. Spring has supported this interface since 1.0, which is excellent~
Summary
Spring provides many ways to register beans in the container to meet various needs. Each method has its unique usage scenarios. For example, @Bean is the most commonly used, and @Import import Bean is widely used in SpringBoot's automatic assembly.
A mature framework is very taboo about providing closed and incomplete functions. Spring is obviously very good at the "opening and closing principle" and is worth learning in depth.