Since its birth, Apache RocketMQ has been widely adopted by many enterprise developers and cloud vendors because of its simple architecture, rich business functions, and strong scalability. After more than ten years of large-scale scenario polishing, RocketMQ has become the industry consensus preferred solution for financial-grade reliable business messages, and is widely used in business scenarios in the Internet, big data, mobile Internet, Internet of Things and other fields.
Official homepage: RocketMQ · Official website | RocketMQ
Official documentation: Why choose RocketMQ | RocketMQ
Download link: https://dlcdn.apache.org/rocketmq/5.0.0/rocketmq-all-5.0.0-bin-release.zip
1. Download and install Apache RocketMQ

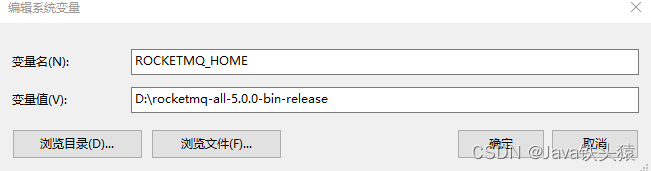
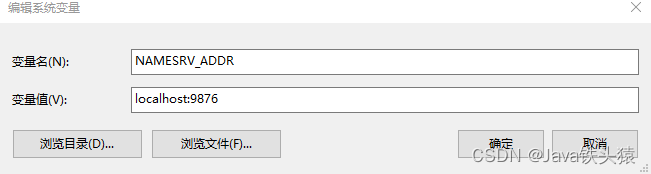
2. Configure system variables
(1), ROCKETMQ_HOME local decompression path
(2)、NAMESRV_ADDR localhost:9876
3. Start NameServer
Run powerShell as an administrator, otherwise the service will crash! ! !
If the following prompt appears, the service is started successfully and you can proceed to the next step.

The startup error prompts the following error. Please check whether the service decompression path contains spaces. If it exists, you need to migrate and modify the file path.
 4. Start Broker+Proxy
For a single node, there is no need to start the Broker and Proxy separately. The reason is explained in the official documentation.

Also follow step three to start mqbroker in the service bin directory.
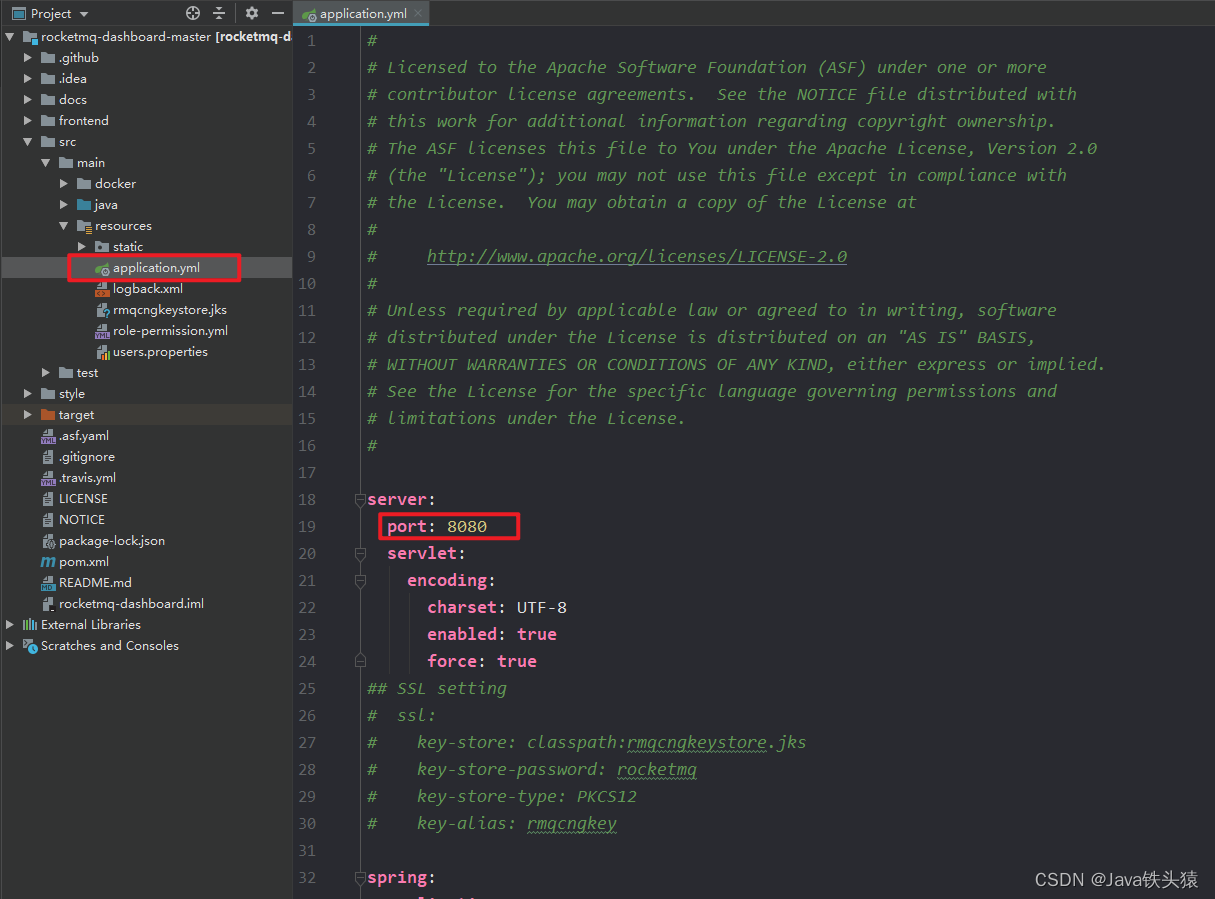
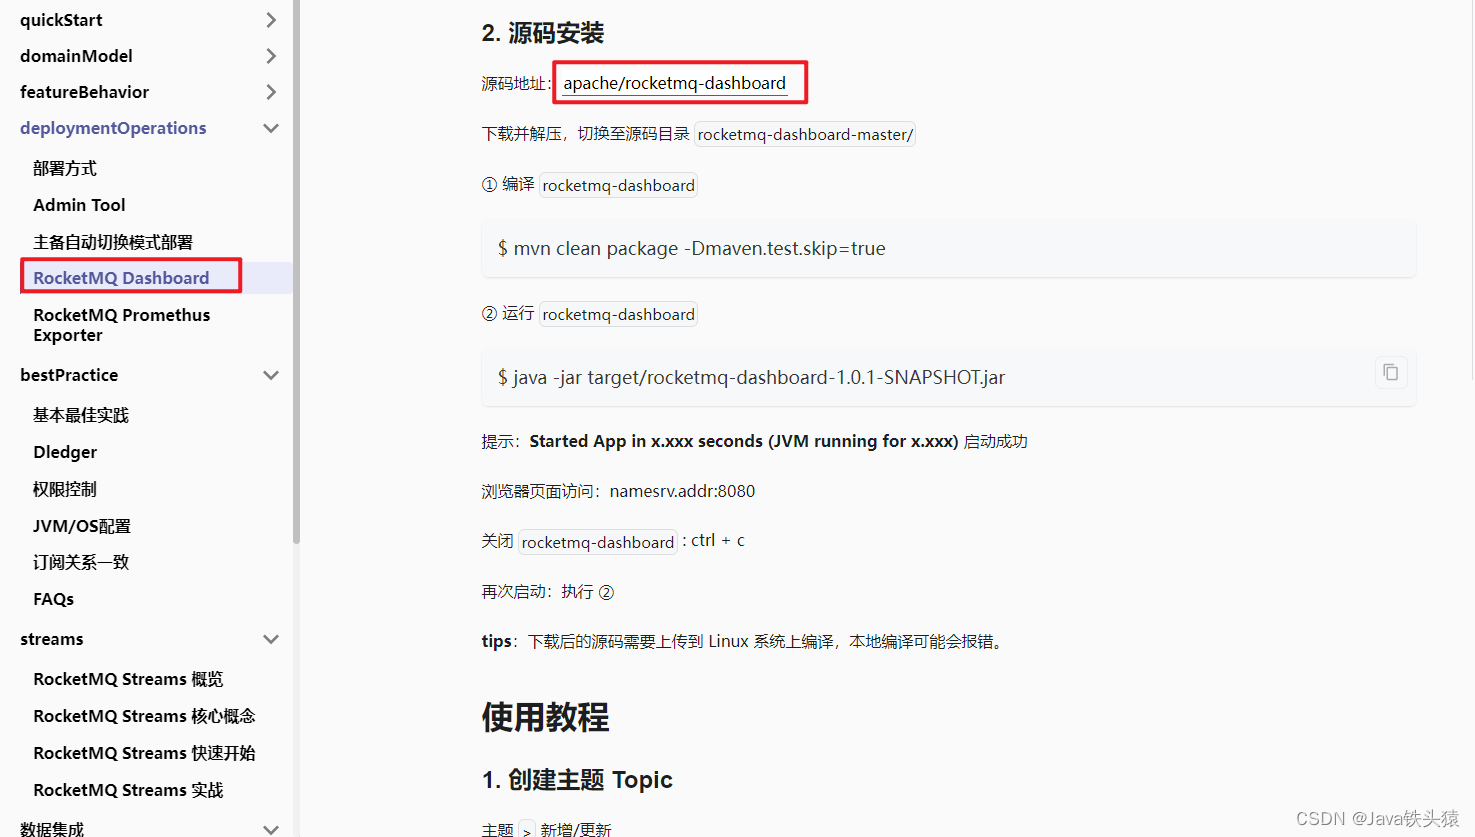
 5. Visual management tool——RocketMQ Dashboard
Download the zip package, decompress it locally and use the compilation tool to execute it! pathUrl:
6. Test middleware connectivity
Access the local port 8080 to see if the connection is normal

7. Add the following dependencies in the pom.xml file to introduce the Java dependency library
<dependency>
    <groupId>org.apache.rocketmq</groupId>
    <artifactId>rocketmq-spring-boot-starter</artifactId>
    <version>2.2.1</version>
</dependency>
8. application.properties configure service port and mq connection
server.port=8081
rocketmq.name-server=127.0.0.1:9876
rocketmq.producer.group=test1
rocketmq.producer.send-message-timeout=3000
rocketmq.producer.compress-message-body-threshold=4096
rocketmq.producer.max-message-size=4194304
rocketmq.producer.retry-times-when-send-failed=3
rocketmq.producer.retry-next-server=true
rocketmq.producer.retry-times-when-send-async-failed=3
9. Create a message 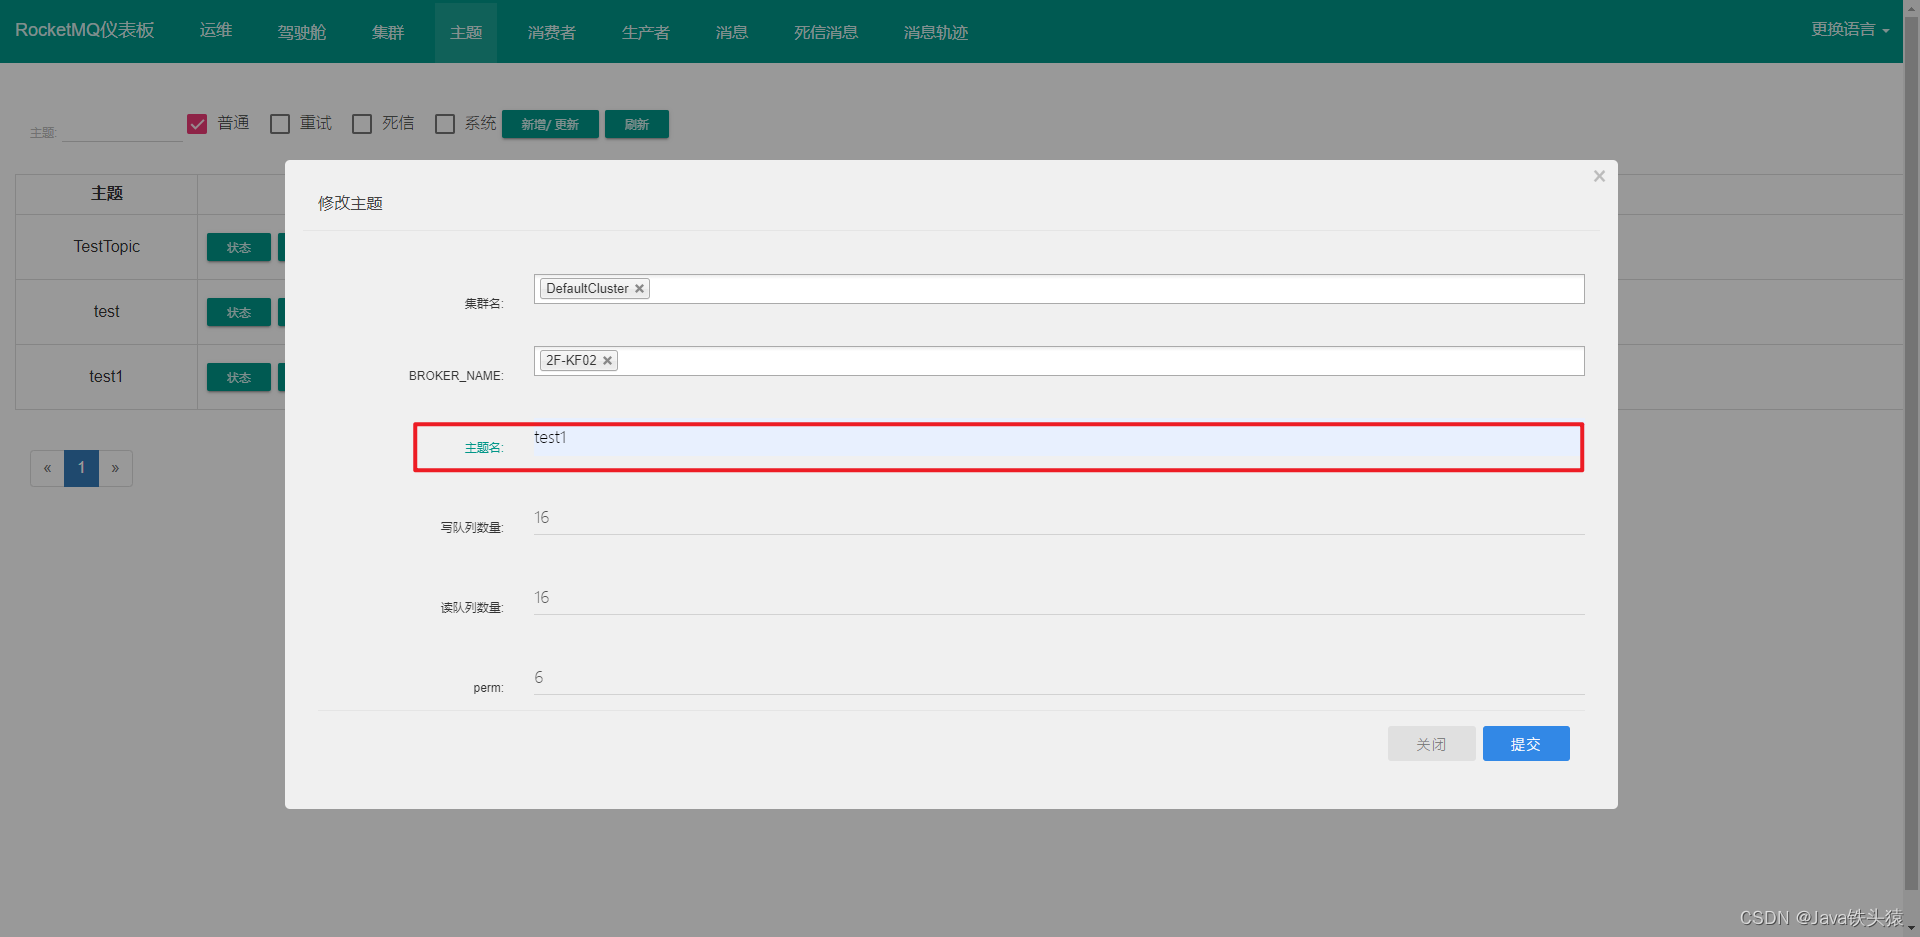 queue
queue
10. Message queue producer, part of the push code is as follows:
@Autowired
private RocketMQTemplate rocketMQTemplate;
/**
 * 发送普通消息
 * convertAndSend(String destination, Object payload) 发送字符串比较方便
 */
@RequestMapping("/send")
public void send(){
    rocketMQTemplate.convertAndSend("test1","test-message");
}
/**
 * 发送同步消息
 */
@RequestMapping("/testSyncSend")
public void testSyncSend(){
    //参数一:topic   如果想添加tag,可以使用"topic:tag"的写法
    //参数二:消息内容
    SendResult sendResult = rocketMQTemplate.syncSend("test1","同步消息测试");
    System.out.println(sendResult);
}
/**
 * 发送异步消息
 */
@RequestMapping("/testASyncSend")
public void testASyncSend(){
    //参数一:topic   如果想添加tag,可以使用"topic:tag"的写法
    //参数二:消息内容
    //参数三:回调
    rocketMQTemplate.asyncSend("test1", "异步消息测试", new SendCallback() {
        @Override
        public void onSuccess(SendResult sendResult) {
            System.out.println(sendResult);
        }
        @Override
        public void onException(Throwable throwable) {
            System.out.println("消息发送异常");
            throwable.printStackTrace();
        }
    });
}
/**
 * 发送单向消息
 */
@RequestMapping("/testOneWay")
public void testOneWay(){
    for (int i = 0; i <100000000 ; i++) {
        //参数一:topic   如果想添加tag,可以使用"topic:tag"的写法
        //参数二:消息内容
        rocketMQTemplate.sendOneWay("test1","单向消息测试测试下"+i);
    }
}
11. Consumer of consumption queue information
@Service
@RocketMQMessageListener(consumerGroup = "test1",topic = "test1")
public class RocketMQConsumerListener implements RocketMQListener<String> {
    @Override
    public void onMessage(String s) {
        System.out.println("消费消息:"+s);
    }
}
12. Postmain tests the push data and consumes it. This completes everything
The test cases have been uploaded to gitee pathUrl: https://gitee.com/yang-zhaopeng06022021/rocket_demo.git ![]() https://gitee.com/yang-zhaopeng06022021/rocket_demo.git
https://gitee.com/yang-zhaopeng06022021/rocket_demo.git