一. Eureka介绍
Eureka有三种角色
1. Register Server: 服务注册中心,它是一个Eureka Server ,提供服务注册和发现功能
2. Provider Server:服务提供者,它是一个Eureka Client ,提供服务
3. Consumer Server: 服务消费者,它是一个Eureka Client,消费服务
服务消费的过程:
1. 需要有一个服务注册中心Eureka server
2. 服务提供者Eureka Client 向服务注册中心Eureka Server注册,将自己的IP,服务名通过Rest API提交给注册中心Eureka server
3. 服务消费者,也向服务注册中心Eureka Server注册,同时获取到一份服务注册的列表,该列表包含了向服务中心注册的所有服务信息,信息中包含了服务的IP地址,这样消费者就可以通过IP地址进行http远程调用消费服务提供者提供的服务
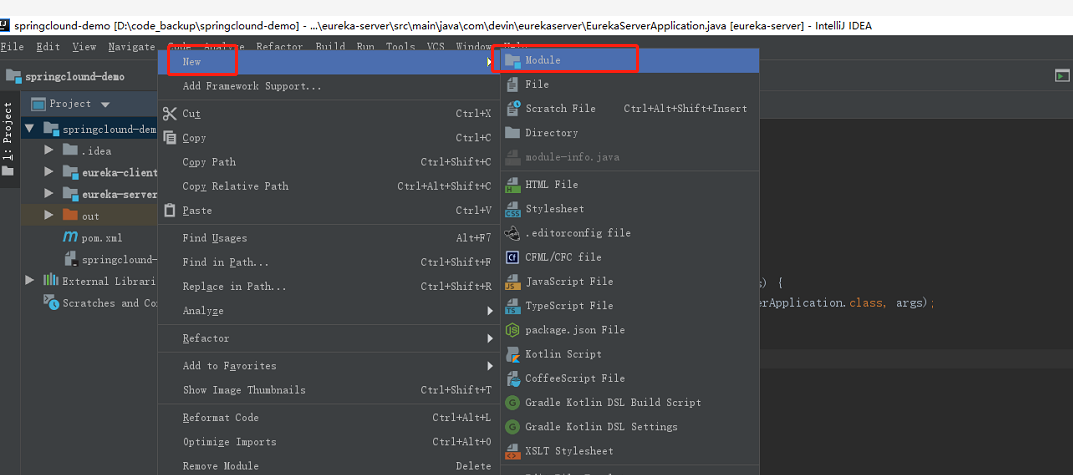
二 项目搭建
1. 首先新建一个maven项目
删掉 src目录,修改pom中packaging 为pom

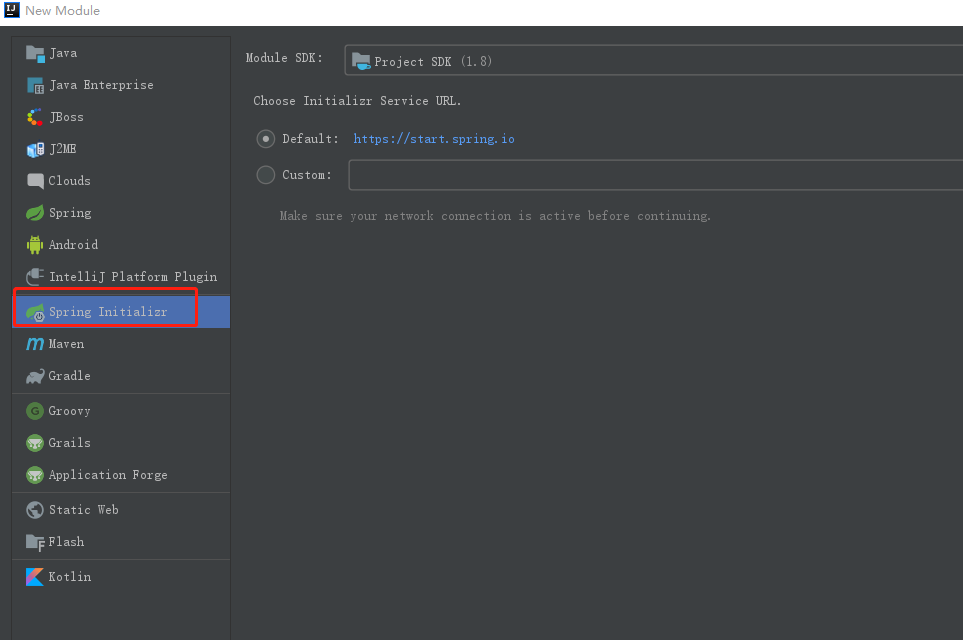
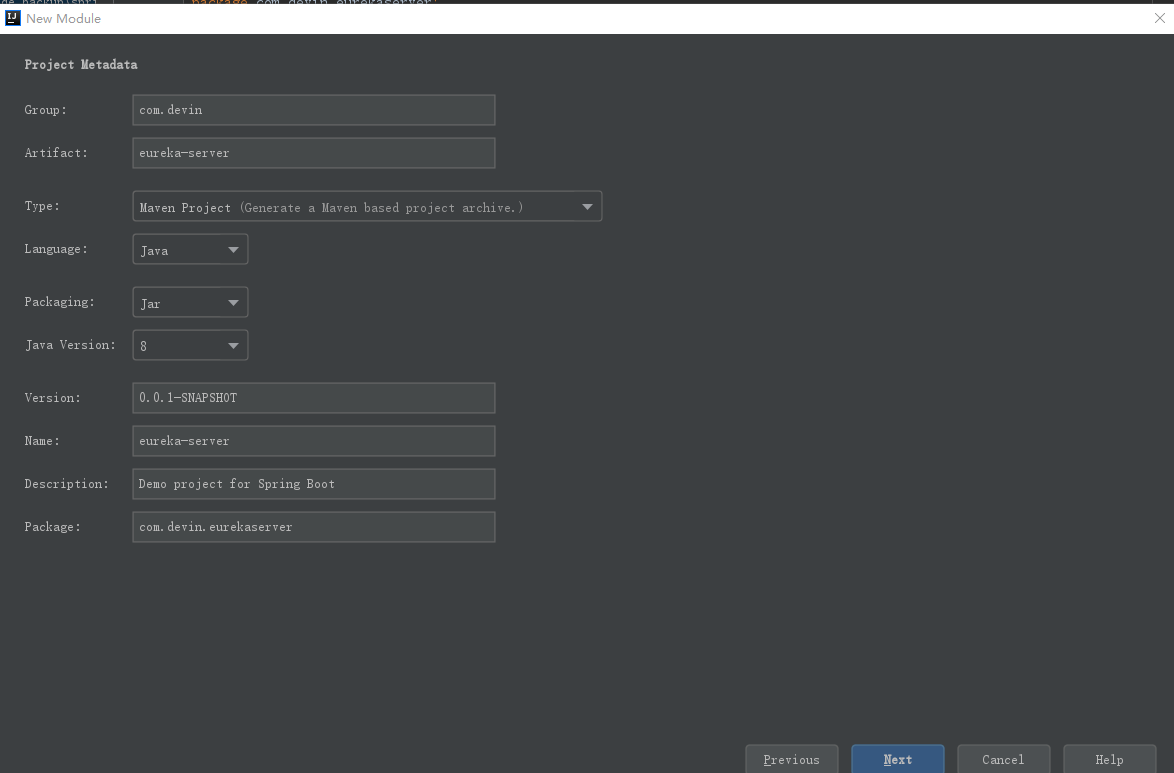
2. 在上面新建的项目上新建Eureka Server 注册中心Module
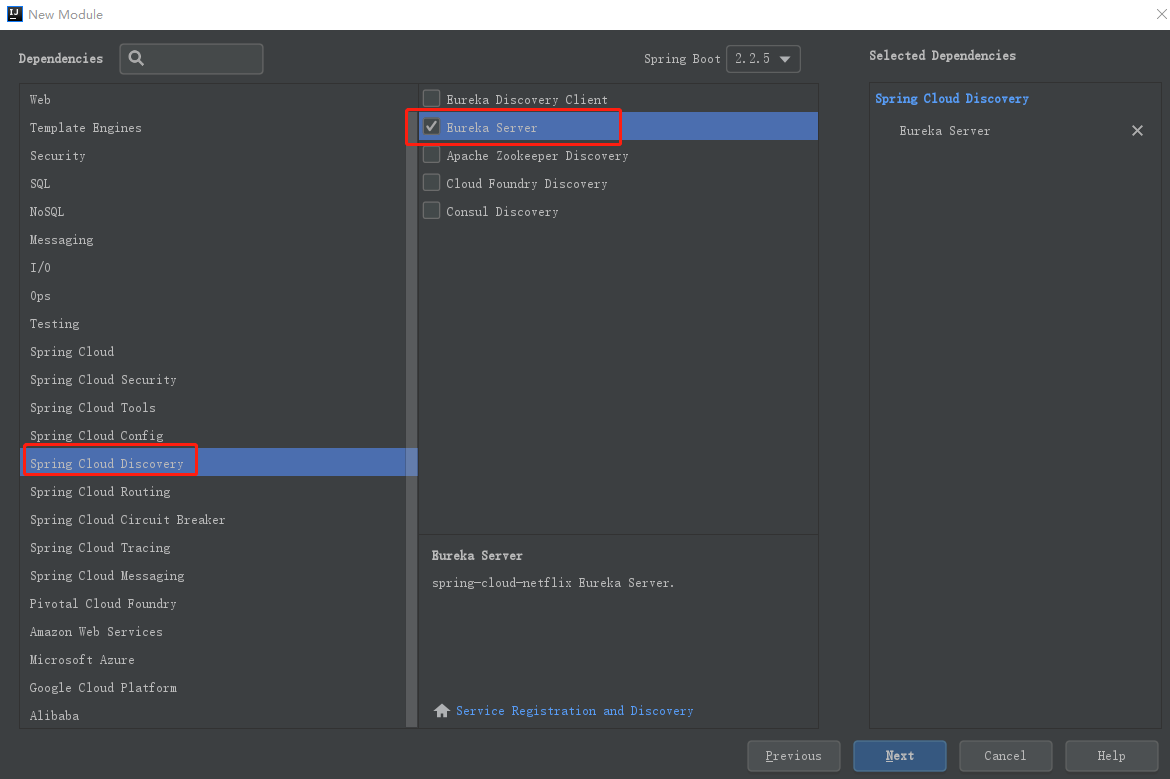
创建完,待jar包下载完后,添加 application.yml文件
server:
  port: 8761                   # Eureka-server 服务端接口
eureka:
  instance:
    hostname: localhost
  client:
    registerWithEureka: false
    fetchRegistry: false
    serviceUrl:
      defaultZone: http://${eureka.instance.hostname}:${server.port}/eureka/
接下来需要在入口类上添加 @EnableEurekaServer 开启Eureka Server功能
import org.springframework.boot.SpringApplication;
import org.springframework.boot.autoconfigure.SpringBootApplication;
import org.springframework.cloud.netflix.eureka.server.EnableEurekaServer;

@SpringBootApplication
@EnableEurekaServer
public class EurekaServerApplication {

    public static void main(String[] args) {
        SpringApplication.run(EurekaServerApplication.class, args);
    }

}
至此,Eureka Server 搭建完成,通过 http://localhost:8761 即可访问 ,只是现在还没有任何实例注册

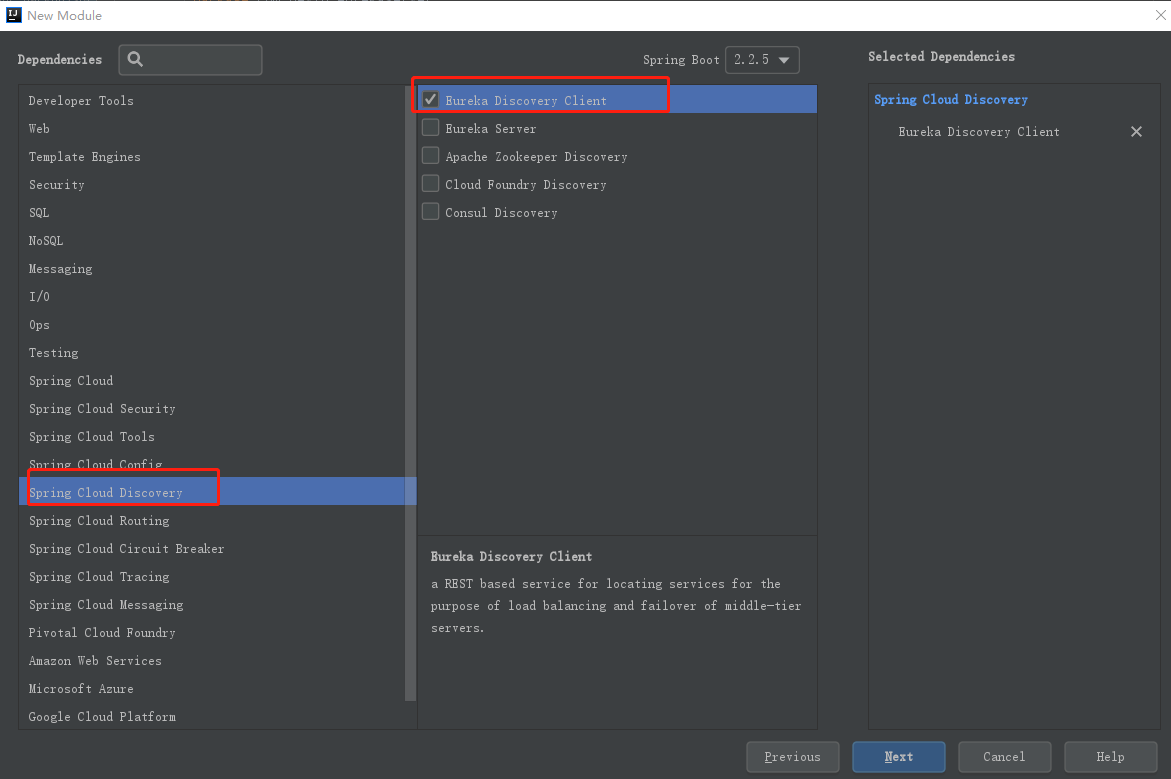
3. Eureka Client 编写
同上,新建一个Module,在spring cloud discovery 选择 Eureka Discovery Client
新建好后在pom文件中添加对web的支持
     <dependency>
            <groupId>org.springframework.boot</groupId>
            <artifactId>spring-boot-starter-web</artifactId>
        </dependency>

添加配置文件 application.yml ,将Eureka client在服务端注册
eureka:
  client:
    serviceUrl:
      defaultZone: http://localhost:8761/eureka/
server:
  port: 8762
spring:
  application:
    name: eureka-client
在入口函数上开启 @EnableEurekaClient
import org.springframework.boot.SpringApplication;
import org.springframework.boot.autoconfigure.SpringBootApplication;
import org.springframework.cloud.netflix.eureka.EnableEurekaClient;

@SpringBootApplication
@EnableEurekaClient
public class EurekaClientApplication {

    public static void main(String[] args) {
        SpringApplication.run(EurekaClientApplication.class, args);
    }

}
编写一个测试接口
import org.springframework.beans.factory.annotation.Value;
import org.springframework.web.bind.annotation.GetMapping;
import org.springframework.web.bind.annotation.RestController;

/**
 * @author Devin Zhang
 * @className HelloController
 * @description TODO
 * @date 2020/3/17 14:58
 */

@RestController
public class HelloController {

    @Value("${server.port}")
    private String port;


    @GetMapping("/sayHello")
    public String sayHello(String msg) {
        return "hello " + msg + ", my port is :" + port;
    }
}
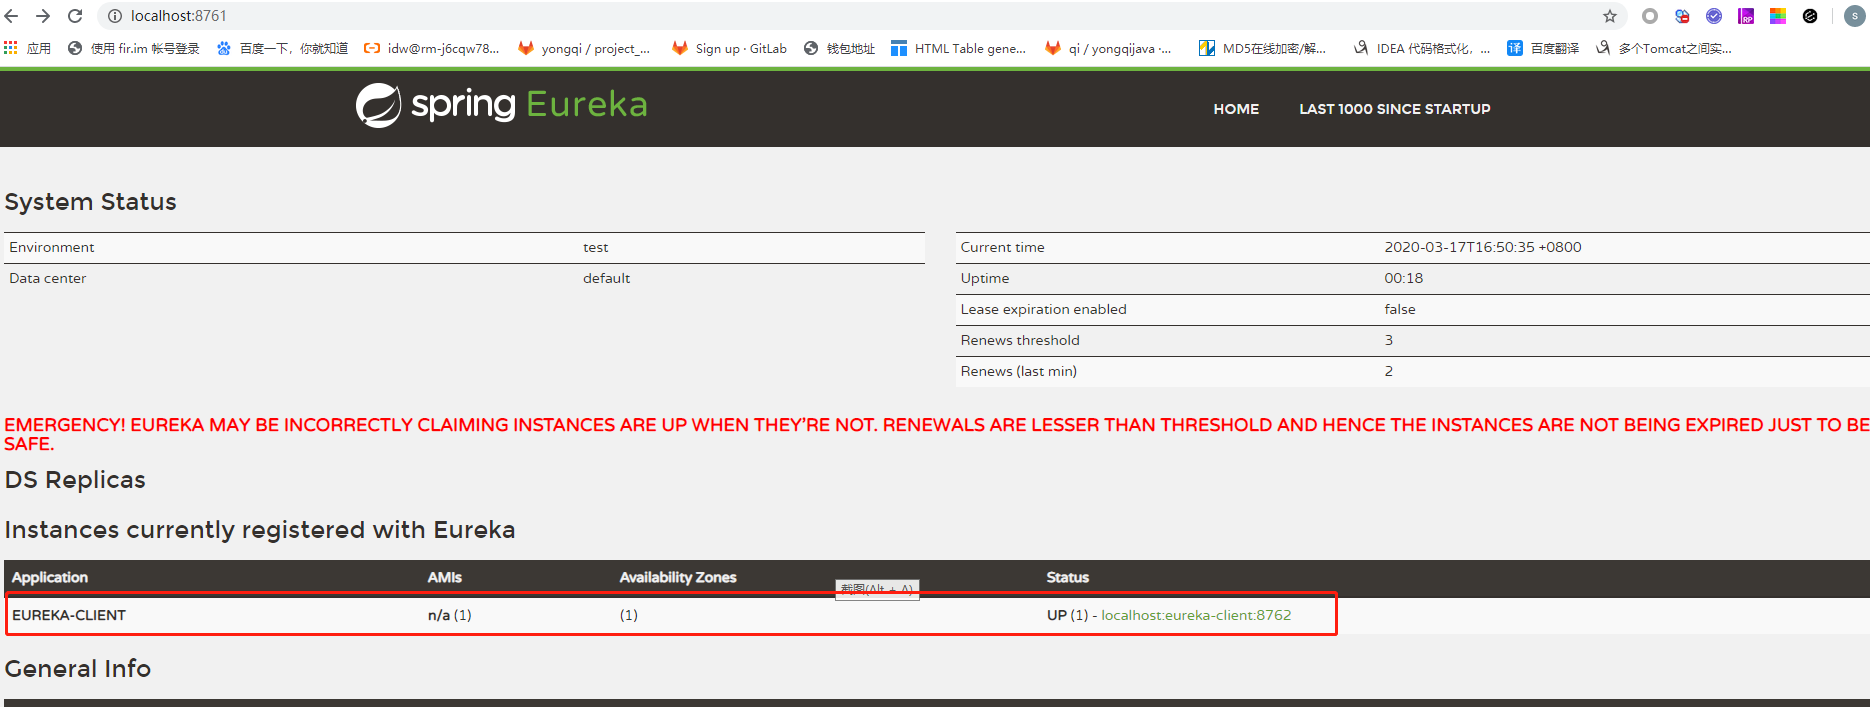
至此客户端Eureka Client搭建完成,启动后可以在Eureka Server端看到该服务已经注册
通过调用 http://localhost:8762/sayHello?msg=devin 可以看到客户端接口也可正常访问
