本章学习便是使用Consul作为注册中心。关于Consul介绍和安装参考【Application】Consul安装及运行
本章使用的Consul版本是 1.7.2
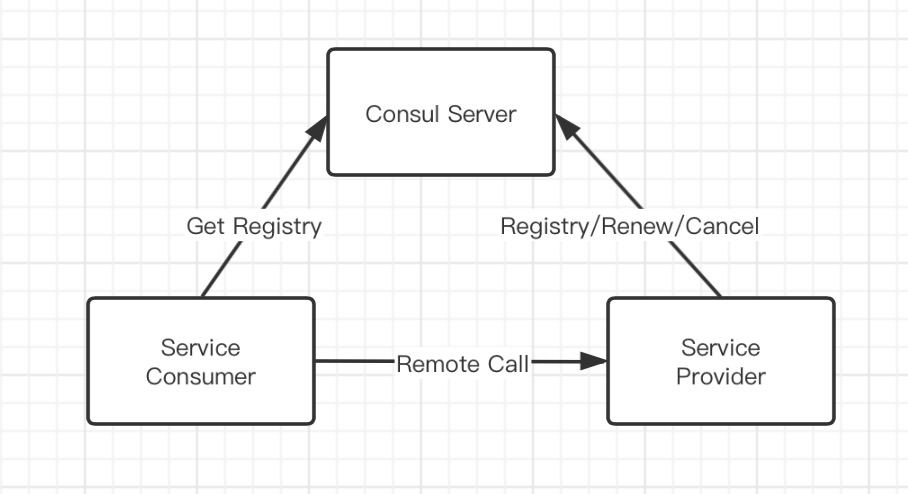
项目架构图如下:
搭建服务提供者
1、新建一个maven项目(test-springcloud-provider-payment8006)
结构如下:

2、引入依赖,编辑pom文件
1 <!-- spring-cloud 整合 consul -->
2 <dependency>
3     <groupId>org.springframework.cloud</groupId>
4     <artifactId>spring-cloud-starter-consul-discovery</artifactId>
5 </dependency>
完整pom.xml文件如下:


 1 <?xml version="1.0" encoding="UTF-8"?>
 2 <project xmlns="http://maven.apache.org/POM/4.0.0"
 3          xmlns:xsi="http://www.w3.org/2001/XMLSchema-instance"
 4          xsi:schemaLocation="http://maven.apache.org/POM/4.0.0 http://maven.apache.org/xsd/maven-4.0.0.xsd">
 5     <parent>
 6         <artifactId>test-springcloud</artifactId>
 7         <groupId>com.test</groupId>
 8         <version>1.0-SNAPSHOT</version>
 9     </parent>
10     <modelVersion>4.0.0</modelVersion>
11
12     <artifactId>test-springcloud-provider-payment8006</artifactId>
13
14     <dependencies>
15
16         <!-- spring-cloud 整合 consul -->
17         <dependency>
18             <groupId>org.springframework.cloud</groupId>
19             <artifactId>spring-cloud-starter-consul-discovery</artifactId>
20         </dependency>
21
22         <!-- spring boot -->
23         <dependency>
24             <groupId>org.springframework.boot</groupId>
25             <artifactId>spring-boot-starter-web</artifactId>
26         </dependency>
27         <dependency>
28             <groupId>org.springframework.boot</groupId>
29             <artifactId>spring-boot-starter-actuator</artifactId>
30         </dependency>
31
32         <dependency>
33             <groupId>org.springframework.boot</groupId>
34             <artifactId>spring-boot-devtools</artifactId>
35             <scope>runtime</scope>
36             <optional>true</optional>
37         </dependency>
38         <dependency>
39             <groupId>org.projectlombok</groupId>
40             <artifactId>lombok</artifactId>
41             <optional>true</optional>
42         </dependency>
43
44         <dependency>
45             <groupId>org.springframework.boot</groupId>
46             <artifactId>spring-boot-starter-test</artifactId>
47             <scope>test</scope>
48         </dependency>
49
50     </dependencies>
51
52     <build>
53         <finalName>test-springcloud-provider-payment8006</finalName>
54     </build>
55
56 </project>
3、编辑配置文件application.yml
 1 # 端口
 2 server:
 3   port: 8006
 4
 5 spring:
 6   application:
 7     name: cloud-payment-service
 8   cloud:
 9     consul:
10       host: localhost
11       port: 8500
12       discovery:
13         # hostname: 127.0.0.1
14         service-name: ${spring.application.name}
4、编写主启动类
1 @EnableDiscoveryClient
2 @SpringBootApplication
3 public class PaymentMain8006 {
4     public static void main(String[] args) {
5         SpringApplication.run(PaymentMain8006.class, args);
6     }
7 }
5、编写Controller
 1 @RestController
 2 @Slf4j
 3 public class PaymentController {
 4
 5     @Value("${server.port}")
 6     private String serverPort;
 7
 8     @RequestMapping(value = "payment/consul")
 9     public String paymentconsul(){
10         return "springcloud with consul:" + serverPort + "\t" + UUID.randomUUID();
11     }
12 }
6、启动项目,测试项目
1)启动Consul服务,使用开发模式,命令:consul agent -dev
2)启动项目(test-springcloud-provider-payment8006)
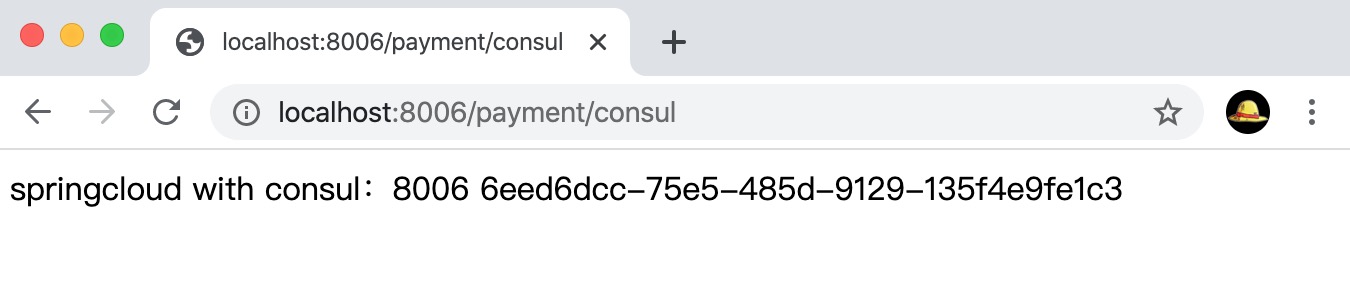
3)使用地址:http://localhost:8006/payment/consul
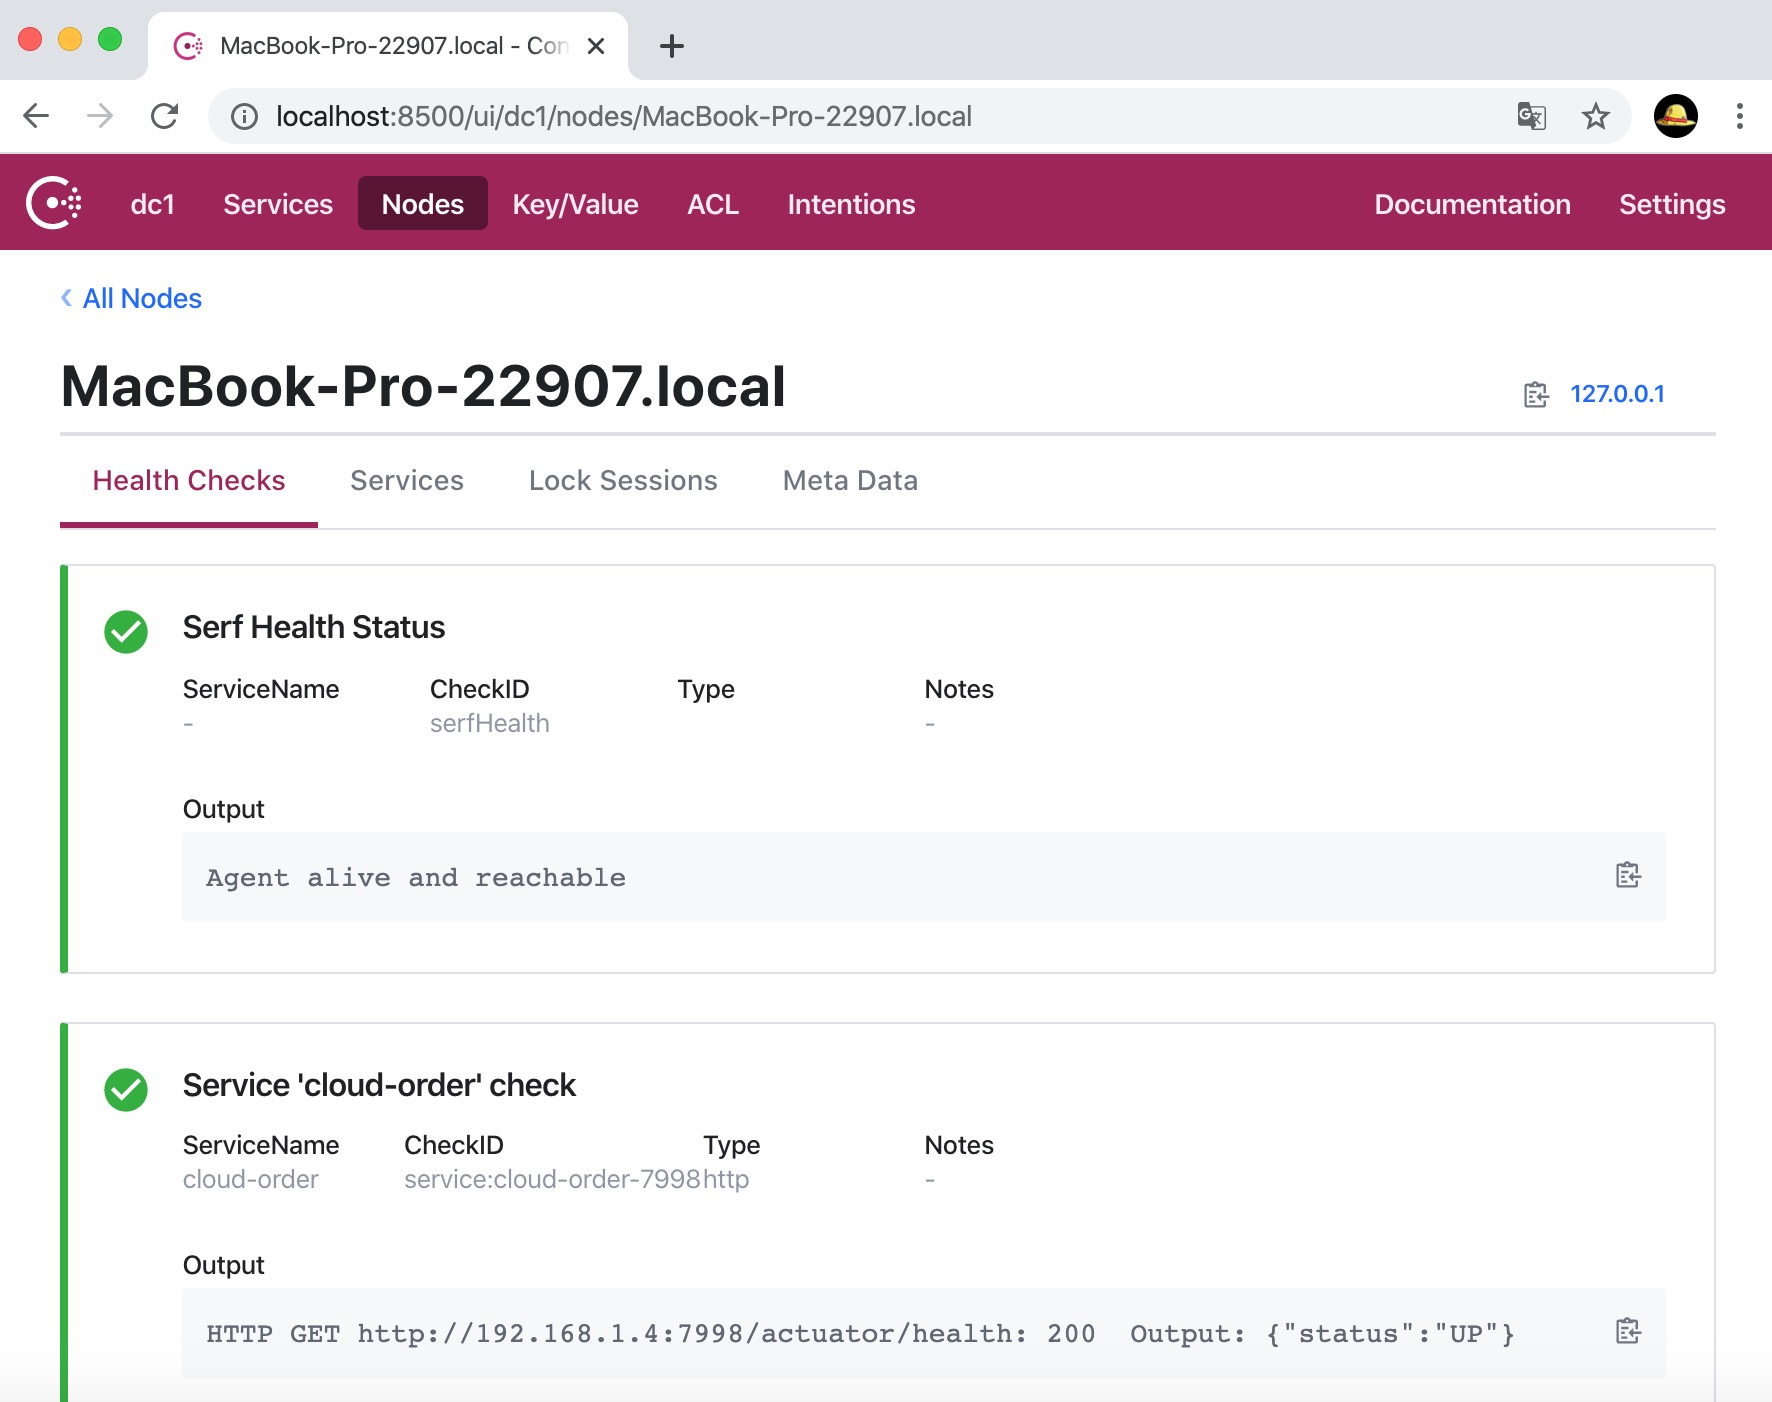
4)打开Consul的界面,地址:http://localhost:8500/

搭建服务消费者
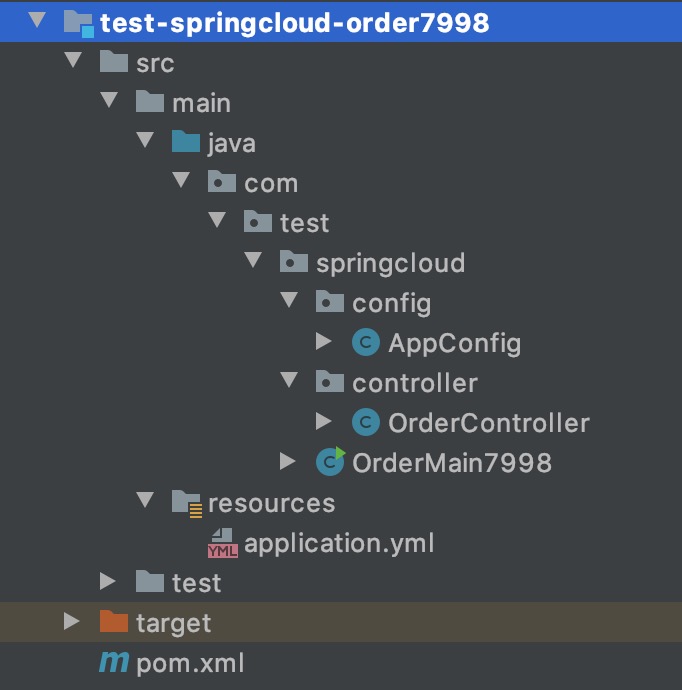
1、新建一个maven项目(test-springcloud-order7998)
项目结构如下:
2、引入pom依赖,同上(与服务提供者依赖相同)
3、编辑application.yml文件
 1 # 端口
 2 server:
 3   port: 7998
 4
 5 spring:
 6   application:
 7     name: cloud-order
 8   cloud:
 9     consul:
10       host: localhost
11       port: 8500
12       discovery:
13         # hostname: 127.0.0.1
14         service-name: ${spring.application.name}
4、编辑启动类
1 @SpringBootApplication
2 public class OrderMain7998 {
3     public static void main(String[] args) {
4         SpringApplication.run(OrderMain7998.class, args);
5     }
6 }
5、编辑配置类,注入RestTemplate对象
 1 @Configuration
 2 public class AppConfig {
 3
 4     /**
 5      * 注入restTemplate,请用请求rest接口
 6      * @return
 7      */
 8     @Bean
 9     // 标注此注解后,RestTemplate就具有了客户端负载均衡能力
10     // 负载均衡技术依赖于的是Ribbon组件~
11     // RestTemplate都塞入一个loadBalancerInterceptor 让其具备有负载均衡的能力
12     @LoadBalanced
13     public RestTemplate restTemplate(){
14         return new RestTemplate();
15     }
16 }
6、编辑Controller
 1 @RestController
 2 @Slf4j
 3 public class OrderController {
 4
 5     public static final String PAYMENT_URL = "http://cloud-payment-service";
 6
 7     @Autowired
 8     private RestTemplate restTemplate;
 9
10     @GetMapping("/consumer/payment/consul")
11     public String paymentconsul(){
12         return restTemplate.getForObject(PAYMENT_URL + "/payment/consul", String.class);
13     }
14
15 }
7、启动项目,测试
1)启动项目(test-springcloud-order7998)
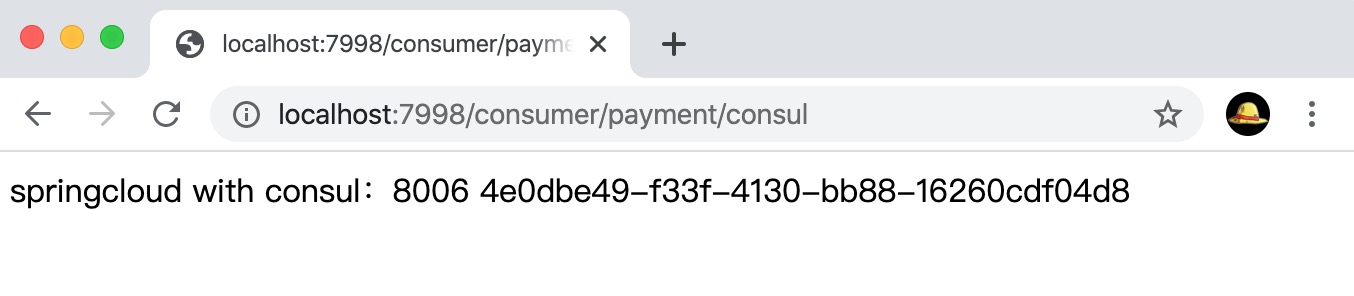
2)使用地址:http://localhost:7998/consumer/payment/consul,进行访问
3)打开Consul的界面,地址:http://localhost:8500/
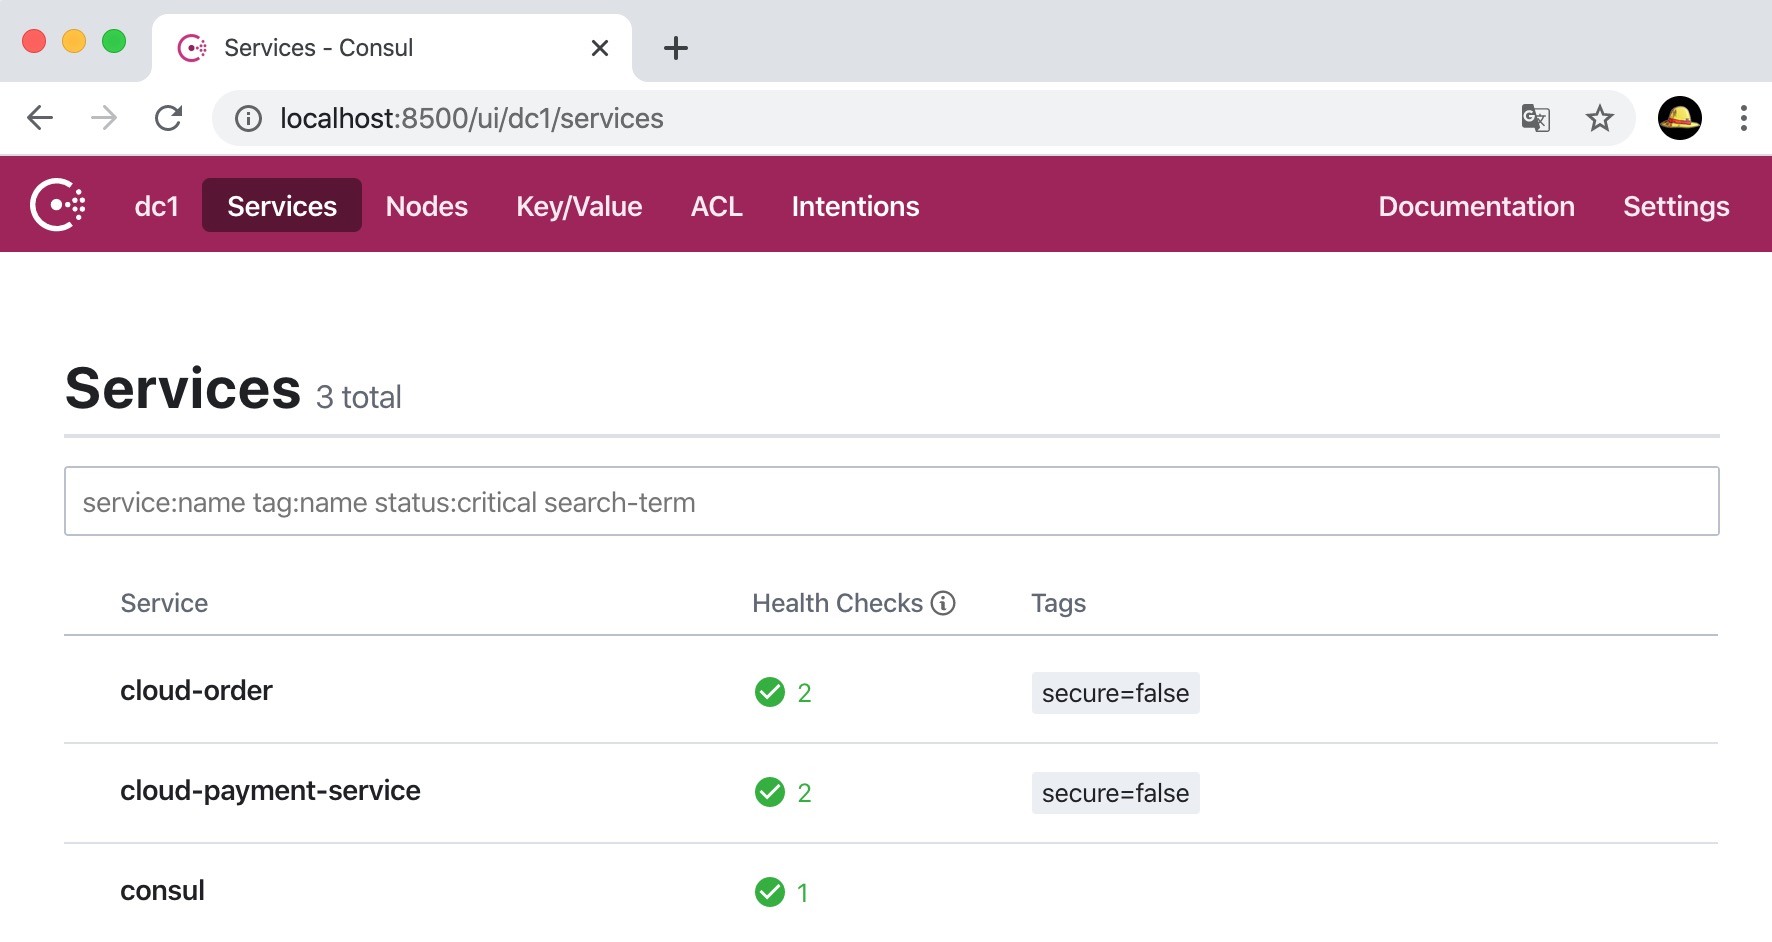
节点信息: