SVG(Scalable Vector Graphics,可伸缩矢量图形 )是W3C推出的一种开放标准的文本式矢量图形描述语言,它是基于XML、专门为网络而设计的图像格式,SVG是一种采用XML来描述二维图形语言,所以它可以直接打开xml文件来修改和编辑
在 Android 中如何使用 svg 呢,下面我们来看一下:
SVG 静态图
自定义 svg 图
1,创建 svg 格式的图
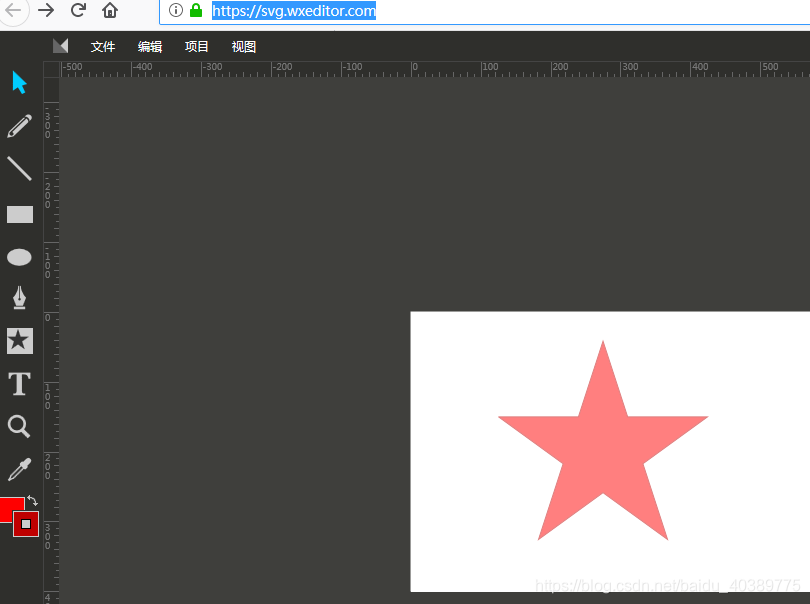
制作地址:https://svg.wxeditor.com/
在上面这个网站中可以在线创建 svg 图片,最后 ctrl + s 进行保存即可。
2,将 svg 转换为 vector Drawable
工具连接:https://pan.baidu.com/s/1bp9HANH
使用转换工具,将上面创建好的图片导入到转换工具,然后进行格式转换。
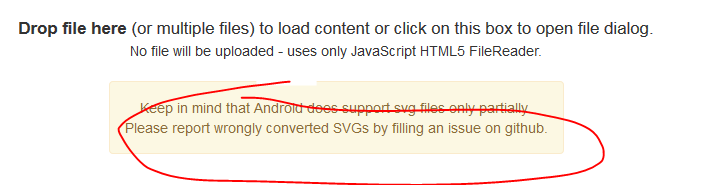
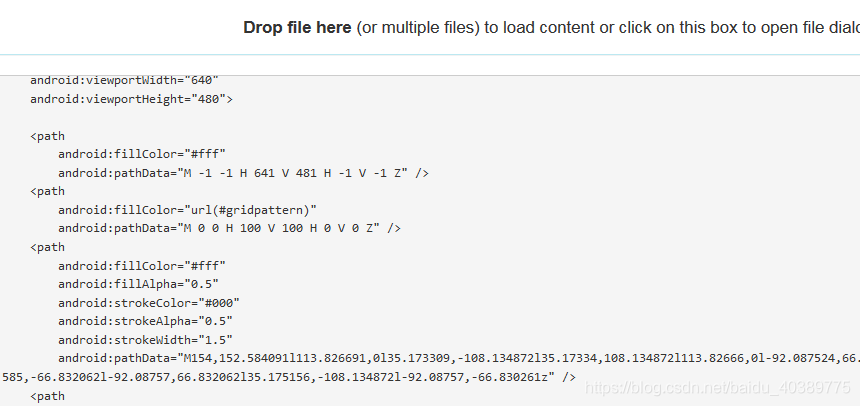
点击圈起来的地方进行导入 svg 格式文件,然后就会自动生成代码如下:
3,使用
然后复制这些代码,打开 as,在 drawable 文件夹下创建一个 xml 文件,并粘贴这些代码
<vector xmlns:android="http://schemas.android.com/apk/res/android"
    android:width="580dp"
    android:height="400dp"
    android:viewportWidth="580"
    android:viewportHeight="400">

    <path
        android:fillColor="#fff"
        android:pathData="M -1 -1 H 581 V 401 H -1 V -1 Z" />
    <path
        android:fillColor="#ff0000"
        android:fillAlpha="0.5"
        android:strokeColor="#bf0000"
        android:strokeAlpha="0.5"
        android:strokeWidth="1.5"       		        android:pathData="M126,150.584091l113.826691,0l35.173309,-108.134872l35.17334,108.134872l113.82666,0l-92.087524,66.830261l35.17511,108.134872l-92.087585,-66.832062l-92.08757,66.832062l35.175156,-108.134872l-92.087578,-66.830261z" />
</vector>
解释一下:
fillColor:填充颜色
strokeColor:线颜色
fillAlpha:填充透明度
strokeAlpha:线透明度
StorkeWidth:线宽度
PathData:路径值,根据值来画图片
| 标识 | 方法 | 作用 |
|---|---|---|
| M | moveto(M X,Y) | 将画笔移动到指定的位置 |
| L | lineto(L X ,Y) | 画直线到指定的坐标 |
| H | horizeontal lineTo(H X) | 画水平线到指定的 X 坐标 |
| V | vertical lineto(V Y) | 画垂直线到指定的 Y 坐标 |
| C | curveto(C X1,Y1,X2,Y2,ENDEX,ENDY) | 三次贝塞尔曲线 |
| S | smooth curveto(S X2,Y2,ENDEX,ENDY) | |
| Q | quadratic Belazier curve(Q X,Y ENDX,ENDY) | 二次贝塞尔曲线 |
| T | smooth quadratic Belzier curveto(T ENDX,ENDY) | 映射 |
| A | elliptical Arc(A RX,RY XROTATION,FLAGL,FAG2,X,Y) | 弧线 |
| Z | closePath() | 关闭路径 |
即可使用,如下
svg 是自适应的
注意,android 5.0 一下好像不支持 svg
使用 as 自带的 svg 图片
在drawable文件夹上右键->new->Vector Asset
选择要使用的图片,可以设置大小 和 透明度
创建成功后就可以再 drawable 文件夹中看到了。
svg 动画效果
1,用到了 SVG 静态图
2,用到了动画
下面看一下简单使用:
-
首先看一下 svg 图
<?xml version="1.0" encoding="utf-8"?> <vector xmlns:android="http://schemas.android.com/apk/res/android" android:width="580dp" android:height="400dp" android:viewportWidth="580" android:viewportHeight="400"> <path android:name="star_back" android:fillColor="#000000" android:pathData="M -1 -1 H 581 V 401 H -1 V -1 Z" /> <path android:name="star" android:fillColor="#ff0000" android:fillAlpha="0.5" android:strokeColor="#bf0000" android:strokeAlpha="0.5" android:strokeWidth="1.5" android:pathData="M126,150.584091l113.826691,0l35.173309,-108.134872l35.17334,108.134872l113.82666,0l-92.087524,66.830261l35.17511,108.134872l-92.087585,-66.832062l-92.08757,66.832062l35.175156,-108.134872l-92.087578,-66.830261z" /> </vector> -
然后是 animated-vector
<animated-vector xmlns:android="http://schemas.android.com/apk/res/android"
android:drawable="@drawable/star">
<!-- animated-vector 相当于一个桥梁,静态的 svg 和 动画之间的桥梁-->

<target
    android:animation="@animator/star_in"
    android:name="star"/>

</animated-vector>
接着看一下 target。注意他的 name 和 svg 中 path 的 name 是相同的。
然后 animation 值的是动画 如下:
<?xml version="1.0" encoding="utf-8"?> <objectAnimator xmlns:android="http://schemas.android.com/apk/res/android" android:duration="500" android:propertyName="trimPathEnd" android:valueFrom="1" android:valueTo="0" android:valueType="floatType"> </objectAnimator> -
使用:
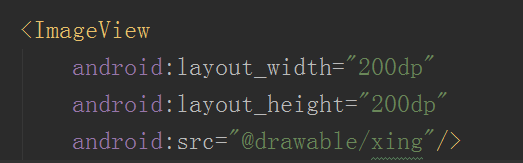
<ImageView
       android:id="@+id/image_main"
       android:layout_width="200dp"
       android:layout_height="200dp"
       android:src="@drawable/star"/>
final AnimatedVectorDrawable drawableIn = (AnimatedVectorDrawable) getResources().getDrawable(R.drawable.star_d_in); final AnimatedVectorDrawable drawableOut = (AnimatedVectorDrawable) getResources().getDrawable(R.drawable.star_d_out); final ImageView imageView = (ImageView) findViewById(R.id.image_main); imageView.setOnClickListener(new View.OnClickListener() { @Override public void onClick(View view) { if (flag) { imageView.setImageDrawable(drawableIn); drawableIn.start(); flag = false; } else { imageView.setImageDrawable(drawableOut); drawableOut.start(); flag = true; } } });imageView.setImageDrawable(drawableOut); drawableOut.start(); flag = true; } } });
