场景
Angular介绍、安装Angular Cli、创建Angular项目入门教程:
https://blog.csdn.net/BADAO_LIUMANG_QIZHI/article/details/105570017
Angular新建组件以及组件之间的调用:
https://blog.csdn.net/BADAO_LIUMANG_QIZHI/article/details/105694997
通过以上搭建起Angular项目。
注:
博客:
https://blog.csdn.net/badao_liumang_qizhi
关注公众号
霸道的程序猿
获取编程相关电子书、教程推送与免费下载。
实现
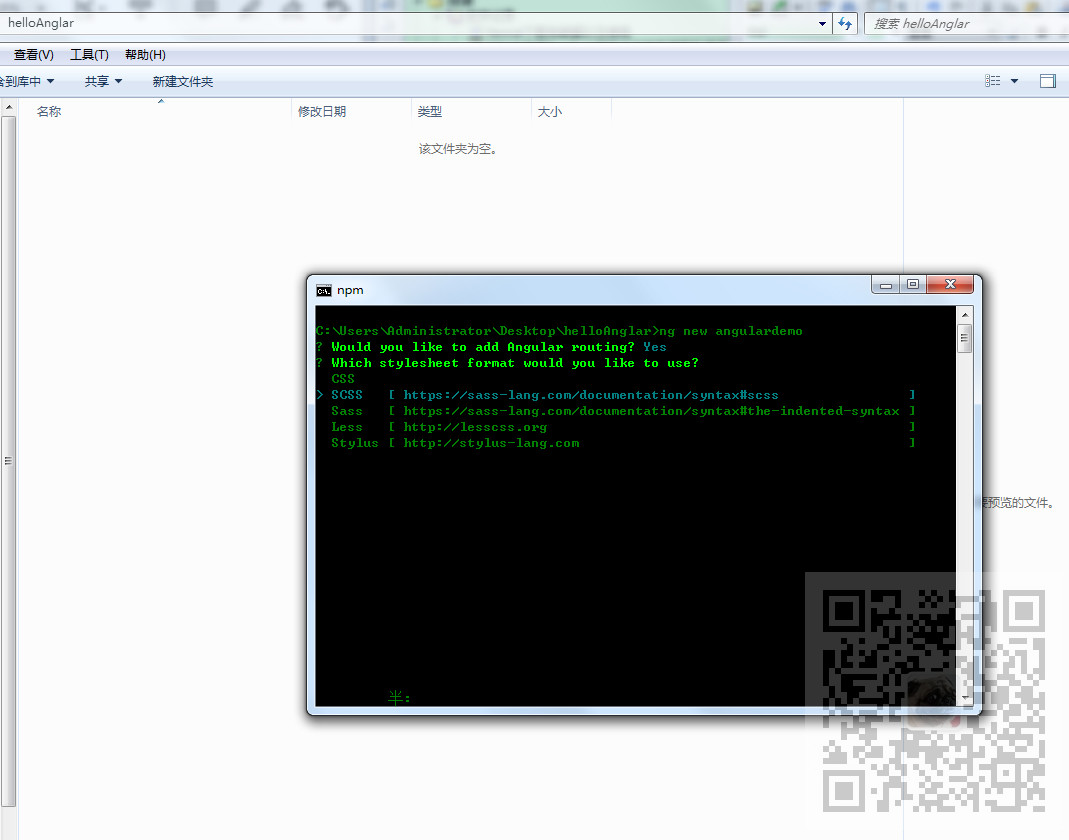
参照上面博客在新建Angular项目时选择添加路由
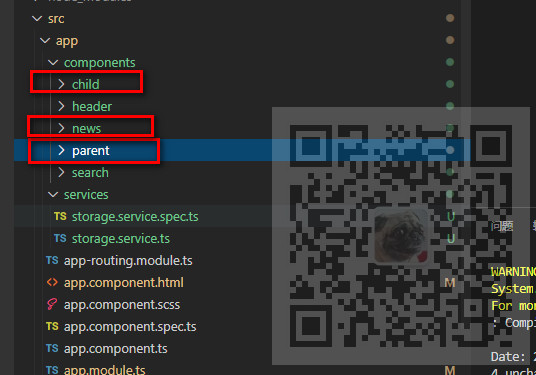
然后参照上面新建组件的方式新建三个组件
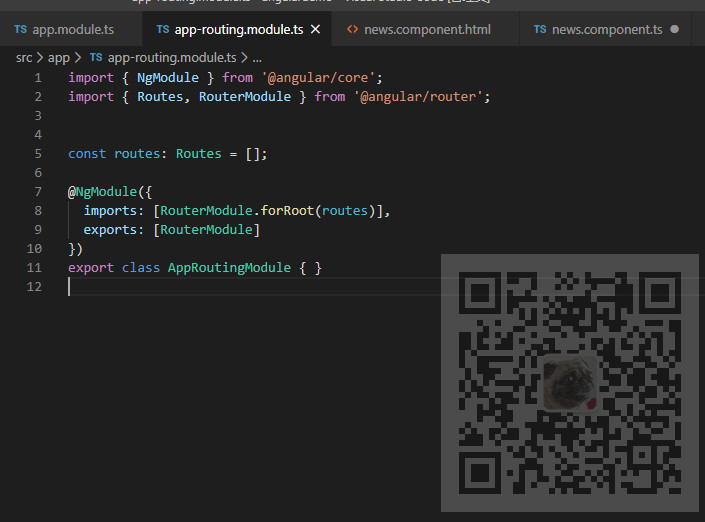
找到app-routing.module.ts配置路由
默认的代码结构为
首先需要引入组件
import { ParentComponent } from './components/parent/parent.component';
import { ChildComponent } from './components/child/child.component';
import { NewsComponent } from './components/news/news.component';
这里引入的组件就是你需要配置的组件
然后配置路由
const routes: Routes = [
  {path:'parent',component:ParentComponent},
  {path:'child',component:ChildComponent},
  {path:'news',component:NewsComponent}

];
找到app.component.html跟组件模板,配置router-outlet显示动态加载的路由
<header class="header">

    <a routerLink = "/parent">父组件</a>
    <a routerLink = "/child">子组件</a>
    <a routerLink = "/news">新闻</a>

</header>
<router-outlet></router-outlet>
使用routerLink进行路由的跳转,为了显示上更有效果,这里给header在app.component.scss中添加了样式
.header{

    height: 44px;
    line-height: 44px;

    background: #000;

    color: #fff;

    a{

        color: #fff;

        padding: 10px 40px;
    }

}
然后运行项目看效果

匹配不到路由时路由重定向
如果匹配不到路由或者路由所加载的组件时可以设置任意路由跳转路径,这里使其重定向到新闻组件
  {
    path:'**',
   redirectTo:'news'
  }
效果
设置默认选中路由
怎样设置路由选中时样式改变的效果
在html中添加routerLinkActive
    <a routerLink = "/parent" routerLinkActive="active">父组件</a>
    <a routerLink = "/child" routerLinkActive="active">子组件</a>
    <a routerLink = "/news" routerLinkActive="active">新闻</a>
然后在scss中添加active样式为字体为红色
    .active{

        color: red;
    }
效果