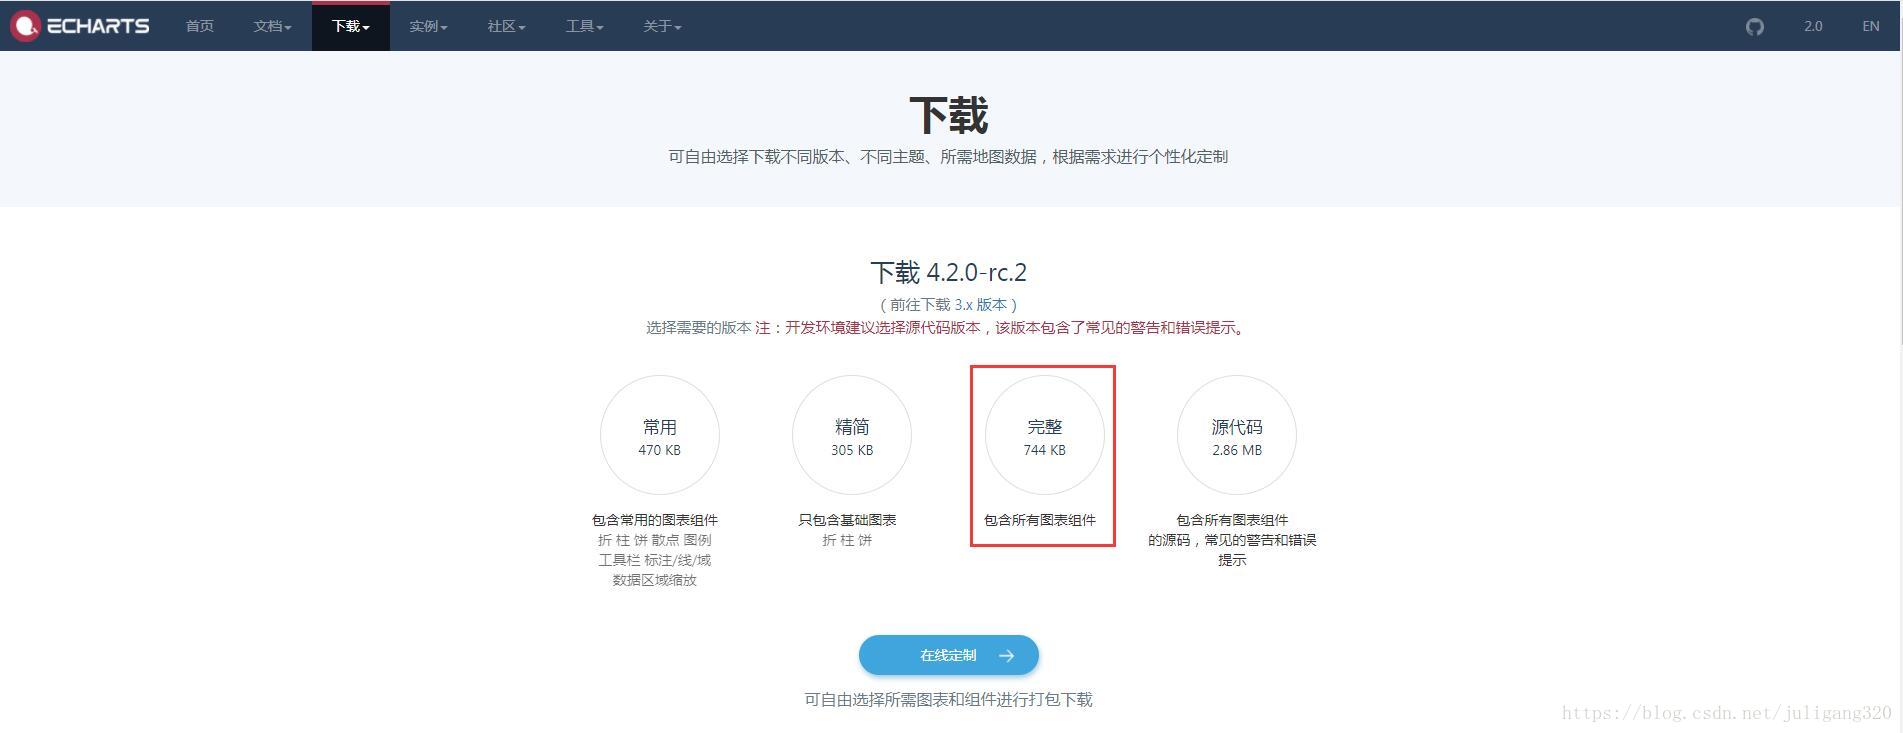
一、下载Echarts库,下载地址为:http://www.echartsjs.com/download.html
二、贴上demo代码
(1)前台代码
<%@ page language="java" contentType="text/html; charset=UTF-8" pageEncoding="UTF-8"%>
<!DOCTYPE html>
<html>
<head>
<meta http-equiv="Content-Type" content="text/html; charset=UTF-8">
<meta http-equiv="X-UA-Compatible" content="IE=EmulateIE8" />
<title>测试曲线插件</title>
<script src='${_resources}js/jquery-1.11.2.js' type='text/javascript'></script>
<script type="text/javascript" src="${_resources}js/echarts.min.js"></script>
<script type="text/javascript">

</script>
</head>
<body>
<div class="submenu">
	<a onclick="queryResults()" href="javascript:;" style="margin-left: 100px;">更新数据</a>
	<div id="main" style="width: 900px; height: 400px;margin-top: 60px;"></div>
</div>
<script type="text/javascript">
// 基于准备好的dom,初始化echarts实例
var myChart = echarts.init(document.getElementById('main'));
var resultList =  JSON.parse('${resultList}');
var xDate = new Array();
var yDate = new Array();
$.each(resultList,function(i,item){
	xDate.push(item.CTIME);
	yDate.push(item.RESULT);
});
var identifying = [];
//指定图表的配置项和数据
var option = {
	title: {
      	text: '测试曲线图',
      	x: 'center',
   	},
    toolbox: {
    	left: '95.2%',
        feature: {
            saveAsImage: {}
        }
    },
    legend: {
        data:identifying
    },
 	tooltip: {
        trigger: 'axis'
    },
    xAxis: {
        type: 'category',
        data: xDate
    },
    yAxis: {
        type: 'value'
    },
    series: [{
    	name:'成绩',
        data: yDate,
        type: 'line'
    }]
};

myChart.setOption(option);

function queryResults(){
	$.ajax({
		type: "POST",
		async: true,
		url:"${contextPath}/report/getEcharsData",
		dataType:"json",
		success: function (res) {
			xDate = [];
			yDate = [];
			$.each(res,function(i,item){
				xDate.push(item.CTIME);
				yDate.push(item.RESULT);
			});
			option.xAxis.data = xDate;
			option.series[0].data = yDate;
			myChart.setOption(option);
		},
		error:function(res){

		}
	});
}
</script>
</body>
</html>
(2)后台代码
@RequestMapping(value="/testEchars",method =RequestMethod.GET,produces = "application/json; charset=utf-8")
	public String testEchars(){
		List<Map<String,String>> resultList = new ArrayList<Map<String,String>>();
		Map<String,String> rultMap0 = new HashMap<String, String>();
		rultMap0.put("RESULT", "0.0");
		rultMap0.put("CTIME", "2018-10-10");
		resultList.add(rultMap0);
		Map<String,String> rultMap1 = new HashMap<String, String>();
		rultMap1.put("RESULT", "0.1");
		rultMap1.put("CTIME", "2018-10-11");
		resultList.add(rultMap1);
		Map<String,String> rultMap2 = new HashMap<String, String>();
		rultMap2.put("RESULT", "0.2");
		rultMap2.put("CTIME", "2018-10-12");
		resultList.add(rultMap2);
		Map<String,String> rultMap3 = new HashMap<String, String>();
		rultMap3.put("RESULT", "0.3");
		rultMap3.put("CTIME", "2018-10-13");
		resultList.add(rultMap3);
		Map<String,String> rultMap4 = new HashMap<String, String>();
		rultMap4.put("RESULT", "0.4");
		rultMap4.put("CTIME", "2018-10-14");
		resultList.add(rultMap4);
		Map<String,String> rultMap5 = new HashMap<String, String>();
		rultMap5.put("RESULT", "0.5");
		rultMap5.put("CTIME", "2018-10-15");
		resultList.add(rultMap5);
		Map<String,String> rultMap6 = new HashMap<String, String>();
		rultMap6.put("RESULT", "0.6");
		rultMap6.put("CTIME", "2018-10-16");
		resultList.add(rultMap6);
		request.setAttribute("resultList", JsonUtils.listToJson(resultList));
		return "echart/testEchars";
	}
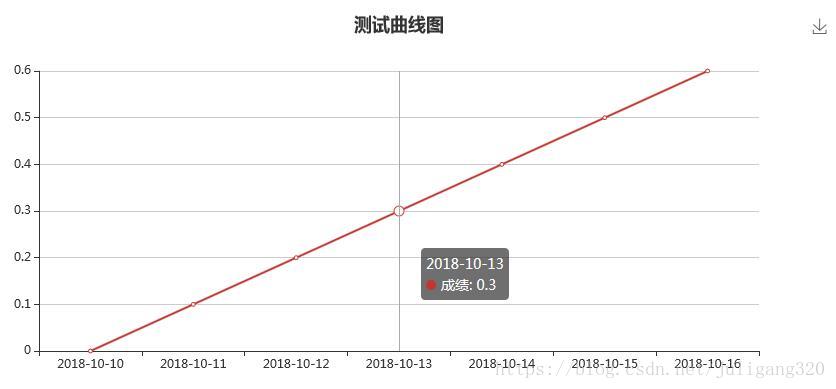
这个方法是在controller里面进入测试曲线图页面的跳转方法,里面会给一些初始化数据,返回前台。
前台调用var resultList = JSON.parse(’${resultList}’);接收数据然后显示,显示效果如下:
@RequestMapping(value="/getEcharsData",method =RequestMethod.POST,produces = "application/json; charset=utf-8")
	@ResponseBody
	public String getEcharsData(){
		List<Map<String,String>> resultList = new ArrayList<Map<String,String>>();
		Map<String,String> rultMap0 = new HashMap<String, String>();
		rultMap0.put("RESULT", "0.7");
		rultMap0.put("CTIME", "2018-10-17");
		resultList.add(rultMap0);
		Map<String,String> rultMap1 = new HashMap<String, String>();
		rultMap1.put("RESULT", "0.8");
		rultMap1.put("CTIME", "2018-10-18");
		resultList.add(rultMap1);
		Map<String,String> rultMap2 = new HashMap<String, String>();
		rultMap2.put("RESULT", "0.9");
		rultMap2.put("CTIME", "2018-10-19");
		resultList.add(rultMap2);
		Map<String,String> rultMap3 = new HashMap<String, String>();
		rultMap3.put("RESULT", "1.0");
		rultMap3.put("CTIME", "2018-10-20");
		resultList.add(rultMap3);
		return JsonUtils.listToJson(resultList);
	}
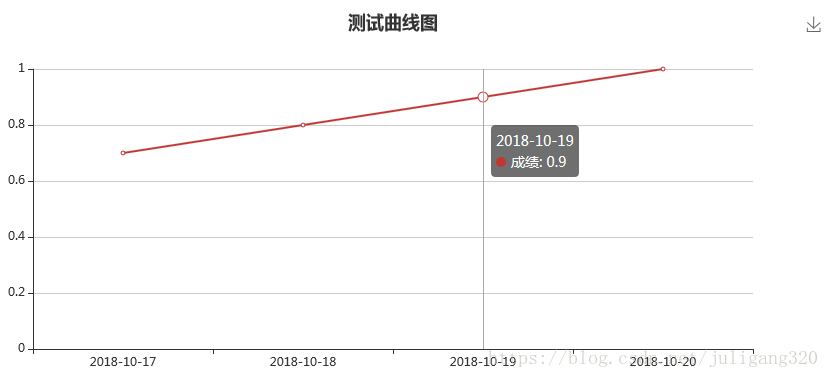
这个方法是前台向后台请求数据时,调用的接口。前台通过queryResults()向后台请求数据,然后更新图表。
点击页面的“更新数据”按钮会从后台请求数据更新,显示如下:
注:demo环境是SMM框架