一、安装 ActiveMQ:
1. 下载 ActiveMQ
wget https://archive.apache.org/dist/activemq/5.14.0/apache-activemq-5.14.0-bin.tar.gz

2. 解压 并且重命名 为 activemq
tar -zxvf apache-activemq-5.14.0-bin.tar.gz && mv apache-activemq-5.14.0 activemq
![]()

3. 配置环境变量(不做也行,暂时没发现用处)
vim /etc/profile
添加
export ACTIVEMQ_HOME=/usr/local/softwares/activemq
export PATH=:$JAVA_HOME/bin:$ACTIVEMQ_HOME/bin:$PATH

使配置生效:
source /etc/profile
4. 进入目录,启动 activemq
cd /usr/local/softwares/activemq/bin/linux-x86-64

执行
./activemq start
![]()
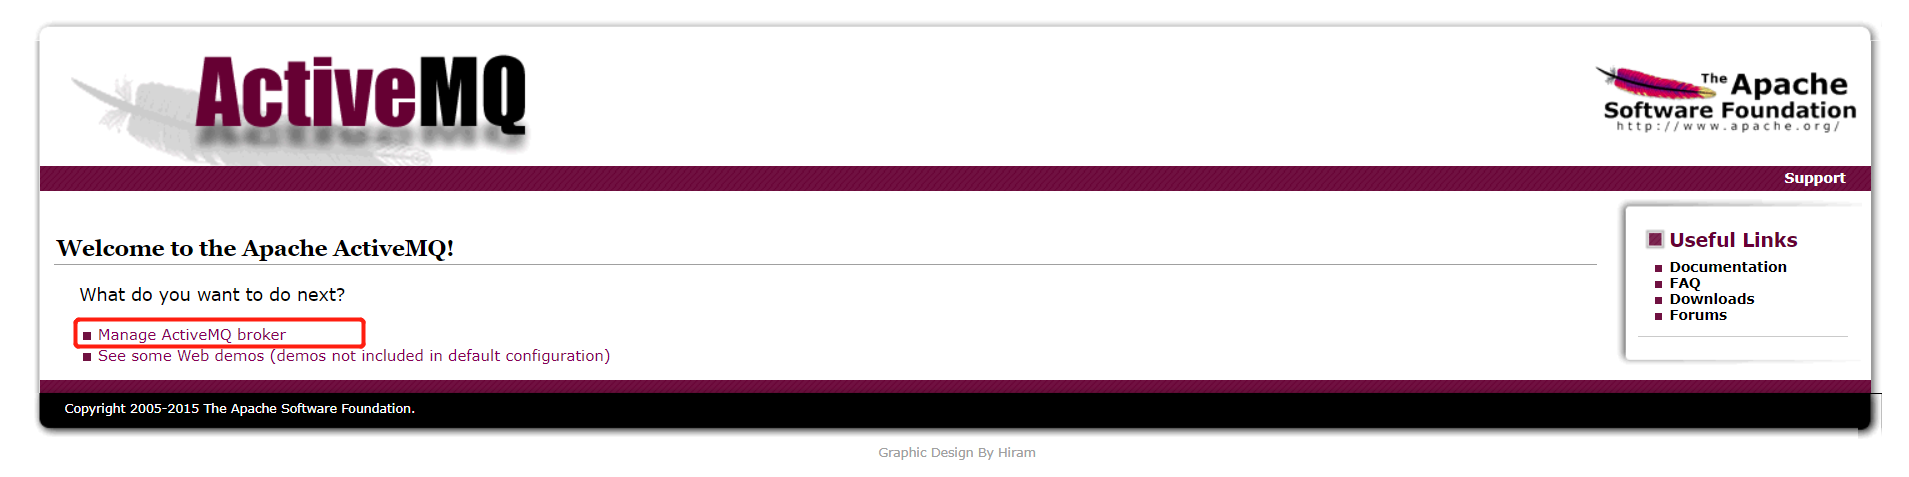
5. 访问
点击 Manage ActiveMQ broker
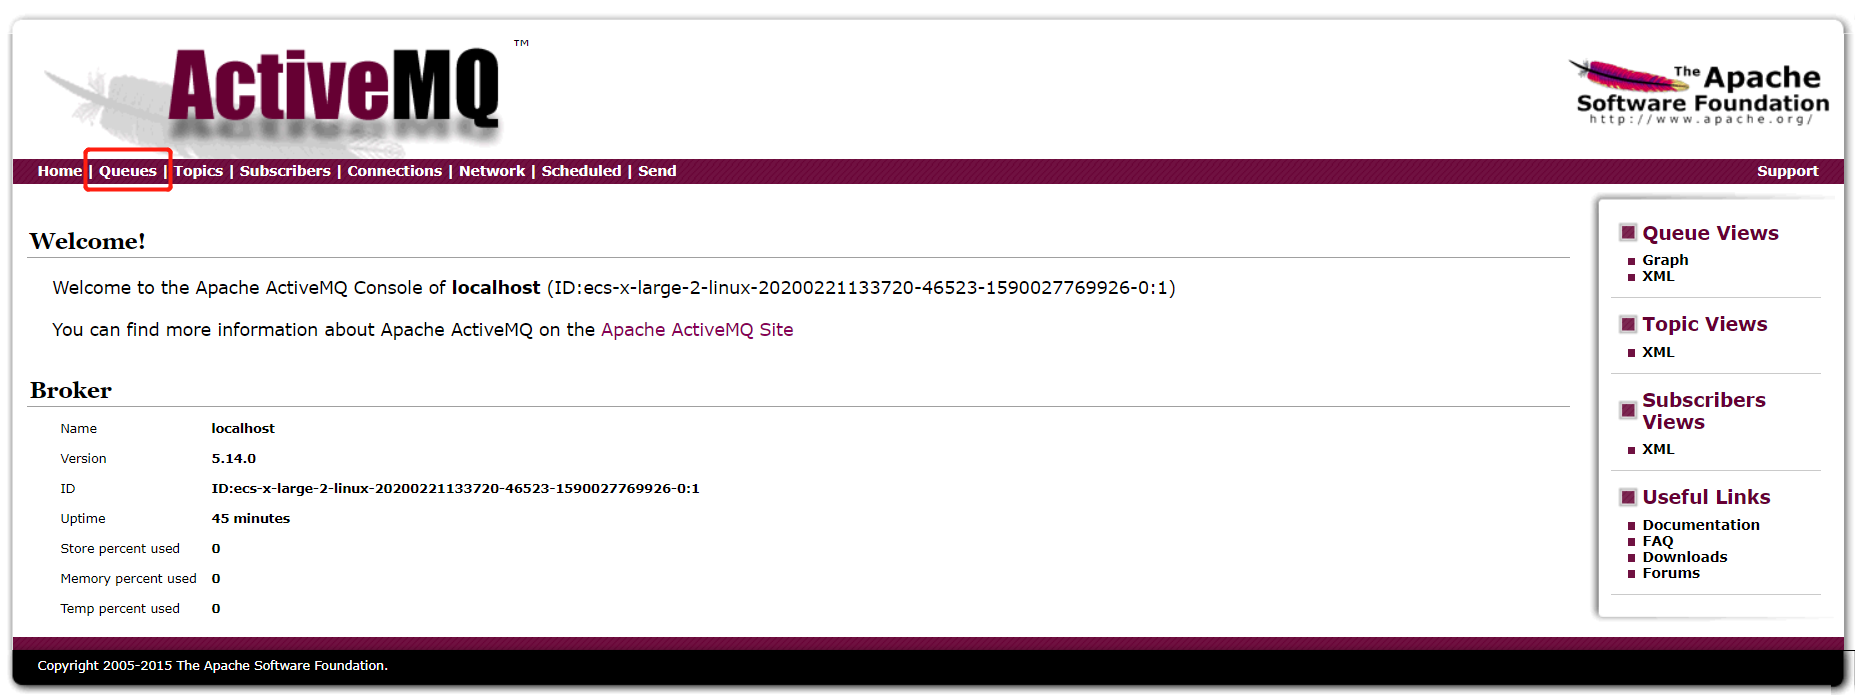
6. 如果要输入用户名、密码,默认的是 admin/admin
二、spring boot 整合 activemq
1. 引入依赖
<dependency>
    <groupId>org.springframework.boot</groupId>
    <artifactId>spring-boot-starter-activemq</artifactId>
</dependency>

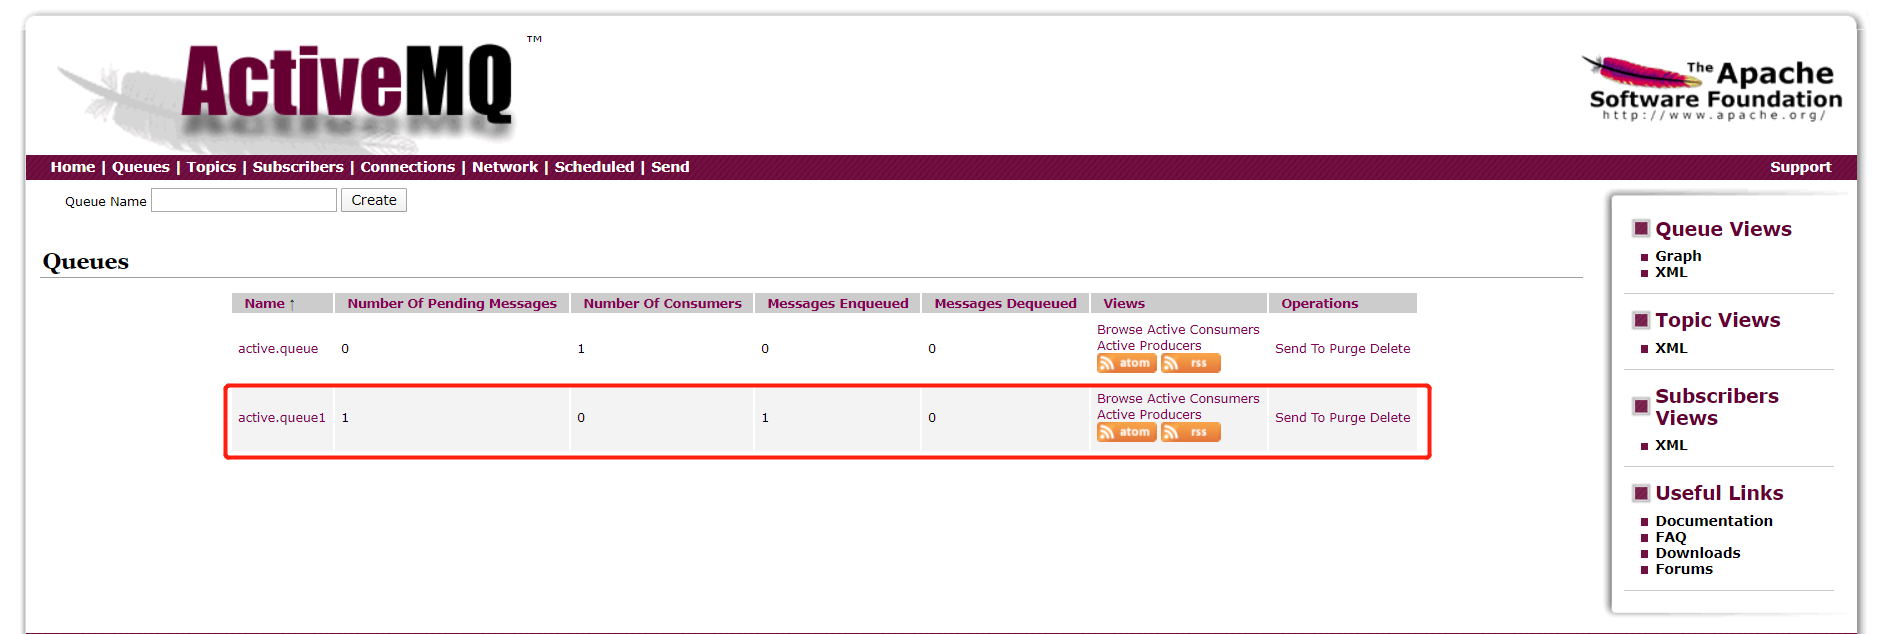
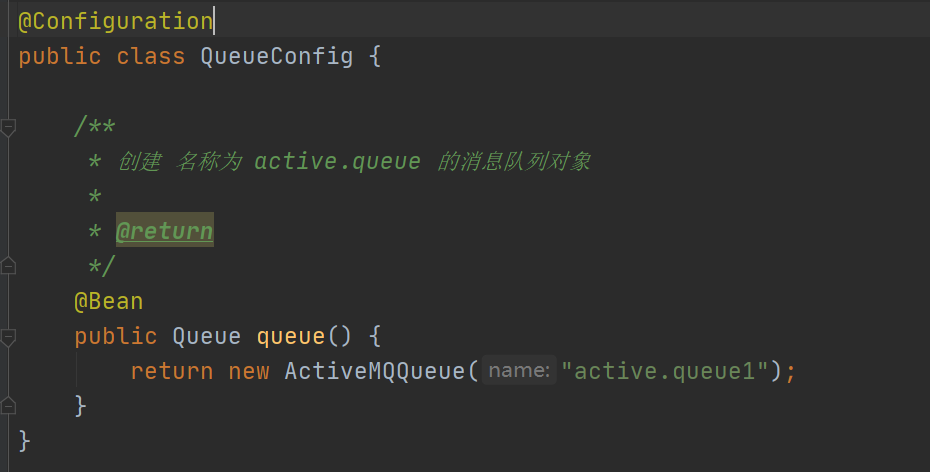
2. 创建消息队列对象
@Configuration
public class QueueConfig {

    /**
     * 创建 名称为 active.queue 的消息队列对象
     *
     * @return
     */
    @Bean
    public Queue queue() {
        return new ActiveMQQueue("active.queue1");
    }
}
3. 创建消息生产者
@RestController
public class QueueController {

    @Autowired
    private JmsMessagingTemplate messagingTemplate;

    @Autowired
    private Queue queue;

    /**
     * 消息生产者
     */
    @RequestMapping(value = "/send")
    public void send() {
        messagingTemplate.convertAndSend(queue, "hello world");
    }
}
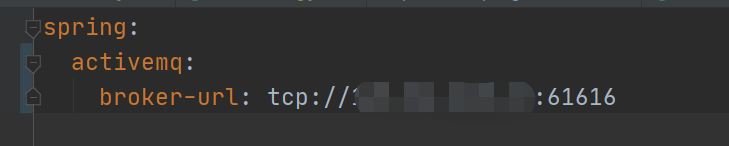
4. 在 application.yml 中配置连接
spring:
  activemq:
    broker-url: tcp://ip:61616
5. 启动项目,调用发送消息接口

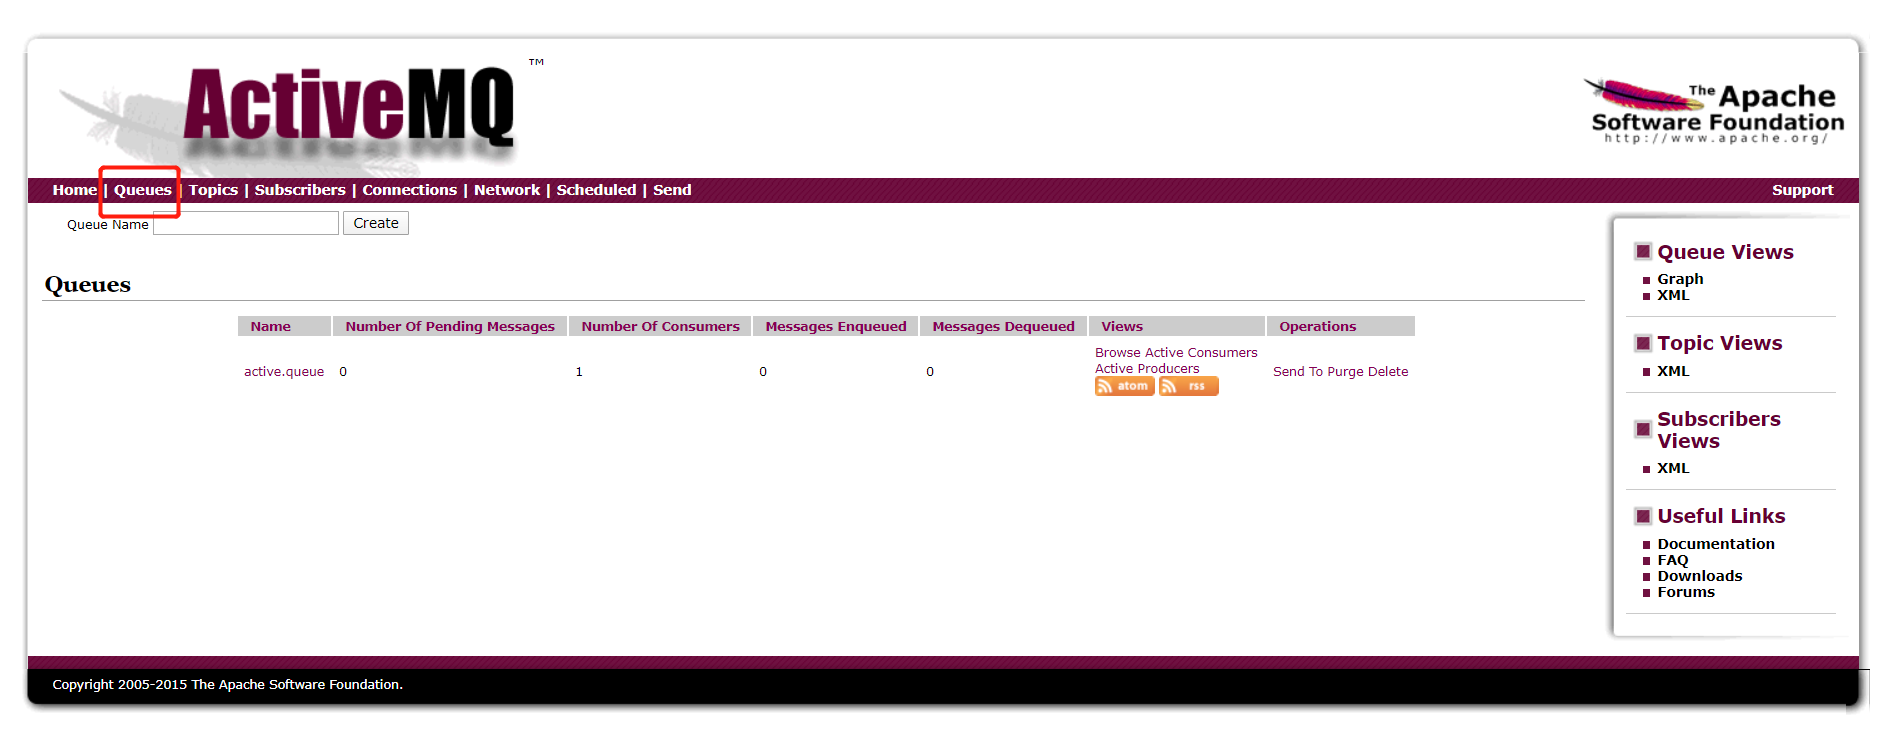
6. 查看消息队列