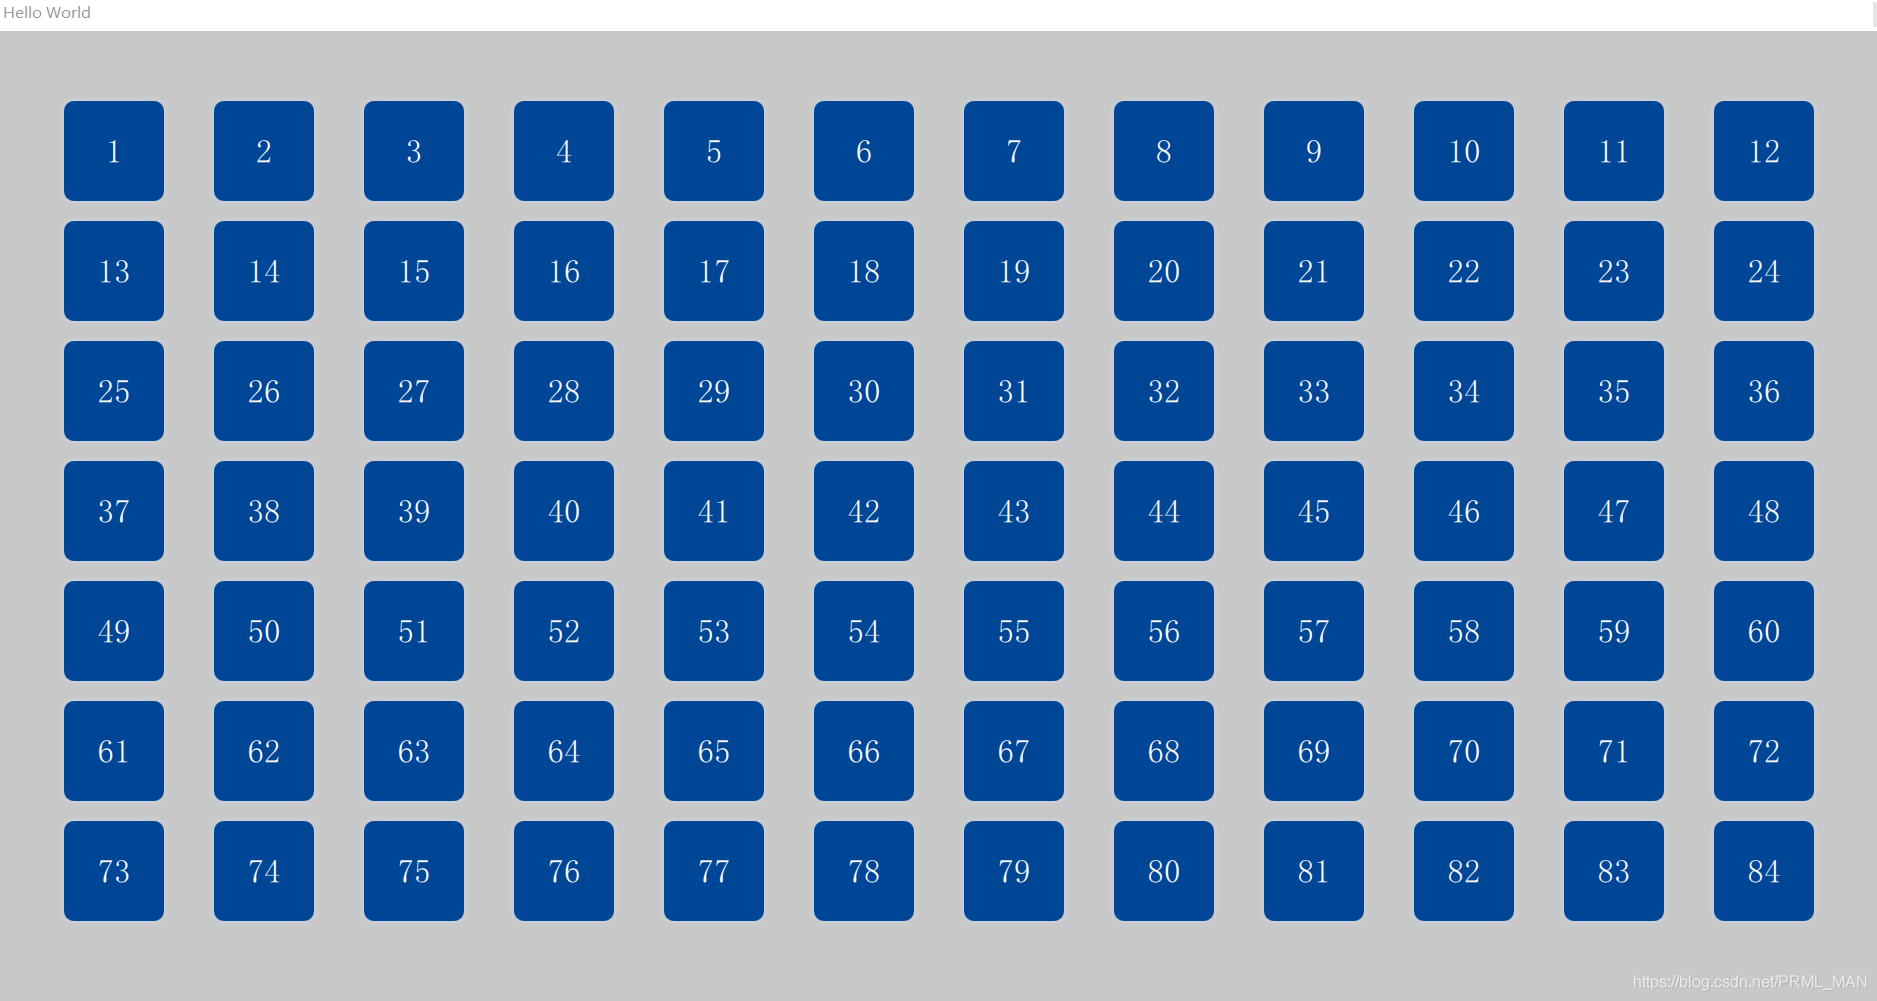
QML中如果要布局大量的按扭,如果一个一个的去写,那就太low了,下面介绍一下利用 Qt.createComponent动态创建组件,大家先看一下结果图(确认一下眼神,是否是对的人)
1、createComponent() 函数介绍
/*
 * 输入:
 *     url: 要创建组件的qml文件名称,例如 “TestButton.qml”
 *     mode: 设置当前创建的方式为同步还是异步(Component.Asynchronous(异步), Component.PreferSynchronous(优先同步))
 *     parent: 父对象
 * 输出:
 *     object:输出为创建后的组件对象
 */
object createComponent(url, mode, parent)
第一个输入参数url,是要创建组件的qml文件,一般情况下需要填写;
第二个参数为该函数是异步操作还是同步操作,如果不设置,默认为第二个参数Component.PreferSynchronous,该模式下,同步优先,但是也有特殊情况下会异步操作:
1、URL引用网络资源
2、该组件是由于异步加载的另一个组件而创建的
第三个参数是父对象,可以不填写,后续会通过返回object的createObject()来添加父对象。
返回值为组件object,该组件的status有几种状态,如下:
0:Component.Null  组件为空
1:Component.Ready 组件加载成功
2:Component.Loading 组件正在加载中
3:Component.Error 组件加载失败,可以调用component.errorString()查看错误信息
2、createObject()函数介绍
该函数通过创建并返回此组件的对象实例,该实例将具有给定的父级和属性。properties参数是可选的。如果对象创建失败,则返回null。
/*
 * 输入:
 *     parent: 父对象
 *     object properties: 组件中的属性设置,可选
 * 输出:
 *     object:输出为创建后的组件对象
 */
object createObject(parent, object properties)
第一个输入参数为父对象,如果为空,则创建的组件自身为最高父节点,例如,创建一个新的独立窗口,此时应该将父节点设置为null,否则,需要将qml中父节点的id进行填写。
第二个参数为组件中的属性,例如,可以在创建实例时初始化对应的id,width,height等等。
返回值为对象,如果创建失败,此时返回的对象为null。
// 官方给出的例子,大家可以参考一下。
import QtQuick 2.0

  Item {


      id: container
      width: 300; height: 300

      function loadButton() {


          var component = Qt.createComponent("Button.qml");
          if (component.status == Component.Ready) {


              var button = component.createObject(container);
              button.color = "red";
          }
      }

      Component.onCompleted: loadButton()
  }
3、代码
MTButton.qml
/* MTButton.qml  组件qml文件 */

import QtQuick 2.0
import QtGraphicalEffects 1.0

Rectangle {


    property string showInfo: ""
    width: 100
    height: 100
    radius: 10
    visible: true
    color: "#004696"

    Text {


        id: info
        anchors.fill: parent
        horizontalAlignment: Text.AlignHCenter
        verticalAlignment: Text.AlignVCenter
        text: showInfo
        font.pointSize: 20
        color: "white"
    }

    layer.enabled: true
    layer.effect: DropShadow {


        transparentBorder: true
        color: "#004696"
        samples: 20
    }
}
main.qml
/* main.qml  主qml文件 */
import QtQuick 2.12
import QtQuick.Window 2.12

Window {


    id: root
    property int mainScreenWidth: 1080
    property int mainScreenHeight: 640
    visible: false
    width: mainScreenWidth - 15
    height: mainScreenHeight - 70
    title: qsTr("Hello World")
    flags: Qt.Tool
    color: "#c8c8c8"

    Component.onCompleted: {


        for(var i = 0; i < Qt.application.screens.length; ++ i) {


            mainScreenWidth = Qt.application.screens[i].width
            mainScreenHeight = Qt.application.screens[i].height
            visible = true
            break;
        }

        for( var i = 0; i < 84 ; i++) {


            createBtn(i);
        }
    }

    function createBtn(windowId) {


        var component = Qt.createComponent("MTButton.qml");
        if (component.status === Component.Ready) {


            var newWindow = component.createObject(root, {

    text:windowId + 1})
            var row = Math.floor(windowId /12)
            var col = windowId - row * 12
            newWindow.x = col * 150 + 70
            newWindow.y = row * 120 + 70
            newWindow.showInfo = windowId + 1
            return true
        }
        return false
    }

}