Nginx+Tomcat负载均衡与动静分离实验
一、实验环境
Nginx 服务器:192.168.229.20
Tomcat 服务器1:192.168.229.30
Tomcat 服务器2:192.168.229.40
二、部署 Nginx 负载均衡服务器
首先将 nginx-1.12.0.tar.gz 压缩包上传到 /opt 目录下
systemctl stop firewalld.service
systemctl disable firewalld.service
setenforce 0

yum install -y pcre-devel zlib-devel openssl-devel gcc gcc-c++ make

useradd -M -s /sbin/nologin nginx
cd /opt
tar zxvf nginx-1.12.0.tar.gz -C /opt/

cd nginx-1.12.0/
./configure \
--prefix=/usr/local/nginx \
--user=nginx \
--group=nginx \
--with-file-aio \
--with-http_stub_status_module \
--with-http_gzip_static_module \
--with-http_flv_module \
--with-http_ssl_module

make && make install

ln -s /usr/local/nginx/sbin/nginx /usr/local/sbin/

vim /lib/systemd/system/nginx.service
[Unit]
Description=nginx
After=network.target
[Service]
Type=forking
PIDFile =/usr/local/nginx/logs/nginx.pid
ExecStart=/usr/local/nginx/sbin/nginx
ExecReload=/bin/kill -s HUP $MAINPID
ExecStop=/bin/kill -s QUIT $MAINPID
PrivateTmp=true
[Install]
WantedBy=multi-user.target

chmod 754 /lib/systemd/system/nginx.service
systemctl start nginx.service
systemctl enable nginx.service
三、部署两台 Tomcat 应用服务器
所需安装包上传到 /opt 目录下
apache-tomcat-9.0.16.tar.gz
jdk-8u201-linux-x64.rpm
systemctl stop firewalld.service
systemctl disable firewalld.service
setenforce 0

rpm -qpl jdk-8u201-linux-x64.rpm
rpm -ivh jdk-8u201-linux-x64.rpm
java -version

vim /etc/profile.d/java.sh
export JAVA_HOME=/usr/java/jdk1.8.0_201-amd64
export CLASSPATH=.:$JAVA_HOME/lib/tools.jar:$JAVA_HOME/lib/dt.jar
export PATH=$JAVA_HOME/bin:$PATH

source /etc/profile.d/java.sh
java -version

cd /opt
vim abc.java
public class abc {
  public static void main(String[] args){
    System.out.println("Hello World!");
  }
}

javac abc.java      #用来检测JDK环境是否设置成功
java abc

cd /opt
tar zxvf apache-tomcat-9.0.16.tar.gz
mv apache-tomcat-9.0.16 /usr/local/tomcat

##启动tomcat##
/usr/local/tomcat/bin/startup.sh
netstat -natp | grep  8080
四、动静分离配置
(1)Tomcat1 server 配置
mkdir /usr/local/tomcat/webapps/test
vim /usr/local/tomcat/webapps/test/index.jsp
<%@ page language="java" import="java.util.*" pageEncoding="UTF-8"%>
<html>
<head>
<title>JSP test1 page</title>
</head>
<body>
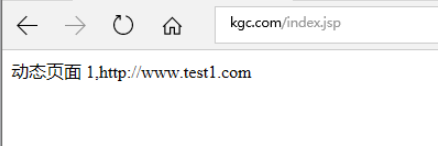
<% out.println("动态页面 1,http://www.test1.com");%>
</body>
</html>
vim /usr/local/tomcat/conf/server.xml
<Host name="localhost" appBase="webapps" unpackWARs="true" autoDeploy="true" xmlValidation="false" xmlNamespaceAware="false">
<Context docBase="/usr/local/tomcat/webapps/test" path="" reloadable="true" />
</Host>
shutdown.sh
startup.sh
(2)Tomcat2 server 配置
mkdir /usr/local/tomcat/webapps/test
vim /usr/local/tomcat/webapps/test/index.jsp
<%@ page language="java" import="java.util.*" pageEncoding="UTF-8"%>
<html>
<head>
<title>JSP test2 page</title>
</head>
<body>
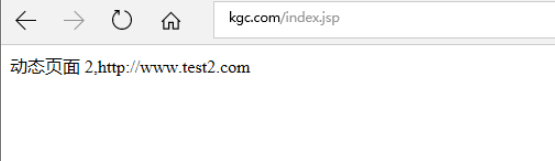
<% out.println("动态页面 2,http://www.test2.com");%>
</body>
</html>
vim /usr/local/tomcat/conf/server.xml
<Host name="localhost" appBase="webapps" unpackWARs="true" autoDeploy="true" xmlValidation="false" xmlNamespaceAware="false">
<Context docBase="/usr/local/tomcat/webapps/test" path="" reloadable="true" />
</Host>
shutdown.sh
startup.sh
(3)Nginx server 配置
#准备静态页面和静态图片
echo '<html><body><h1>这是静态页面</h1></body></html>' > /usr/local/nginx/html/index.html
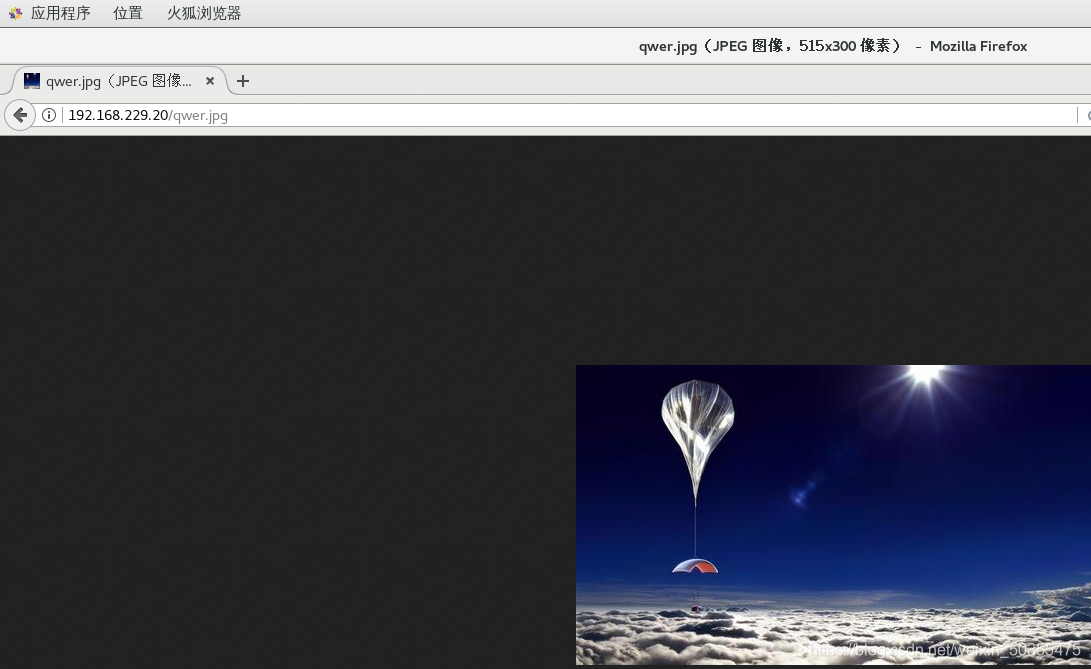
mkdir /usr/local/nginx/html/img
cd /usr/local/nginx/html/img
然后将图片上传至img中
vim /usr/local/nginx/conf/nginx.conf
......
http {
......
#gzip on;
#配置负载均衡的服务器列表,weight参数表示权重,权重越高,被分配到的概率越大
upstream tomcat_server {
server 192.168.229.30:8080 weight=1;
server 192.168.229.40:8080 weight=1;
}
server {
listen 80;
server_name www.kgc.com;
charset utf-8;
#access_log logs/host.access.log main;
#配置Nginx处理动态页面请求,将 .jsp文件请求转发到Tomcat 服务器处理
location ~ .*\.jsp$ {
proxy_pass http://tomcat_server;
#设置后端的Web服务器可以获取远程客户端的真实IP
#设定后端的Web服务器接收到的请求访问的主机名(域名或IP、端口),默认host的值为proxy_pass指令设置的主机名
proxy_set_header HOST $host; #把$remote_addr赋值给X-Real-IP,来获取源IP
proxy_set_header X-Real-IP $remote_addr; #在nginx 作为代理服务器时,设置的IP列表,会把经过的机器ip,代理机器ip都记录下来
proxy_set_header X-Forwarded-For $proxy_add_x_forwarded_for;
#配置Nginx处理静态图片请求
}
location ~ .*\.(gif|jpg|jpeg|png|bmp|swf|css)$ {
root /usr/local/nginx/html/img;
expires 10d;
}
location / {
root html;
index index.html index.htm;
}
......
}
......
}
systemctl restart nginx.server
静态页面效果
在新的虚拟机浏览器中输入192.168.229.20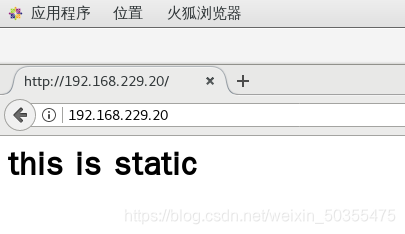
浏览器中输入192.168.229.20/qwer.jpg
测试负载均衡效果,不断刷新浏览器测试
浏览器访问 http://192.168.229.20/index.jsp