上一篇博客里介绍Udacity’s无人驾驶仿真环境的社区时,同时也说明了,Udacity‘s simulator是基于Unity 3D,针对每个任务专门构建的封闭式环境(里面场景已经固定)。想要利用这些封闭的仿真环境,首要的一个问题就是:怎么与之进行数据交换(通信)。因此,本篇将进一步介绍Udacity 's无人驾驶仿真环境的python与c++数据接口代码。
系统:ubuntu 18.04 / gcc 7.4.0 + g++ 7.4.0 / anaconda2 + python2.7
1. 测试通讯的仿真环境下载与配置
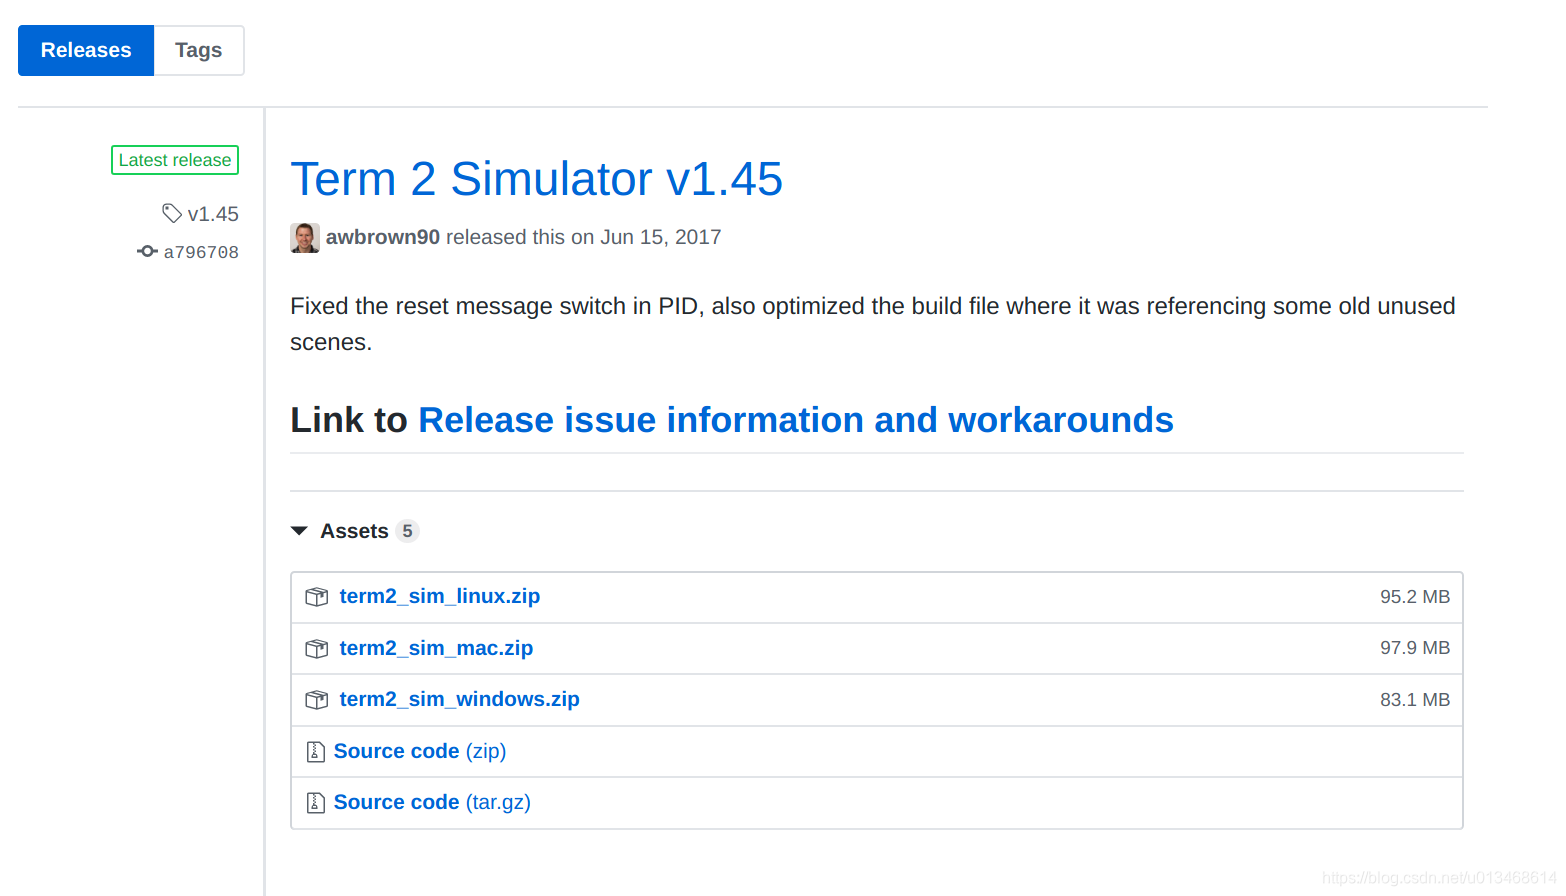
- 下载Term 2 Simulator到本地
进入下载页面,选择Term 2 SImulator最新版本,下面有对应系统的安装ZIP文件(此处系统为ubuntu,因而选term2_sim_linux.zip)。
- 配置
- 手动解压,或查找相应命令解压文件;
- cd到解压得到的文件目录,例如我的为
cd /home/xxx/Downloads/term2_sim_linux; - 手动或利用命令将与系统对应版本(32位还是64位)
term2_sim.x86_64[64位]或term2_sim.x86[32位]变成可执行文件,例如在终端执行sudo chmod +x term2_sim.x86_64;
- 运行
cd /home/xxx/Downloads/term2_sim_linux
./term2_sim.x86_64
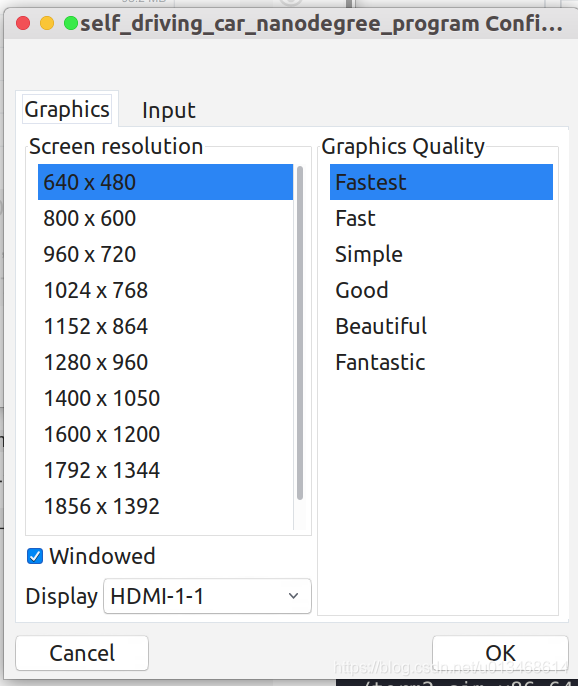
出现如下界面(如果电脑性能般,就选分辨率低的,例如下图),点击ok:
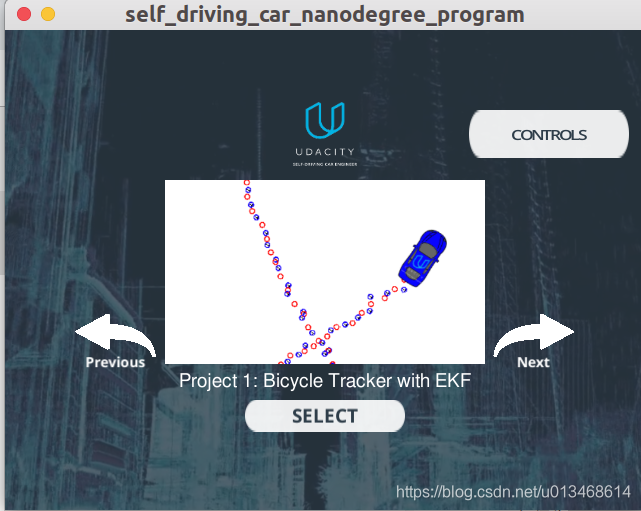
进入环境选择(有些封装好的仿真器只有一个环境就没有这个界面),选择对应的环境 ,点击SELECT正式进入仿真环境。
2. C++通讯接口代码
参照DhruvaKumar/model-predictive-contro/src/main.cpp.
- 安装uWebSockets
参照model-predictive-control/install-ubuntu.sh的步骤进行安装,或者下载该文件,然后运行sudo bash install-ubuntu.sh
#! /bin/bash
sudo apt-get update
sudo apt-get install git libuv1-dev libssl-dev gcc g++ cmake make
git clone https://github.com/uWebSockets/uWebSockets
cd uWebSockets
git checkout e94b6e1
mkdir build
cd build
cmake ..
make
sudo make install
cd ../..
sudo ln -s /usr/lib64/libuWS.so /usr/lib/libuWS.so
sudo rm -r uWebSockets
- 通讯C++代码
udacity’s simulator采用json数据格式进行传输,以下代码是完整的通信骨架,里面需要根据自己的需要添加相应的代码到TODO list 1,2,3。
#include <uWS/uWS.h>
#include <iostream>
#include "json.hpp"
// Checks if the SocketIO event has JSON data.
// If there is data the JSON object in string format will be returned,
// else the empty string "" will be returned.
string hasData(string s) {


  auto found_null = s.find("null");
  auto b1 = s.find_first_of("[");
  auto b2 = s.rfind("}]");
  if (found_null != string::npos) {


    return "";
  } else if (b1 != string::npos && b2 != string::npos) {


    return s.substr(b1, b2 - b1 + 2);
  }
  return "";
}
int main() {


  uWS::Hub h;

  h.onMessage([&mpc](uWS::WebSocket<uWS::SERVER> ws, char *data, size_t length,
                     uWS::OpCode opCode) {


    // "42" at the start of the message means there's a websocket message event.
    // The 4 signifies a websocket message
    // The 2 signifies a websocket event
    string sdata = string(data).substr(0, length);
    cout << sdata << endl;
    if (sdata.size() > 2 && sdata[0] == '4' && sdata[1] == '2') {


      string s = hasData(sdata);
      if (s != "") {


        auto j = json::parse(s);
        string event = j[0].get<string>();
        if (event == "telemetry") {


          // j[1] is the data JSON object
          /* TODO list 1*/
          /* data parsing code should be putted here!*/

          /* TODO list 2*/
          /* Algorithm that generating feedback control commands code should be putted here!*/

          json msgJson;
          /* TODO list 3*/
          /* json datas construction code should be putted here!*/
		  // add header to the json data
          auto msg = "42[\"steer\"," + msgJson.dump() + "]";
          std::cout << msg << std::endl;
          // send new constrol command to simulator
          this_thread::sleep_for(chrono::milliseconds(100));
          ws.send(msg.data(), msg.length(), uWS::OpCode::TEXT);
        }
      } else {


        // Manual driving
        std::string msg = "42[\"manual\",{}]";
        ws.send(msg.data(), msg.length(), uWS::OpCode::TEXT);
      }
    }
  });

  // We don't need this since we're not using HTTP but if it's removed the
  // program
  // doesn't compile :-(
  h.onHttpRequest([](uWS::HttpResponse *res, uWS::HttpRequest req, char *data,
                     size_t, size_t) {


    const std::string s = "<h1>Hello world!</h1>";
    if (req.getUrl().valueLength == 1) {


      res->end(s.data(), s.length());
    } else {


      // i guess this should be done more gracefully?
      res->end(nullptr, 0);
    }
  });

  h.onConnection([&h](uWS::WebSocket<uWS::SERVER> ws, uWS::HttpRequest req) {


    std::cout << "Connected!!!" << std::endl;
  });

  h.onDisconnection([&h](uWS::WebSocket<uWS::SERVER> ws, int code,
                         char *message, size_t length) {


    ws.close();
    std::cout << "Disconnected" << std::endl;
  });

  int port = 4567;
  if (h.listen(port)) {


    std::cout << "Listening to port " << port << std::endl;
  } else {


    std::cerr << "Failed to listen to port" << std::endl;
    return -1;
  }
  h.run();
}
3. python通讯接口代码
- 安装
socketio与eventlet
conda install -c conda-forge python-socketio# 建议用anaconda
conda install -c conda-forge eventlet
- 通讯python代码
以下是利用python与ubacity‘s simulator通信的核心代码,同样的TODO list 1,2需要添加自己的代码对数据进行解析,处理。
import argparse
import base64
from datetime import datetime
import os
import numpy as np
import socketio
import eventlet
import eventlet.wsgi
from flask import Flask

sio = socketio.Server()
app = Flask(__name__)

@sio.on('telemetry')
def telemetry(sid, data):
    if data:
          # TODO list 1*/
          # data parsing code should be putted here!*/

          # TODO list 2*/
          # Algorithm that generating feedback control commands code should be putted here!*/
            send_control(steering_angle, throttle)
        except Exception as e:
            print(e)

    else:
        # NOTE: DON'T EDIT THIS.
        sio.emit('manual', data={

    }, skip_sid=True)


@sio.on('connect')
def connect(sid, environ):
    print("connect ", sid)
    send_control(0, 0)


def send_control(steering_angle, throttle):
    sio.emit(
        "steer",
        data={


            'steering_angle': steering_angle.__str__(),
            'throttle': throttle.__str__()
        },
        skip_sid=True)


if __name__ == '__main__':

    model = load_model(args.model)
    # wrap Flask application with engineio's middleware
    app = socketio.Middleware(sio, app)
    # deploy as an eventlet WSGI server
    eventlet.wsgi.server(eventlet.listen(('', 4567)), app)
4. json语法
udacity’s simulator采用Json格式对数据进行传输,Json是一个标记符的序列,这套标记符包含六个构造字符、字符串、数字和三个字面名。Json是一个序列化的对象或数组。
- 六个构造字符
| 构造字符 | 符号 | 意义 |
|---|---|---|
| begin-array = ws %x5B ws | ‘[’ | 表示一个数组的开始 |
| begin-object = ws %x7B ws | ‘{’ | 表示一个对象的开始 |
| end-array = ws %x5D ws | ‘]’ | 表示一个数组的结束 |
| end-object = ws %x7D ws | ‘}’ | 表示一个对象的结束 |
| name-separator = ws %x3A ws | ‘:’ | 字面值与数值的分隔符 |
| value-separator | ‘,’ | 各值的分隔符 |
在这六个构造字符的前或后允许存在无意义的空白符(ws), 例如:
*(%x20 /; 空间
%x09 /; 水平标签
%x0A /; 换行或换行
%x0D); 回程
- 值可以是对象、数组、数字、字符串或者三个字面值(false、null、true)中的一个。值中的字面值中的英文必须使用小写,例如:
{

    "name": "John Doe", "age": 18, "address": {

    "country" : "china", "zip-code": "10000"}}
其它一些示例
{

    "a": 1, "b": [1, 2, 3]}
[1, 2, "3", {

    "a": 4}]
3.14
"plain_text"
5. udacity’s simulator Json数据解析示例
针对第一节介绍的term2_sim_linux.zip中的MPC仿真环境的数据给出c++与python解析代码。
5.1 查看数据
我的方式是先利用通信骨架代码,将完整的数据打印出来:
- C++
string sdata = string(data).substr(0, length);
cout << sdata << endl;
42["telemetry",{

    "ptsx":[-43.49173,-61.09,-78.29172,-93.05002,-107.7717,-123.3917],"ptsy":[105.941,92.88499,78.73102,65.34102,50.57938,33.37102],"psi_unity":4.059185,"psi":3.794796,"x":-55.03409,"y":97.48677,"steering_angle":-0.003226886,"throttle":1,"speed":28.66575}]
- python
print(data)
{

    u'ptsy': [113.361, 105.941, 92.88499, 78.73102, 65.34102, 50.57938], u'ptsx': [-32.16173, -43.49173, -61.09, -78.29172, -93.05002, -107.7717], u'psi': 3.733651, u'throttle': 0, u'psi_unity': 4.12033, u'y': 108.73, u'x': -40.62, u'steering_angle': 0, u'speed': 0.8760166}
c++与python读出来的数据是一致的,除了数据位置不一样,以及c++将web socket的头数据也加进去了。刨掉头数据,只看Json格式部分,两者读出来的数据格式是一样的。
5.2 解析数据
- c++
TODO list 1处代码如下,可对以上格式的数据进行解析。
// j[1] is the data JSON object
vector<double> ptsx = j[1]["ptsx"];  // waypoints' position in x axis
vector<double> ptsy = j[1]["ptsy"]; // waypoints' position in y axis
double px = j[1]["x"]; // ugv's position in x axis
double py = j[1]["y"]; // ugv's position in y axis
double psi = j[1]["psi"]; // ugv's headding angle
double v = j[1]["speed"];  // ugv's speed
double delta = j[1]["steering_angle"]; // ugv's steering angle
double acceleration = j[1]["throttle"]; // ugv's throttle
- python
ptsx = [float(d) for d in data["ptsx"]]
ptsy = [float(d) for d in data["ptsy"]]
px = float(data["x"])
py = float(data["x"])
psi = float(data["psi"])
v = float(data["speed"])
delta = float(data["steering_angle"])
acceleration = float(data["throttle"])
5.3 发送数据到simulator
- c++
C++的发送代码在第二部分的通讯骨架代码中,大致思路是,然构建Json数据,然后加上数据头部,最后发送。
一个例子:
以下代码应放在TODO list 3处.
分成三块:1.构建Json数据;2.加上web socket数据头;3.发送。
/*  构建Json数据 */
json msgJson;  //
msgJson["steering_angle"] = steer_value;
msgJson["throttle"] = throttle_value;

//Display the MPC predicted trajectory
//.. add (x,y) points to list here, points are in reference to the vehicle's coordinate system
// the points in the simulator are connected by a Green line

msgJson["mpc_x"] = mpc.x_pred_vals;
msgJson["mpc_y"] = mpc.y_pred_vals;

//Display the waypoints/reference line
//.. add## (x,y) points to list here, points are in reference to the vehicle's coordinate system
// the points in the simulator are connected by a Yellow line
vector<double> next_x_vals;
vector<double> next_y_vals;
int n_waypoints = 25;
int step = 2.5;
for (int i = 1; i<n_waypoints; ++i)
{


   next_x_vals.push_back(step*i);
   next_y_vals.push_back(polyeval(coeffs, step*i));
}
msgJson["next_x"] = next_x_vals;
msgJson["next_y"] = next_y_vals;
/*  加上web socket数据头 */
auto msg = "42[\"steer\"," + msgJson.dump() + "]";
std::cout << msg << std::endl;
// Latency
 // The purpose is to mimic real driving conditions where
// the car does actuate the commands instantly.
//
// Feel free to play around with this value but should be to drive
// around the track with 100ms latency.
//
// NOTE: REMEMBER TO SET THIS TO 100 MILLISECONDS BEFORE
// SUBMITTING.
/*  发送 */
this_thread::sleep_for(chrono::milliseconds(100));
ws.send(msg.data(), msg.length(), uWS::OpCode::TEXT);
- python
调用以下函数
def send_control(steering_angle, throttle):
    sio.emit(
        "steer",
        data={


            'steering_angle': steering_angle.__str__(),
            'throttle': throttle.__str__()
        },
        skip_sid=True)
总结
本篇详细介绍了Udacity’s simulator的c++与python通讯接口,并且以term2_sim_linux.zip的数据为例介绍了Json数据解析与构造。这之后,我们可以与udacity’s simulator进行通信,获取仿真环境的数据,利用算法处理、学习得到控制指令后,发送给仿真环境中的无人车执行。
以及