官方文档:https://doc.xiaominfo.com/knife4j/documentation/description.html
一开始项目初衷是为了写一个增强版本的swagger的前端ui,但是随着项目的发展,面对越来越多的个性化需求,不得不编写后端Java代码以满足新的需求,在swagger-bootstrap-ui的1.8.5~1.9.6版本之间,采用的是后端Java代码和Ui都混合在一个Jar包里面的方式提供给开发者使用.这种方式虽说对于集成swagger来说很方便,只需要引入jar包即可,但是在微服务架构下显得有些臃肿。
试了一下,还是蛮不错的~~
好,添加启动器
 <!--knife4j-->
        <dependency>
            <groupId>com.github.xiaoymin</groupId>
            <artifactId>knife4j-spring-boot-starter</artifactId>
            <version>2.0.8</version>
        </dependency>
再编写配置类
@Configuration
@EnableSwagger2WebMvc // 更换注解
public class Knife4jConfiguration {


    @Bean
    public Docket createRestApi() {


        ApiInfo apiInfo = new ApiInfoBuilder()
                // 文档标题
                .title("Spring-boot项目")
                //文档描述
                .description("V2.0接口规范")
                //服务条款URL
                .termsOfServiceUrl("http://127.0.0.1:80/")
                //版本号
                .version("2.0.0")
                .build();

        return new Docket(DocumentationType.SWAGGER_2)
                .apiInfo(apiInfo)
                //是否开启
                .enable(true)
                .select()
                //设置basePackage会将包下的所有被@Api标记类的所有方法作为api
                .apis(RequestHandlerSelectors.basePackage("com.knife4j.demo.controller"))
                //指定路径处理PathSelectors.any()代表所有的路径
                .paths(PathSelectors.any())
                .build();
    }


}
然后在controller写注解
@Controller
@Api(value = "页面接口",description = "跳转接口测试")
public class HelloController {


    @RequestMapping("/hello")
    @ApiImplicitParam(name = "url",value = "null",required = true)
    @ApiOperation(value = "跳转hello页面")
    public String index(){


        return "hello";
    }
}
以防万一,添加一个@EnableKnife4j注解在启动类
启动…
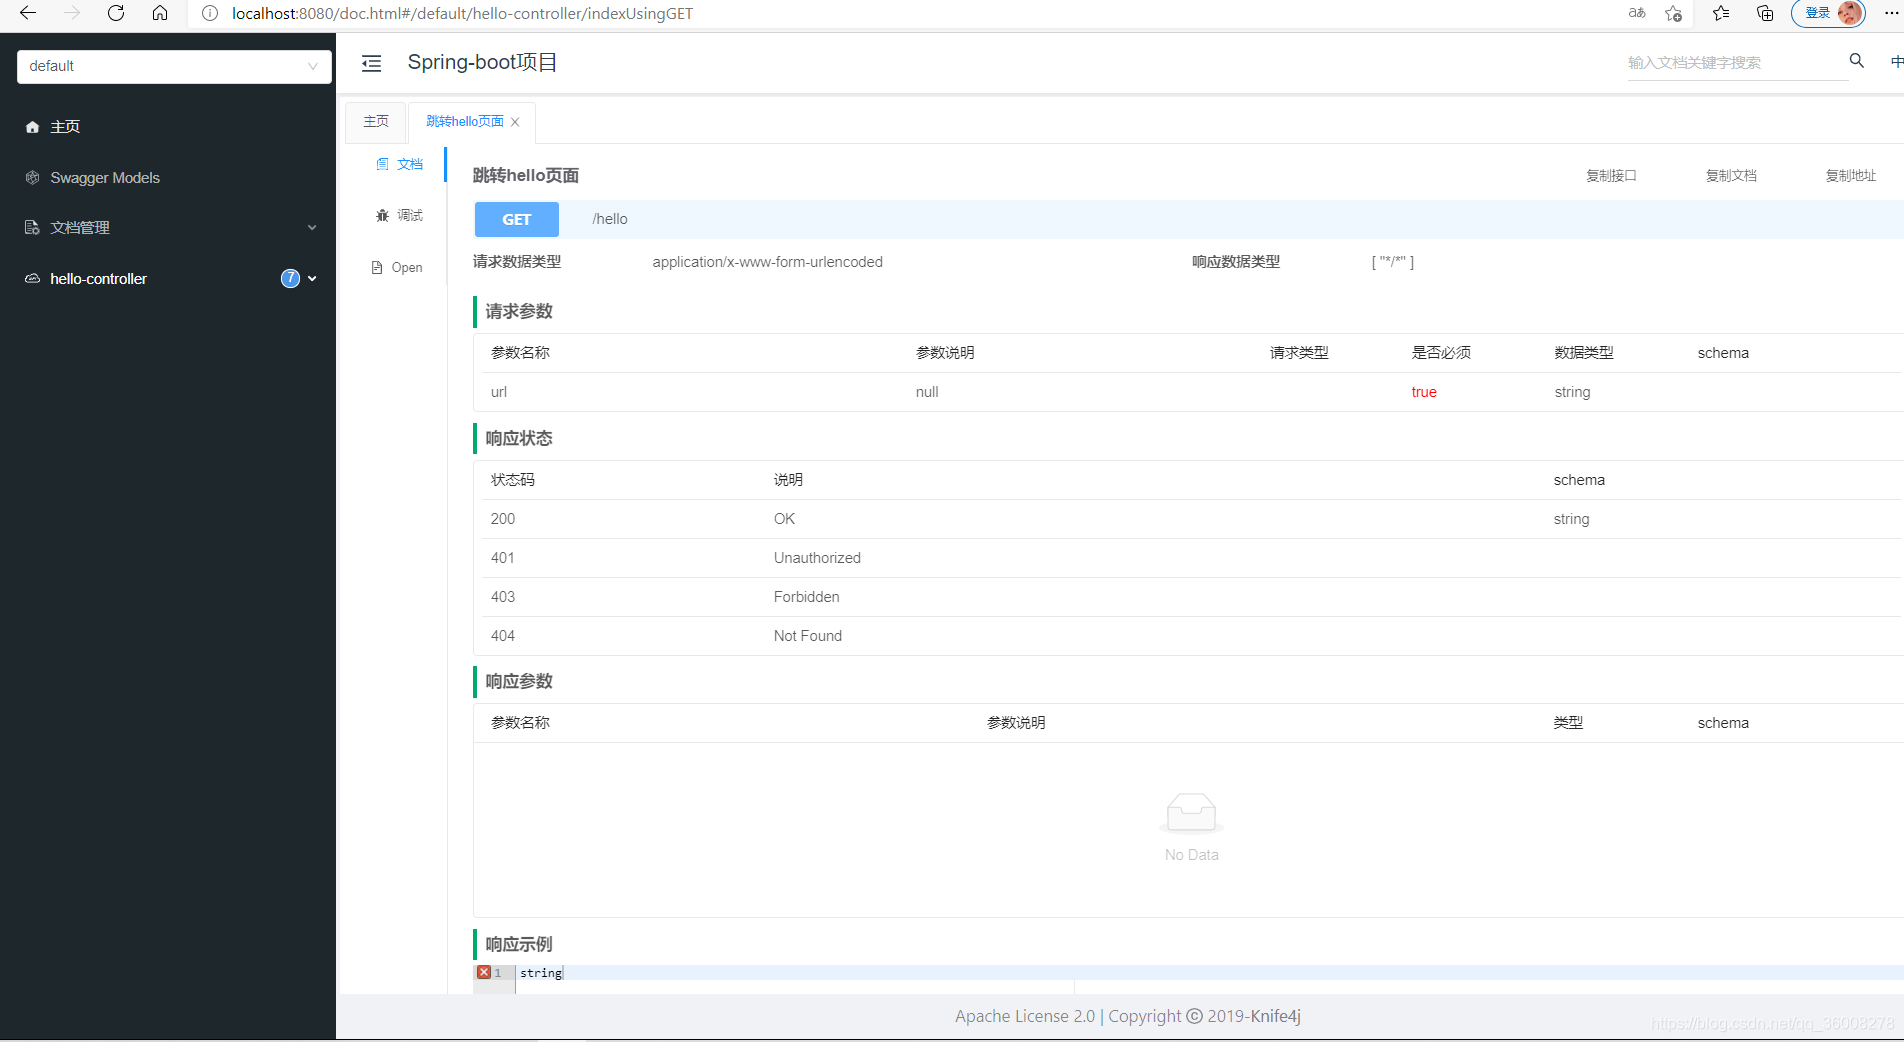
对于开发来说还是挺好的,减少编写开发文档的时间