目录
一、系统准备
1.系统版本
操作系统:CentOS 8.5.2111
# cat /etc/redhat-release
CentOS Linux release 8.5.2111
2.禁用 SELinux
(1)临时关闭
setenforce 0
(2)永久关闭
vi /etc/sysconfig/selinux
将:
SELINUX=enforcing
修改为:
SELINUX=disabled
3.关闭 firewalld
systemctl stop firewalld
systemctl disable firewalld
4.关闭 swap,注释 swap 分区
Kubernetes 1.8 开始要求关闭系统的 Swap,如果不关闭,默认配置下 kubelet 将无法启动。
使用如下命令关闭 Swap:
swapoff -a
修改 /etc/fstab 文件,注释掉 swap 的自动挂载,使用 free -m 确认 swap 已经关闭:
vi /etc/fstab
#
# /etc/fstab
# Created by anaconda on Tue Nov 30 09:21:33 2021
#
# Accessible filesystems, by reference, are maintained under '/dev/disk/'.
# See man pages fstab(5), findfs(8), mount(8) and/or blkid(8) for more info.
#
# After editing this file, run 'systemctl daemon-reload' to update systemd
# units generated from this file.
#
UUID=3320bcc9-ae92-48c4-99bd-7a25f15d2872 /                       xfs     defaults        0 0
UUID=25d8e6ad-3245-4bfb-8359-b74222f5ec8d /boot                   xfs     defaults        0 0
#UUID=7ea34628-c84e-4e5f-bfcd-83de47c839a6 none                    swap    defaults        0 0
调整 swappiness 参数,修改 /etc/sysctl.d/99-kubernetes-cri.conf 添加一行:
vm.swappiness=0
执行以下命令使修改生效:
sysctl -p /etc/sysctl.d/99-kubernetes-cri.conf
5.配置主机名
vi /etc/hosts
127.0.0.1   localhost localhost.localdomain localhost4 localhost4.localdomain4
::1         localhost localhost.localdomain localhost6 localhost6.localdomain6
192.168.1.28 master01
192.168.1.29 node01
192.168.1.30 node02
6.创建 containerd.conf 配置文件
vi /etc/modules-load.d/containerd.conf
overlay
br_netfilter
执行以下命令使配置生效:
modprobe overlay
modprobe br_netfilter
7.创建 /etc/sysctl.d/99-kubernetes-cri.conf 配置文件
vi /etc/sysctl.d/99-kubernetes-cri.conf
net.bridge.bridge-nf-call-ip6tables = 1
net.bridge.bridge-nf-call-iptables = 1
net.ipv4.ip_forward = 1
user.max_user_namespaces=28633
执行以下命令使配置生效:
sysctl -p /etc/sysctl.d/99-kubernetes-cri.conf
8.配置开启 ipvs 的前提条件
kube-proxy 开启 ipvs 需加载以下的内核模块:
ip_vs
ip_vs_rr
ip_vs_wrr
ip_vs_sh
nf_conntrack
在各个服务器节点上执行以下脚本:
vi /etc/sysconfig/modules/ipvs.modules
#!/bin/bash
modprobe -- ip_vs
modprobe -- ip_vs_rr
modprobe -- ip_vs_wrr
modprobe -- ip_vs_sh
modprobe -- nf_conntrack
为脚本添加执行权限:
chmod +x /etc/sysconfig/modules/ipvs.modules
执行脚本文件:
/bin/bash /etc/sysconfig/modules/ipvs.modules
查看对应的模块是否加载成功:
lsmod | grep -e -ip_vs -e nf_conntrack
以上脚本创建了 /etc/sysconfig/modules/ipvs.modules 文件,保证在节点重启后能自动加载所需模块。
各个节点安装 ipset 和 ipvsadm,其中管理工具 ipvsadm 用于查看 ipvs 的代理规则:
yum install -y ipset ipvsadm
注意:必须满足以上前提条件,否则即使 kube-proxy 的配置开启了 ipvs 模式,也会退回到 iptables 模式。
9.部署容器运行时 Containerd
(1)下载安装
在各个节点上安装容器运行时 Containerd,最新版本下载地址:
https://github.com/containerd/containerd/releases
cri-containerd-cni-1.6.6-linux-amd64.tar.gz 压缩包中已经按照官方二进制部署推荐的目录结构布局好。 里面包含了 systemd 配置文件,containerd 以及 cni 的部署文件。 将解压缩到系统的根目录 / 中:
tar -zxvf cri-containerd-cni-1.6.6-linux-amd64.tar.gz -C /
(2)配置
生成 containerd 的配置文件:
mkdir -p /etc/containerd
containerd config default > /etc/containerd/config.toml
使用 systemd 作为容器的 cgroup driver 可以确保服务器节点在资源紧张的情况更加稳定,因此配置各个节点上 containerd 的 cgroup driver 为 systemd。修改 SystemdCgroup 为 true:
vi /etc/containerd/config.toml
  [plugins."io.containerd.grpc.v1.cri".containerd.runtimes.runc.options]
    BinaryName = ""
    CriuImagePath = ""
    CriuPath = ""
    CriuWorkPath = ""
    IoGid = 0
    IoUid = 0
    NoNewKeyring = false
    NoPivotRoot = false
    Root = ""
    ShimCgroup = ""
    SystemdCgroup = true
再修改 sandbox_image 的值:
  [plugins."io.containerd.grpc.v1.cri"]
    device_ownership_from_security_context = false
    disable_apparmor = false
    disable_cgroup = false
    disable_hugetlb_controller = true
    disable_proc_mount = false
    disable_tcp_service = true
    enable_selinux = false
    enable_tls_streaming = false
    enable_unprivileged_icmp = false
    enable_unprivileged_ports = false
    ignore_image_defined_volumes = false
    max_concurrent_downloads = 3
    max_container_log_line_size = 16384
    netns_mounts_under_state_dir = false
    restrict_oom_score_adj = false
    sandbox_image = "registry.aliyuncs.com/google_containers/pause:3.7"
(3)启动 containerd 并配置开机启动
systemctl enable containerd
systemctl start containerd
(4)使用 crictl version 测试
crictl version
Version:  0.1.0
RuntimeName:  containerd
RuntimeVersion:  1.6.6
RuntimeApiVersion:  v1
10.添加阿里源
(1)下载新的 yum 源
curl https://mirrors.aliyun.com/repo/Centos-vault-8.5.2111.repo > /etc/yum.repos.d/Centos-vault-8.5.2111.repo

curl https://mirrors.aliyun.com/repo/epel-archive-8.repo > /etc/yum.repos.d/epel-archive-8.repo
(2)重建缓存
yum clean all && yum makecache
11.安装常用包
yum install vim bash-completion net-tools gcc -y
12.使用 aliyun 源安装 docker-ce
yum install -y yum-utils device-mapper-persistent-data lvm2
yum-config-manager --add-repo https://mirrors.aliyun.com/docker-ce/linux/centos/docker-ce.repo
yum -y install docker-ce
13.添加 aliyundocker 仓库加速器
mkdir -p /etc/docker
vi /etc/docker/daemon.json
{


  "registry-mirrors": ["https://fl791z1h.mirror.aliyuncs.com"]
}

systemctl daemon-reload
systemctl restart docker
二、部署 Kubernetes1.24
通常有两种方式部署 Kubernetes:使用 kubeadm 部署和二进制方式部署。
- kubeadm 方式部署
组件容器化部署,只有 kubelet 没有被容器化。 - 二进制方式部署
传统的守护进程(systemd)管理服务 systemctl。
本文使用 kubeadm 方式部署。
1.安装 kubectl、kubelet、kubeadm
(1)添加阿里kubernetes源
vi /etc/yum.repos.d/kubernetes.repo
[kubernetes]
name=Kubernetes
baseurl=https://mirrors.aliyun.com/kubernetes/yum/repos/kubernetes-el7-x86_64/
enabled=1
gpgcheck=1
repo_gpgcheck=1
gpgkey=https://mirrors.aliyun.com/kubernetes/yum/doc/yum-key.gpg https://mirrors.aliyun.com/kubernetes/yum/doc/rpm-package-key.gpg
(2)安装
yum install kubectl kubelet kubeadm -y
(3)设置开机启动 kubelet 服务
systemctl enable kubelet
2.初始化 k8s 集群
(1)配置文件
运行 kubelet --help 可以看到原来 kubelet 的绝大多数命令行 flag 参数都被 DEPRECATED 了,官方推荐我们使用 --config 指定配置文件,并在配置文件中指定原来这些 flag 所配置的内容。最初 Kubernetes 这么做是为了支持动态 Kubelet 配置(Dynamic Kubelet Configuration),但动态 Kubelet 配置特性从 k8s 1.22 中已弃用,并在 1.24 中被移除。
使用 kubeadm config print init-defaults --component-configs KubeletConfiguration 打印集群初始化默认的使用的配置:
kubeadm config print init-defaults --component-configs KubeletConfiguration
apiVersion: kubeadm.k8s.io/v1beta3
bootstrapTokens:
- groups:
  - system:bootstrappers:kubeadm:default-node-token
  token: abcdef.0123456789abcdef
  ttl: 24h0m0s
  usages:
  - signing
  - authentication
kind: InitConfiguration
localAPIEndpoint:
  advertiseAddress: 1.2.3.4
  bindPort: 6443
nodeRegistration:
  criSocket: unix:///var/run/containerd/containerd.sock
  imagePullPolicy: IfNotPresent
  name: node
  taints: null
---
apiServer:
  timeoutForControlPlane: 4m0s
apiVersion: kubeadm.k8s.io/v1beta3
certificatesDir: /etc/kubernetes/pki
clusterName: kubernetes
controllerManager: {

    }
dns: {

    }
etcd:
  local:
    dataDir: /var/lib/etcd
imageRepository: k8s.gcr.io
kind: ClusterConfiguration
kubernetesVersion: 1.24.0
networking:
  dnsDomain: cluster.local
  serviceSubnet: 10.96.0.0/12
scheduler: {

    }
---
apiVersion: kubelet.config.k8s.io/v1beta1
authentication:
  anonymous:
    enabled: false
  webhook:
    cacheTTL: 0s
    enabled: true
  x509:
    clientCAFile: /etc/kubernetes/pki/ca.crt
authorization:
  mode: Webhook
  webhook:
    cacheAuthorizedTTL: 0s
    cacheUnauthorizedTTL: 0s
cgroupDriver: systemd
clusterDNS:
- 10.96.0.10
clusterDomain: cluster.local
cpuManagerReconcilePeriod: 0s
evictionPressureTransitionPeriod: 0s
fileCheckFrequency: 0s
healthzBindAddress: 127.0.0.1
healthzPort: 10248
httpCheckFrequency: 0s
imageMinimumGCAge: 0s
kind: KubeletConfiguration
logging:
  flushFrequency: 0
  options:
    json:
      infoBufferSize: "0"
  verbosity: 0
memorySwap: {

    }
nodeStatusReportFrequency: 0s
nodeStatusUpdateFrequency: 0s
rotateCertificates: true
runtimeRequestTimeout: 0s
shutdownGracePeriod: 0s
shutdownGracePeriodCriticalPods: 0s
staticPodPath: /etc/kubernetes/manifests
streamingConnectionIdleTimeout: 0s
syncFrequency: 0s
volumeStatsAggPeriod: 0s
基于默认配置修改 kubeadm 初始化集群所需的配置文件 kubeadm.yaml:
apiVersion: kubeadm.k8s.io/v1beta3
kind: InitConfiguration
localAPIEndpoint:
  advertiseAddress: 192.168.1.28
  bindPort: 6443
nodeRegistration:
  criSocket: unix:///run/containerd/containerd.sock
  taints:
  - effect: PreferNoSchedule
    key: node-role.kubernetes.io/master
---
apiVersion: kubeadm.k8s.io/v1beta2
kind: ClusterConfiguration
kubernetesVersion: v1.24.1
imageRepository: registry.aliyuncs.com/google_containers
networking:
  podSubnet: 10.244.0.0/16
---
apiVersion: kubelet.config.k8s.io/v1beta1
kind: KubeletConfiguration
cgroupDriver: systemd
failSwapOn: false
---
apiVersion: kubeproxy.config.k8s.io/v1alpha1
kind: KubeProxyConfiguration
mode: ipvs
注意:imageRepository 为阿里云的 registry,criSocket 设置了容器运行时为 containerd,cgroupDriver 为 systemd,设置 kube-proxy 代理模式为 ipvs。
(2)拉取镜像
方式一:
kubeadm config images pull --config kubeadm.yaml
方式二:
查看搭建集群需要安装的 Kubernetes 版本:
kubeadm config images list
输出如下:
k8s.gcr.io/kube-apiserver:v1.24.1
k8s.gcr.io/kube-controller-manager:v1.24.1
k8s.gcr.io/kube-scheduler:v1.24.1
k8s.gcr.io/kube-proxy:v1.24.1
k8s.gcr.io/pause:3.7
k8s.gcr.io/etcd:3.5.3-0
k8s.gcr.io/coredns/coredns:v1.8.6
手动拉取:
docker pull registry.cn-hangzhou.aliyuncs.com/google_containers/kube-apiserver:v1.24.1
docker pull registry.cn-hangzhou.aliyuncs.com/google_containers/kube-controller-manager:v1.24.1
docker pull registry.cn-hangzhou.aliyuncs.com/google_containers/kube-scheduler:v1.24.1
docker pull registry.cn-hangzhou.aliyuncs.com/google_containers/kube-proxy:v1.24.1
docker pull registry.cn-hangzhou.aliyuncs.com/google_containers/pause:3.7
docker pull registry.cn-hangzhou.aliyuncs.com/google_containers/etcd:3.5.3-0
docker pull registry.cn-hangzhou.aliyuncs.com/google_containers/coredns:v1.8.6
设置 tag:
docker tag registry.cn-hangzhou.aliyuncs.com/google_containers/kube-apiserver:v1.24.1 k8s.gcr.io/kube-apiserver:v1.24.1
docker tag registry.cn-hangzhou.aliyuncs.com/google_containers/kube-proxy:v1.24.1 k8s.gcr.io/kube-proxy:v1.24.1
docker tag registry.cn-hangzhou.aliyuncs.com/google_containers/kube-scheduler:v1.24.1 k8s.gcr.io/kube-scheduler:v1.24.1
docker tag registry.cn-hangzhou.aliyuncs.com/google_containers/kube-controller-manager:v1.24.1 k8s.gcr.io/kube-controller-manager:v1.24.1
docker tag registry.cn-hangzhou.aliyuncs.com/google_containers/etcd:3.5.3-0 k8s.gcr.io/etcd:3.5.3-0
docker tag registry.cn-hangzhou.aliyuncs.com/google_containers/pause:3.7 k8s.gcr.io/pause:3.7
docker tag registry.cn-hangzhou.aliyuncs.com/google_containers/coredns:v1.8.6 k8s.gcr.io/coredns:v1.8.6
(3)初始化集群
kubeadm init --config kubeadm.yaml
W0613 01:27:52.085904   31335 common.go:83] your configuration file uses a deprecated API spec: "kubeadm.k8s.io/v1beta2". Please use 'kubeadm config migrate --old-config old.yaml --new-config new.yaml', which will write the new, similar spec using a newer API version.
[init] Using Kubernetes version: v1.24.1
[preflight] Running pre-flight checks
[preflight] Pulling images required for setting up a Kubernetes cluster
[preflight] This might take a minute or two, depending on the speed of your internet connection
[preflight] You can also perform this action in beforehand using 'kubeadm config images pull'
[certs] Using certificateDir folder "/etc/kubernetes/pki"
[certs] Generating "ca" certificate and key
[certs] Generating "apiserver" certificate and key
[certs] apiserver serving cert is signed for DNS names [kubernetes kubernetes.default kubernetes.default.svc kubernetes.default.svc.cluster.local master01] and IPs [10.96.0.1 192.168.1.28]
[certs] Generating "apiserver-kubelet-client" certificate and key
[certs] Generating "front-proxy-ca" certificate and key
[certs] Generating "front-proxy-client" certificate and key
[certs] Generating "etcd/ca" certificate and key
[certs] Generating "etcd/server" certificate and key
[certs] etcd/server serving cert is signed for DNS names [localhost master01] and IPs [192.168.1.28 127.0.0.1 ::1]
[certs] Generating "etcd/peer" certificate and key
[certs] etcd/peer serving cert is signed for DNS names [localhost master01] and IPs [192.168.1.28 127.0.0.1 ::1]
[certs] Generating "etcd/healthcheck-client" certificate and key
[certs] Generating "apiserver-etcd-client" certificate and key
[certs] Generating "sa" key and public key
[kubeconfig] Using kubeconfig folder "/etc/kubernetes"
[kubeconfig] Writing "admin.conf" kubeconfig file
[kubeconfig] Writing "kubelet.conf" kubeconfig file
[kubeconfig] Writing "controller-manager.conf" kubeconfig file
[kubeconfig] Writing "scheduler.conf" kubeconfig file
[kubelet-start] Writing kubelet environment file with flags to file "/var/lib/kubelet/kubeadm-flags.env"
[kubelet-start] Writing kubelet configuration to file "/var/lib/kubelet/config.yaml"
[kubelet-start] Starting the kubelet
[control-plane] Using manifest folder "/etc/kubernetes/manifests"
[control-plane] Creating static Pod manifest for "kube-apiserver"
[control-plane] Creating static Pod manifest for "kube-controller-manager"
[control-plane] Creating static Pod manifest for "kube-scheduler"
[etcd] Creating static Pod manifest for local etcd in "/etc/kubernetes/manifests"
[wait-control-plane] Waiting for the kubelet to boot up the control plane as static Pods from directory "/etc/kubernetes/manifests". This can take up to 4m0s
[kubelet-check] Initial timeout of 40s passed.
[apiclient] All control plane components are healthy after 52.524924 seconds
[upload-config] Storing the configuration used in ConfigMap "kubeadm-config" in the "kube-system" Namespace
[kubelet] Creating a ConfigMap "kubelet-config" in namespace kube-system with the configuration for the kubelets in the cluster
[upload-certs] Skipping phase. Please see --upload-certs
[mark-control-plane] Marking the node master01 as control-plane by adding the labels: [node-role.kubernetes.io/control-plane node.kubernetes.io/exclude-from-external-load-balancers]
[mark-control-plane] Marking the node master01 as control-plane by adding the taints [node-role.kubernetes.io/master:PreferNoSchedule]
[bootstrap-token] Using token: ejwr4u.zk3y75irki3m339h
[bootstrap-token] Configuring bootstrap tokens, cluster-info ConfigMap, RBAC Roles
[bootstrap-token] Configured RBAC rules to allow Node Bootstrap tokens to get nodes
[bootstrap-token] Configured RBAC rules to allow Node Bootstrap tokens to post CSRs in order for nodes to get long term certificate credentials
[bootstrap-token] Configured RBAC rules to allow the csrapprover controller automatically approve CSRs from a Node Bootstrap Token
[bootstrap-token] Configured RBAC rules to allow certificate rotation for all node client certificates in the cluster
[bootstrap-token] Creating the "cluster-info" ConfigMap in the "kube-public" namespace
[kubelet-finalize] Updating "/etc/kubernetes/kubelet.conf" to point to a rotatable kubelet client certificate and key
[addons] Applied essential addon: CoreDNS
[addons] Applied essential addon: kube-proxy

Your Kubernetes control-plane has initialized successfully!

To start using your cluster, you need to run the following as a regular user:

  mkdir -p $HOME/.kube
  sudo cp -i /etc/kubernetes/admin.conf $HOME/.kube/config
  sudo chown $(id -u):$(id -g) $HOME/.kube/config

Alternatively, if you are the root user, you can run:

  export KUBECONFIG=/etc/kubernetes/admin.conf

You should now deploy a pod network to the cluster.
Run "kubectl apply -f [podnetwork].yaml" with one of the options listed at:
  https://kubernetes.io/docs/concepts/cluster-administration/addons/

Then you can join any number of worker nodes by running the following on each as root:

kubeadm join 192.168.1.28:6443 --token ejwr4u.zk3y75irki3m339h \
	--discovery-token-ca-cert-hash sha256:0ddb3e79f534c30133792d0125599262be4349b9cb74575ab7e1350945b2f28c
命令行初始化集群命令如下,不推荐使用:
kubeadm init --kubernetes-version=1.24.1  \
--apiserver-advertise-address=192.168.1.28   \
--image-repository registry.aliyuncs.com/google_containers  \
--service-cidr=10.10.0.0/16 --pod-network-cidr=10.122.0.0/16
POD的网段为: 10.122.0.0/16, api server地址就是 master 本机 IP。
由于kubeadm 默认从官网 k8s.grc.io 下载所需镜像,国内无法访问,因此需要通过 –image-repository 指定阿里云镜像仓库地址。
(4)创建kubectl
根据提示创建kubectl:
mkdir -p $HOME/.kube
cp -i /etc/kubernetes/admin.conf $HOME/.kube/config
chown $(id -u):$(id -g) $HOME/.kube/config
执行下面命令,使kubectl可以自动补充:
source <(kubectl completion bash)
查看节点,node节点为 NotReady,因为 corednspod 没有启动,缺少网络 pod:
kubectl get node
NAME       STATUS     ROLES           AGE     VERSION
master01   NotReady   control-plane   6m26s   v1.24.1
(5)安装calico网络
kubectl apply -f https://docs.projectcalico.org/manifests/calico.yaml
再次查看节点:
kubectl get node
NAME       STATUS   ROLES           AGE   VERSION
master01   Ready    control-plane   19h   v1.24.1
此时集群已正常。
(6)向集群添加 node 节点
kubeadm join 192.168.1.28:6443 --token ejwr4u.zk3y75irki3m339h \
	--discovery-token-ca-cert-hash sha256:0ddb3e79f534c30133792d0125599262be4349b9cb74575ab7e1350945b2f28c
三、安装 kubernetes-dashboard
最新版本查看地址:https://github.com/kubernetes/dashboard/releases
1.下载
wget https://raw.githubusercontent.com/kubernetes/dashboard/v2.6.0/aio/deploy/recommended.yaml
2.修改配置文件
默认 Dashboard 只能集群内部访问,修改 Dashboard 配置文件的 Service 为 NodePort 类型,暴露到外部访问:
---

kind: Service
apiVersion: v1
metadata:
  labels:
    k8s-app: kubernetes-dashboard
  name: kubernetes-dashboard
  namespace: kubernetes-dashboard
spec:
  type: NodePort
  ports:
    - port: 443
      targetPort: 8443
      nodePort: 30001
  selector:
    k8s-app: kubernetes-dashboard

---
3.执行配置文件
kubectl create -f recommended.yaml
4.创建 dashboard 的 serviceaccount
kubectl create serviceaccount dashboard-admin -n kube-system
查看 serviceaccount:
kubectl get serviceaccount -n kube-system | grep dashboard-admin
5.创建 clusterrolebinding
创建 clusterrolebinding 绑定 clusterrole 使用 serviceaccount 认证:
kubectl create clusterrolebinding dashboard-admin --clusterrole=cluster-admin --serviceaccount=kube-system:dashboard-admin
6.生成 token
kubectl create token dashboard-admin -n kube-system --duration=87600h
eyJhbGciOiJSUzI1NiIsImtpZCI6IkxXV2FrdVpNUFBaY0g2SUVYQmtGd0tKaHBJdEhoRTA1XzFSUko1Q0QyRFEifQ.eyJhdWQiOlsiaHR0cHM6Ly9rdWJlcm5ldGVzLmRlZmF1bHQuc3ZjLmNsdXN0ZXIubG9jYWwiXSwiZXhwIjoxOTcwNDI1Mzk5LCJpYXQiOjE2NTUwNjUzOTksImlzcyI6Imh0dHBzOi8va3ViZXJuZXRlcy5kZWZhdWx0LnN2Yy5jbHVzdGVyLmxvY2FsIiwia3ViZXJuZXRlcy5pbyI6eyJuYW1lc3BhY2UiOiJrdWJlLXN5c3RlbSIsInNlcnZpY2VhY2NvdW50Ijp7Im5hbWUiOiJkYXNoYm9hcmQtYWRtaW4iLCJ1aWQiOiJmMzdiYTNjNy1mMDE4LTQyZjAtYmQ4Yy03YzMyOWQ1YzEwZGEifX0sIm5iZiI6MTY1NTA2NTM5OSwic3ViIjoic3lzdGVtOnNlcnZpY2VhY2NvdW50Omt1YmUtc3lzdGVtOmRhc2hib2FyZC1hZG1pbiJ9.NJ6DItE7VzyIv1AlKx4kZAjuVvJ55lcURkBxeEEeHLD_Nad7TRhn3yqgsPWX1r6-dl56Lc3EOn98-LJWs2sod_5lNp_4gC2jylvi7Lt0Rf4VGNfpCcz9oBmyP7ddFSPtIjOgBhd2XQaMir7m_Tl3QiLt8wcWvErnvCX7iXG4XB3s9zOe17Hw_PYD4R80VNXWPVke2sCJ_wfJS7X0p4dTITJ53v069b3llUK-V60OXoZtMrLiVVDptGDR2wS02035mcUphPkI7Gwt08dHng6DsjuRB4PrLu2N0I-W9nfuOogyU7pExMRJjXeFvTeiKKjTgK9I_-n_EmSkOZ2HPiPXBA
7.查看生成的 token
kubectl get secret -n kube-system | grep dashboard-admin
8.查看令牌
kubectl describe secret dashboard-admin-token-23uyr -n kube-system
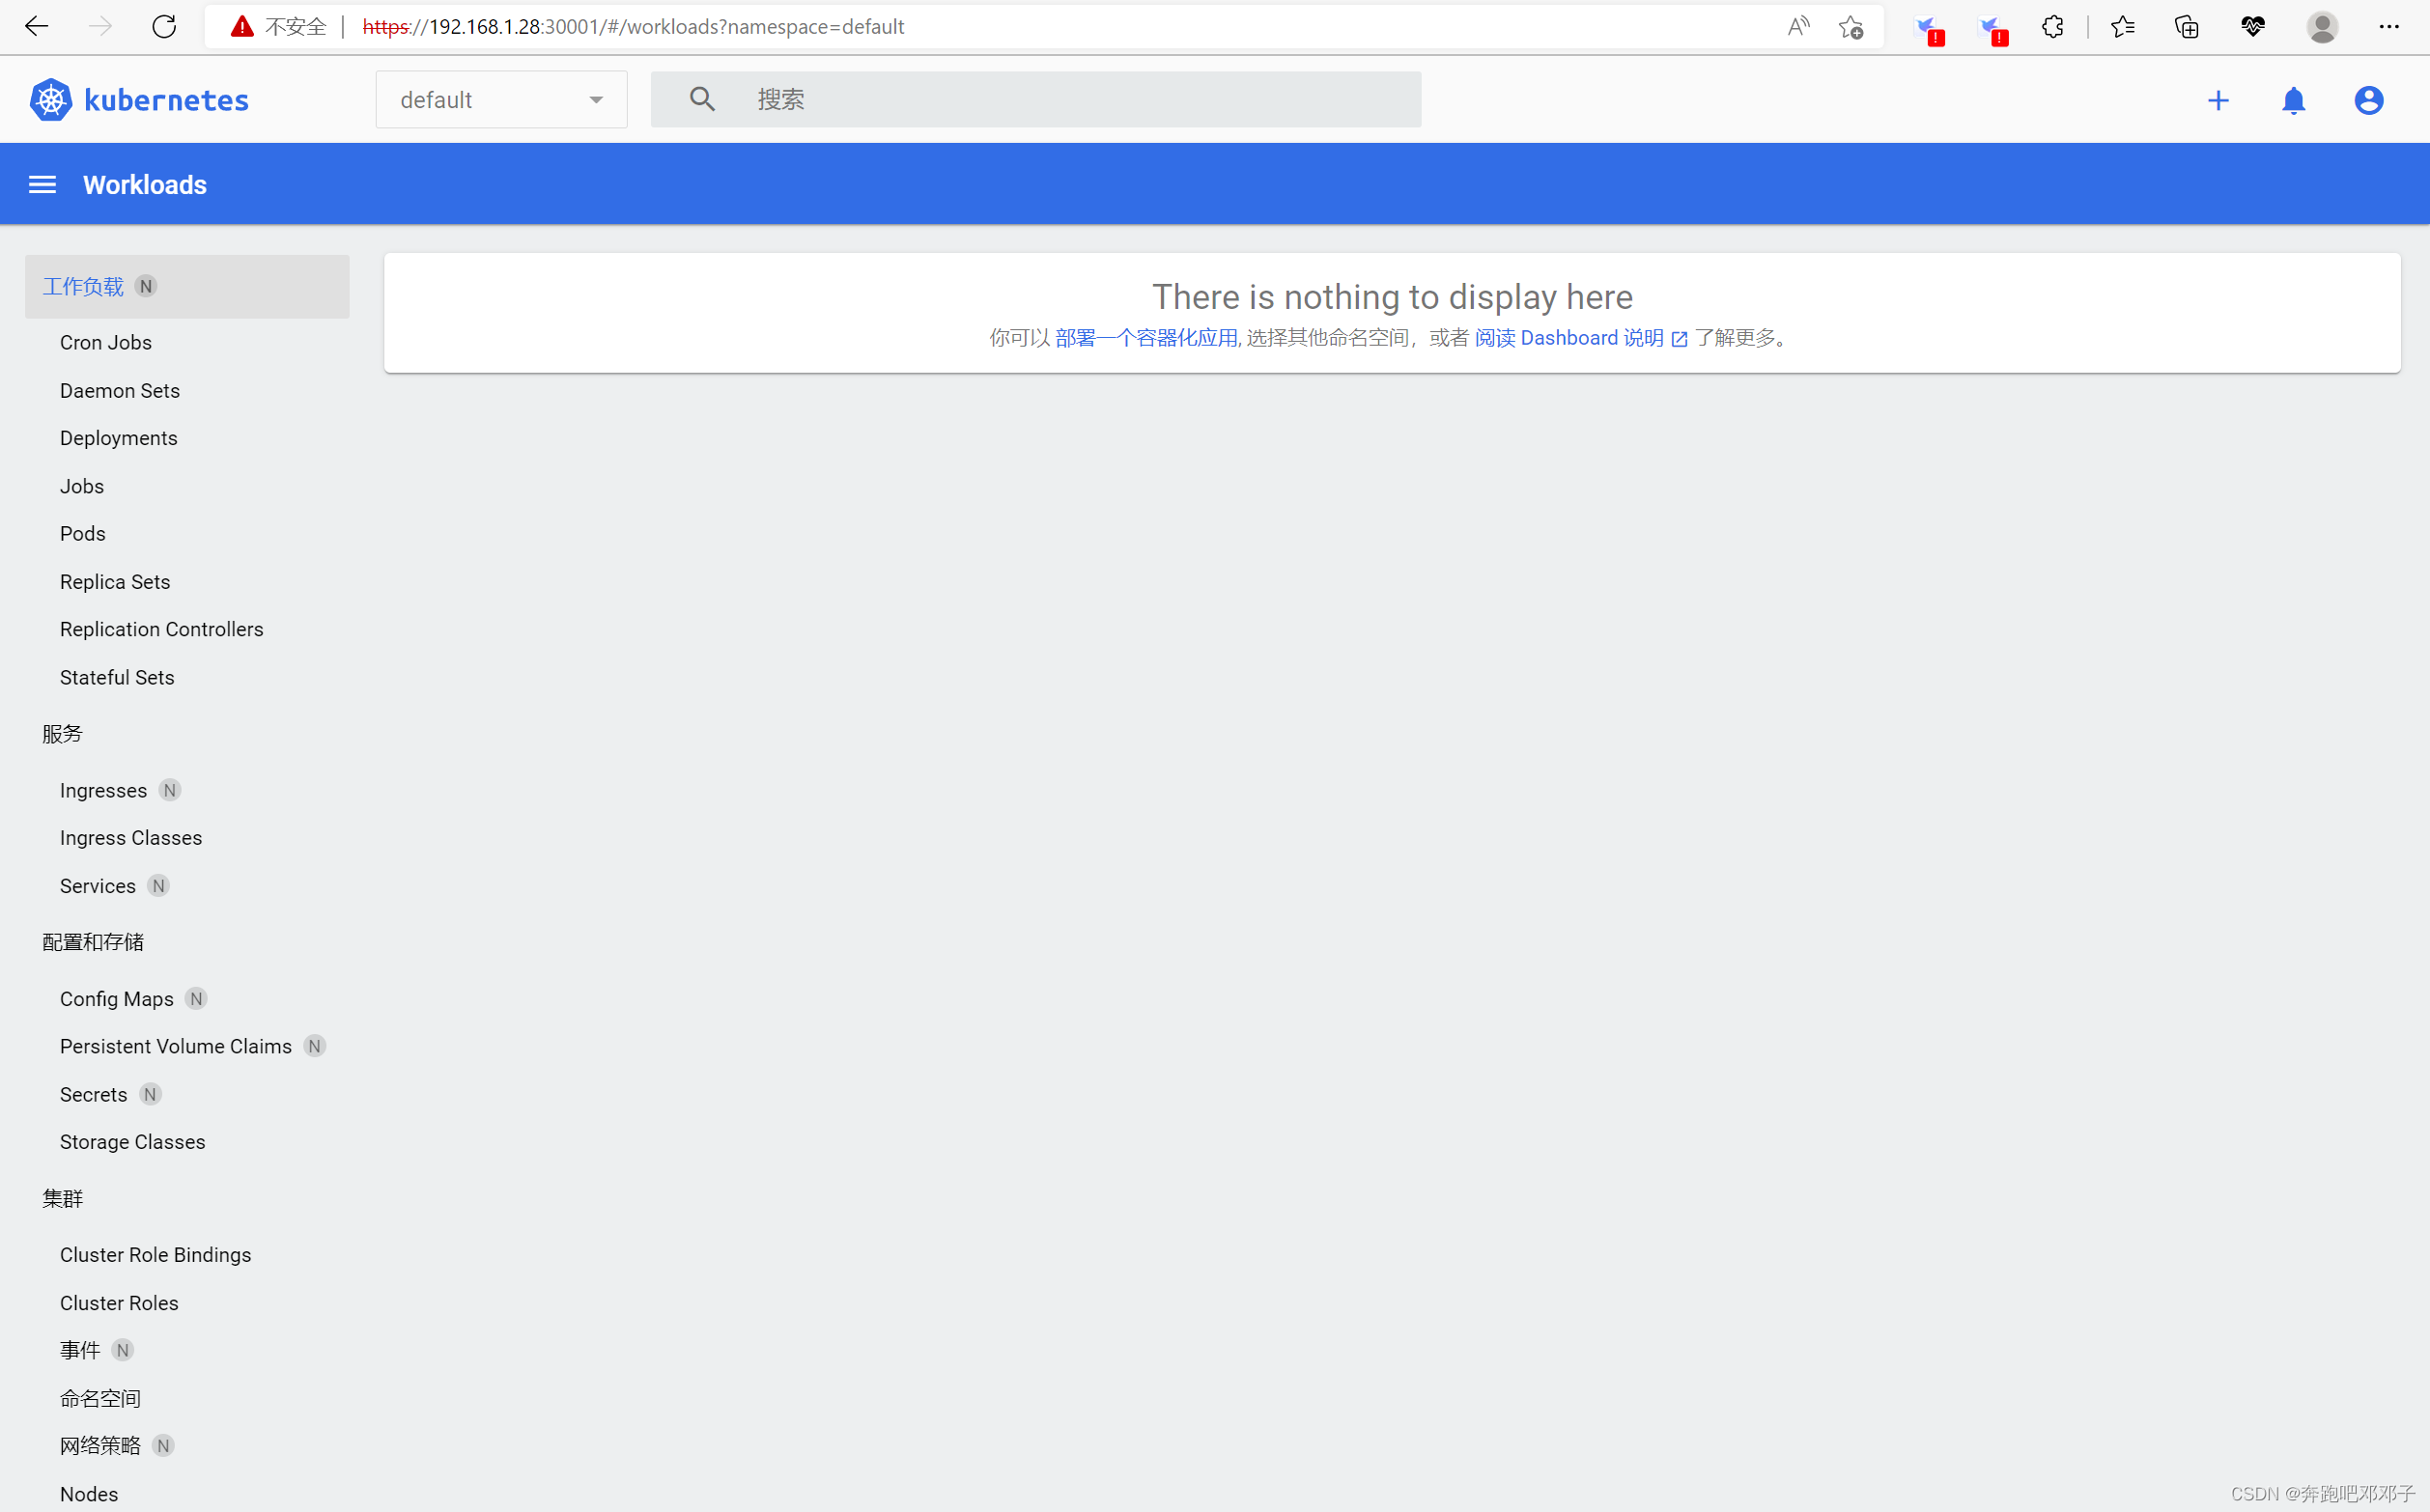
9.访问
输入访问地址:https://192.168.1.28:30001,输入 token,点击【登录】:

进入 kubernetes 首页: