1.spring-boot-devtools(推荐)
在pom.xml中添加下面依赖
<!--快重启-->
<dependency>
    <groupId>org.springframework.boot</groupId>
    <artifactId>spring-boot-devtools</artifactId>
    <optional>true</optional> <!-- 可选 -->
</dependency>
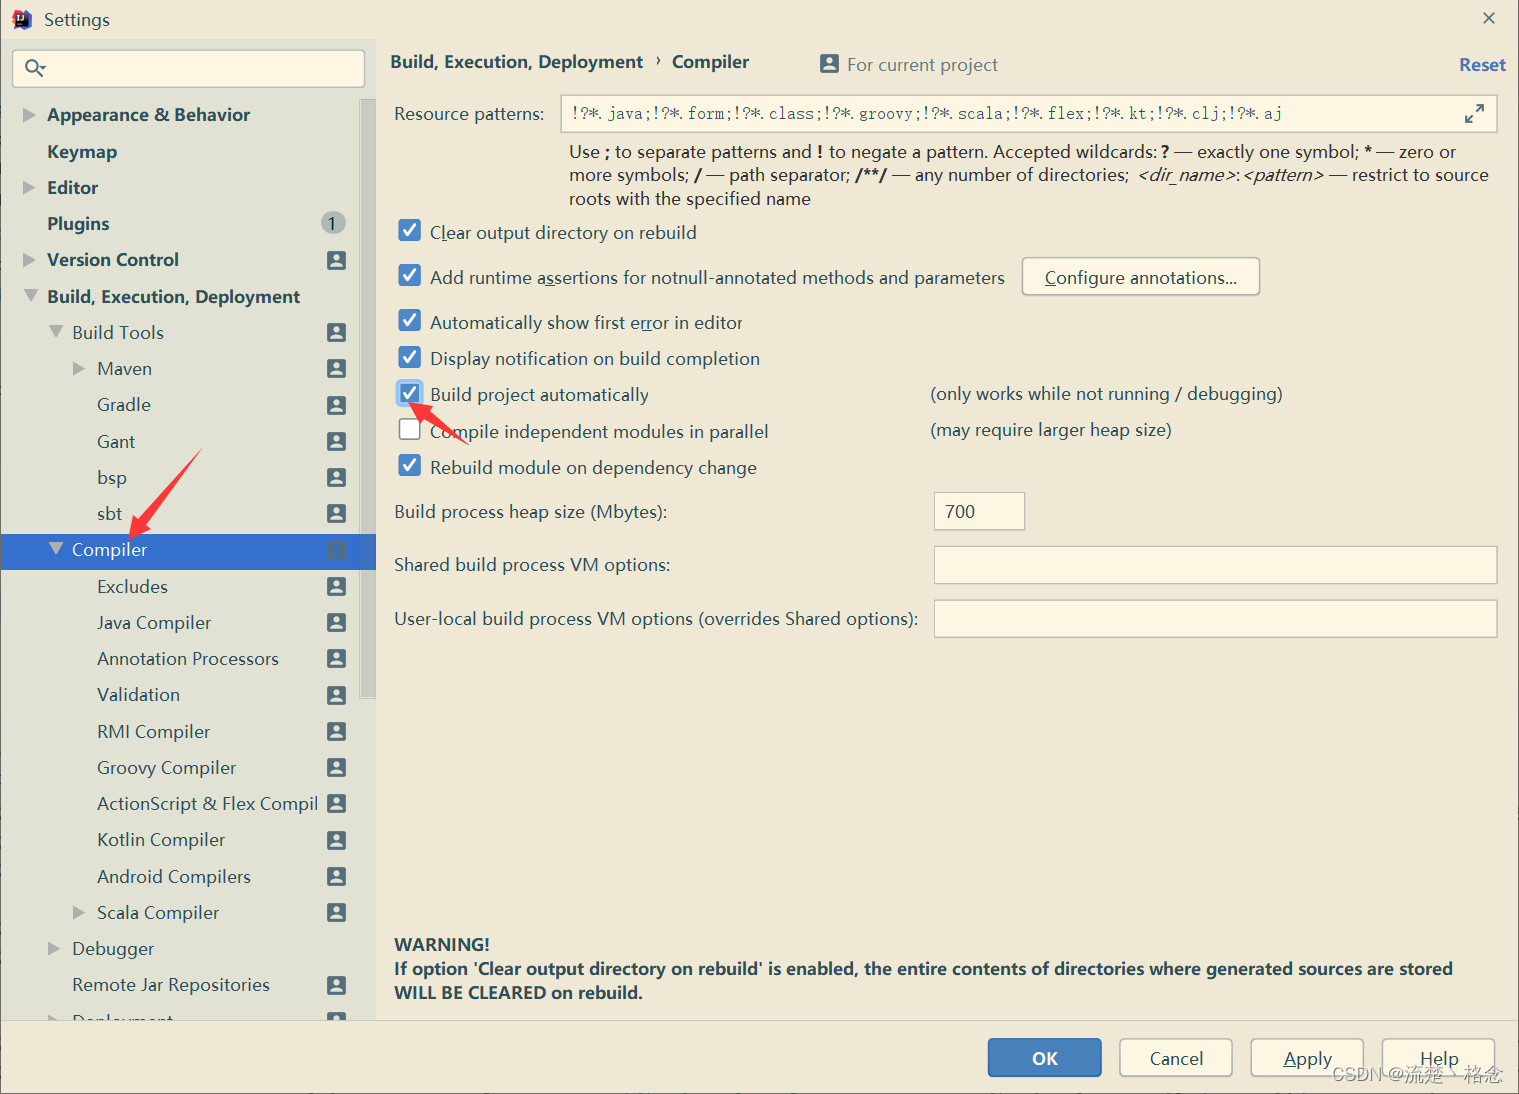
然后在Settings→Build→Compiler中将Build project automatically勾选上
最后按ctrl+shift+alt+/ 选择registy,将compiler.automake.allow.when.app.running勾选。
如上,这样就可以实现热部署了。

但实际上,org.springframework.boot所实现的功能是快速启动,加上自动编译就能实现所谓的”热部署“了。
Build project automatically就代表着自动编译,但这项设定只在debug模式生效,所以要通过org.springframework.boot使其在普通运行模式也能自动编译。
注意:上面说Build project automatically在debug模式也能生效,但是经过我的测试,并不行,所以还是老老实实勾选compiler.automake.allow.when.app.running吧。另外,对于某些idea没有这个选项的,设置好其他的之后,ctrl+f9也是可以的。
2.idea的热部署功能
实际上idea已经带有一个热部署的功能了,如下图:
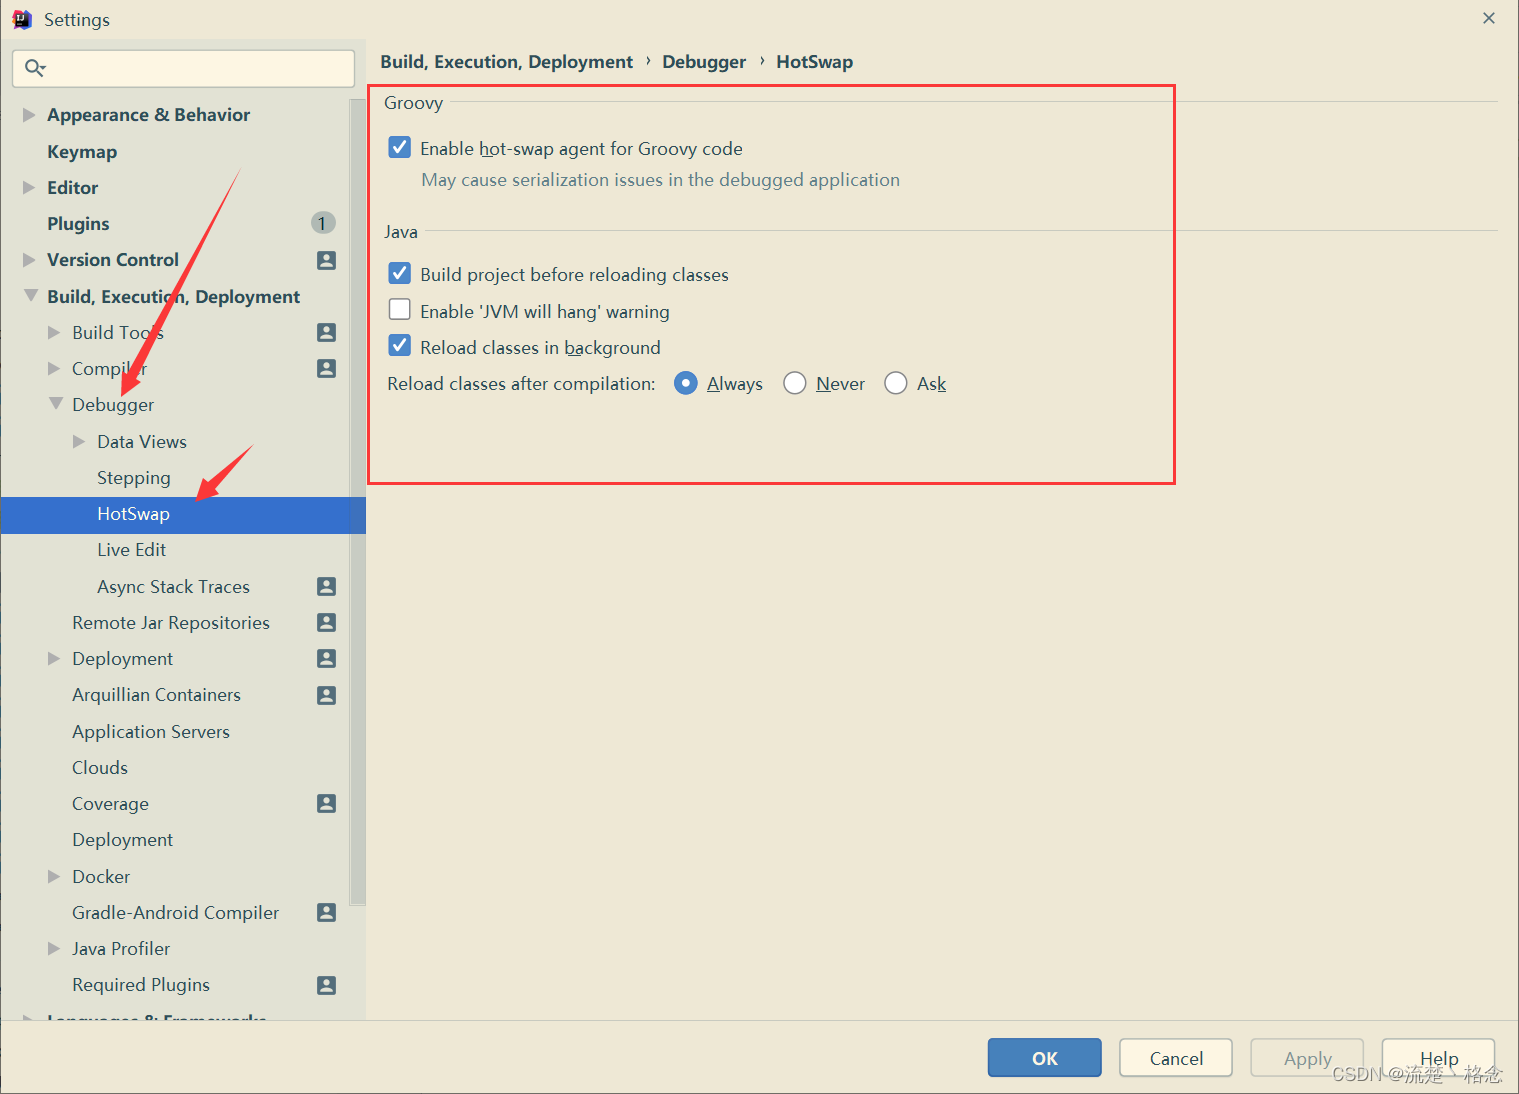
再设置Build project automatically和org.springframework.boot
再编辑启动配置
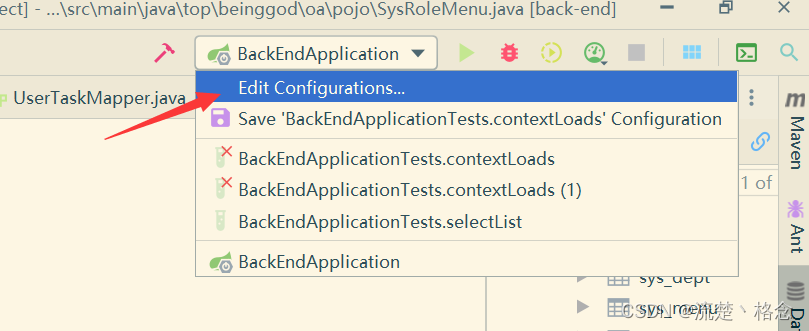
按照图示点开窗口并修改设置,在每次更新时更新类和资源

OK了这样也能实现热部署